Let’s have a look at this article on how to install Hyper-V Server Core 2022. How do you install Server Core instead of the desktop experience? With the security advantage and the reduced attack surface, the Windows Server Core installation makes an outstanding platform for running a production Hyper-V server installation. It is lightweight and secure, and you can easily manage it with other tools and consoles outside of the Microsoft Hyper-V host. Below, we are starting the installation procedure from the ISO image of Windows Server 2022. If you want to know how to create bootable USB media.
Table of Contents
Microsoft Hyper-V 2022 Core Requirements
Visit Microsoft documents to learn about the system requirements for the Hyper-V server.
Microsoft Hyper-V 2022 Core License Requirement
Click here to get more information about the license requirement.
Install Hyper-V Server Core
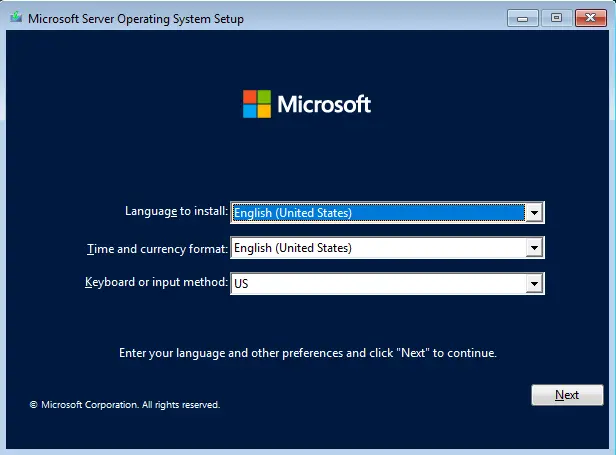
Boot the system with the Windows Server installation media where you want to install Server 2022 Core. Choose your preferred language, and then choose next to install Hyper-V Server Core.
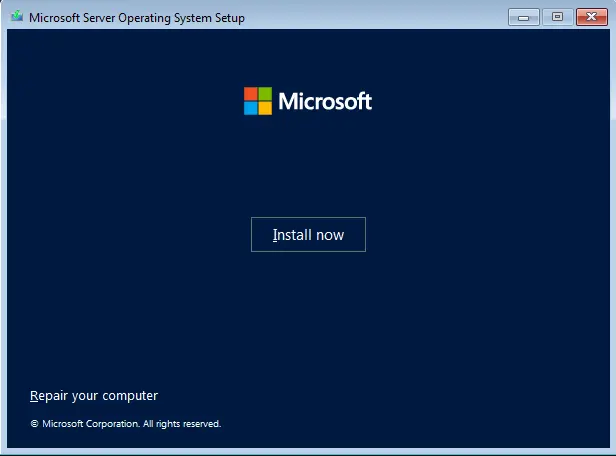
Select the Install Now button.
Click on the link. I don’t have a product key, if you have any.
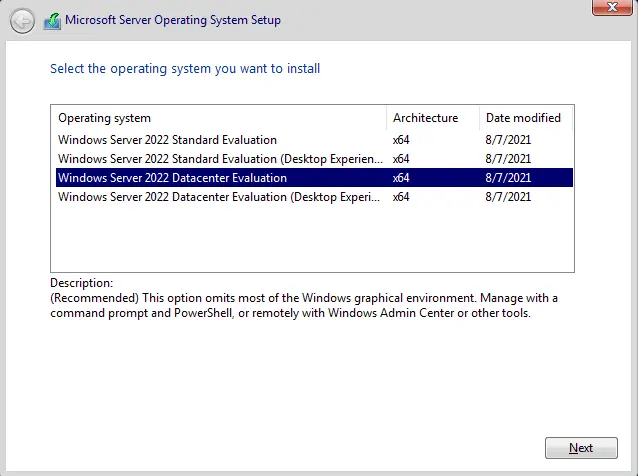
Select the Windows Server 2022 Datacenter Core and then choose Next.
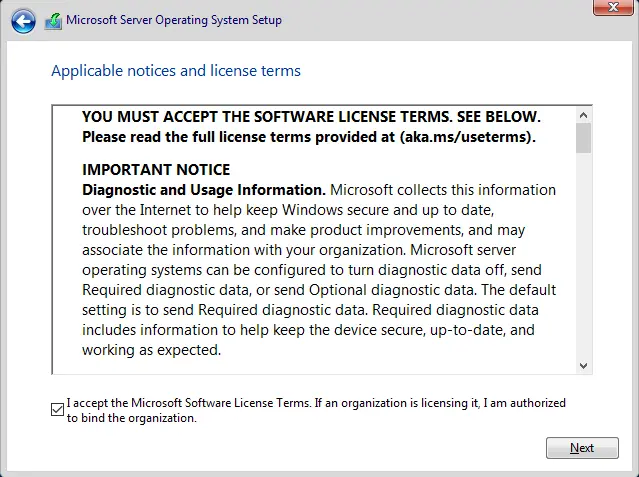
Accept the license agreement, and then proceed.
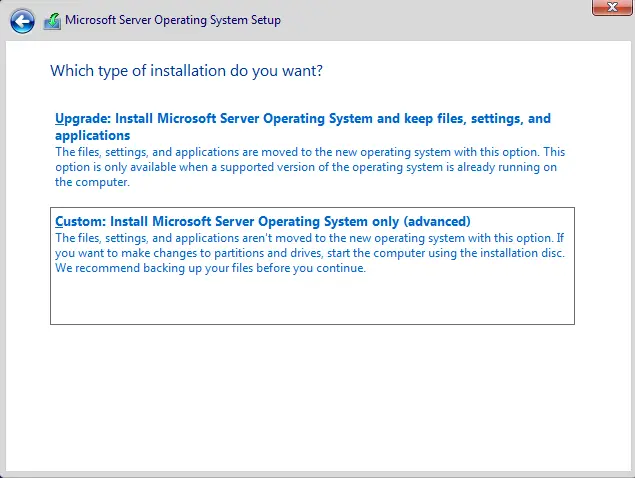
Choose Custom: Install Windows only (advanced) option.
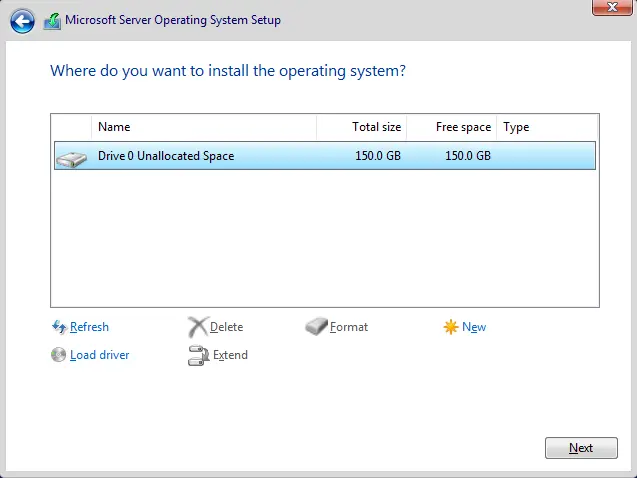
Choose a volume where you want to install Windows server core 2022 and then choose Next.
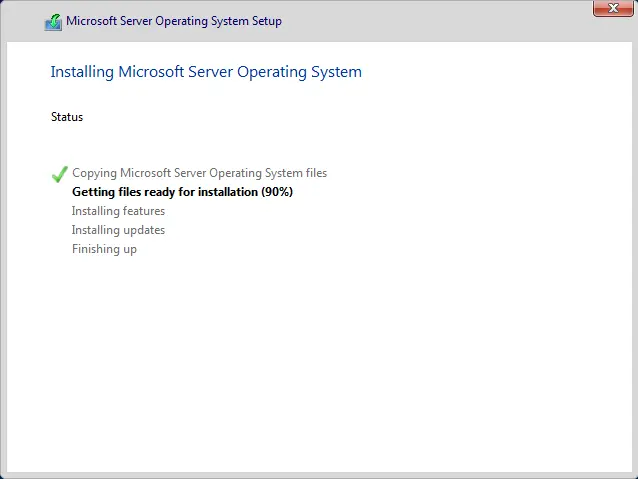
The installation of Windows Server 2022 Core is in progress.
Setup Hyper-V Server Core 2022
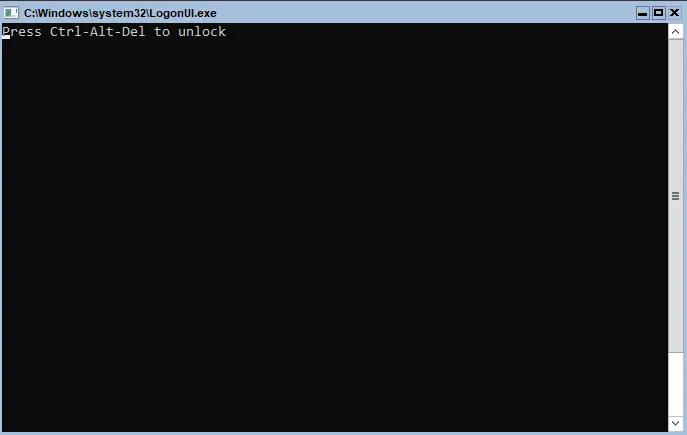
Windows Server 2022 Core command line login.
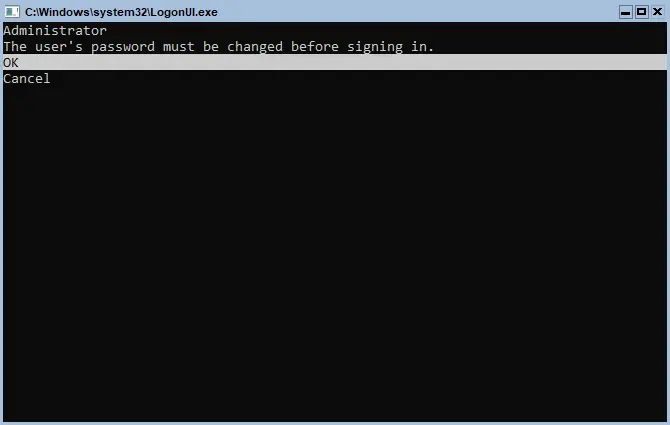
Click OK to change the password.
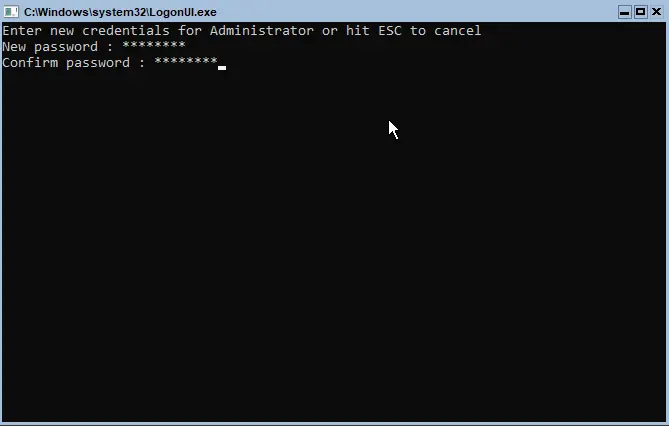
Enter a new password and confirm password, and then hit enter.
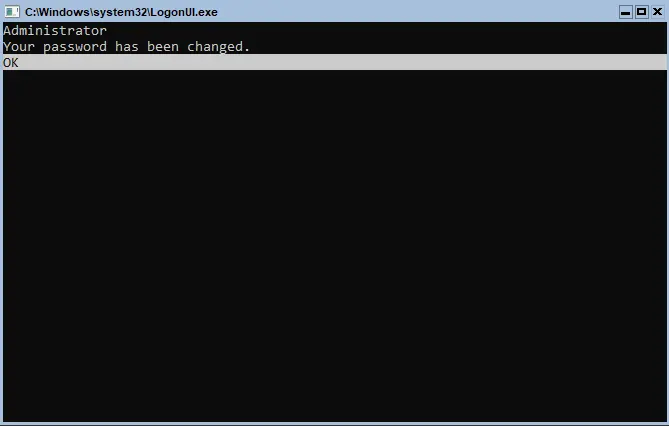
The Windows Server core password has been changed. Press enter on the OK prompt.
How to Configure Windows Server 2022 Core
Type the Sconfig command.
There are a few settings that I usually need to setup with Sconfig to get the core server up and running rapidly, to the point of being able to remotely manage it and install roles and features.
Change the core server name.
Join the server for the domain.
Setup network settings.
Enable RDP
Enable remote management.
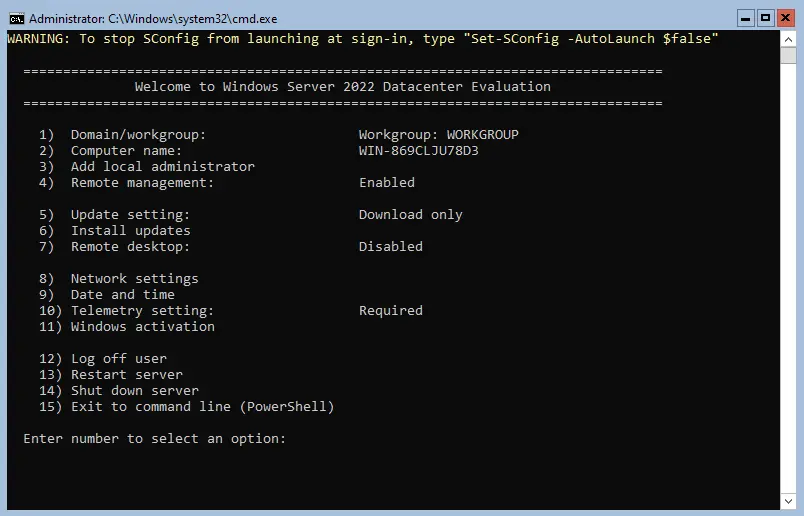
There are several methods to enable the Hyper-V role on the Windows Server 2022 core.
Using PowerShell
Windows Admin Center
Enabling the Hyper-V Role via PowerShell
Install the Hyper-V roles by typing the below command to install Hyper-V Server Core.
Install-WindowsFeature -Name Hyper-V -IncludeAllSubFeature -Restart
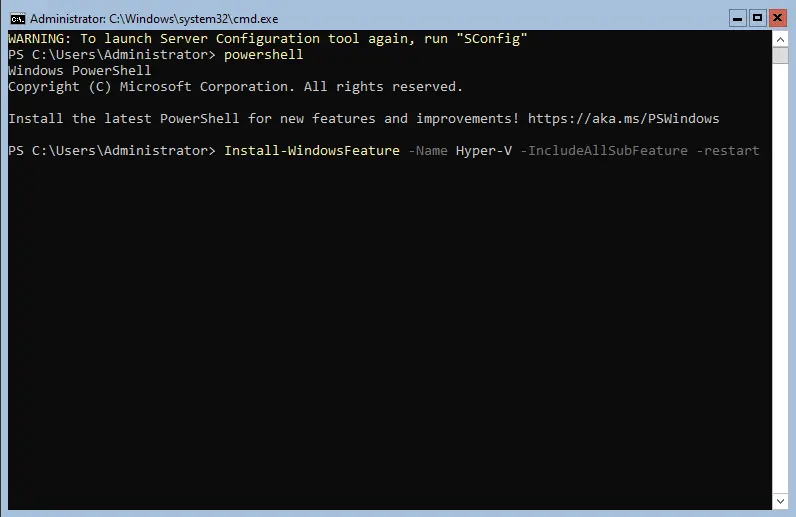
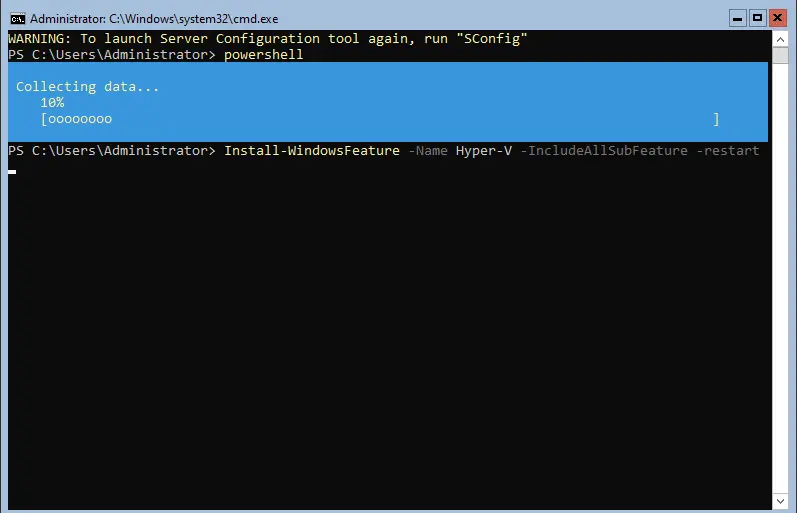
The Hyper-V roles will be installed on the Windows Server 2022 core, and the server will restart automatically.
How to Install Hyper-V Role with Windows Admin Center
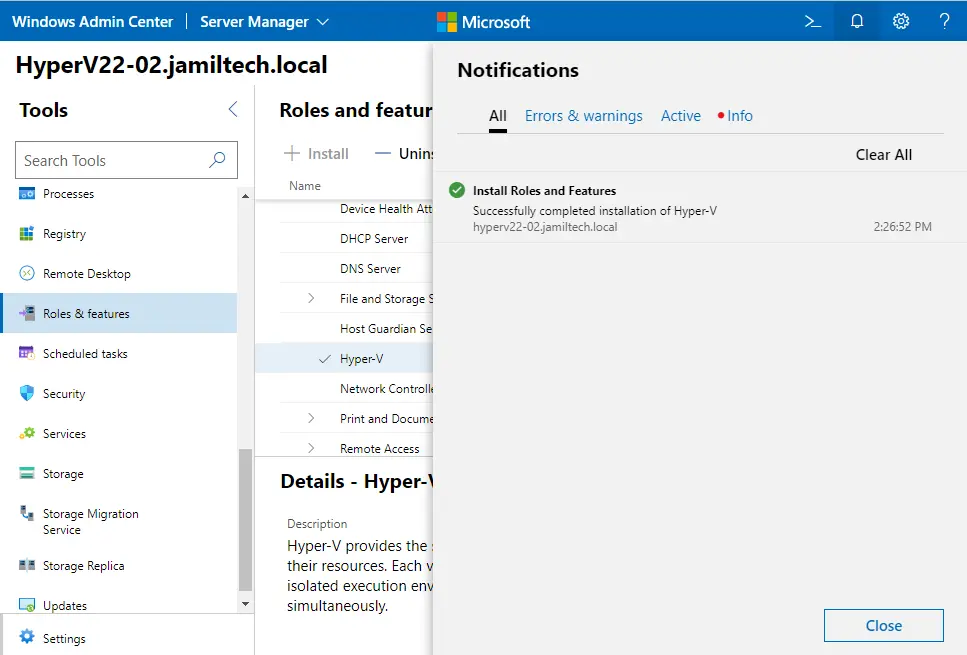
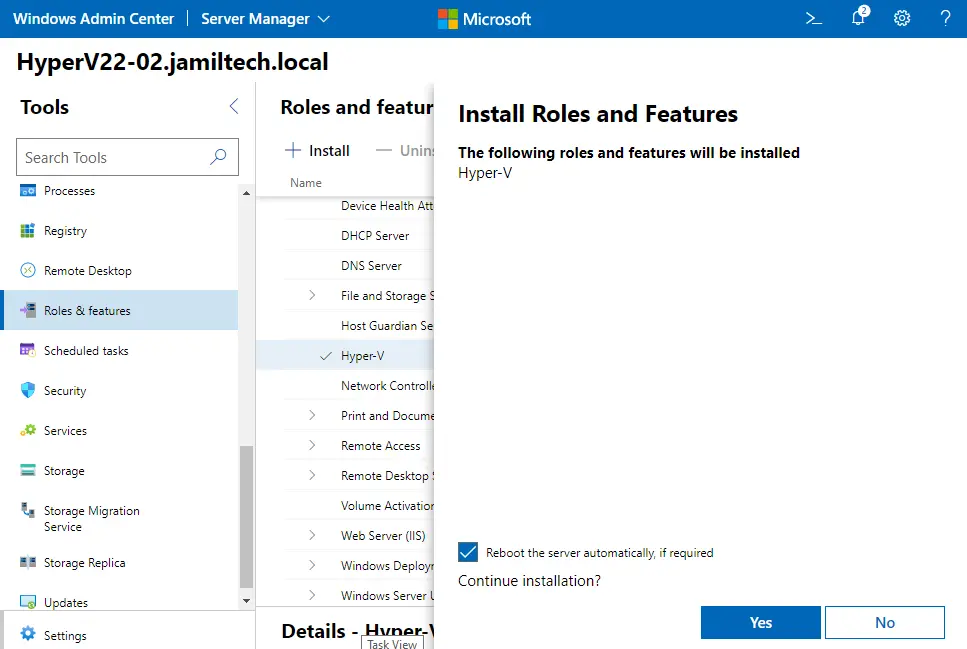
The Windows Admin Center will permit you to return to the GUI method of managing the Windows server core. Windows Admin Center is very straightforward to install and very easy to use as a management platform. Connect your Microsoft Hyper-V core server to the Windows Admin Center. Under Tools, choose the Roles and Features menu. Select the Hyper-V role, and then choose the install button.
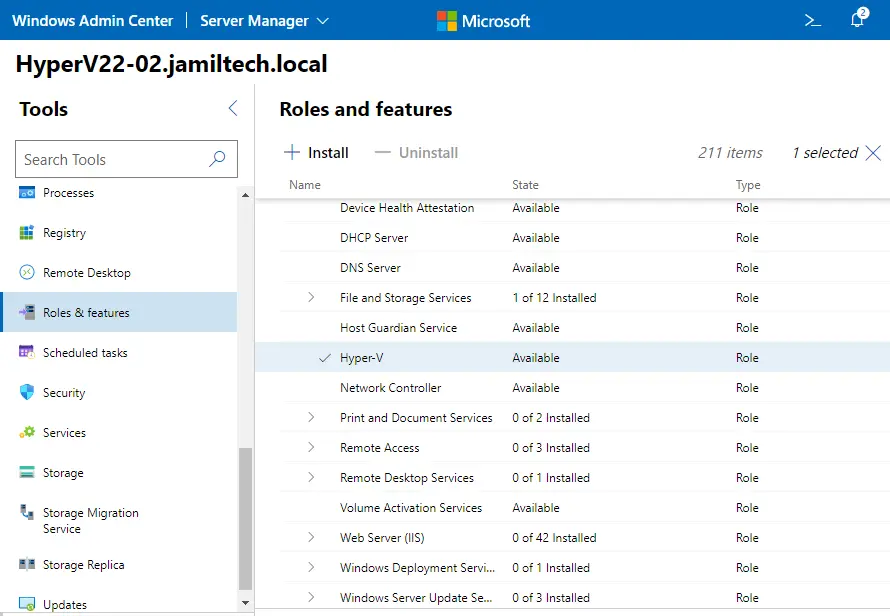
Install roles and features. The wizard page will open; tick the box “Reboot the server automatically if required” and then yes.
You can view the installation progress in the notifications area.
