This article explains how to install TrueNAS CORE Storage in VMware Workstation. TrueNAS CORE is a free open-source operating system for data storage software that permits you to create your own data server and use it without spending a single buck on software. With TrueNAS storage, you can turn an ordinary computer into network-attached storage with the complete functionality of a NAS device, an advanced file system, ZFS, and several plugins. Visit TrueNAS for hardware requirements.
Table of Contents
Download TrueNAS CORE
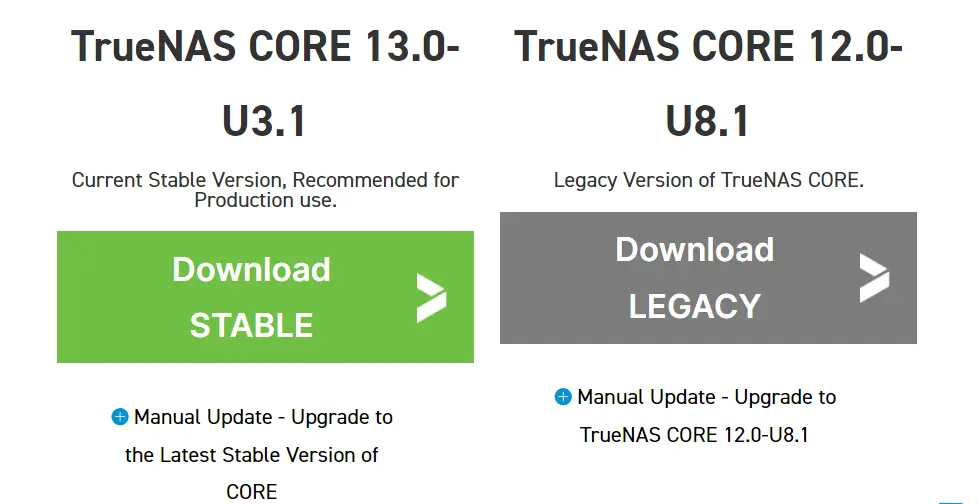
How you can get started with TrueNAS CORE storage. Head over to the TrueNAS website and then “Download TrueNAS CORE”
To create a TrueNAS bootable USB drive or CD/DVD
Install TrueNAS CORE
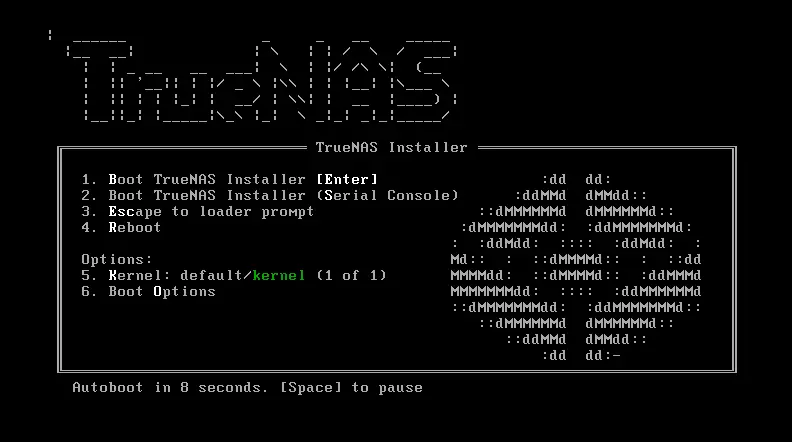
Choose the install device as the boot drive, exit, and restart the system. If the USB disk isn’t shown as a boot option, then try to use a different USB slot.
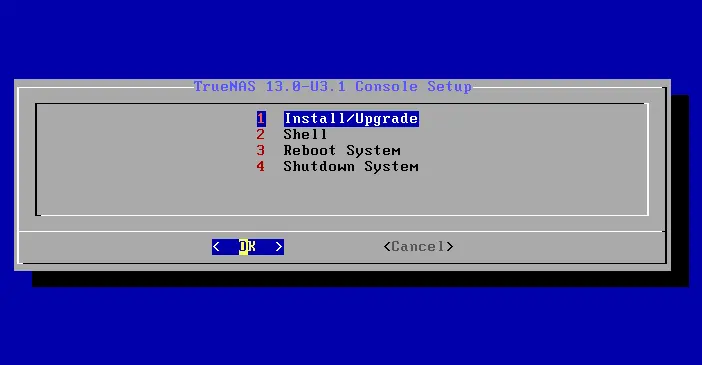
TrueNAS console setup, choose the Install/Upgrade menu, and then hit enter.
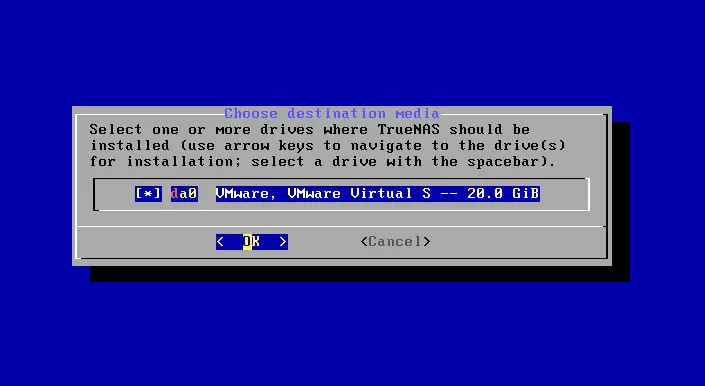
Choose the destination drive to install the TrueNAS CORE storage, and then hit enter.
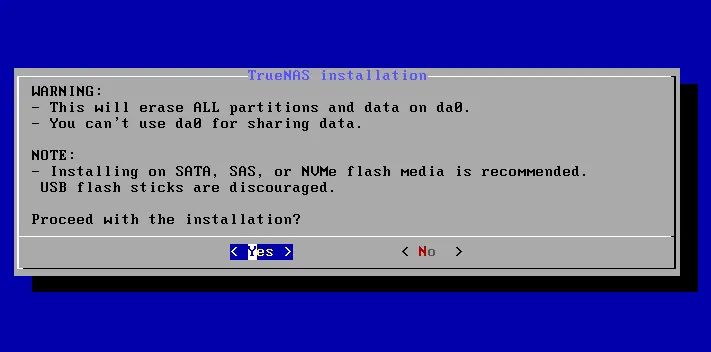
The TrueNAS installation warning will erase all partitions and data; simply click yes.
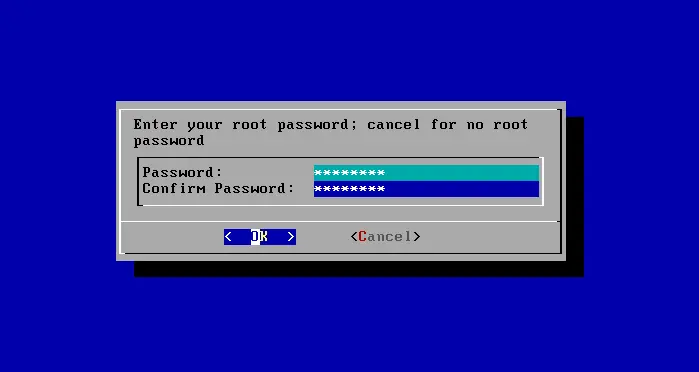
Type a root password and confirm the password for logging into the TrueNAS CORE from the Web interface later, and then hit enter.
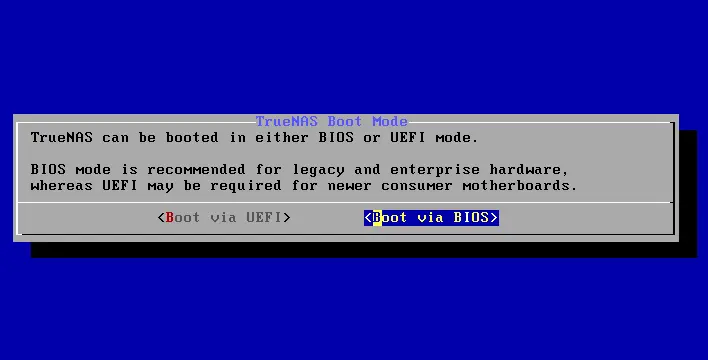
TrueNAS boot media page, click on the Boot via BIOS, and then hit enter.
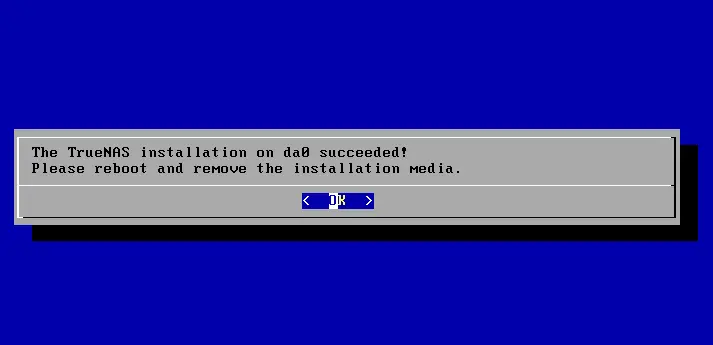
TrueNAS CORE storage installation succeeded; click OK.
Choose Reboot System, and then click OK.

TrueNAS CORE Booting Up
Verify your Ethernet cable is connected to the internet, and then later it will be accessible from the Web interface.
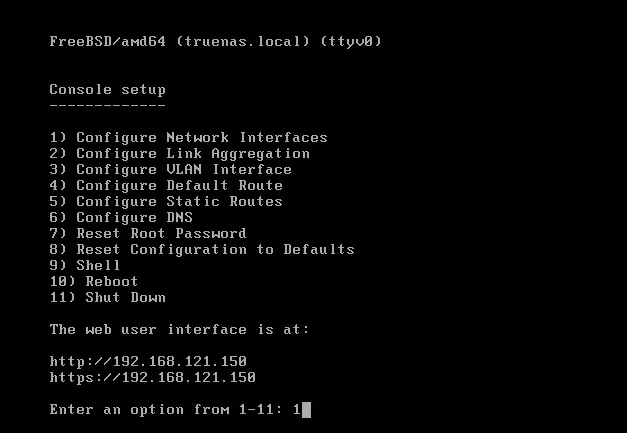
TrueNAS CORE Configurations
Enter 1 to configure network interfaces, and then hit enter.
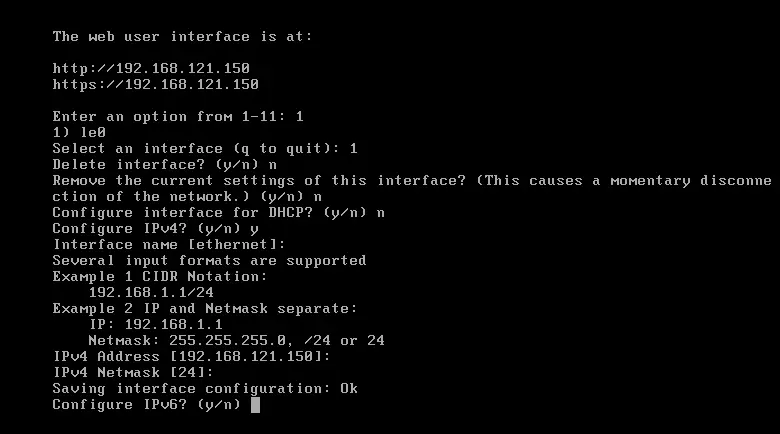
Select the interface, type 1, and then hit enter
Remove the interface, type n, and hit enter
Type n and Press enter
Interface for DHCP, type n and hit enter
Configure IPv4, type y, and hit enter
IPv4 Address, NetMask, Configure IPv6, type n
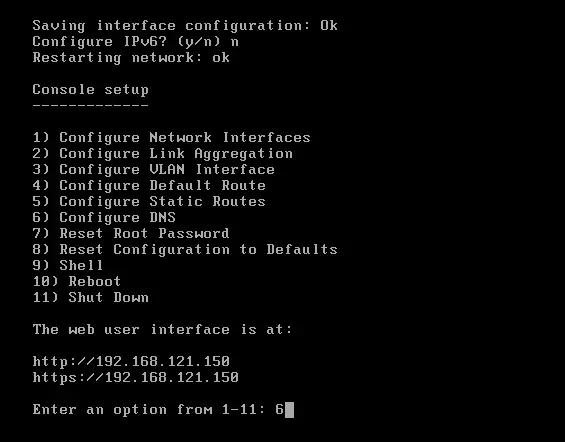
Configure DNS TrueNAS CORE
Type 6 and hit enter.
Type DNS IP Address
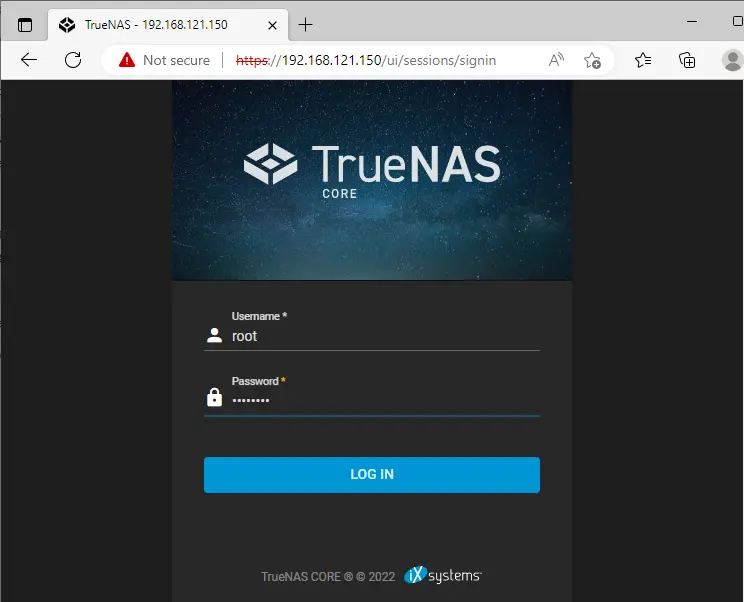
Use any other device with the same internet, open any browser, type the TrueNAS CORE IP address, and then press enter.
Type the username root, and the password is the one set during the TrueNAS CORE installation. Select log in
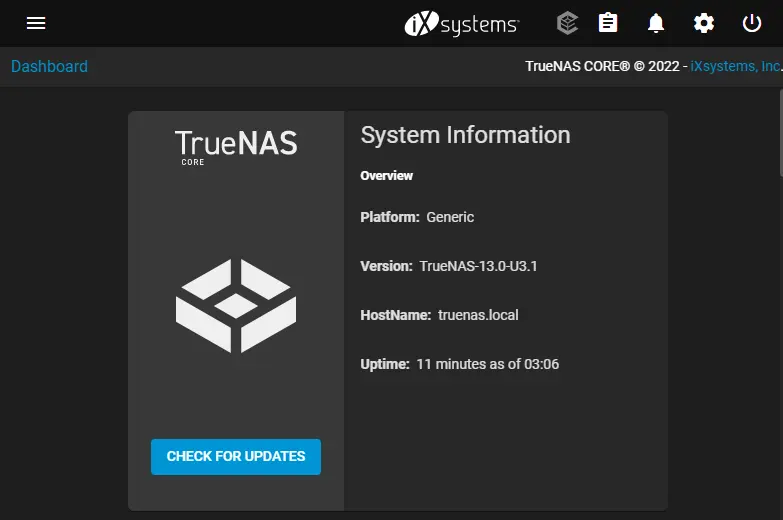
TrueNAS CORE dashboard