In this article, we will teach you how to install XigmaNAS storage. XigmaNAS storage supports sharing files across various operating systems, including Windows, UNIX, and Apple. XigmaNAS network attached storage is easy to set up in most home and business environments and will permit you to share large amounts of data simply across your network. It also incorporates several different streaming features for sharing multimedia with other systems on your network.
The XigmaNAS installation is like installing an operating system on hardware, which makes it easy and convenient for all users. You can view the range of hardware support.
Table of Contents
Download XigmaNAS Installation ISO
You can use a USB drive to prepare XigmaNAS for bootable media so that you can install it on your device. Visit the XigmaNAS website to download the ISO image.
On the Windows operating system, you can use Rufus to create a bootable USB drive.
Install XigmaNAS Network Attached Storage
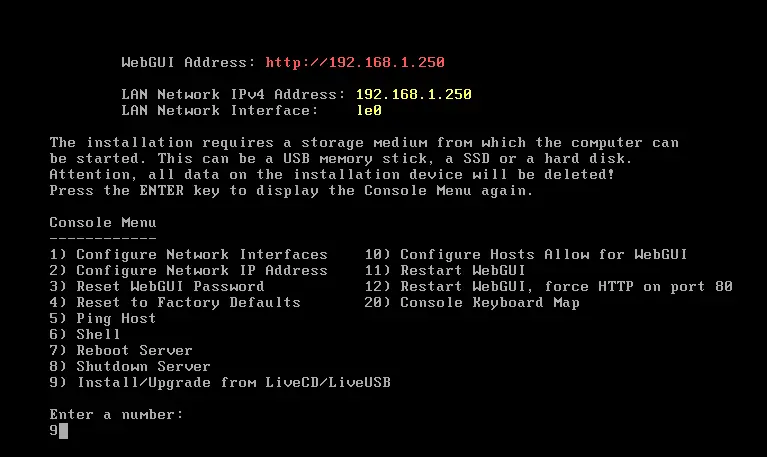
After booting from the bootable USB drive or ISO image, you will be presented with the below prompt. Type 9 and then hit enter.
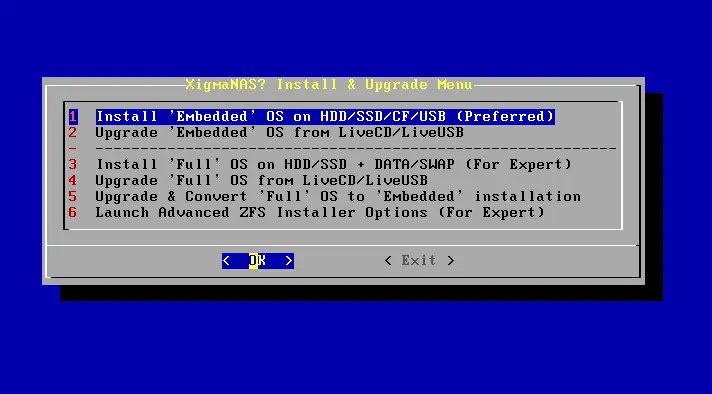
In the XigmaNAS install & upgrade menu, hit enter.
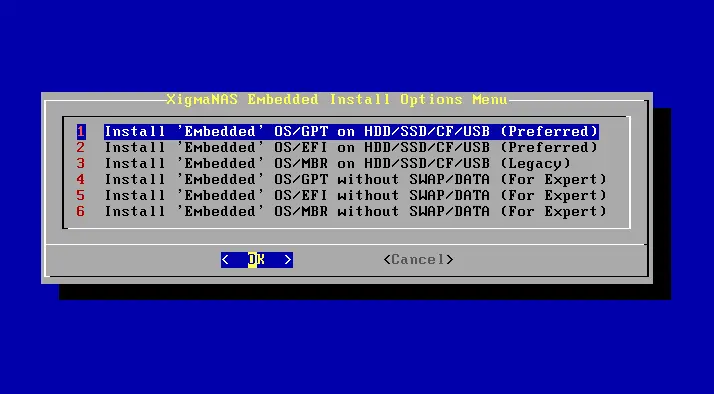
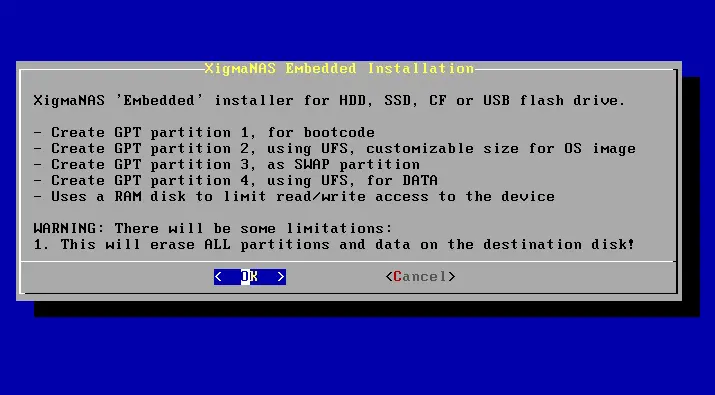
XigmaNAS embedded install options menu, click OK.
Create partitions for the XigmaNAS installation; click OK.
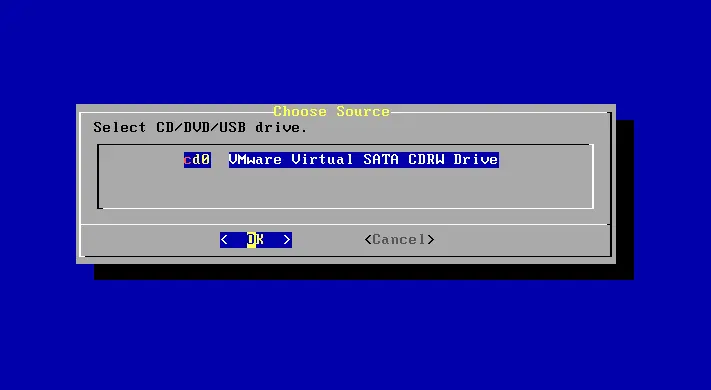
You need to choose the installation source, and then click OK.
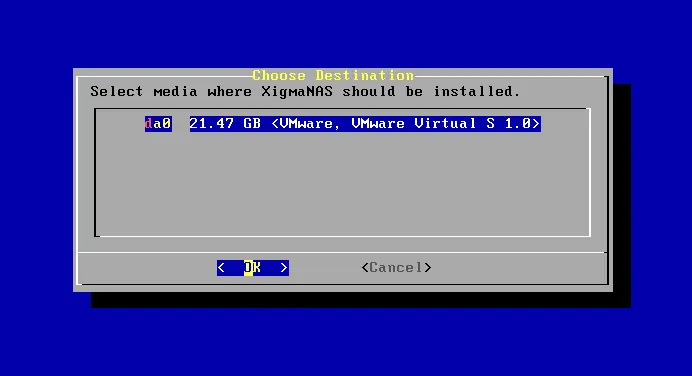
Choose Disk to Install XigmaNAS
If you have multiple disks, select the disk on which you would like XigmaNAS to be installed, then press OK.
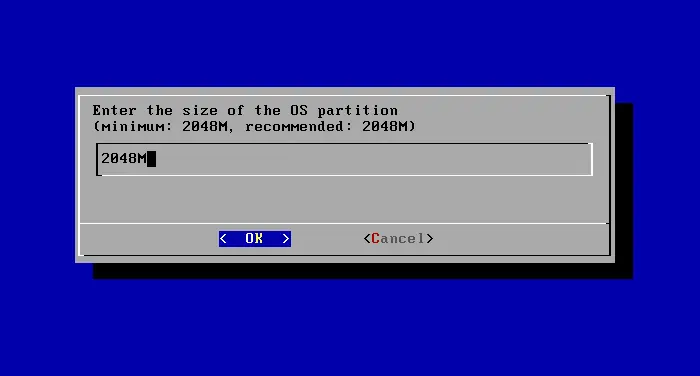
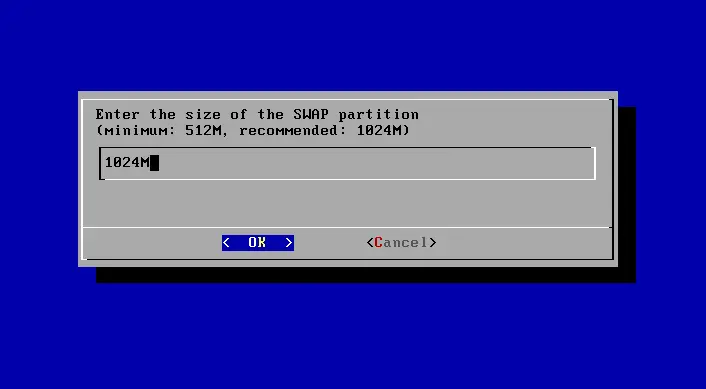
Choose your installation disk, accept the default partition size, or add it depending on your requirements, and then hit enter.
Hit enter
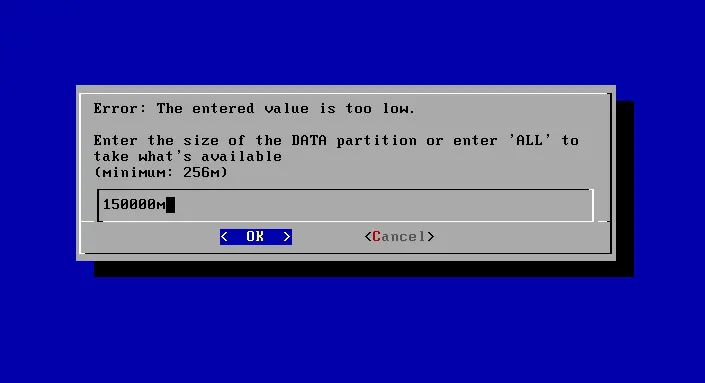
Select the size of the data partition and then hit enter.
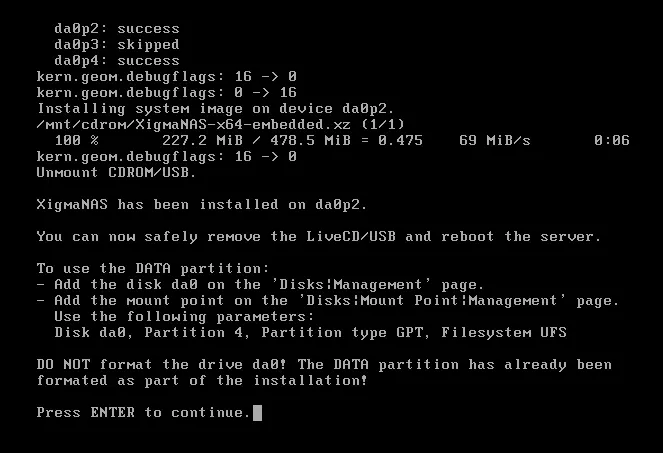
XigmaNAS installation is done; press enter to continue.
Reboot XigmaNAS Server to Login
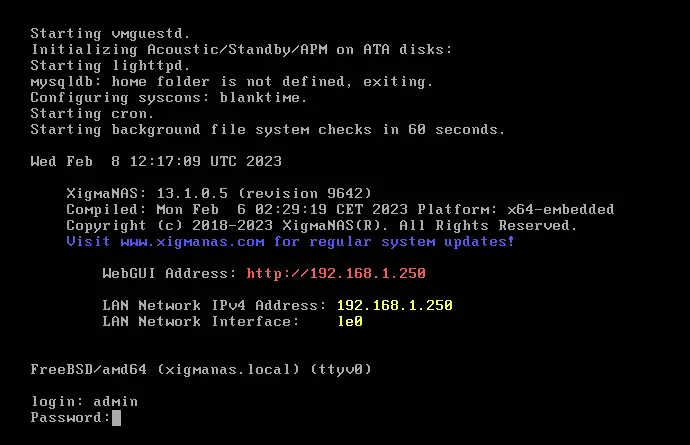
After completing the installation, remove the installation media and then reboot your server. After a few seconds, you will be ready to log in. Default credentials to log in.
Username: admin
Password: xigmanas
Configure the Network Interface IP of XigmaNAS
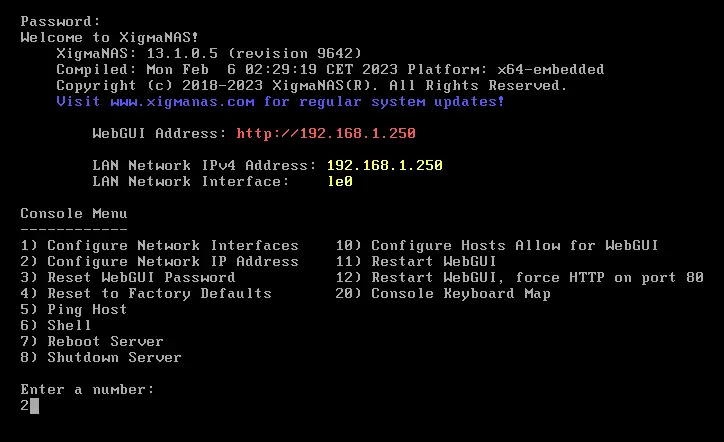
In this step, we will configure the network IP address that connects XigmaNAS storage to the Web interface. In the prompt, type 2 as shown below, and then press enter.
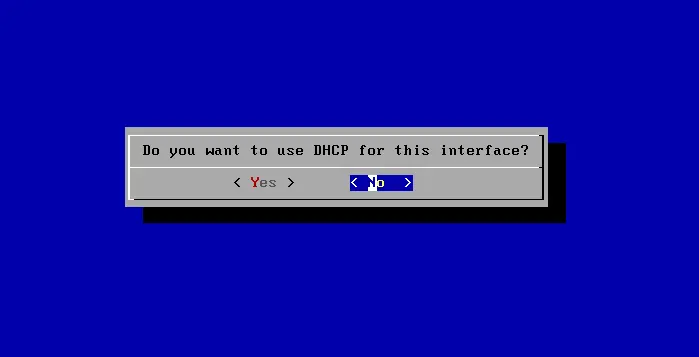
We are going to select static, so choose no.
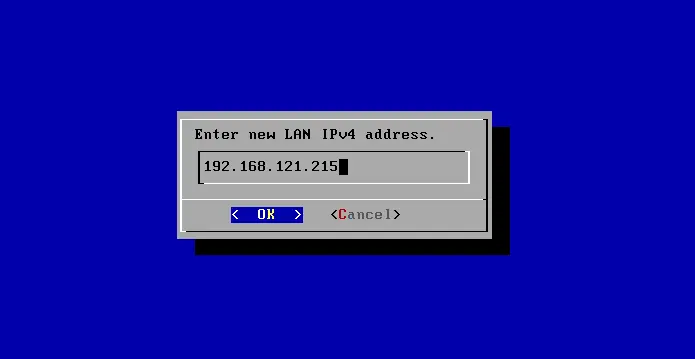
Enter the IP address, and then hit enter.
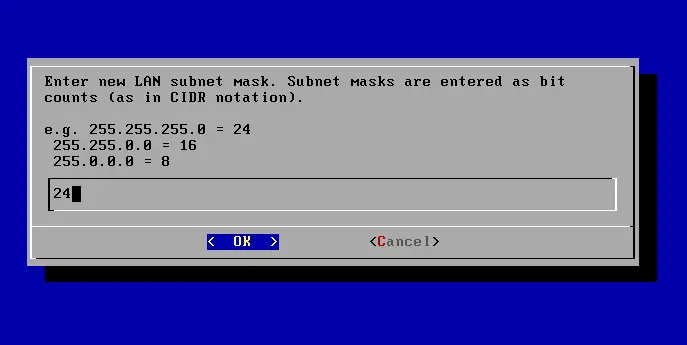
Type your Subnet Mask and then hit enter.
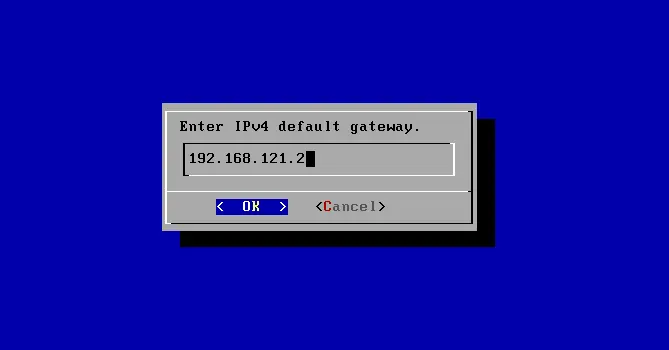
Enter the default gateway server address, and then hit enter.
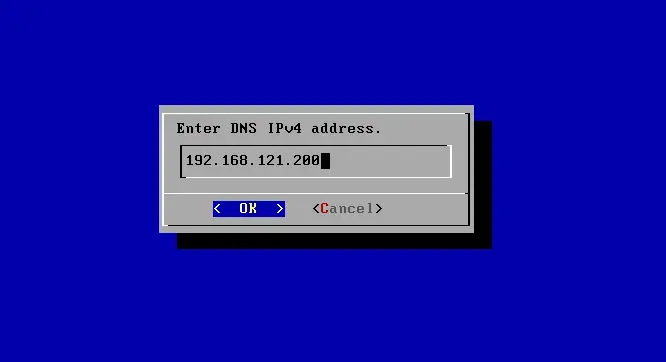
Enter the DNS address and click OK.
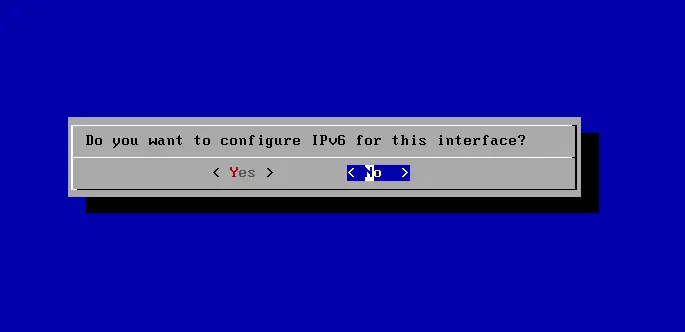
Select no for IPv6 settings.
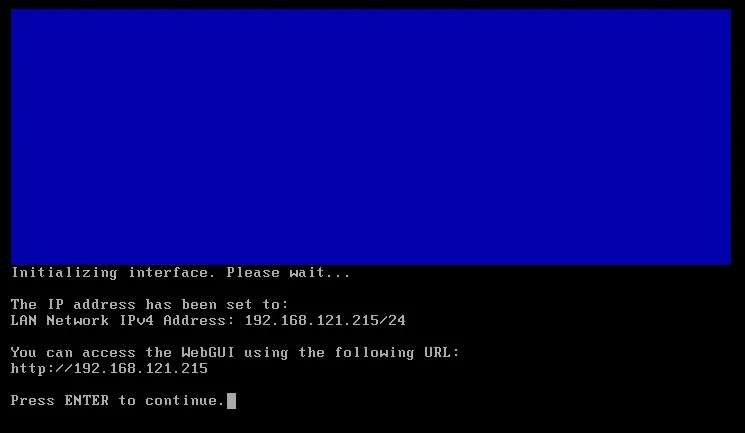
Press Enter to continue.
XigmaNAS console menu.
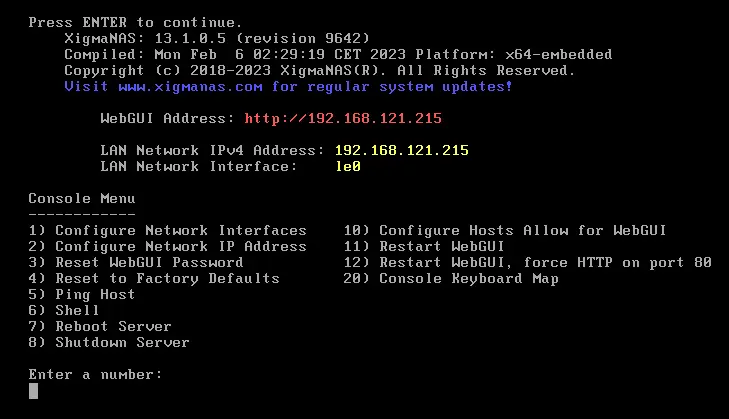
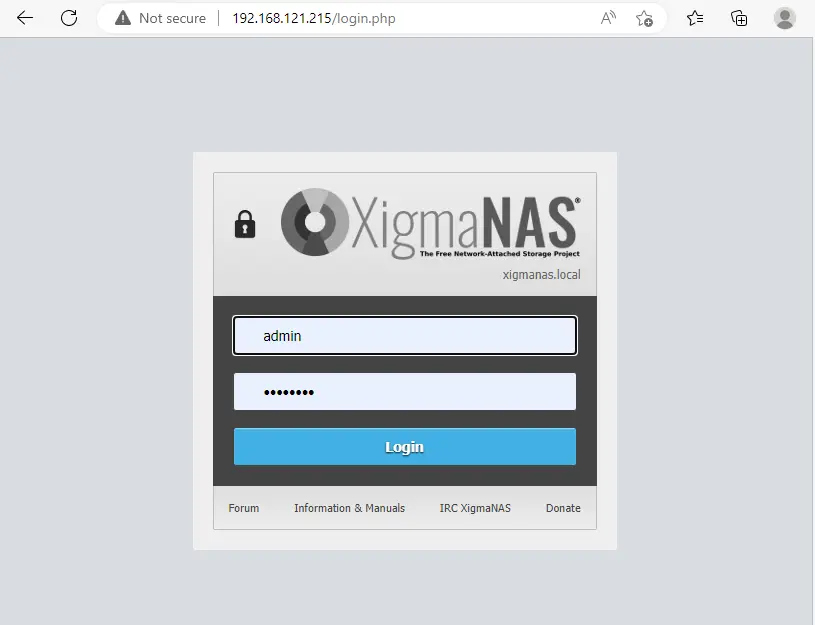
Open your browser and enter the XigmaNAS storage IP address. Type a username and password, and then click login.
Username: admin
Password: xigmanas
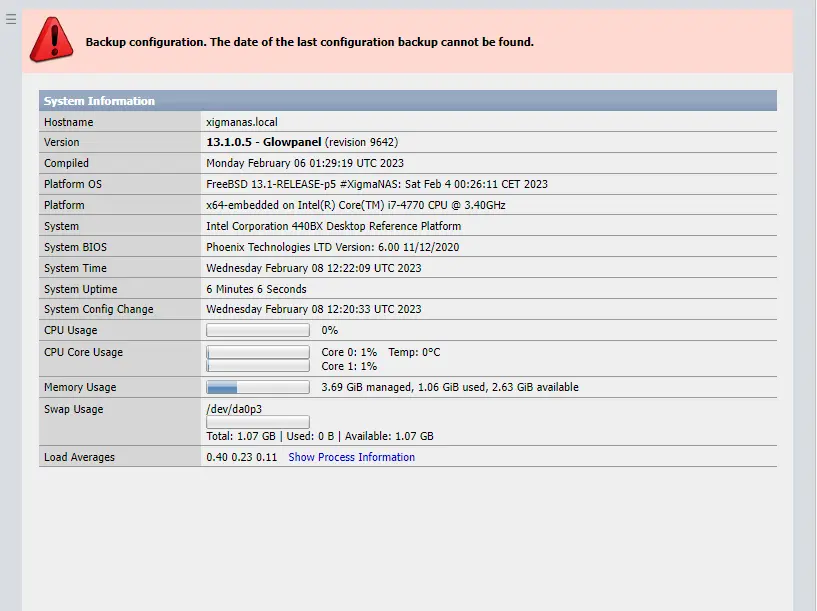
XigmaNAS dashboard system information.