In this article, we will show you how to make Windows Photo Viewer default photo viewer. You can enable Windows Photo Viewer in Windows 11 if you do not like the Photos app, which has been the default since Windows 11. Microsoft’s Photos image viewer is the default image viewer. Thankfully, the classic Windows Photo Viewer is still available. It only requires activation for it to work. If you want a retro design, Windows Photo Viewer is likely for you.
The first version of the Windows Photo Viewer arrived with Windows XP. Even though it’s an old piece of software, it still works quite well in Windows 11. You can keep using it if you want to; it isn’t hard. Here’s how you can get Windows Photo Viewer working properly.
The only problem is that Microsoft has changed the way the Windows Photo Viewer app works with files. Because of this change, you are unable to simply return to the app and select it as the default image viewer.
Table of Contents
It’s easy to fix, though. All you need to do is add the right entries to the registry under the key HKEY_LOCAL_MACHINE\SOFTWARE\Microsoft\Windows Photo Viewer\Capabilities\FileAssociations. Here’s what you can do:
Enable the Classic Windows Photo Viewer Application
Download the Win 11 Photo Viewer.zip file.
Right-click and extract the included REG files. Double-click the Enable Classic Photo Viewer.reg file.
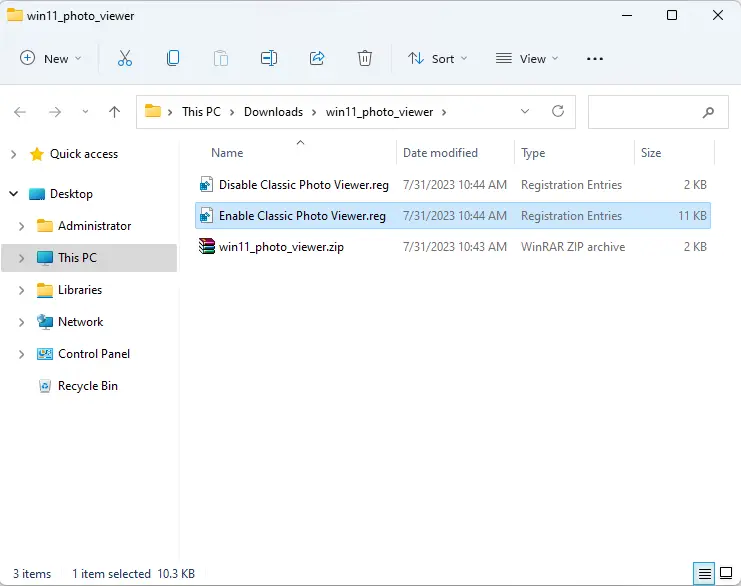
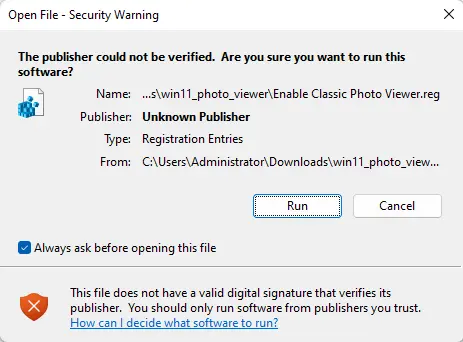
Choose run.
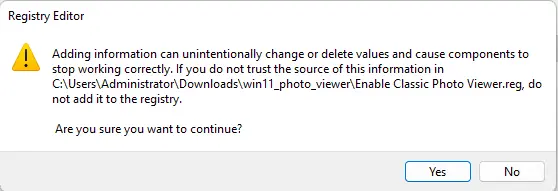
Click yes to confirm the merge operation.
Click ok.

After adding the contents of the REG to the Windows Registry, you need to set Windows Photo Viewer as the default image viewer.
This file enables Windows Photo Viewer and restores system registration. Additionally, the ZIP file contains a registry file, Disable Classic Photo Viewer.reg, which can be used to undo the changes that were made. It allows you to restore Windows 11’s default settings and remove the Photo Viewer app from the operating system. Here is how it works:
Make Windows Photo Viewer default Image App
There are two ways to make it the default photo viewer on your system. The first method is simple. Once the application has been successfully activated, you can open any image by selecting Windows Photo Viewer from the Open File dialog. The alternative method uses the Settings app.
Using File Explorer
Press Win + E to open File Explorer
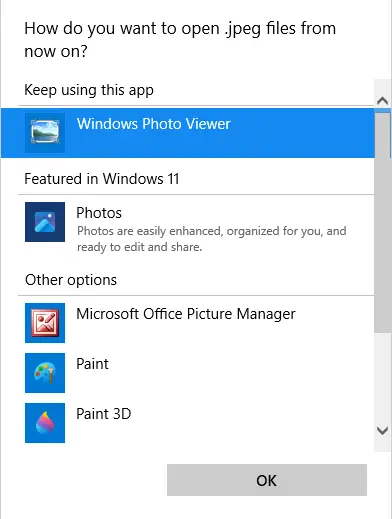
Double-click any jpeg formatted image file. You will see the following window appear shortly: Select Windows Photo Viewer from the list of available apps.
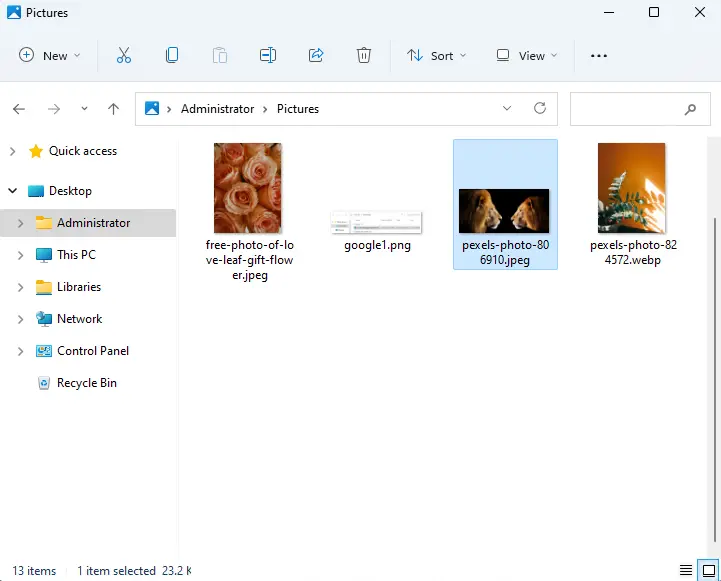
Check the Always use this app to open .jpeg files option, and then hit the OK button.
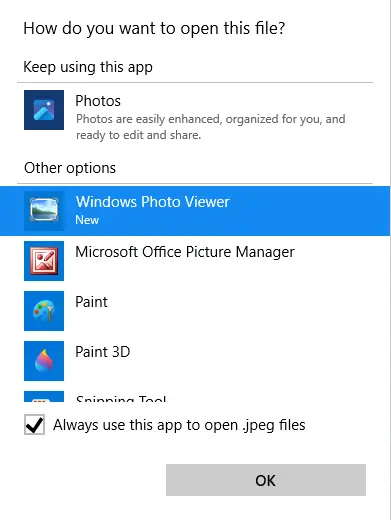
Repeat steps 1 and 2 for bmp, png, jpg, and any other image file types you want to see with the classic Photo Viewer application.
You’re completed! Windows Photo Viewer is now the default image viewer for all file types you manually open. You can also do the same thing with the app called “Settings.”
Windows Settings App
To open Windows Settings, press Win+I or use any other method. Click on apps on the left and click on Default apps in the right pane.
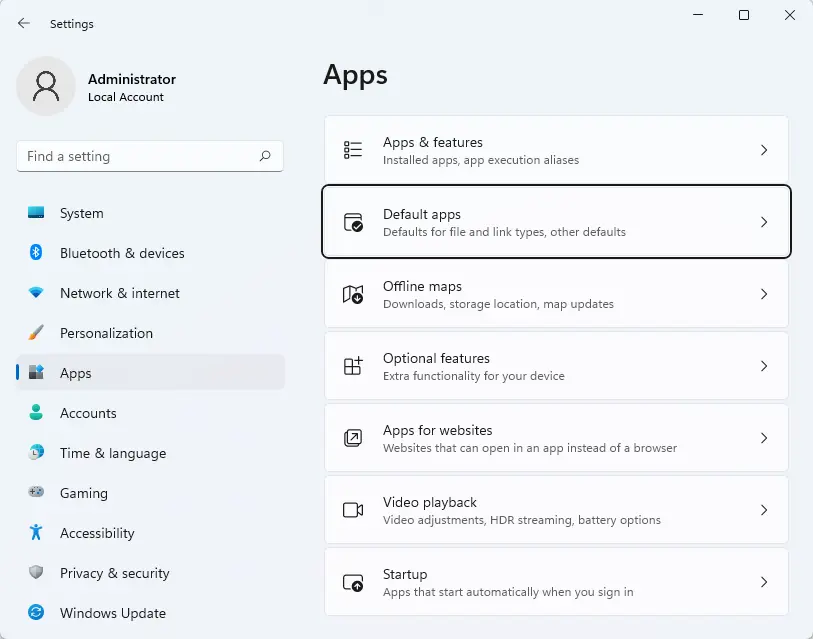
Find and select Windows Photo Viewer from the list of installed apps.
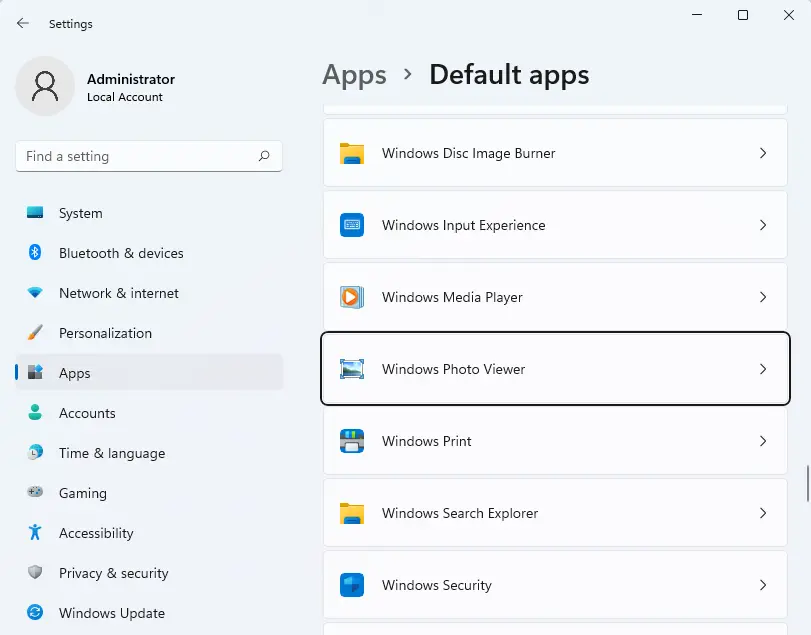
Set it as the default app for each of the file forms listed.
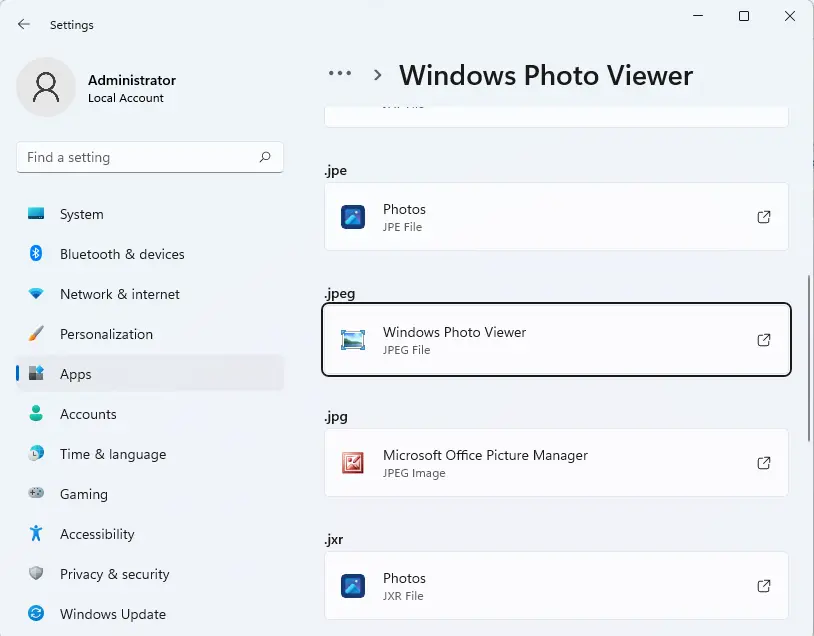
Choose Windows Photo Viewer as your default app.
This will enable Windows Photo Viewer in Windows 11 in all of it. You could stop here, but there is one additional task you have to complete.


