In this article, we will cover how to migrate Windows vCenter to VCSA 8.0 Server from version 6.7 in our labs. These steps contain step-by-step instructions to migrate Windows vCenter Server to VCSA 8.0 Recently, VMware announced that vCenter version 8.0 would be the last version of vCenter, and it is recommended to migrate the Windows vCenter instances to the vCenter Server Appliance on an ESXi Host.
As you may know, the first release of VCSA, which was based on SUSE Linux, lacked some important features that were supported on Windows vCenter installations. Since then, VMware has made some improvements, with the most recent release of vCenter 8.0 having more features and capabilities compared to the Windows vCenter Server.
Overview of Migration from Windows vCenter Server to vCenter Server Appliance.
To ensure the successful migration of the vCenter Server, you must perform a set of necessary tasks and Pre-Checks before running the vCenter migration.
Migrate Windows vCenter to VCSA
Before we can start the migration process, if our existing Windows vCenter is virtual, it could be useful to rename the vCenter virtual machine in the vSphere inventory. Although the IP and hostname are migrated, the vSphere inventory name of the virtual machine can’t be duplicated. The Windows vCenter server will be powered down but not deleted, so we should have a backup.
Download VMware vSphere 8.0
Download the VMware vCenter Server 8.0 ISO from VMware
Mount the VMware vCenter Server 8.0 ISO image on your device. The VMware vCenter Server 8.0 installer is compatible with Windows, Mac, and Linux.
Migrate Windows vCenter Server to vCenter Appliance
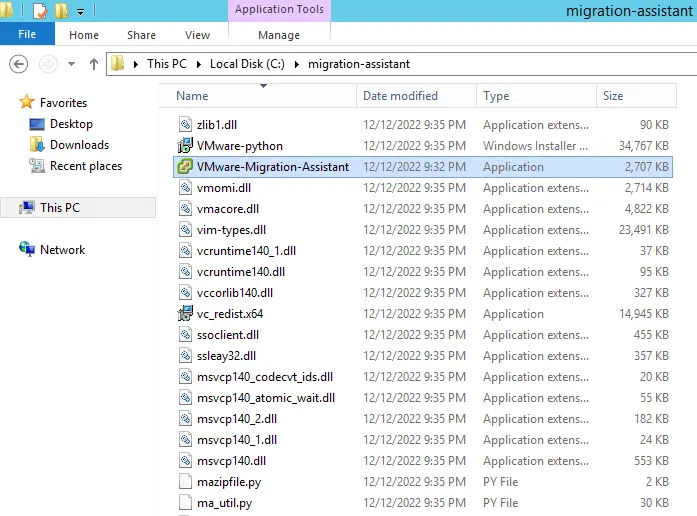
The Windows vCenter must be v6.7 to migrate to vCenter Server appliance 8.0. If your Windows-based vCenter is v5.5, 6.0, or 6.5, upgrade to 6.7 first and then migrate to VCSA 8.0. The Place the vCenter installer folder in any Windows-based device or shared folder. From the source Windows-based vCenter, the vCenter installer launches the “migration-assistant” folder and then runs “VMware-Migration-Assistant.exe”.
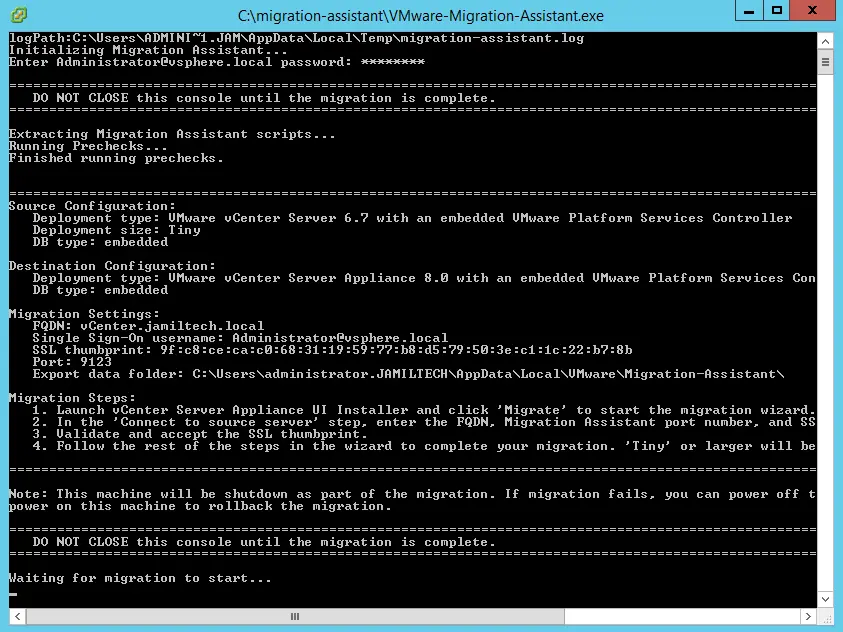
It will perform a series of commands, prechecks, and scripts for the migration. It also displays the source and destination configuration information ahead of the source Windows vCenter information. Once you get the message” waiting for migration to start”. Now you need to start the migration from the vCenter Server Appliance 6.7 Installer.
Use a different device from your Windows vCenter server and PSC server. Open the visa-ui-installer directory; that file is located on the VMware VCSA ISO image. Double-click on Installer to start the migration process.
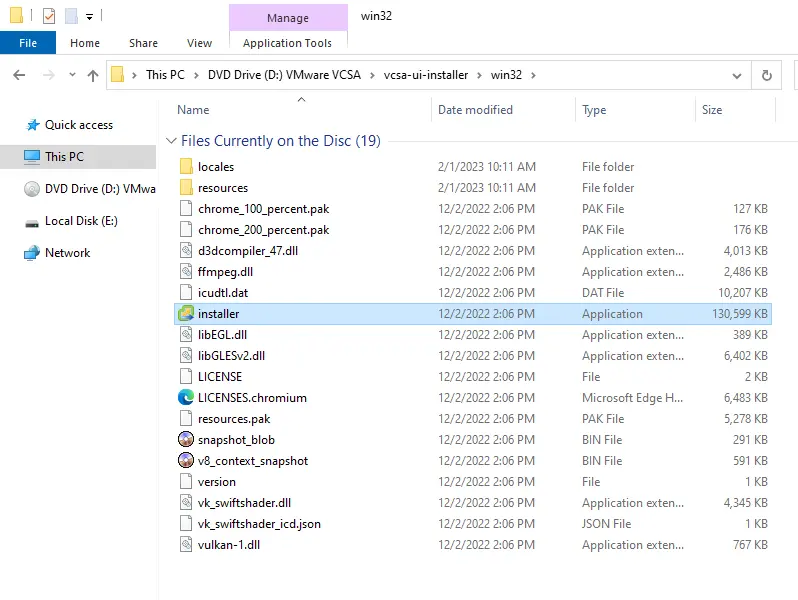
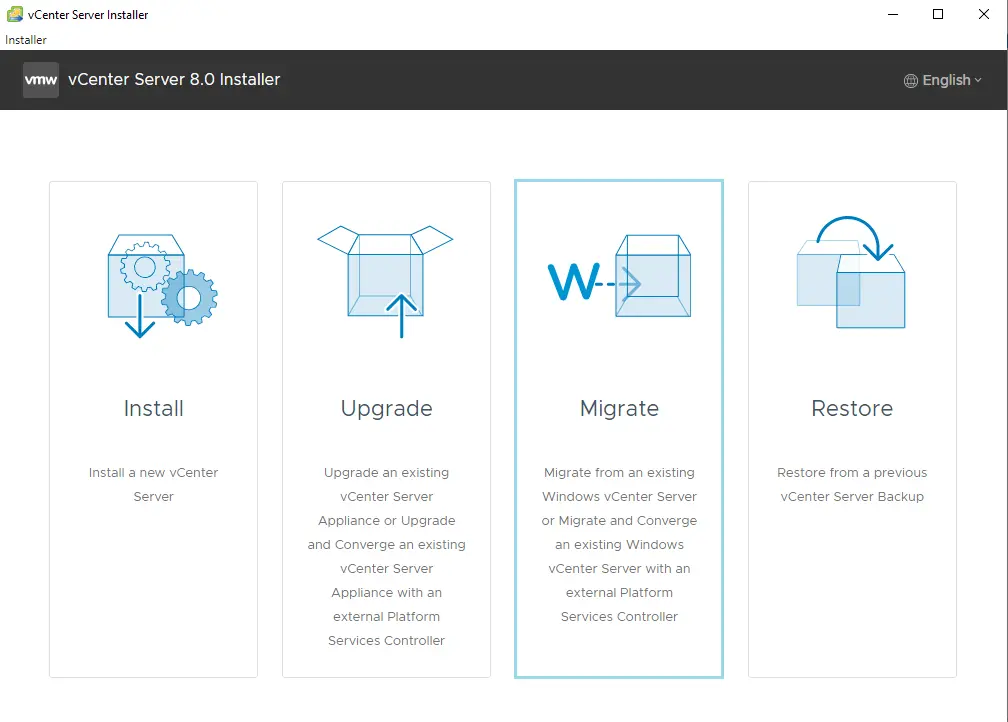
The vCenter Server 8.0 Installer will open, and you can choose Migrate.
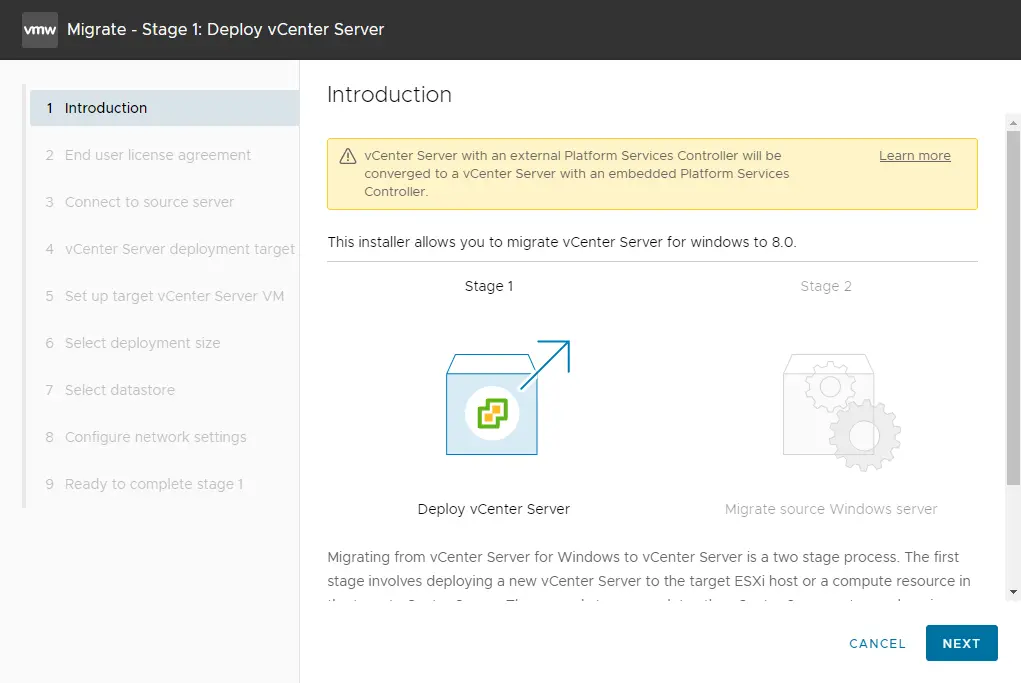
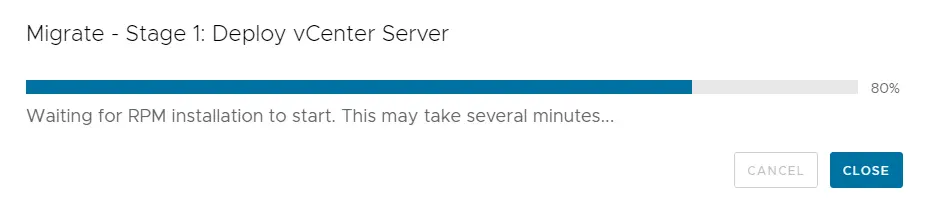
Migrate – Stage 1: Deploys vCenter Server
Start the migration and choose Next.
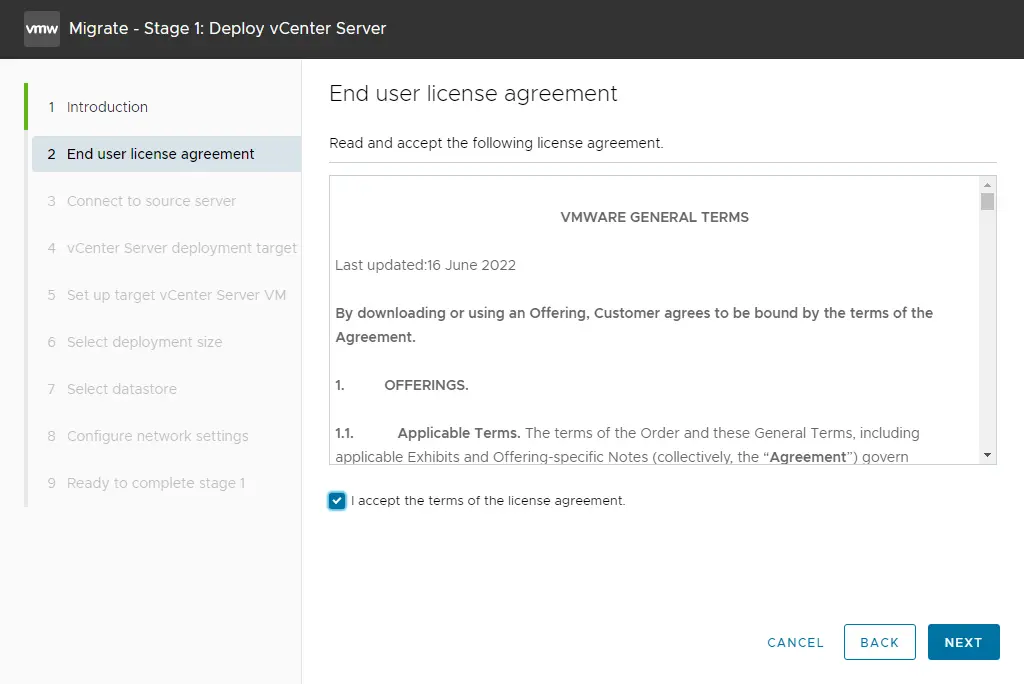
Migrate Windows vCenter, accept the VMware license, and then choose Next.
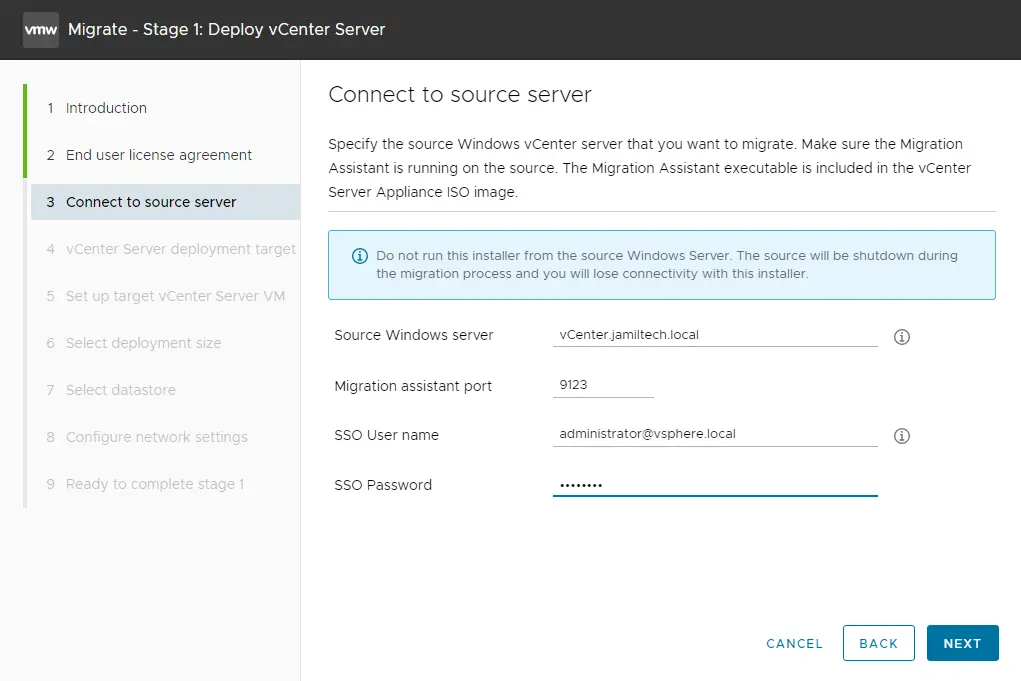
Type the details of the Windows vCenter to migrate, and then choose Next.
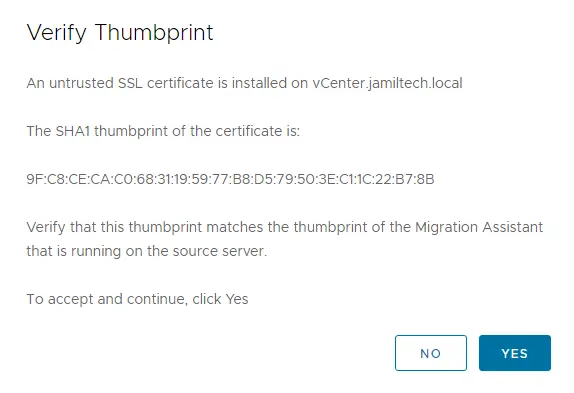
Windows vCenter Server SSL certificate, choose yes.
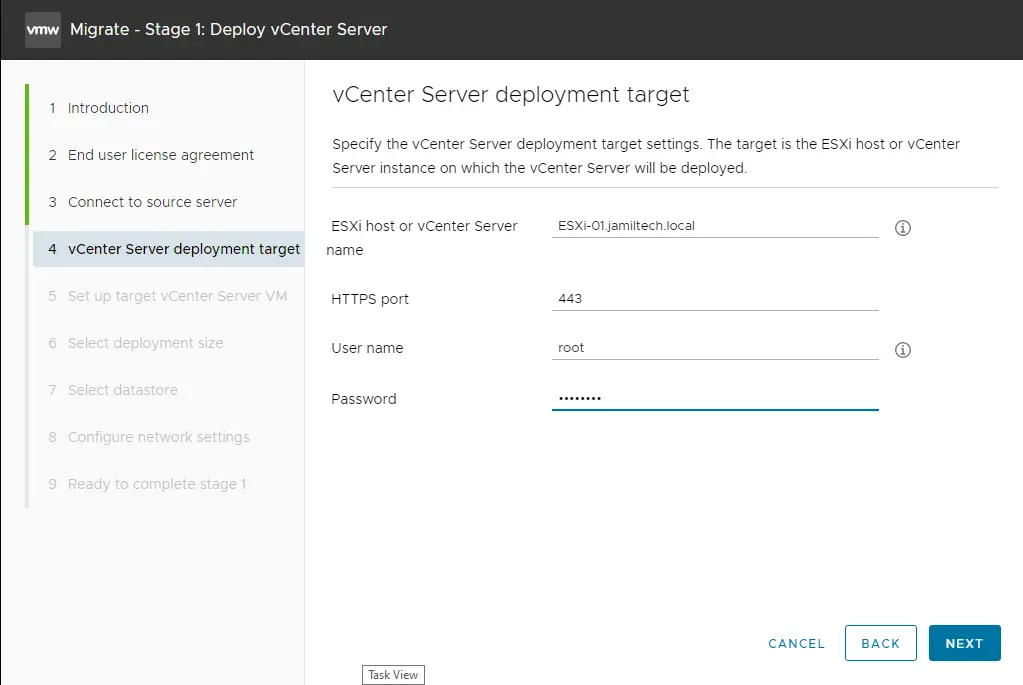
vCenter Server Deployment Target
Specify the vCenter server deployment target settings. Enter the root username and password, and then choose next.
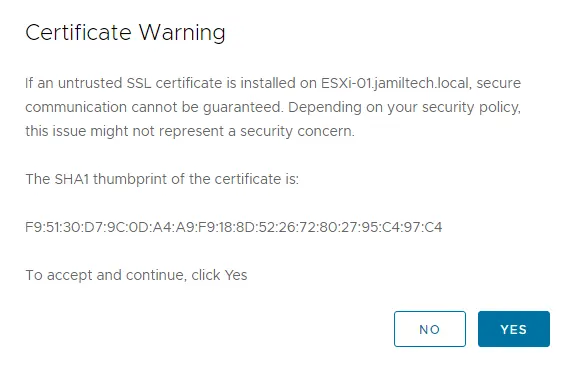
Click Yes to continue.
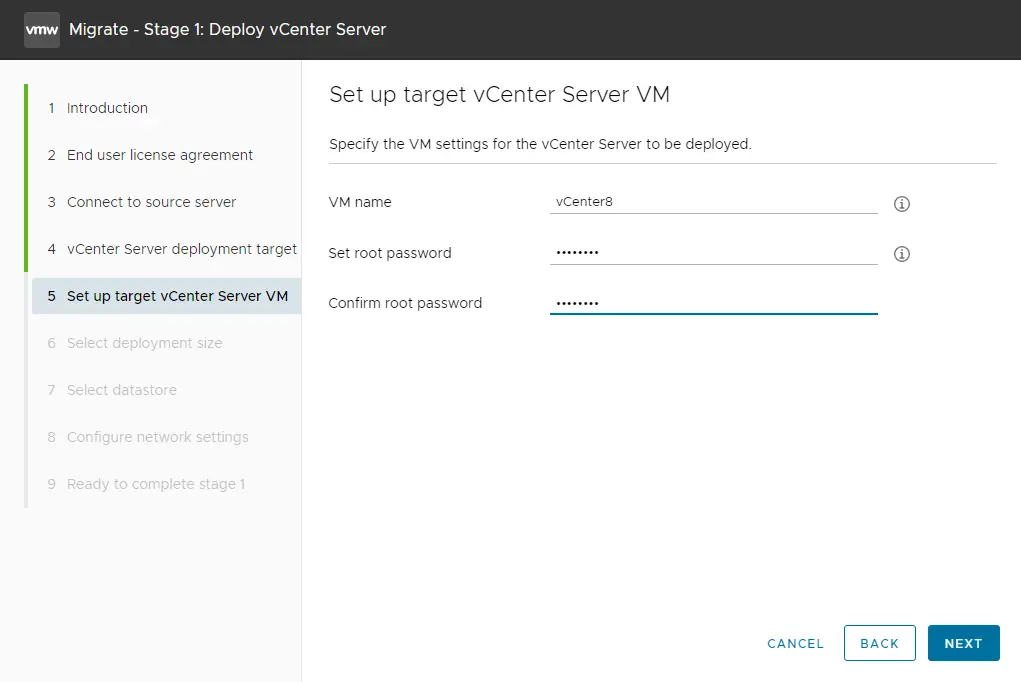
Set up the target vCenter server VM; the hostname of your vCenter server will automatically migrate; and then choose Next.
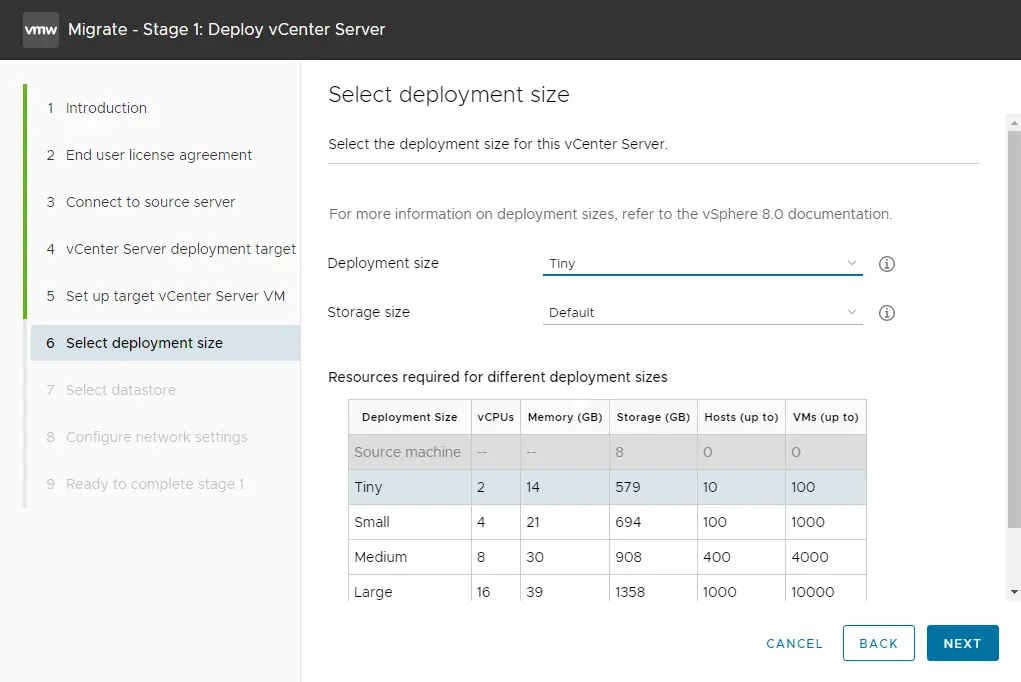
Migrate Windows vCenter, choose the deployment size for the vCenter server, and then choose next.
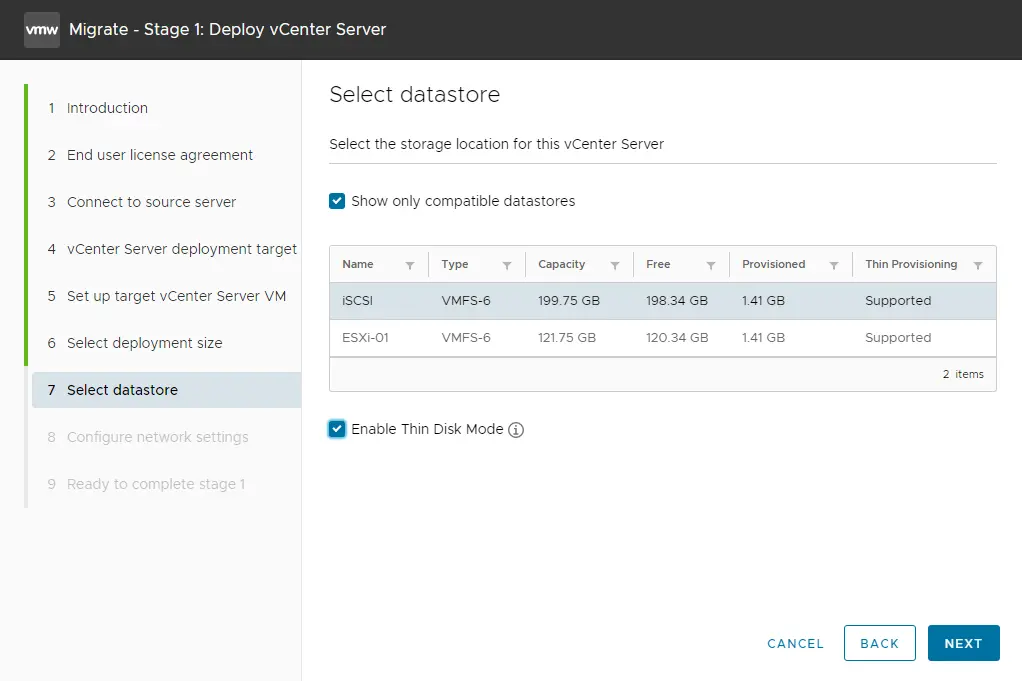
Select a datastore for the VCSA server to deploy, and then choose Next.
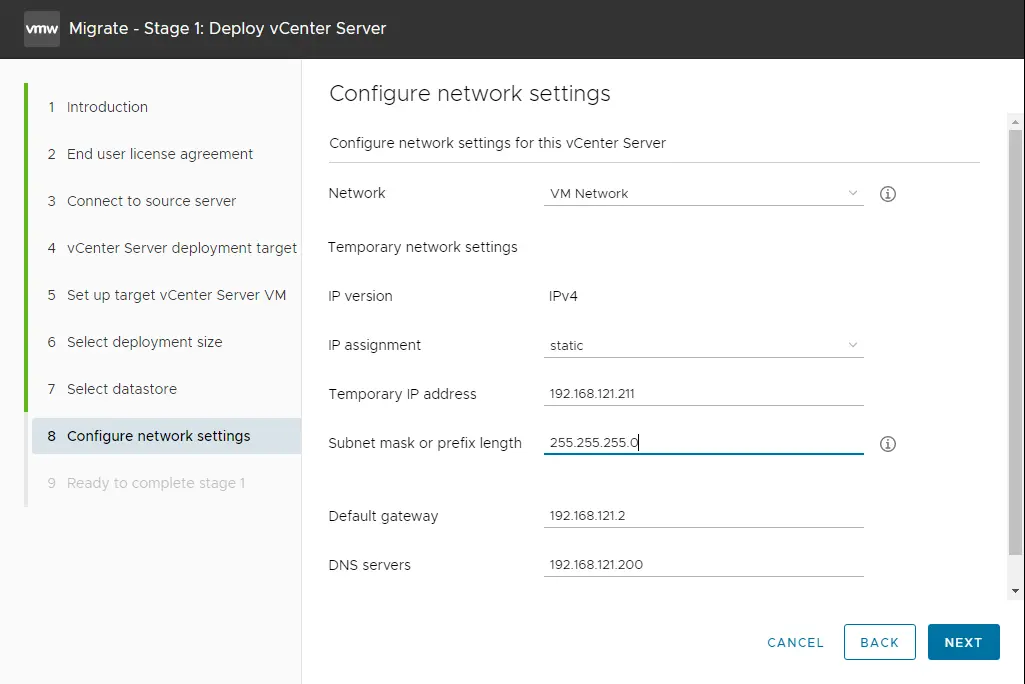
Configure temporary network settings for the VCSA. These settings are only used during the migration of the data; once done, the temporary network settings are dismissed, and the vCenter Server 8.0 assumes the identity of the Windows vCenter Server. Choose next.
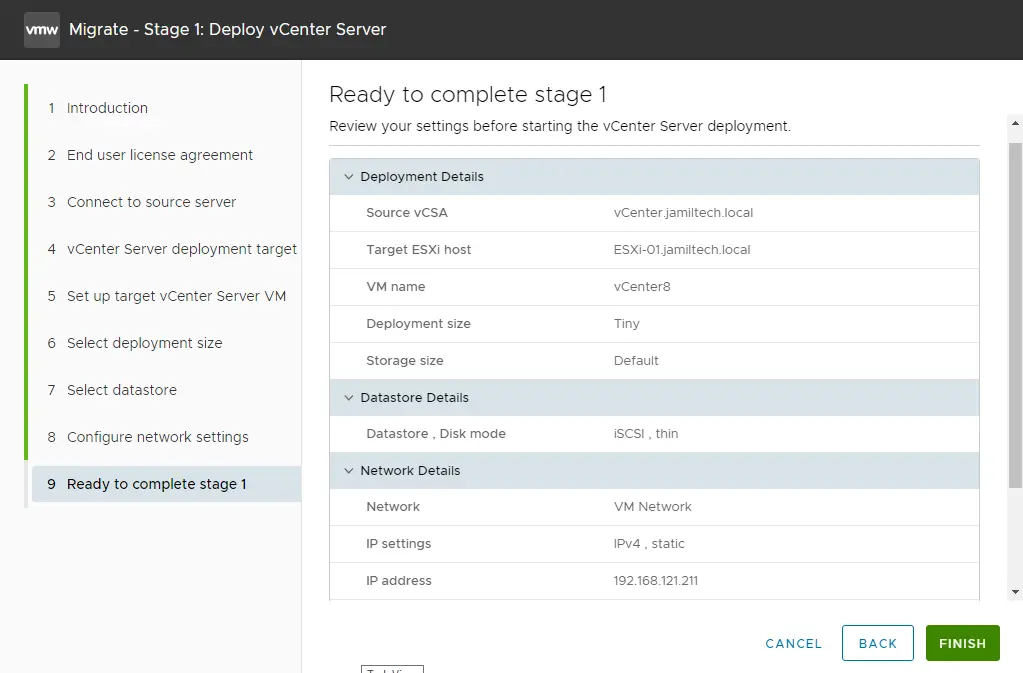
Review the Migrate vCenter Server settings, and then click Finish to start the migration process.
The deployment of vCenter Server is in process.
Migrate Windows vCenter to vCenter 8.0 Stage 2
Windows vCenter Server Migration to VCSA Stage 1 is completed. Click Continue

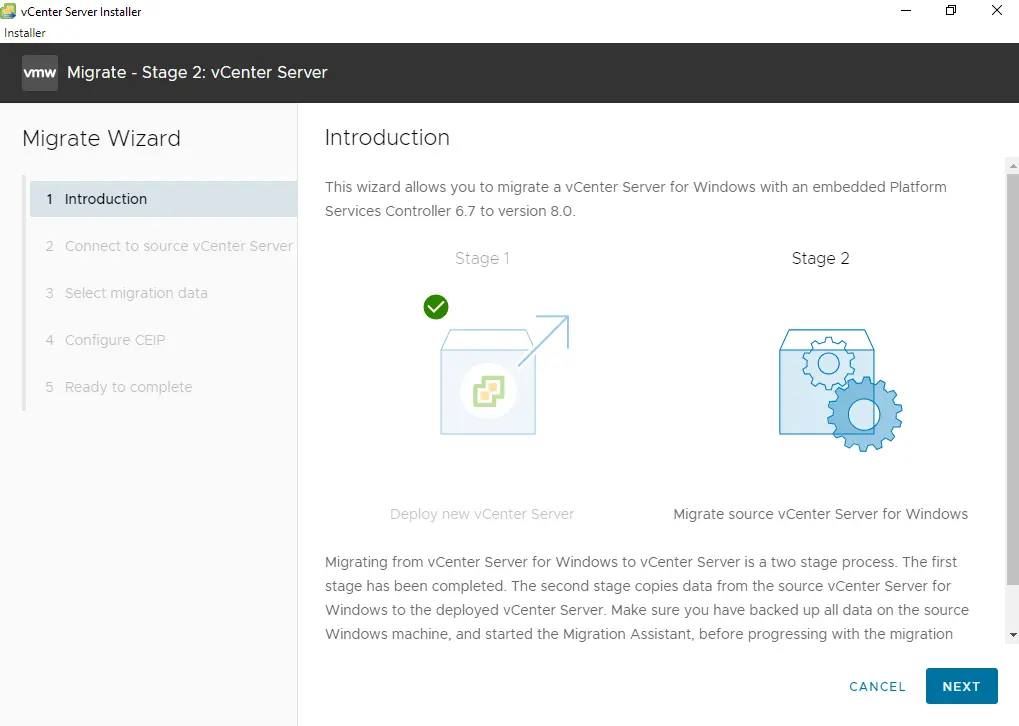
Migrate – Stage 2: vCenter Server
Migrate Windows vCenter to the introduction page, and then choose Next to start the migration wizard.
The pre-migration check result is close.

The source Windows vCenter details were successfully imported.
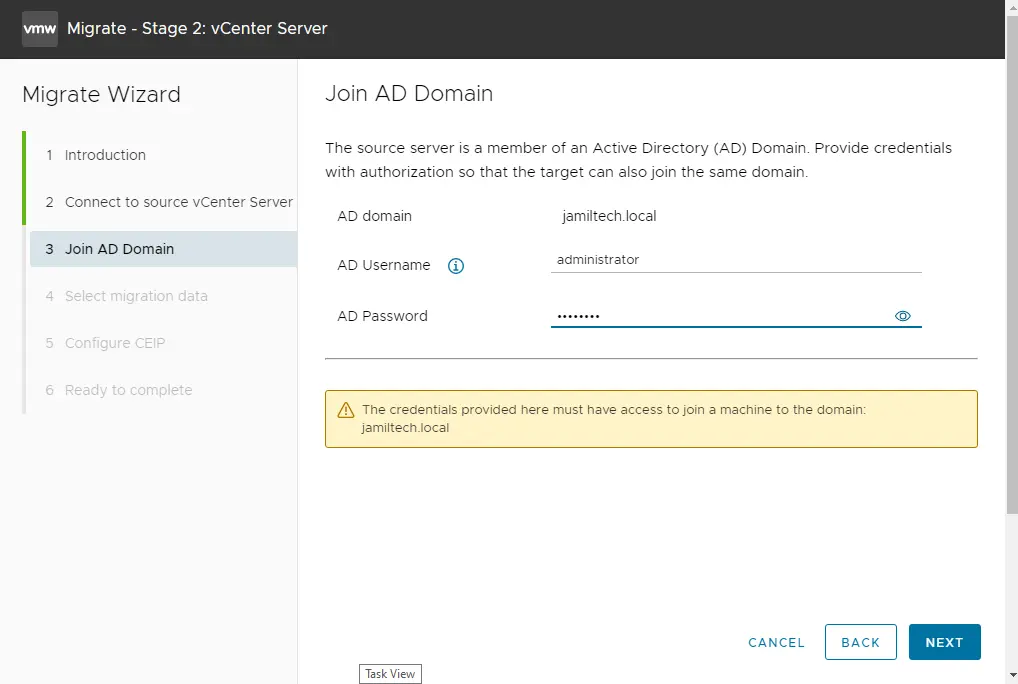
My source Windows vCenter joins an AD domain and enters AD credentials to join the vCenter server 8.0 to the domain. Click Next
Select migration data configuration and then choose next.
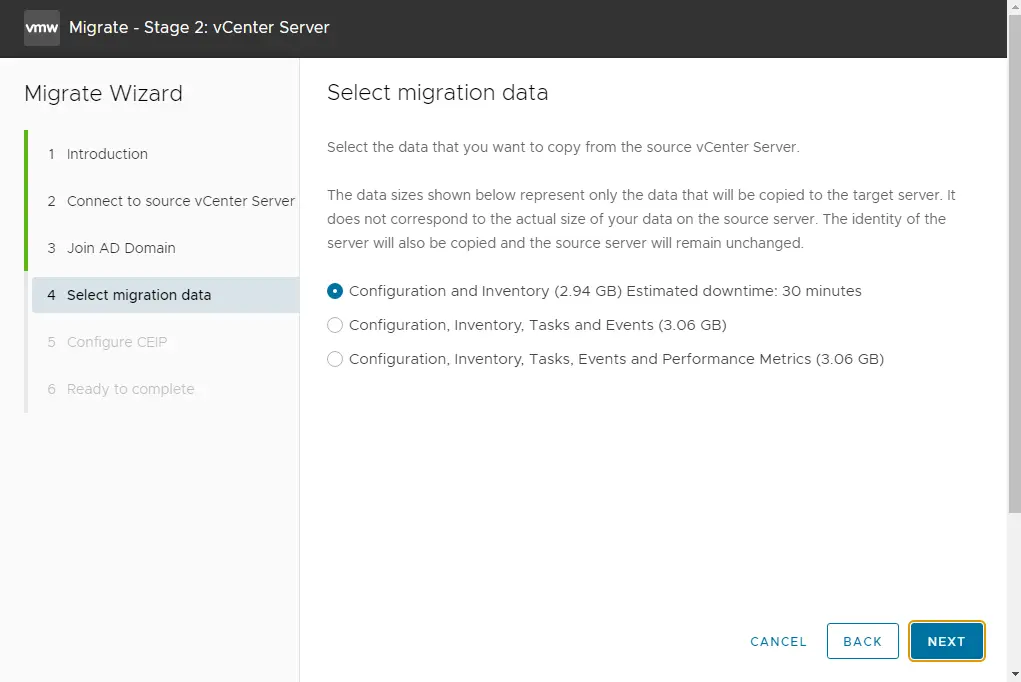
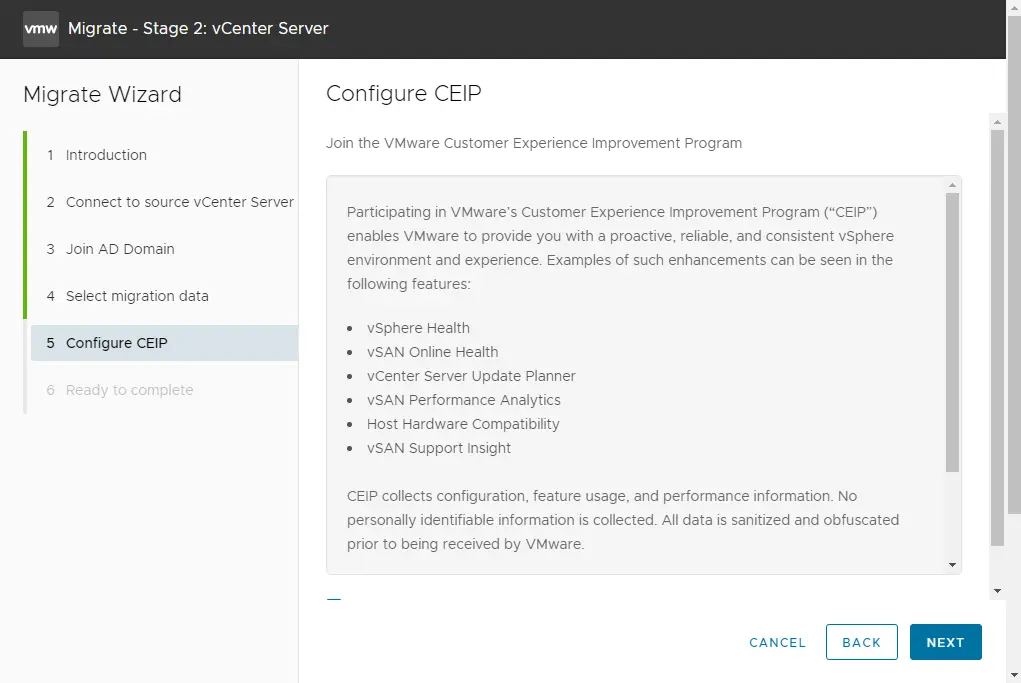
Click next
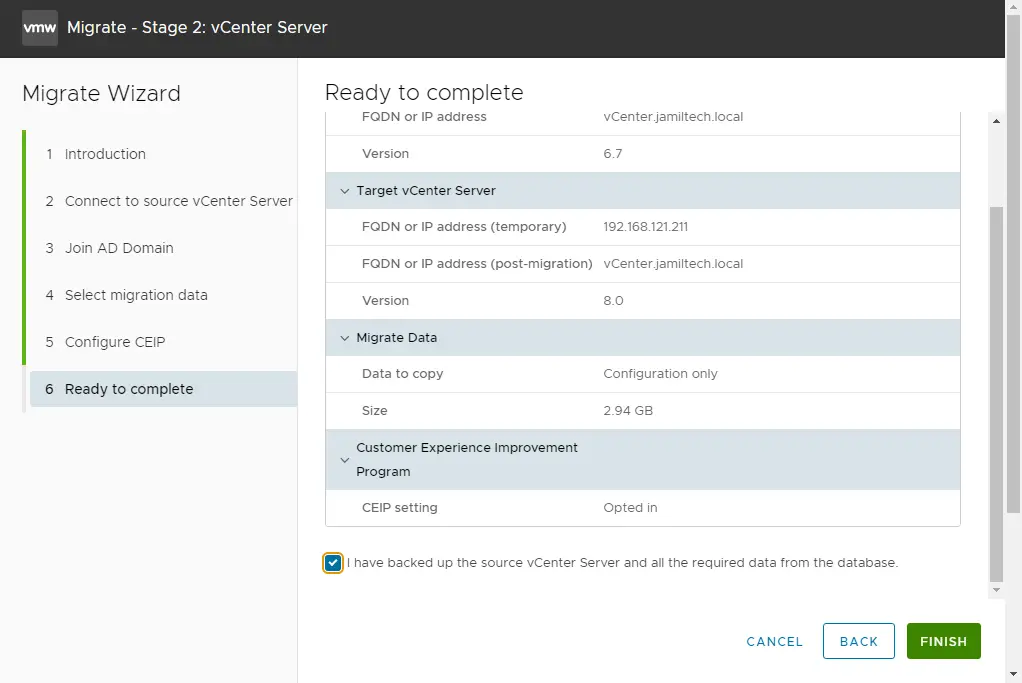
Review the summary of the migration of the Windows vCenter server, and then choose Finish. The data will now be migrated to vCenter 8.0.
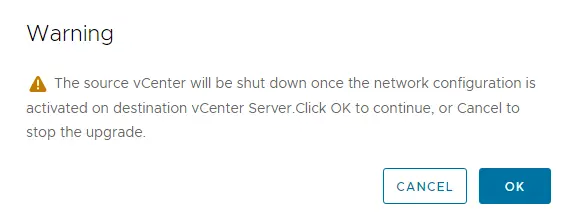
Once the migration is complete, the Windows vCenter will be powered off, and the network settings will be transferred to vCenter 8.0.
View the VMware Migration Assistant’s progress.
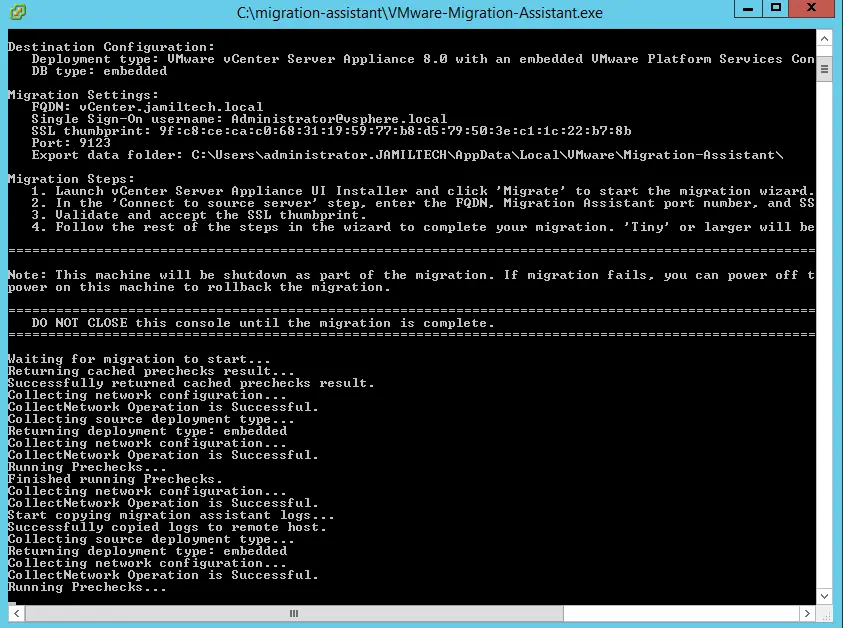
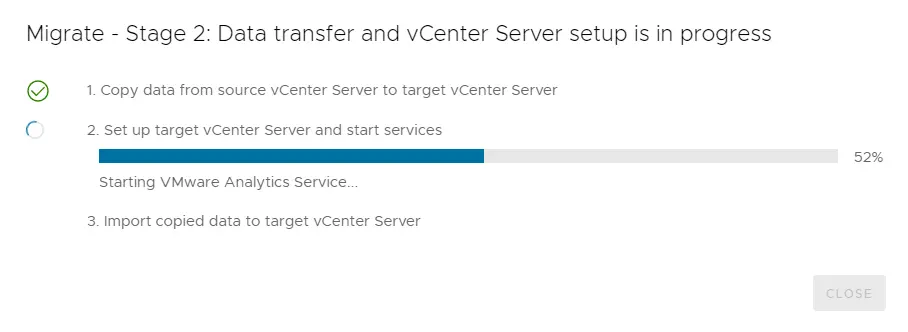
Migration: Windows vCenter 6.7 starts to copy data from source to target.

Set up target vCenter Server 8.0
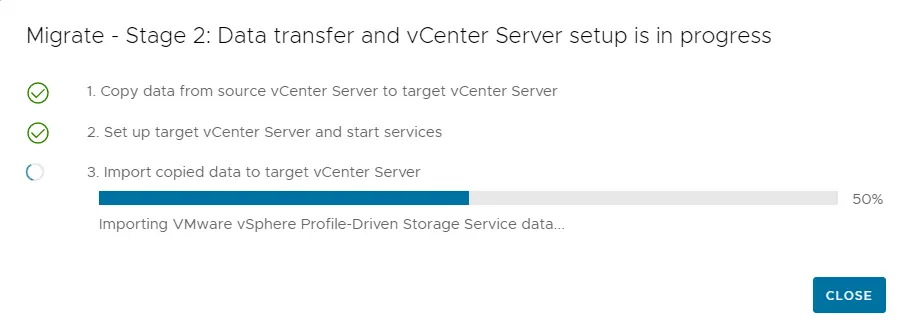
Import copied data to target vCenter Server 8.0
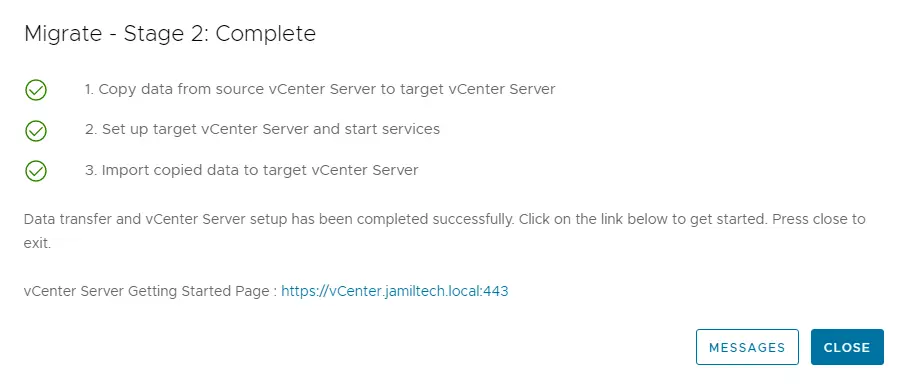
Click close
Windows vCenter successfully migrates to vCenter 8.0.
Post-Installation
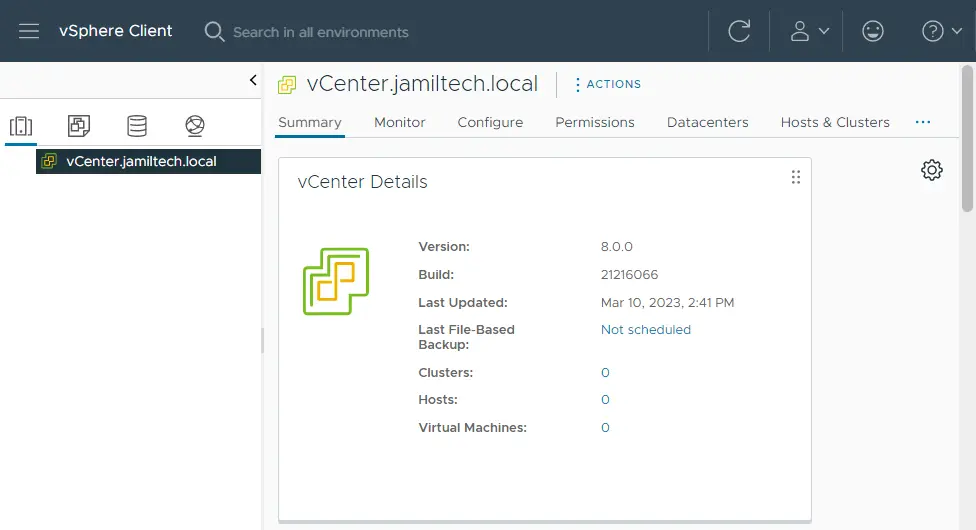
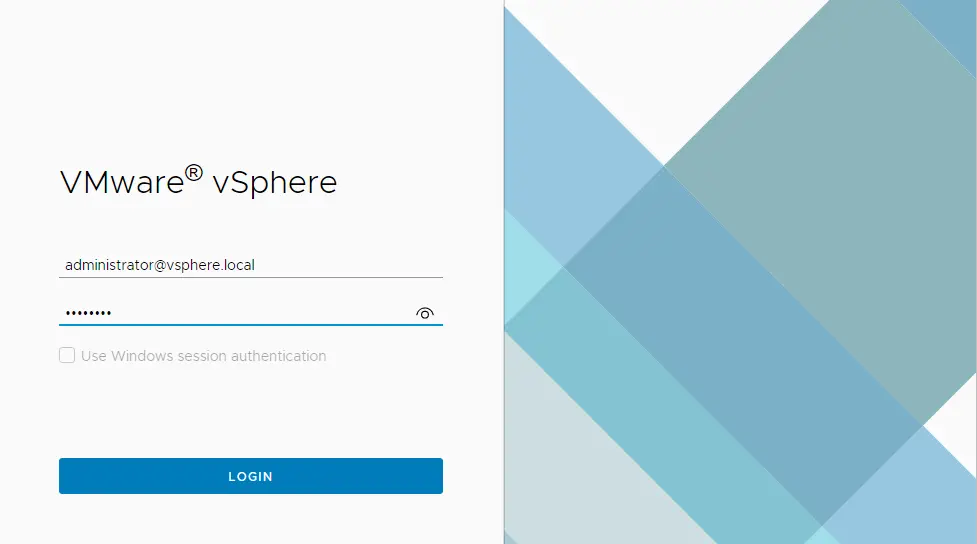
Connect to your vCenter Server 8.0 using the FQDN or IP Address. Click on Launch vSphere Client.

Enter the vCenter Server username and credentials, and then click on login.
After successfully logging in with your vCenter Server 8.0, you can see Windows vCenter 6.7 successfully migrate to vCenter Server 8.