
In this article, we will move mailbox to different database in Exchange Server 2019 with the Exchange admin center and PowerShell. You can move a mailbox in Exchange 2019 to another database with PowerShell. However, there is another way with the Exchange admin center (ECP) than with PowerShell. You can use Exchange Management Shell (EMS) or the Exchange admin center.
If you need to move a mailbox to a different database on the Exchange mailbox server, there are a few methods you can use. In this article, we will explore how to accomplish this task using both the Exchange Admin Center and the Exchange Management Shell. By following these steps, you can efficiently and effectively move mailboxes to different mailboxes within your Exchange Server environment.
Table of Contents
Move Mailbox to Different Database using EAC
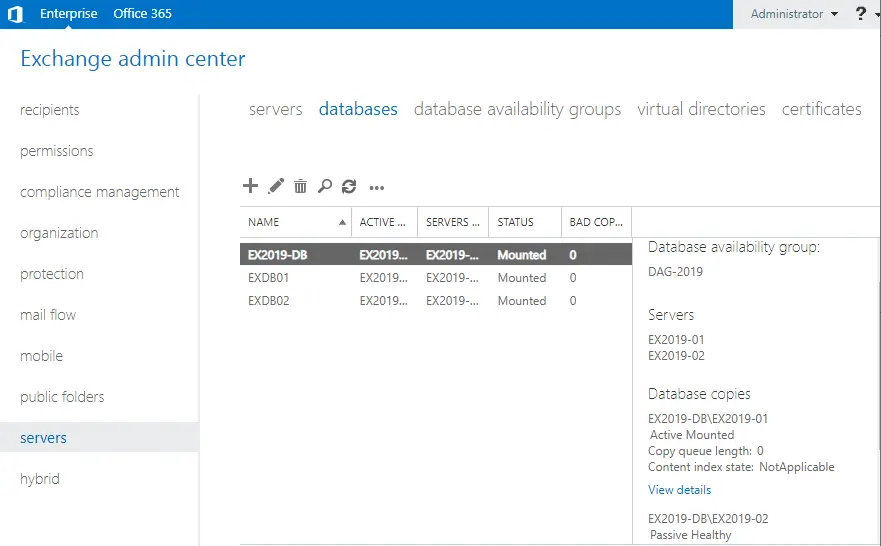
Open Exchange Admin Center and then select the Servers option.
Click on the database tab, and you can check out the mailbox databases on the server.
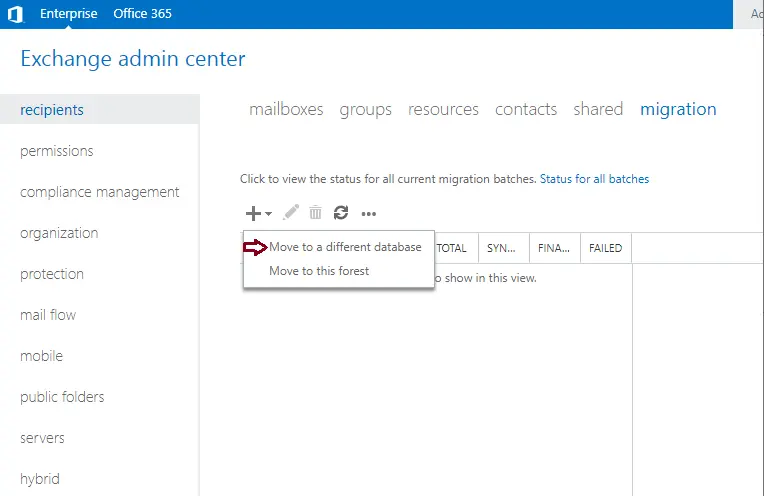
Select recipients, and then click on the migration tab.
Click on the + button, and then select Move to a different database. This will move mailboxes to a different database.
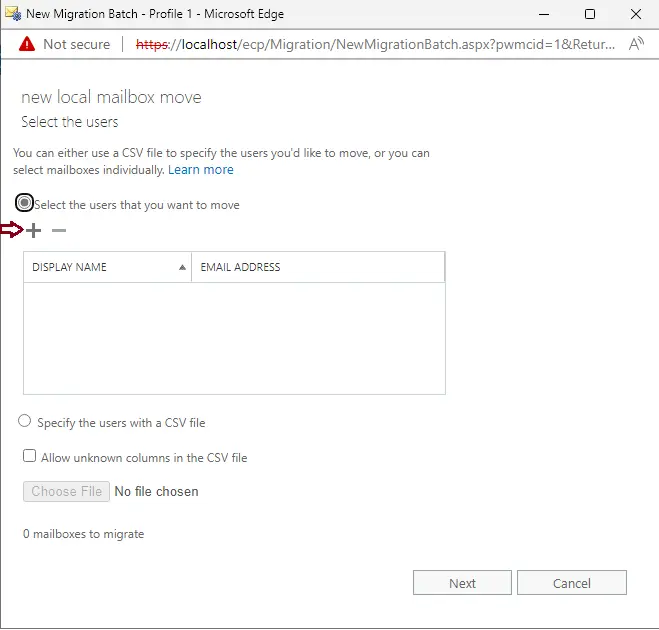
Under select the users you want to move, select the + button.
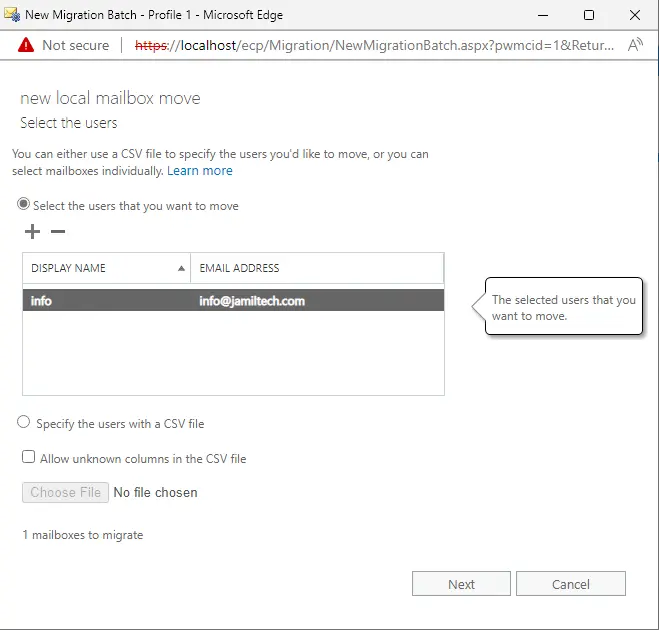
Choose the users you wish to move, click add, and then click OK.

Click next
Under Target Database, choose to browse.
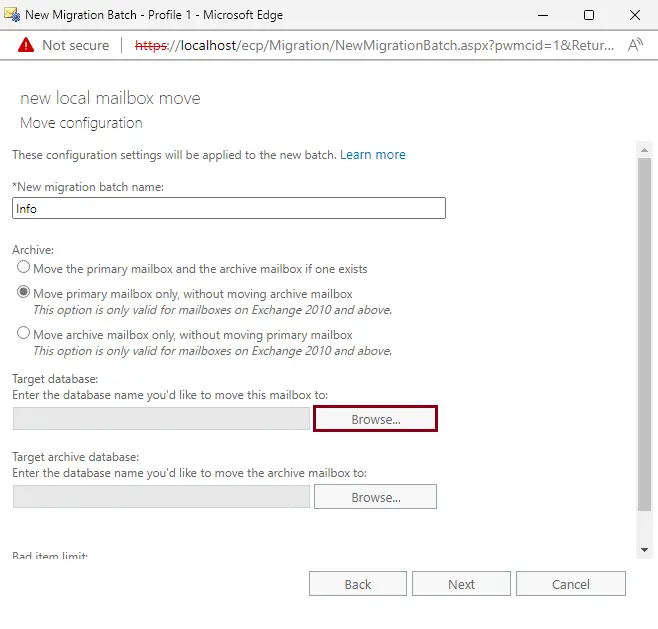
Click on the database where you wish to move users, click the add button, and then click OK.
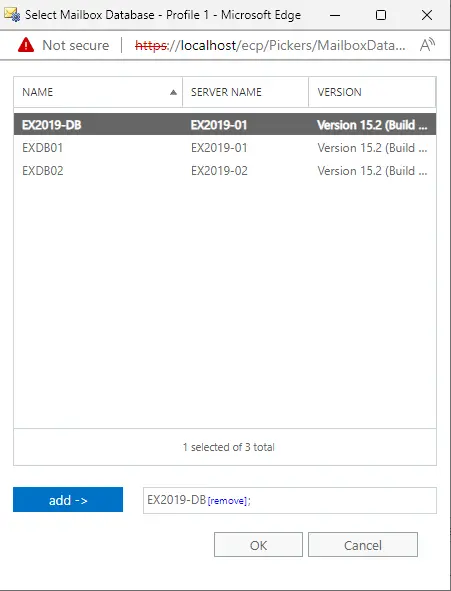
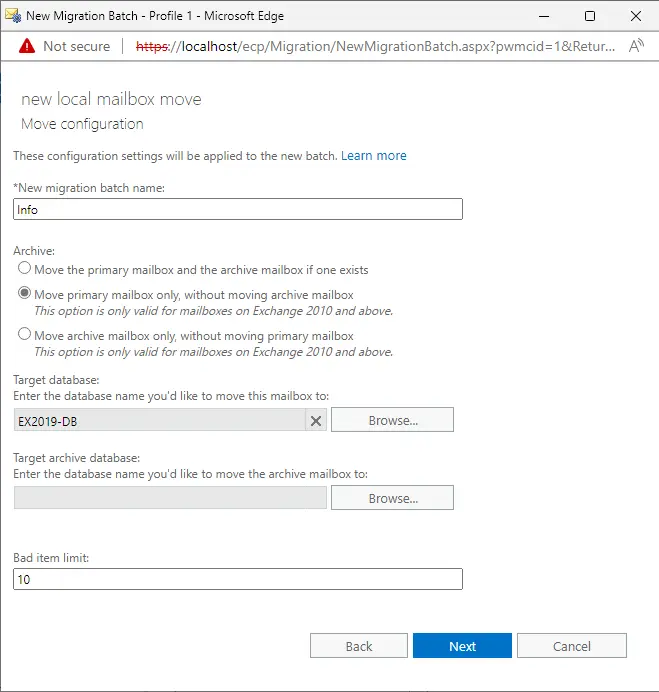
After selecting the target database, choose next.
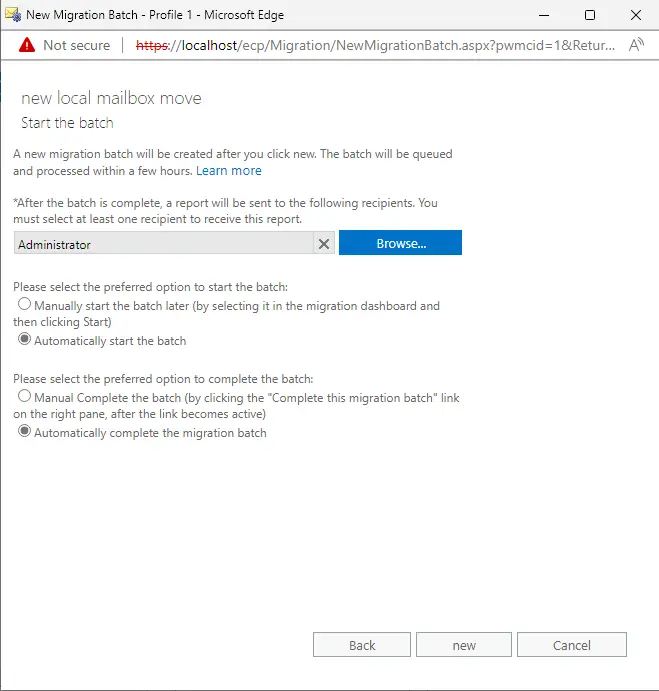
Click on the new button to start the user’s migration.
Alerts
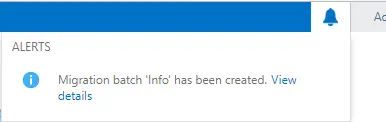
User migration is complete; now click on View Details.
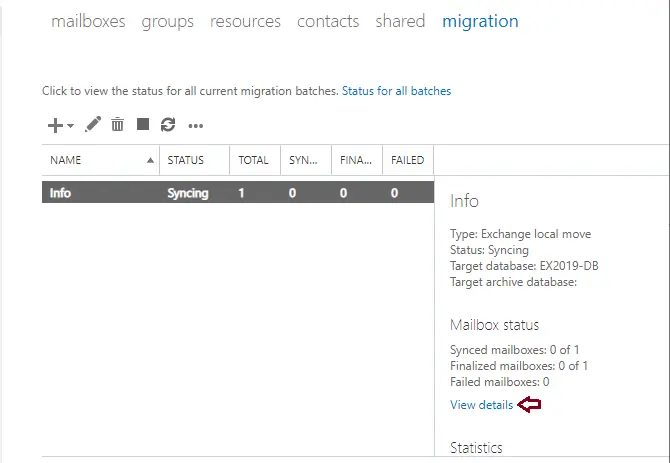
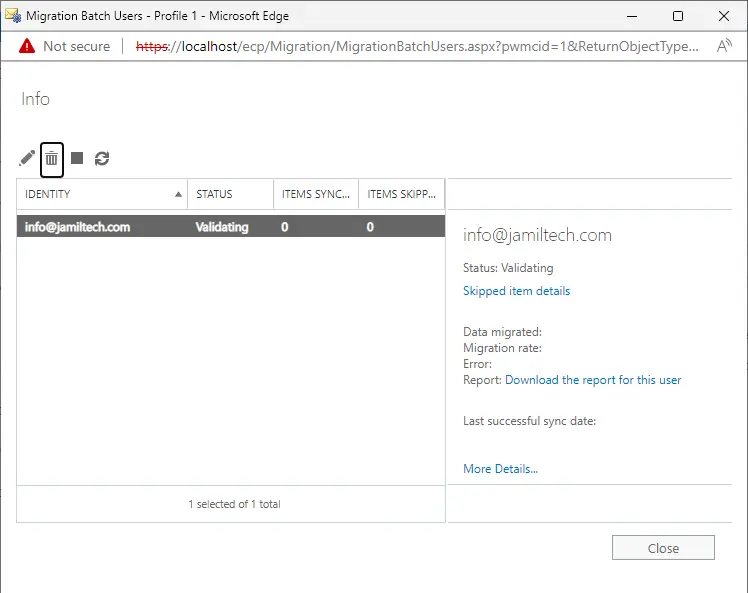
You can check the move mailbox details.
Status for all batches.

The status report of the migration users will be sent to defined recipients.
Move Mailbox to Another Database Using PowerShell
To move the user mailbox with the New-MoveRequest command
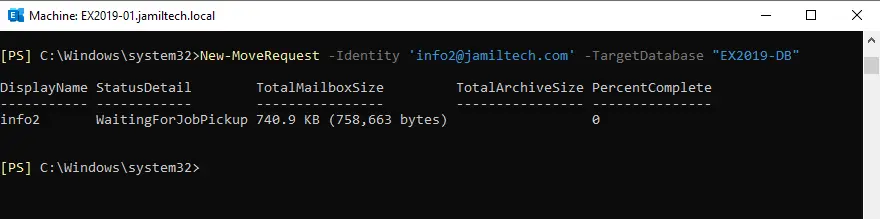
To create a local move request for a special user’s mailbox, run the below command
New-MoveRequest -Identity [email protected] -TargetDatabase EX2019-DB -BadItemLimit 100
Get-Mailbox Information Using PowerShell
Let’s check which database the user has moved to. Open Exchange Management Shell as an administrator and then enter the get mailbox database cmdlet.
Get-Mailbox "[email protected]" | Format-Table Name, PrimarySmtpAddress,Database,ArchiveDatabase
The primary and archive mailbox locations are in the database EX2019-DB.
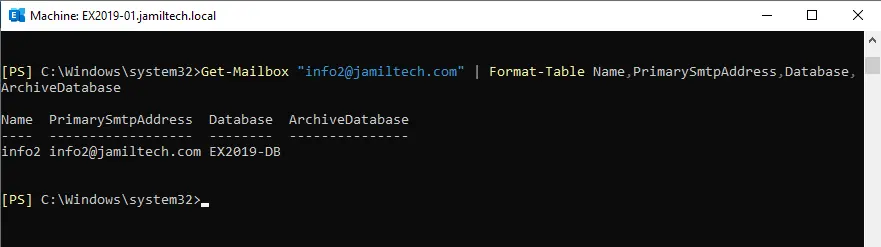
Now you know that the “primary mailbox” and “archive mailbox” are in EX2019-DB.
Visit the adbmails website to get more information about how to move mailbox.
Related: How to Add Database Copy in Exchange 2019
