
In this article, we will see how to restore volume Veeam Agent free on Microsoft Windows 11. In these steps, we will see the Windows 11 solution from Veeam. If a volume or system data on a computer gets corrupted, you can recover this volume from the Veeam agent-based backup. I will explain how to restore a disk volume using Veeam agent recovery media. Visit Veeam to get more information about restoring volumes with the Veeam agent.
Table of Contents
Restore Volume Veeam Agent
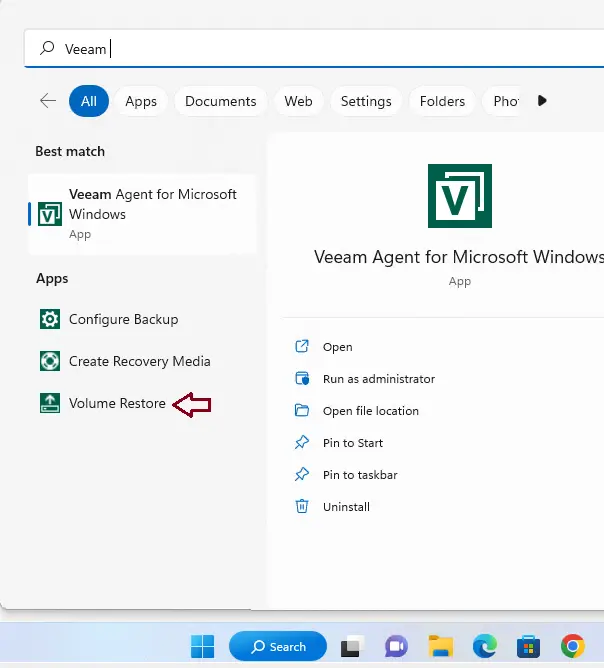
In the Windows search bar, enter Veeam and click on Volume Restore.
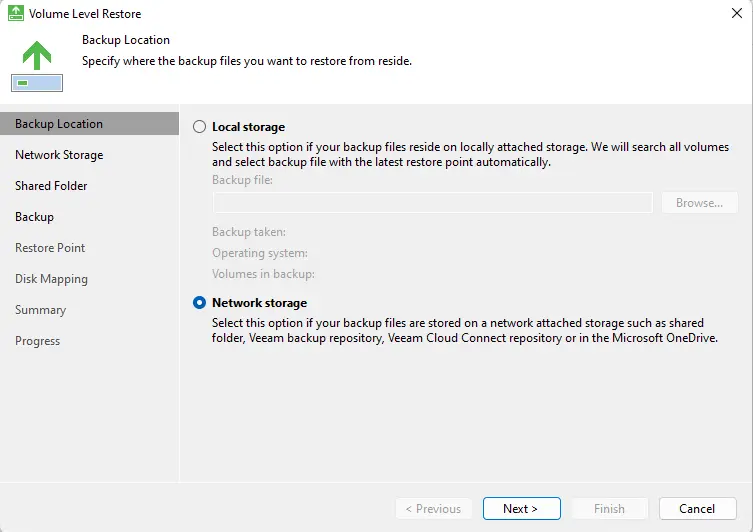
In the volume level restore wizard, specify a backup location where you reside the Veeam backup, and then click on the next button.
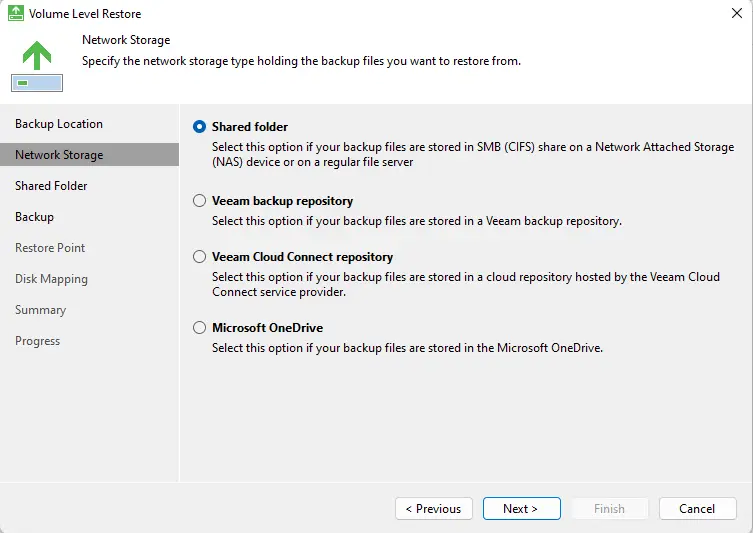
Specify the network storage type holding the backup file you wish to restore, and then click next.
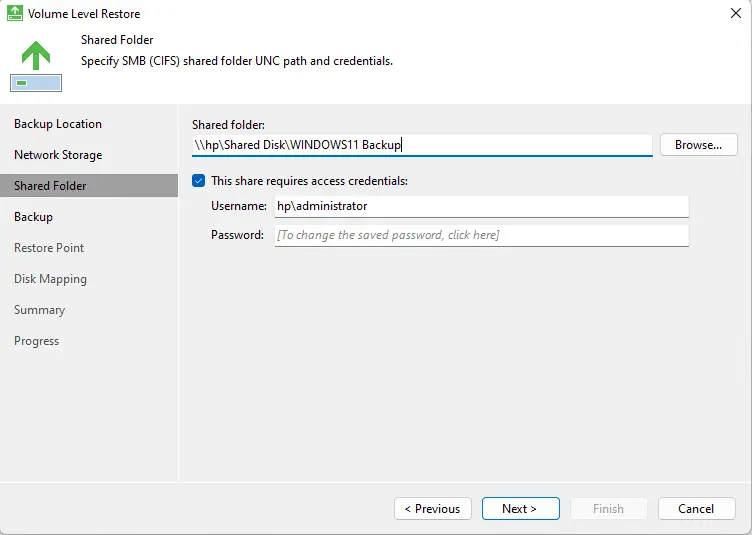
Verify Backup Shared Folder
Enter your shared folder network location path. Type your username and credentials, and then click Next.
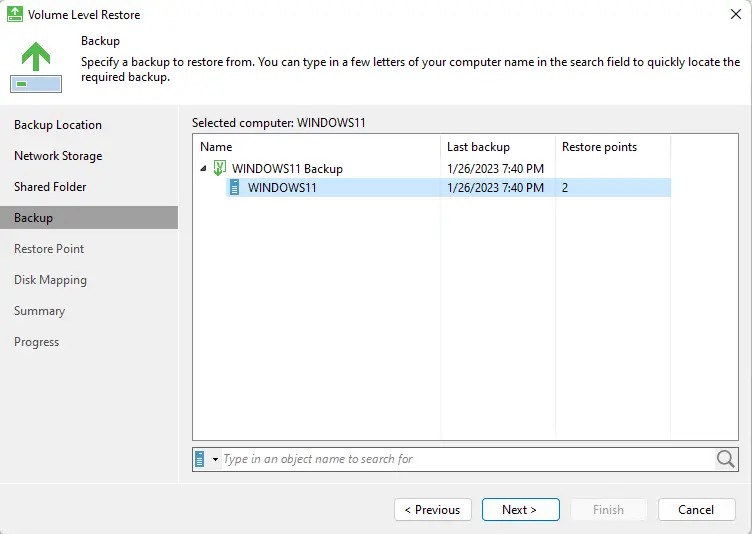
Specify a backup to restore from, and then click on the next button.
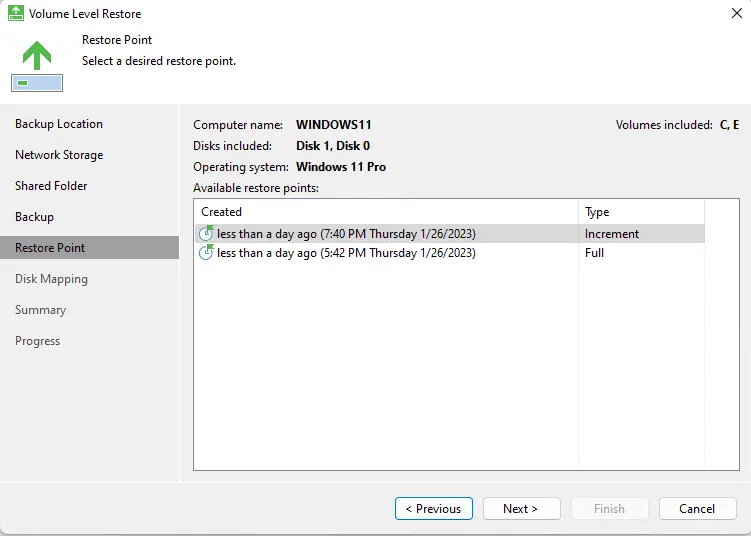
Select the desired restore point from which you wish to restore data and then click next
By default, Veeam recovery media chooses the latest restore point.
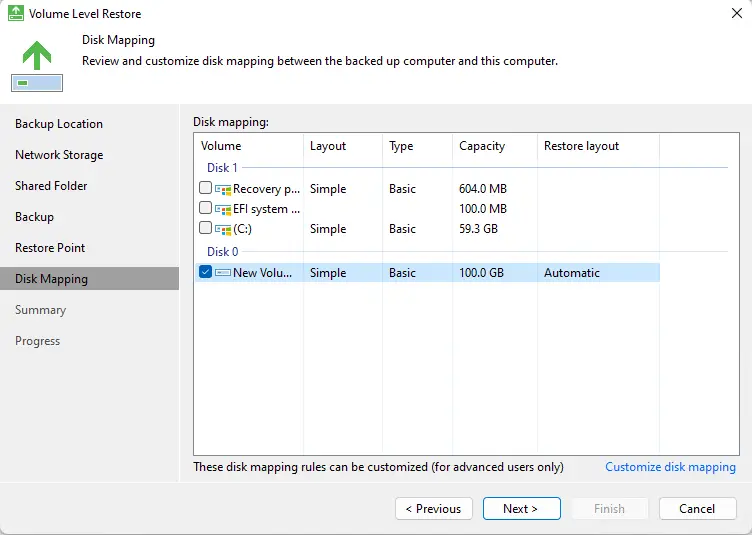
Review and customize the disk mapping; click on the customize desk mapping link.
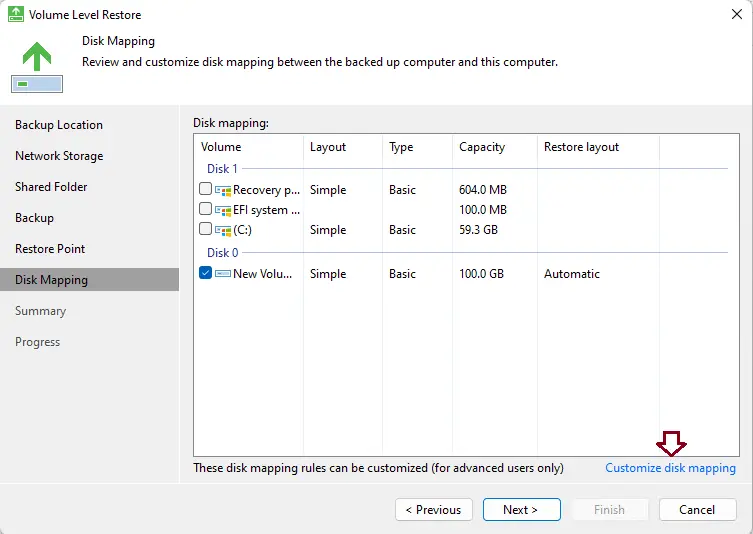
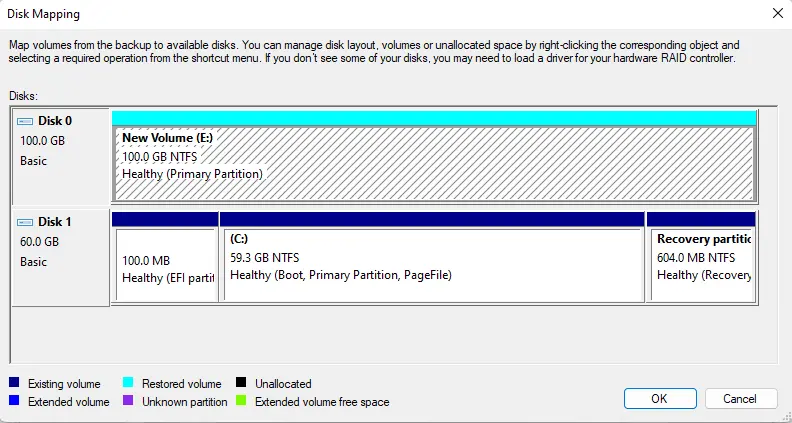
Disk mapping volume level restores, chooses what volumes you wish to recover, and maps volumes from the backup to volumes on the destination computer. Right-click on the target disk from your left side, choose to apply disk layout, and then select disk 1.
After mapping the disk, choose the next button.
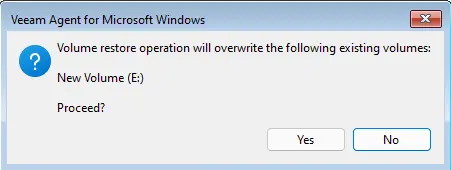
If you click yes, Veeam’s restore operation will overwrite the volume.
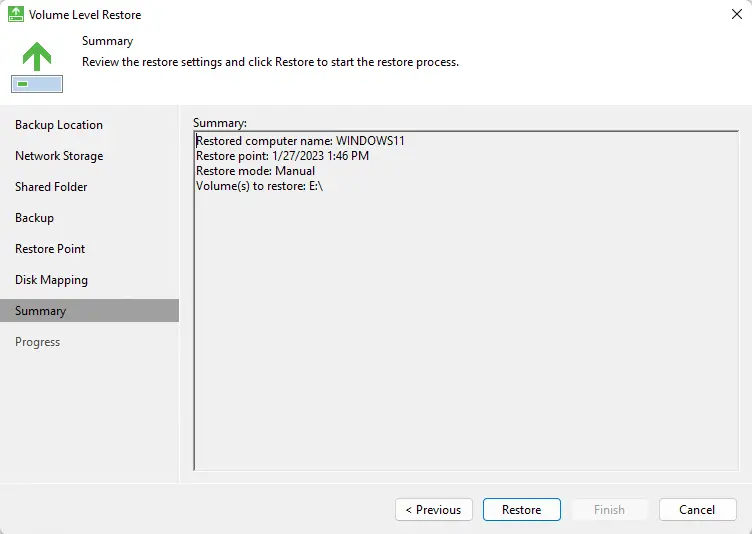
Restore the volume recovery media summary page, and click on the restore button to start the restore process. Recover the required volume data from the Veeam backup and overwrite the data on the destination computer volume with the recovered data.
Now, volume-level restoration using Veeam Agent has been successfully completed, so click on the finish button.

You can see the new volume restored

