
In this article, we will show you how to see computer RAM specs on Windows 11 means the full memory specifications of the PC on Windows 11 using free third-party tool and an in-built app. And for those who are worried about their memory requirements,. If you’re not sure what kind of RAM is installed in your computer, Windows 11 makes it simple to find out. Knowing how to view your computer’s RAM specifications in Windows 11 is very helpful. RAM is an important indicator of a computer’s capabilities, and knowing how to get comprehensive PC memory stats will help you understand, optimize, or upgrade the performance of your PC.
If you want to have a pleasant experience with your PC, you must have a sufficient amount of RAM. RAM, or random-access memory, is a type of memory that is extremely fast and saves things that a system needs to access quickly and frequently, and the larger amounts of it you have, the more data it can store. That means you are able to switch between apps faster if you have multiple of them open, or it can help in apps that load a lot of goods, such as when editing a high-resolution image or a complex movie.
Table of Contents
Use the System Information Tool to See Computer RAM Specs on Windows 11
You can easily find the total RAM on your computer by using the System Information app.
Type system information in the search bar and open it, or type msinfo32 in the run command to open it.
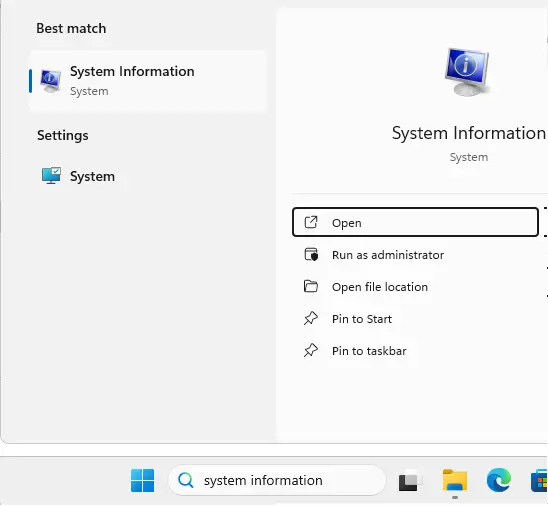
In System Information, click on the System Summary in the left pane.
Find the installed physical memory (RAM) on the right.

If the only thing you need to know is how much RAM your computer has, the easiest way to do it may be through the Settings app.
Search for information about your PC and open it.
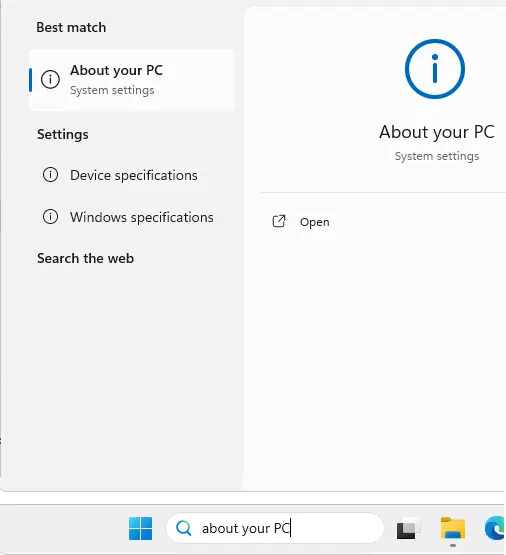
Under the “Device specifications” section, you must see installed RAM with the maximum capacity.
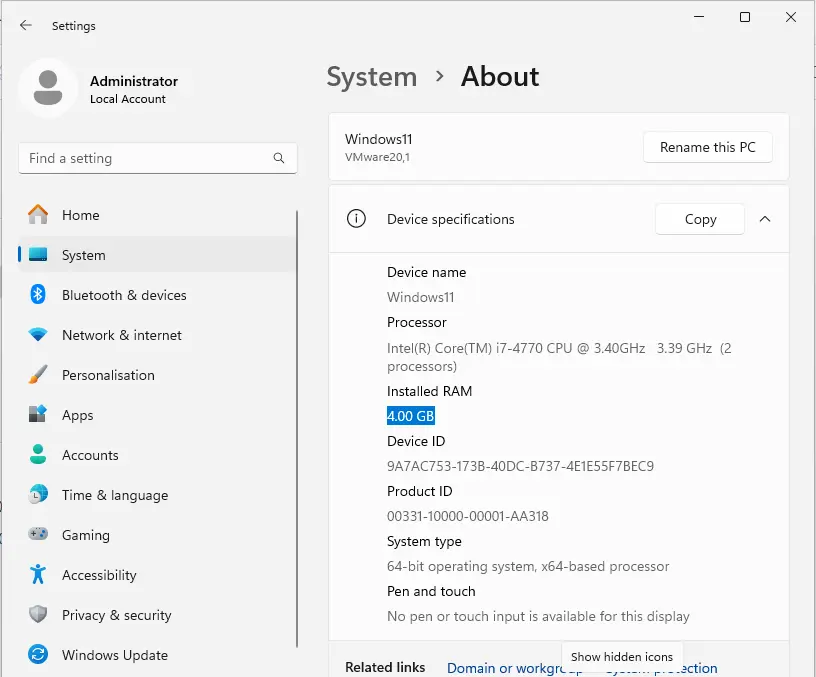
You’ll notice that the total available RAM is less than what’s actually installed, which is nearly always the case because some memory is shared with your computer’s GPU. It does not imply that something is wrong with your device.
Check RAM Using PowerShell Command
Another way you can find the total amount of memory of your system (and other system information) is to use PowerShell.
To check the PC RAM amount in PowerShell, follow the steps below:
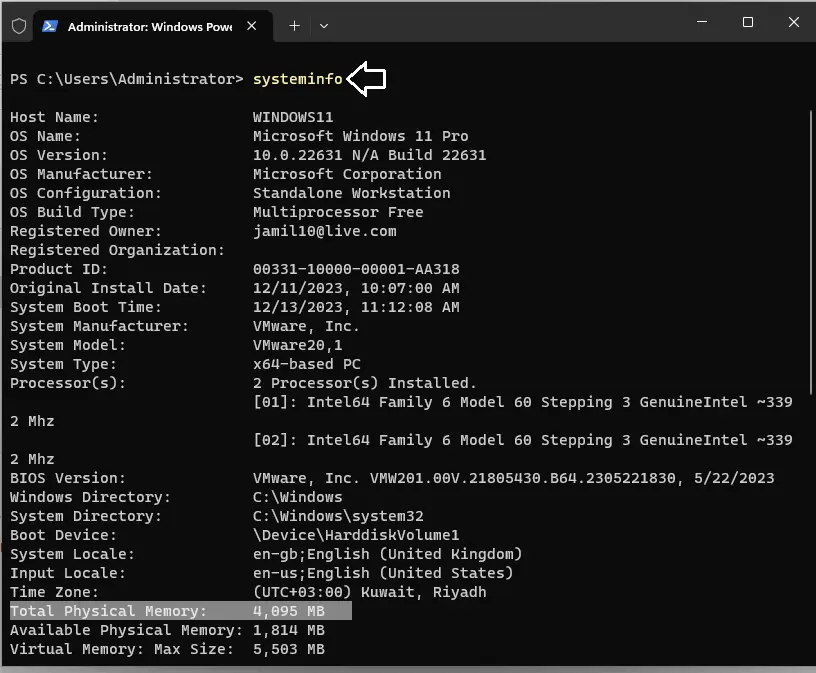
Right-click on the Windows button and choose Terminal (Admin) from the menu.
Type systeminfo and hit Enter.
PowerShell will collect system information; search for Total Physical Memory.
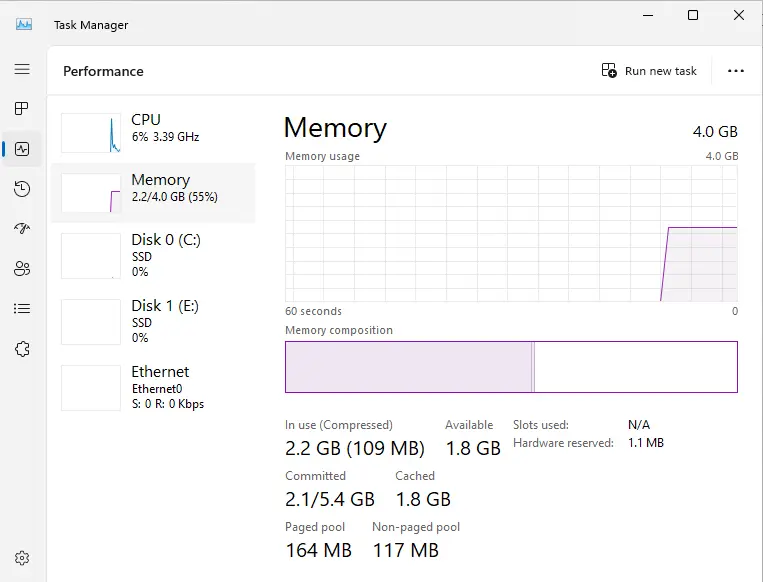
Check RAM Specs in Windows 11 using Task Manager
Sometimes the overall memory capacity is all that is required, but you may wish to know more. The Task Manager in Windows 11 can provide you with more information about your PC’s RAM, which can help you get a better image of the performance you can expect.
Right-click the Windows button from the taskbar, then select Task Manager.
Click on the Performance tab.
You’ll find a list of hardware on your PC. Choose Memory.
You are now able to view a variety of memory specifications, including capacity, speed, the number of utilized slots, the form factor, and the amount of RAM reserved for particular hardware in your computer (which explains why the usable RAM is less than the total RAM stated previously).
Please visit this article to learn more about PC RAM.

