
Let’s have a look at this article on how to create Veeam recovery media. You can start the Create Recovery Media wizard right after the Veeam Agent for the Microsoft Windows installation process or at any time later. In the previous article, we installed Veeam Agent for Windows for free. Now we are going to look at how to start with the Veeam Agent. The Veeam agent recovery media contains all the data that is required to run Windows.
If the system stops working or your hard drive fails, you can boot the system from a Veeam Agent Recovery Media instead of booting from the hard disk. After booting, we can use the Veeam agent and Microsoft tools to fix errors and recover the system image of the computer and data. I am not starting the installation, which is very easy to do with Veeam Agent, however.
After the installation, the recovery wizard will ask you if you wish to configure a backup with the default settings. In order to start this, you need a USB flash drive that is at least half the size of the chosen source (entire system). For lots of users, the default settings will be ideal, and they can proceed with doing so.
Table of Contents
Create Veeam Recovery Media
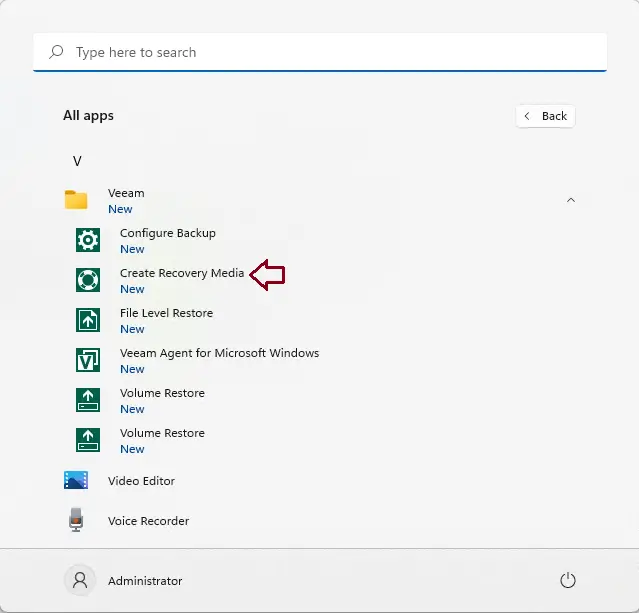
Search Create recovery media on Veeam, and then open it.
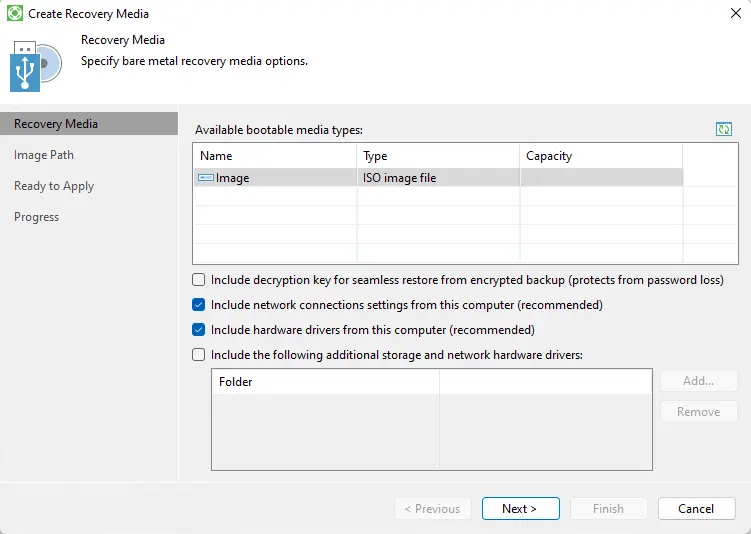
Specify recovery media options to create ISO media by selecting an ISO image file as the bootable media. Opt for including network connection settings and recommended hardware drivers from this computer. Proceed by clicking the next button.
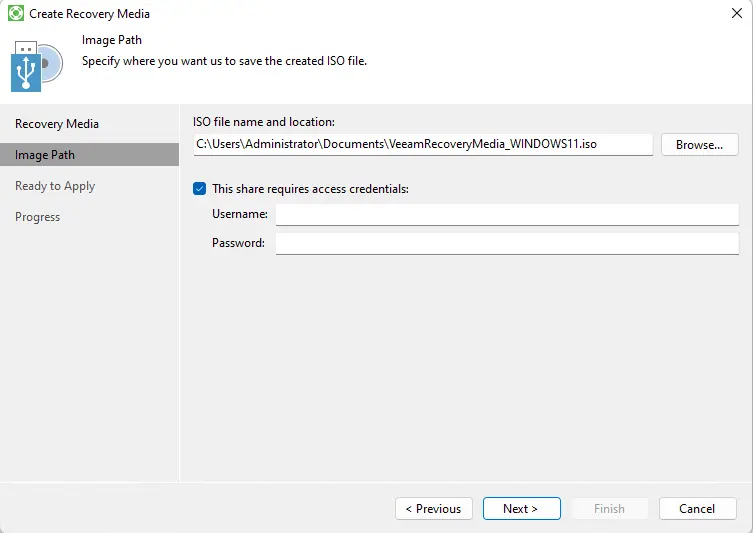
Now decide where you have to save the Veeam recovery media ISO file by browsing the target path.
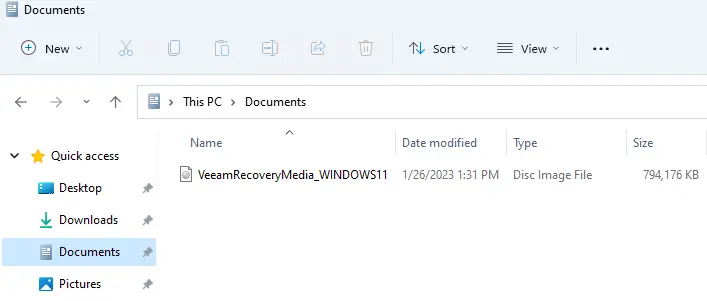
I want to save the created Veeam agent recovery media ISO image in my document and then click on Next.
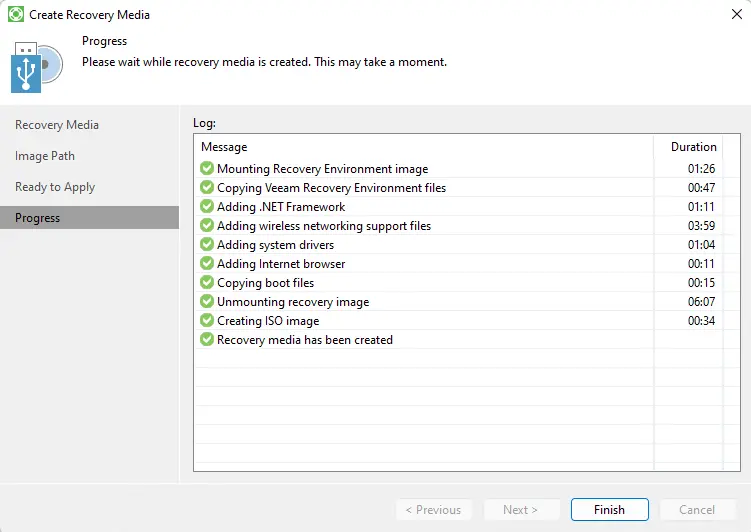
Veeam recovery media is ready to apply, so click on the Create button to start the recovery media process.

The Veeam agent recovery media was successfully completed. Click on the finish button.
The Veeam recovery media ISO image.
Conclusion:
Getting started with Veeam Agent for Microsoft Windows is very simple. Accepting the default settings, which will be perfect for users. Do not forget to create the Veeam recovery media so you can boot your system when necessary.
Visit Veeam to learn more about creating recovery media.
Read this article: How to Restore a Computer with Veeam Recovery Media.
