In today’s article, I am going to walk you through how to increase VM disk size using the vSphere client. In short, to successfully expand a VMware virtual hard disk, you should do the following:. The virtual machine is an important part of the VMware infrastructure. All the operations and commands need virtual machines to execute. Visit the VMware guide for more details.
When a VMware virtual machine is newly created, there may be just a light task for it, so it just demands a few hardware resources, including a processor and virtual disk. After some time, further tasks are assigned to the VM, so it requires more hardware resources.
Table of Contents
Increase VM Disk Size
Login to your vSphere client, and choose the VM you wish to increase the disk size. Right-click on the virtual machine and then choose Edit settings.
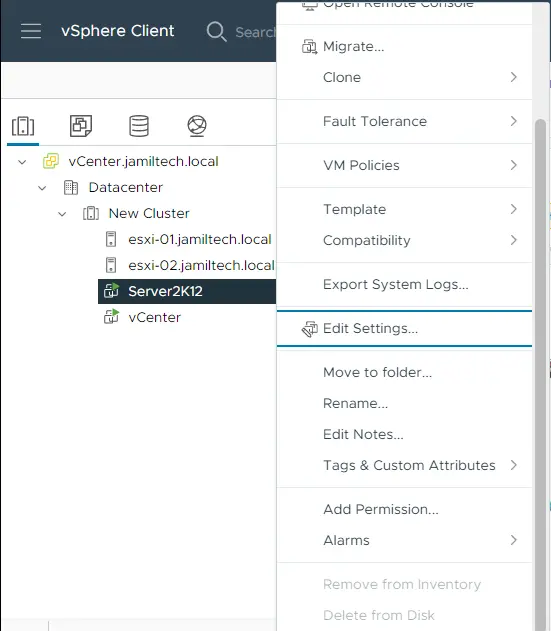
Here you can find the hard disk to increase the size.
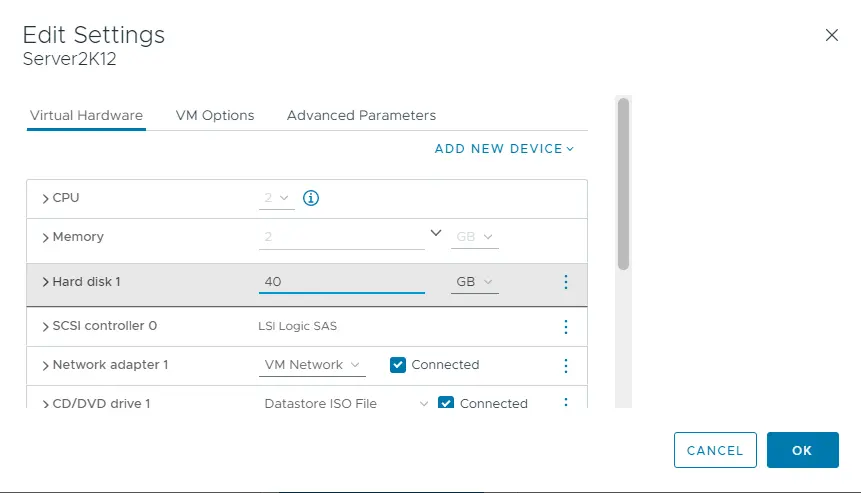
You can increase the disk size as required and click the ok button.
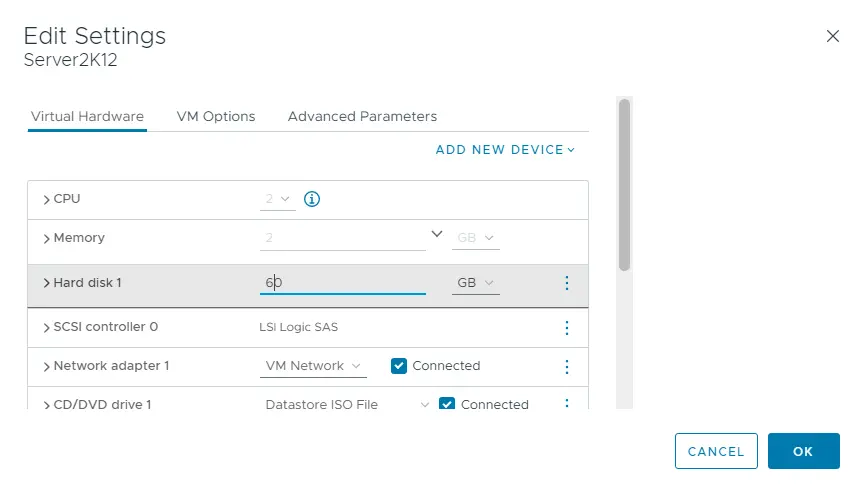
The VM hard disk capacity increased successfully from 40 GB to 60 GB.
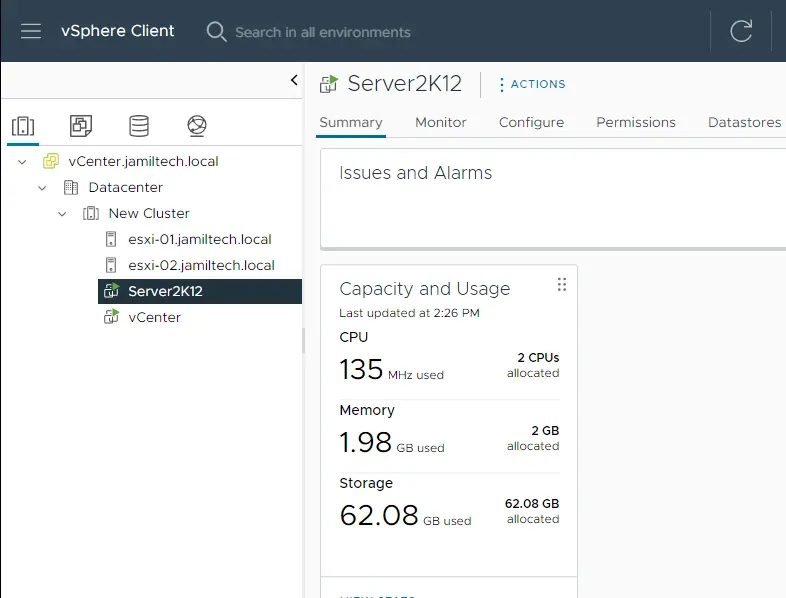
Log in to your virtual machine, open this PC and you can see the hard disk size is not increasing.
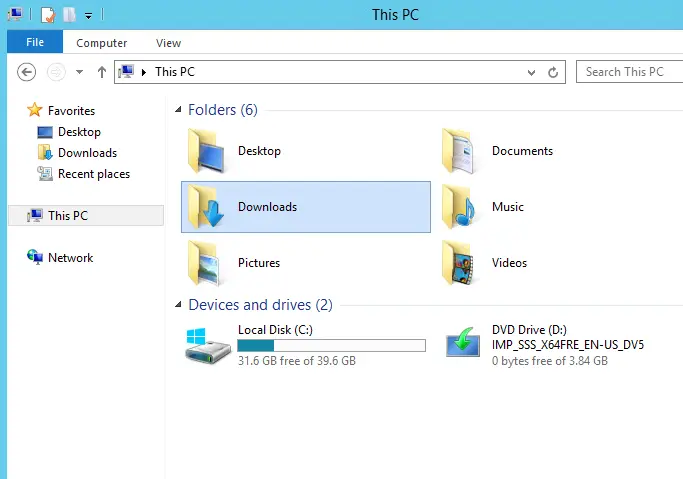
Open Disk Management
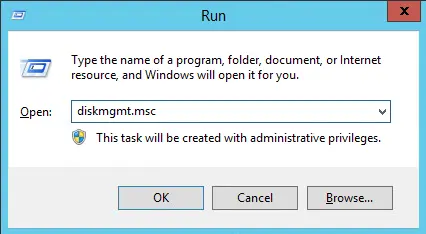
Open the Run box (Windows + R key), enter diskmgmt.msc, and then hit ok.
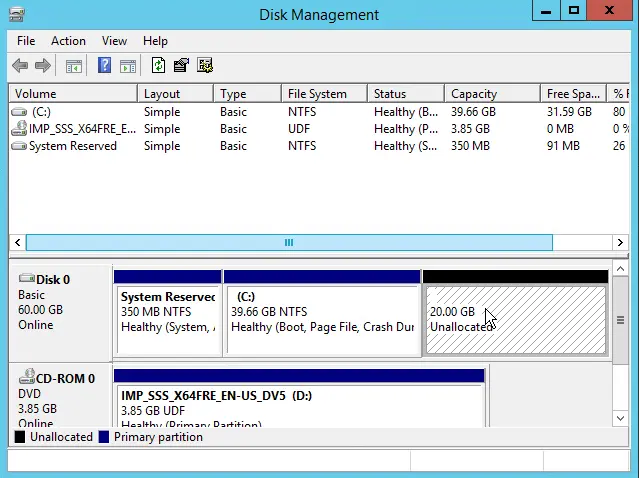
In disk management, you can see 20 GB of disk unallocated.
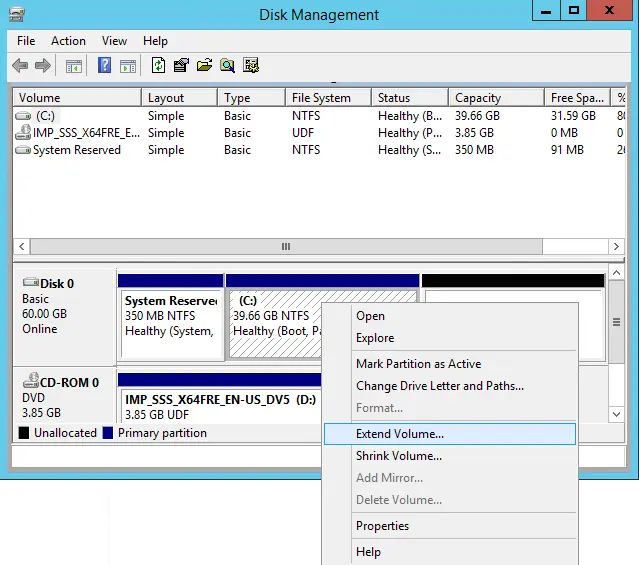
Right-click on drive C and then choose to extend volume.
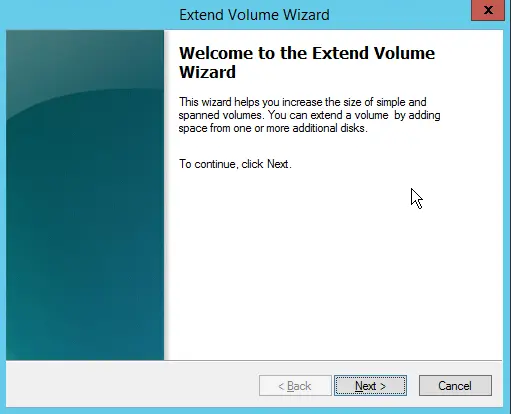
Extend Volume Wizard
Welcome to the extend volume wizard, choose next.
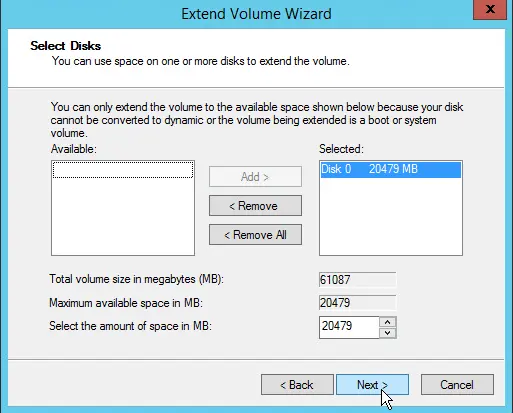
Select an unallocated volume and then click next.
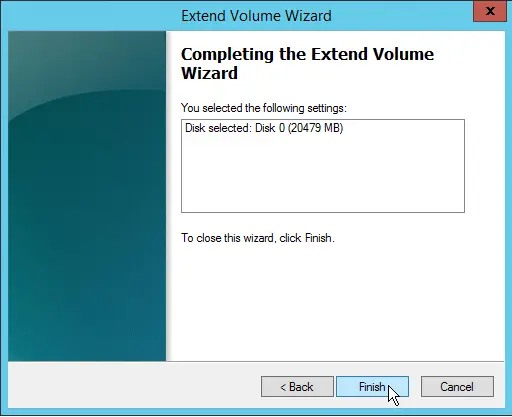
Click Finish
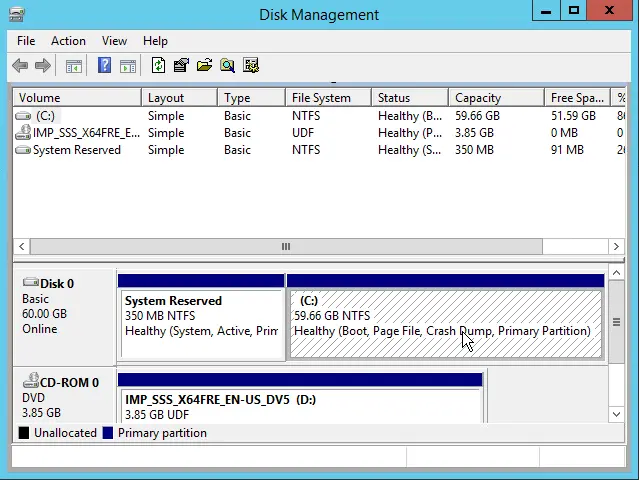
Now you can see in the disk management window that local disk C: has been increased.
Conclusion
The need for virtual machine storage is gradually increasing so you need to increase the disk size of the VMware virtual machine. In this passage, you have known how to add storage to a virtual machine on VMware vSphere ESXi and VMware Workstation and how to make the added disk effective for partitioning.


