
In this article, we will learn how to restore backup from tape to repository in the Veeam Backup and Replication repository. Restoring a virtual machine from tape with Veeam Backup is like restoring a VM from a disk. For instance, you can select a desired restore point, select the target directory, or change the configuration of the restored virtual machine. To restore a VM from tape, you can follow the steps below.
Restore Backup from Tape to Repository Veeam Backup
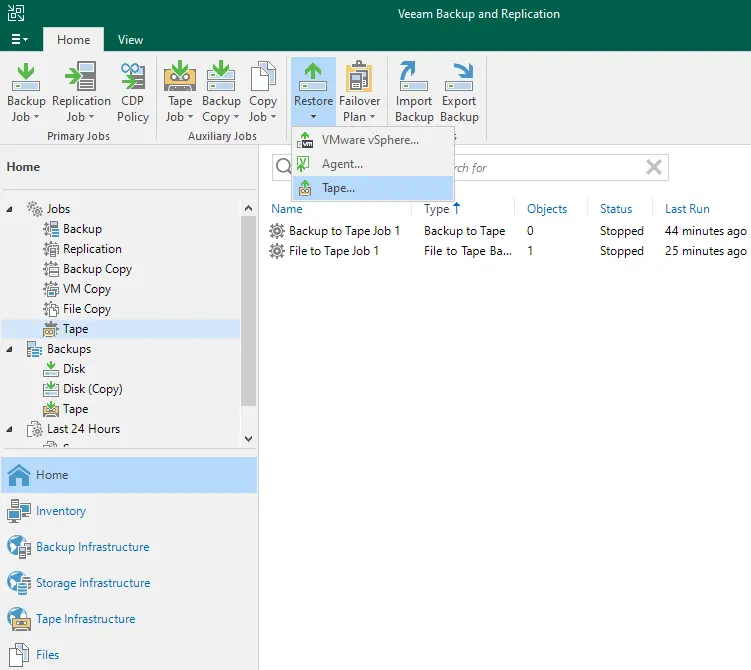
In Veeam backup and replication, select the Home tab. Click on the Restore tab, and then choose Tape.
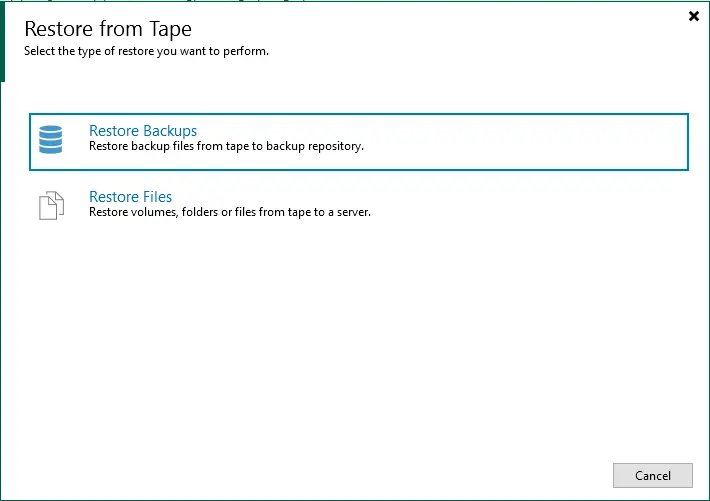
Select the type of restore, “restore backups”.
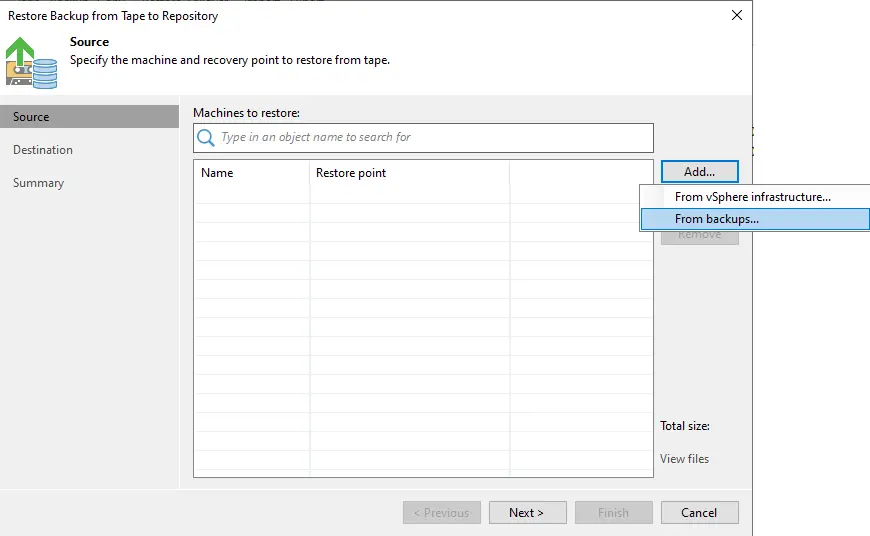
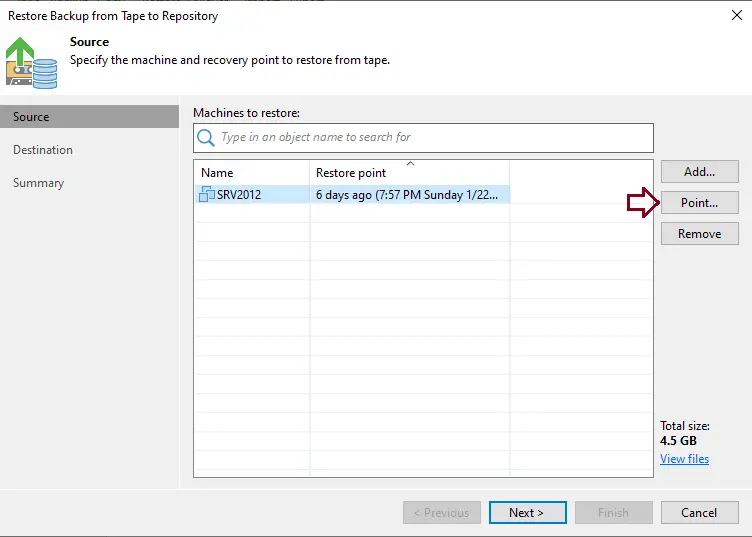
Restore the backup from tape to the repository window; to add a virtual machine, click on the Add button, and then from backup.
From VMware Infrastructure: this option is accessible only for virtual machines. Browse your virtual environment and then choose virtual machines to restore it to the backup repository. Please ensure that the VMs you have selected from the virtual environment are successfully archived to tape at least once.
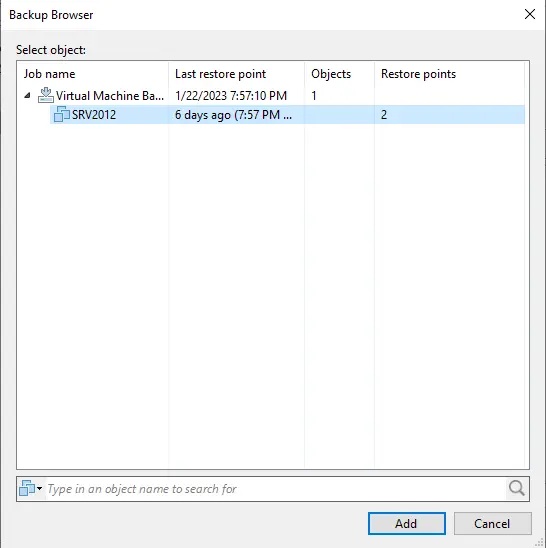
From backups: browse the backups from the tape and choose virtual machines under backup to tape jobs. Click on it, and then select OK.
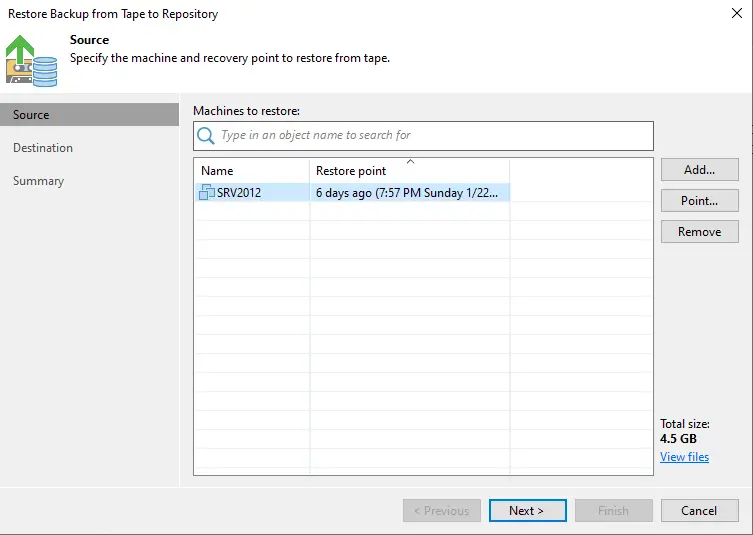
Specify the machine and recovery point to restore from tape. The default settings of Veeam will restore the backup with the latest date of the archived device. If you want to restore a backup for the VM to an earlier date, then click on a machine from the list.
Click on Point.
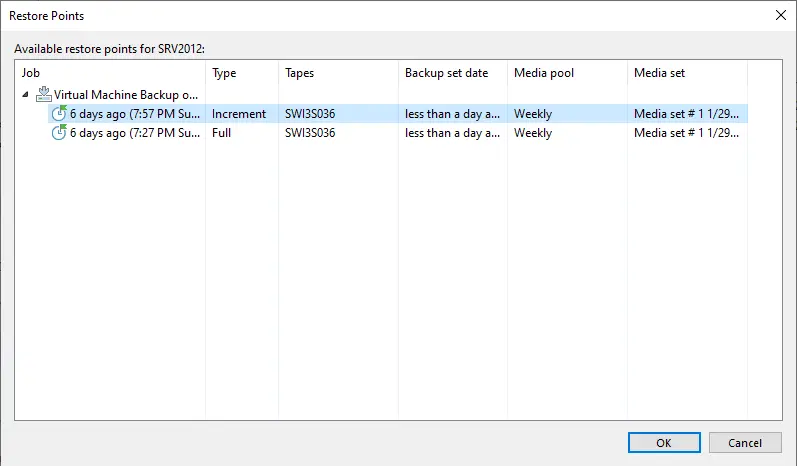
From the Restore Points page, choose a restore point that can be used to restore the virtual machine backup.
Click next
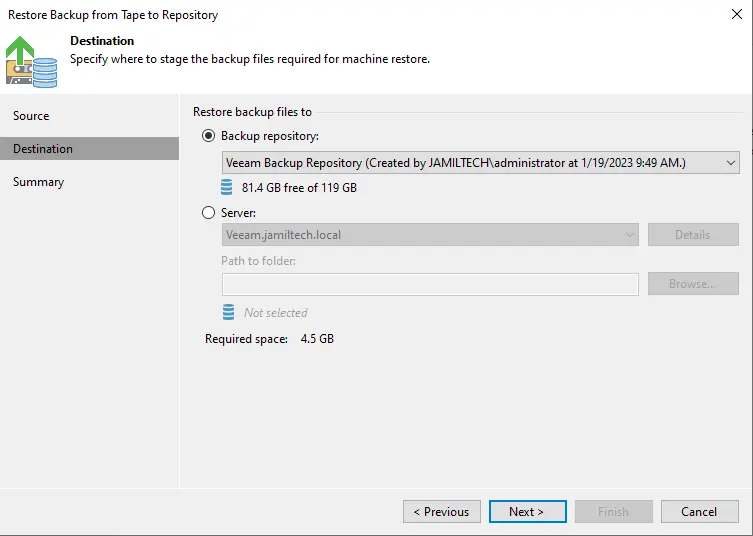
In the destination option, choose where the backup files for the selected virtual machines will be restored.
1- Backup Repository
If you want to restore VM backup files to a Veeam repository, choose the Backup repository option and choose a repository from the list.
2- Server
Restore the virtual machine’s backup files to the Veeam server, shared directory, or any Linux or Microsoft server connected to Veeam.
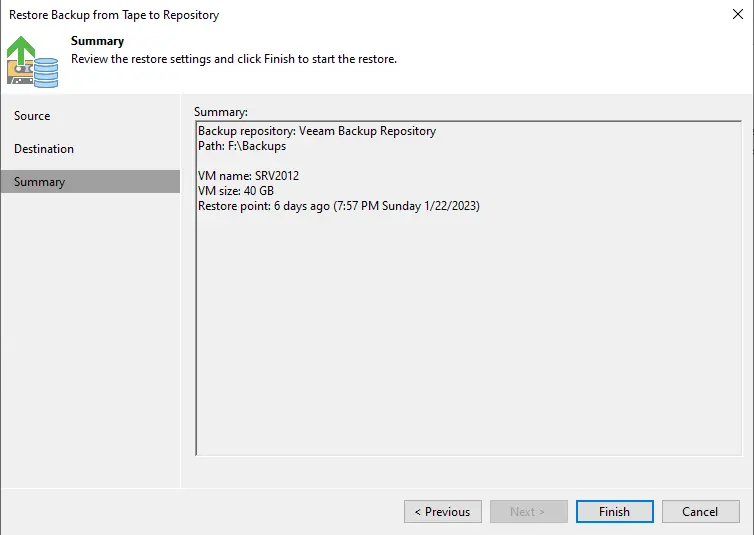
Review the restore settings summary and then choose a finish to restore the selected machine’s backups.
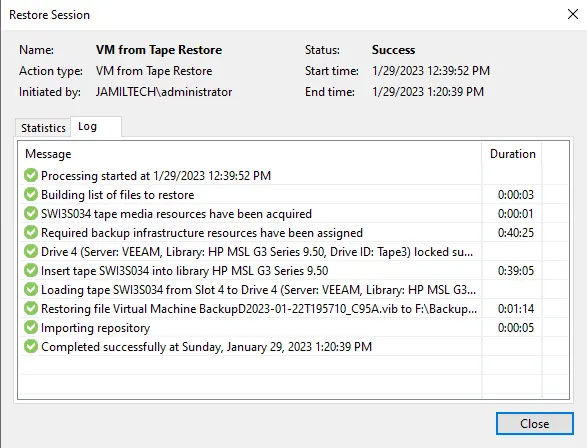
Veeam restores the backup from the tape to the repository restore session.
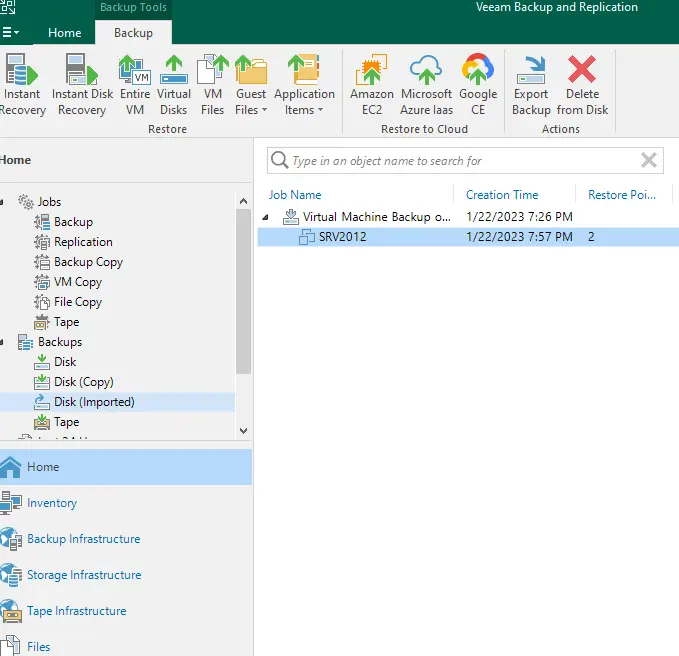
Here you can see the disk imported.
If you want to learn in detail, please visit Veeam
