In this article, we will teach you how to create a Workspace on Microsoft Loop. Create multiple workspaces in Microsoft Loop to monitor multiple initiatives. Microsoft Loop is an all-in-one collaboration platform that competes with Notion and Google Workspace as part of Microsoft 365. It is a collaborative workspace in which you and your team can work on a variety of duties and projects. We have a comprehensive guide on the platform that you can review.
Microsoft Loop is comprised of three main elements: workspace, pages, and components. Loop Workspace is a collaborative environment where you and your teams can collaborate on specific initiatives. It is where you can collect and manage all project-related files, content, pages, and ideas. It also enables you to view what everyone is working on, respond to ideas, provide feedback, and monitor the project’s progress.
Table of Contents
Create a Workspace on Microsoft Loop
You may create multiple shared and collaborative workspaces for different projects. Follow these steps to set up a Loop workspace.
To get started, first install Microsoft Loop, then open the Microsoft Loop App and click the Get Started—It’s Free button.

When you first log in, you will be taken to the Getting Started workspace, which contains guides, documentation, and examples for getting started with Microsoft Loop.
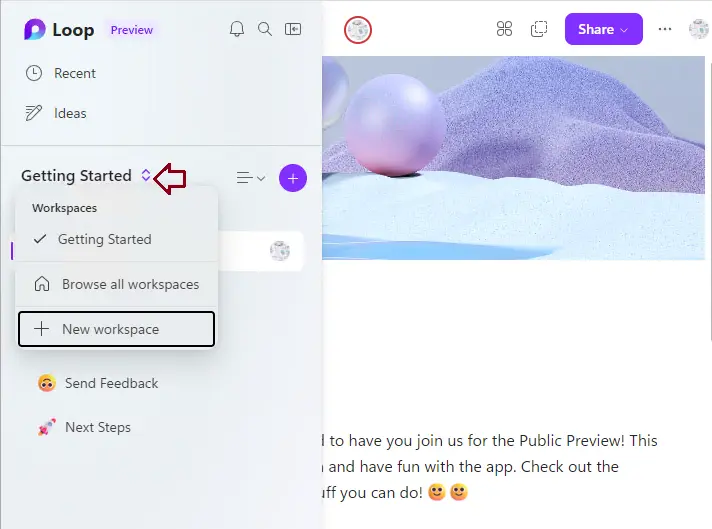
Simply click on the double-sided arrow next to the current workspace “Getting Started” in the left panel and select the New workspace.
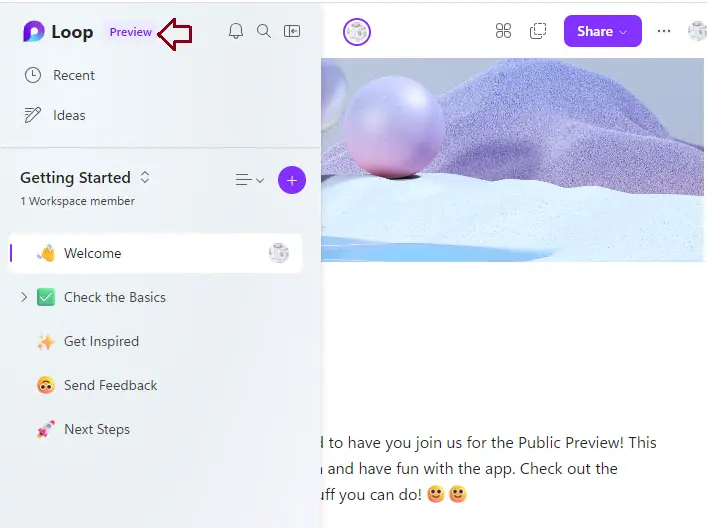
You can also click the “Loop” button to go back to the Home screen.
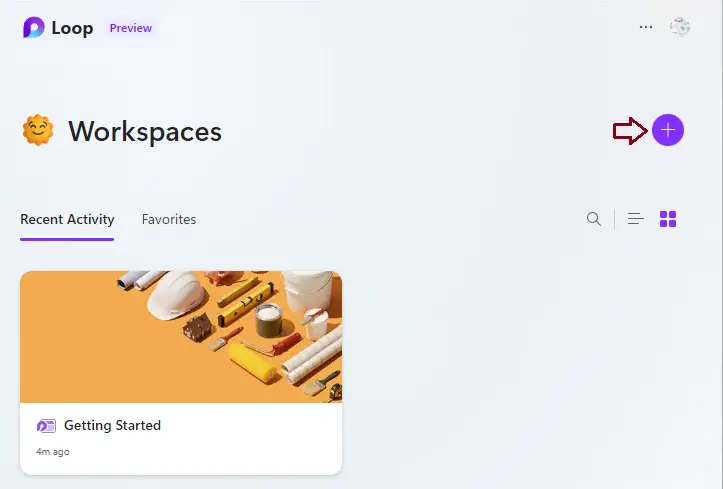
Here, you can see all of your workspaces and control them. To create a new workspace, click the “+” button in the top-right spot.
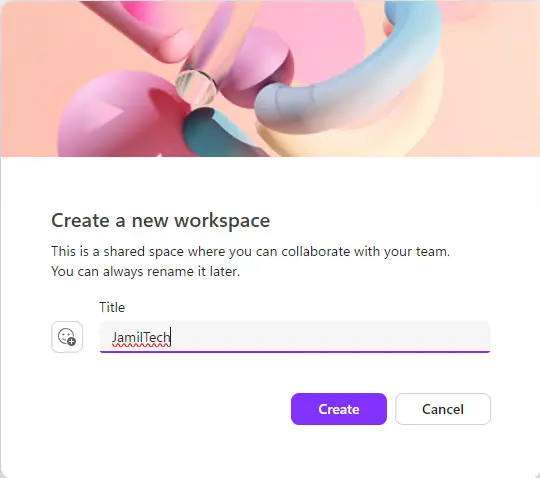
Enter the name of the workspace in the text field.
After typing the name, click on the Update cover to change the cover image.
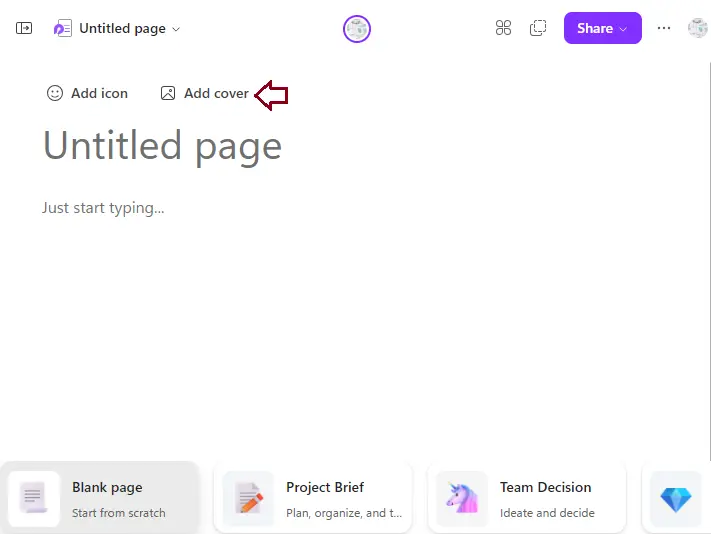
Choose the cover picture you want and click “Update.” You can also use the search bar up top to look for pictures. Click the “Remove” button if you do not want a cover picture.
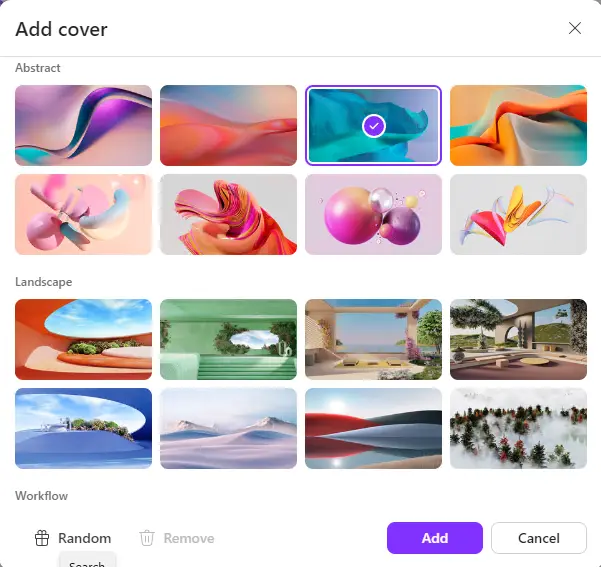
To add an emoji to the workspace, click the emoji icon with the + button and select your desired emoji from the menu.
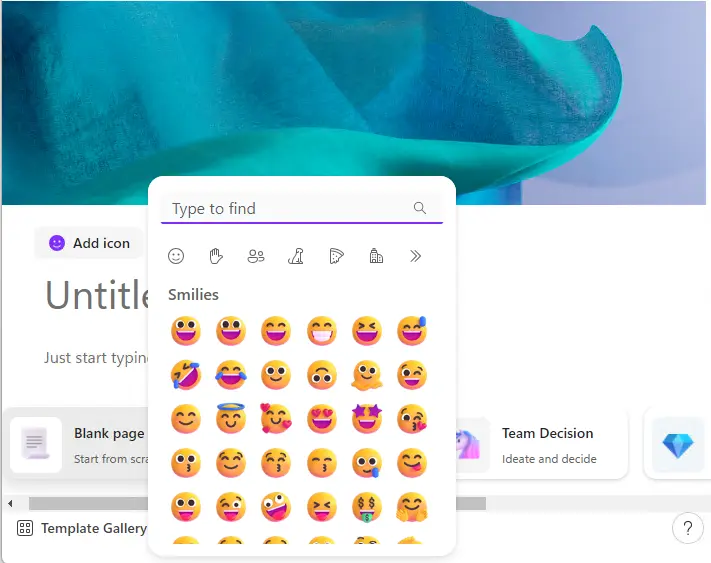
Choose the Create button to start creating a new workspace.
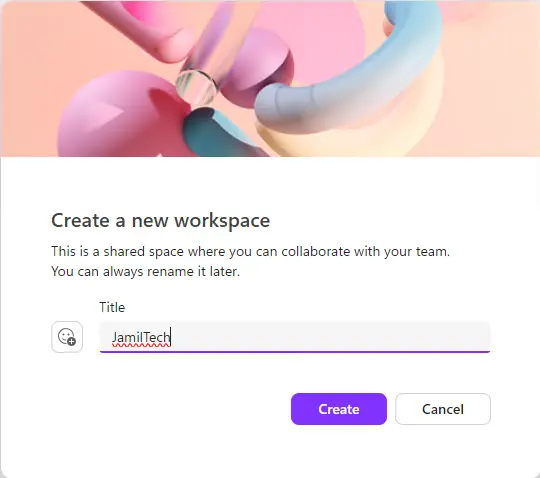
To switch between workplaces, click the double-sided arrow next to the workspace name and choose the workspace from the drop-down menu. Or, you can go to the home screen and pick the workspace from there.
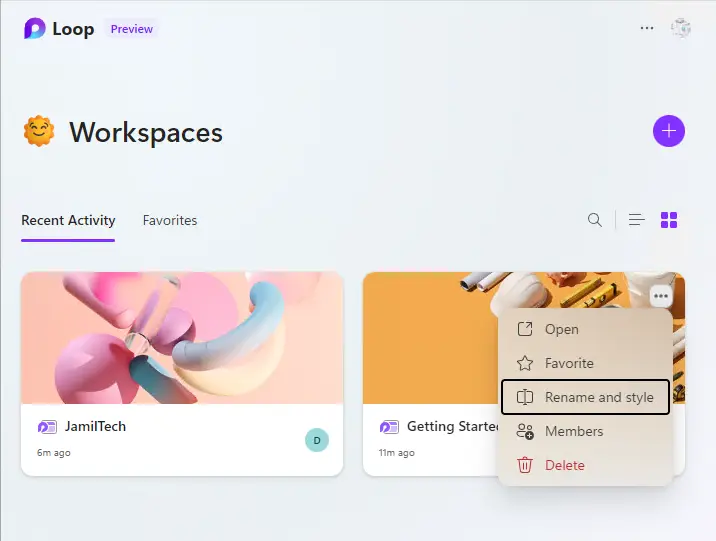
Rename a Workspace in Microsoft Loop
Go to the home interface and click on the “three dots” button on the workspace icon. This will let you title or cover. Click on the “Rename and style” button.
Delete a Workspace in Microsoft Loop
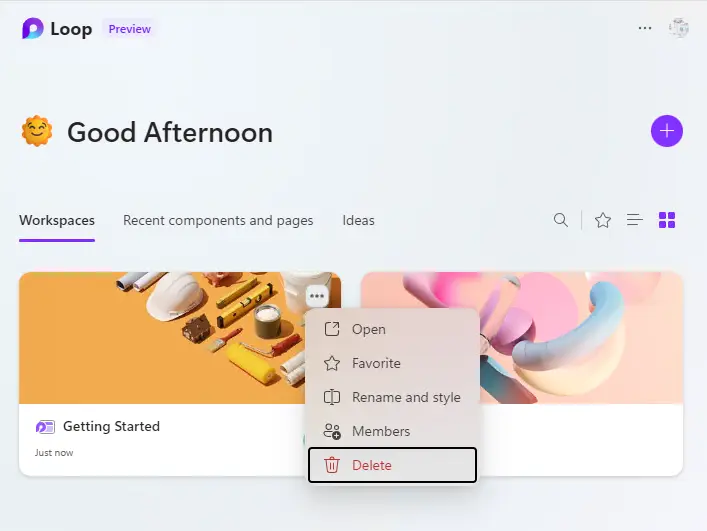
Click the ‘Loop’ icon in the top left area to go to the Loop home page.
Go over the workspace you wish to remove and click the three-dot button, then choose to delete.
All done. Workspace is an important part of Microsoft Loop because it lets you keep all project-related information in one place. You can easily keep track of different projects if you give each one its own area.
Learn more: How to Share a Workspace on Microsoft Loop.


