")
In this article, I will add additional hard disk VM VMware vSphere, to an existing virtual machine. You can add a new virtual hard disk to an existing virtual machine, or you can add an additional hard disk when you customize the VM hardware during the virtual machine creation procedure. For instance, you may need to provide additional disk space for an existing VM with a heavy workload. Through virtual machine creation, you may need to add a hard disk that is pre-configured as a boot disk. Visit VMware to get more information on how to add a new hard disk to a virtual machine.
Table of Contents
Add additional hard disk Virtual Machine
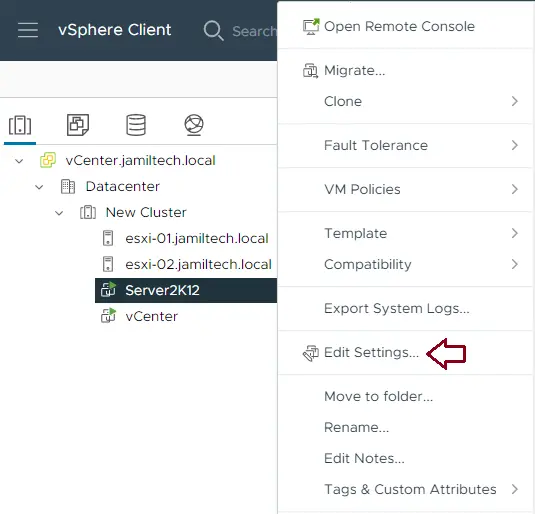
Log in to the vSphere Client, right-click on the virtual machine to which you wish to add an additional hard disk, and then choose Edit Settings.
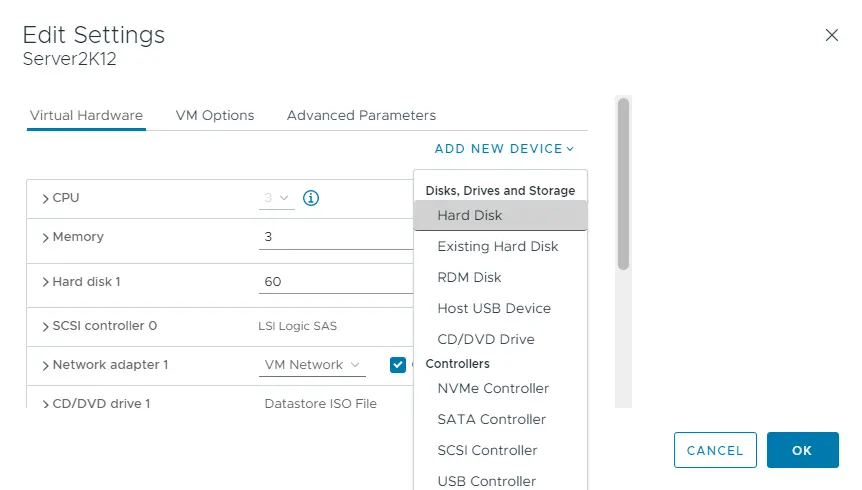
Choose the Virtual Hardware tab, click on Add New Device, and then choose Hard Disk.
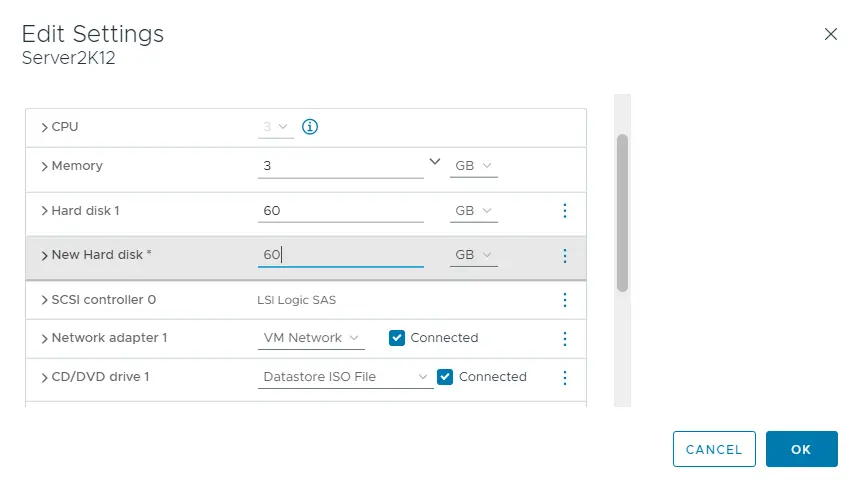
After adding a new hard disk, you can now see a new hard disk.
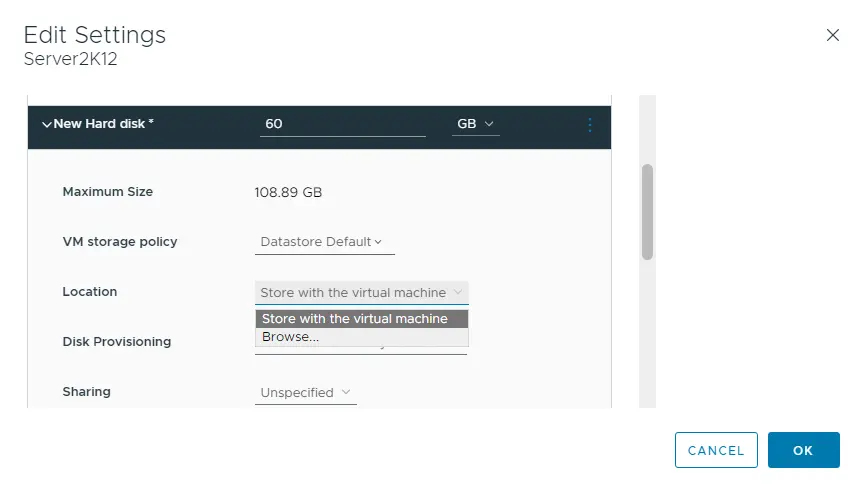
Choose a location to save the disk, store it with the virtual machine, or specify a different datastore. Click on the browse button for the datastore location.
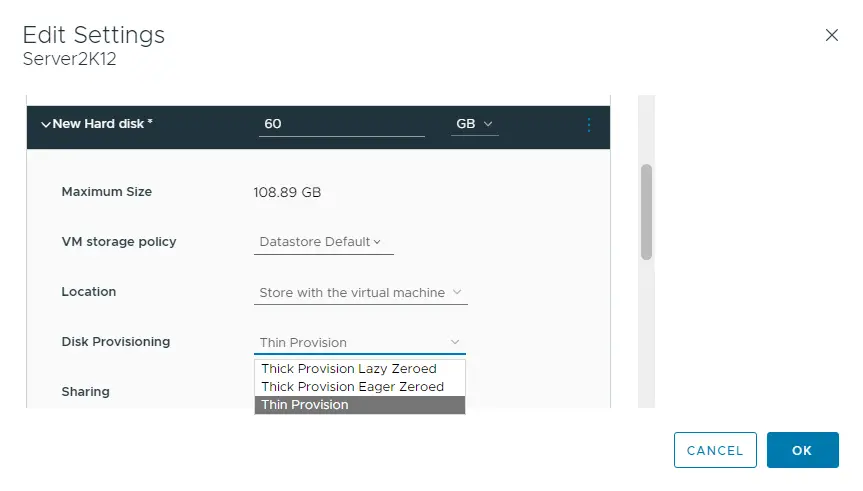
Next to the disk provisioning, choose Thin Provision, and then click OK.
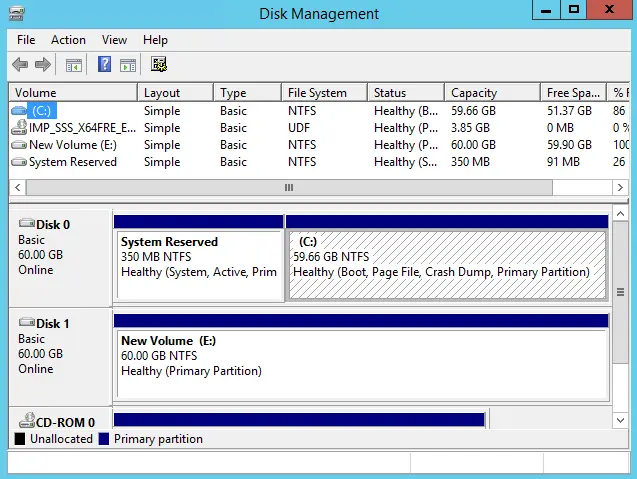
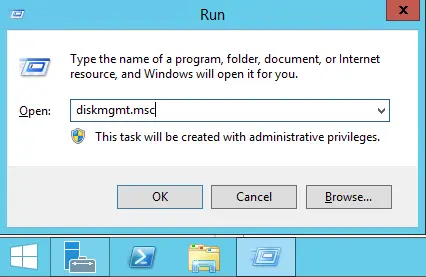
Open Disk Management
Log in to the virtual machine, open the run box, and type diskmgmt.msc to open disk management.
In Disk Management, Right click on Disk 1 and then choose Online.
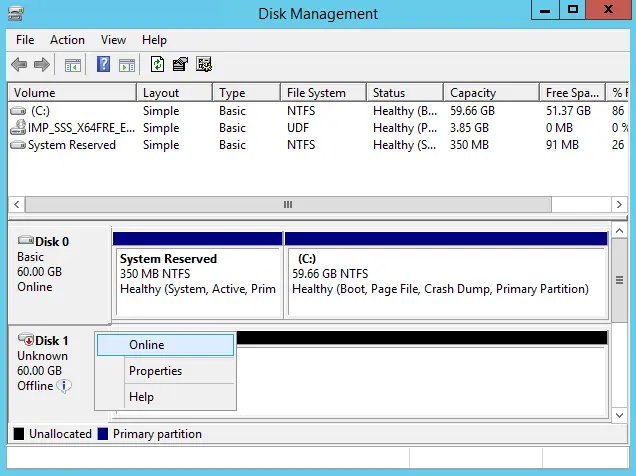
Again, right-click on Disk 1 and then choose Initialize Disk.
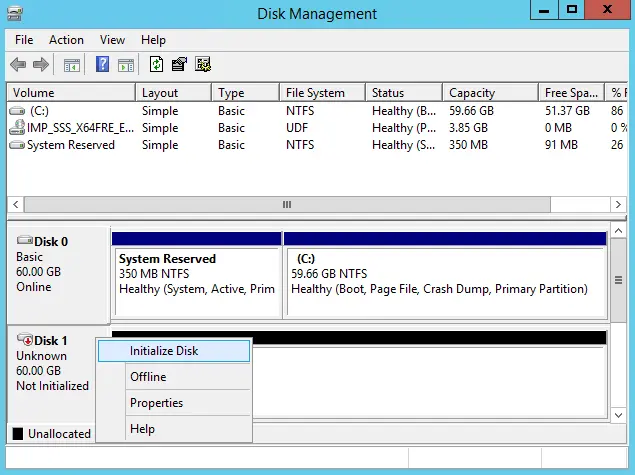
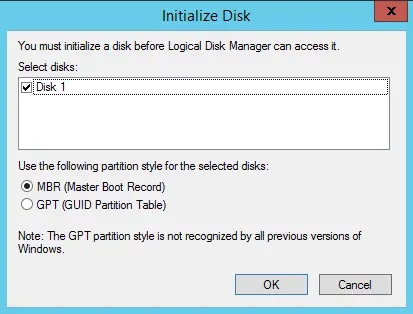
In the initialize disk window, choose OK.
Create New Volume
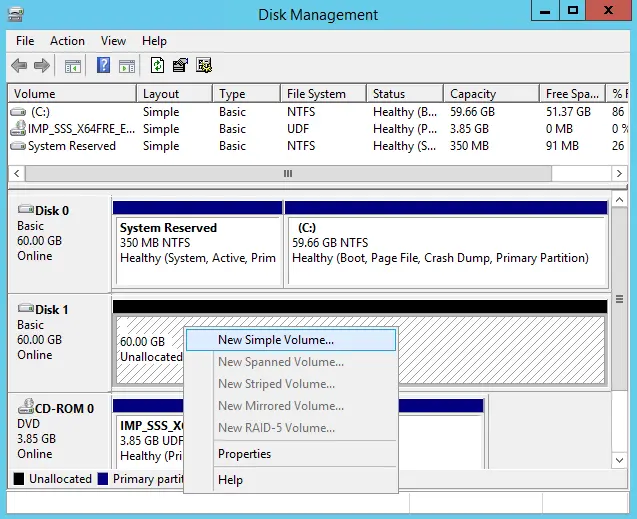
Right-click Unallocated Volume, and then click on New Simple Volume.
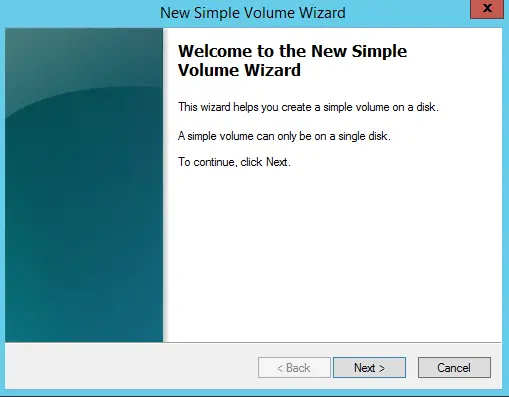
Welcome to the new simple volume wizard. Choose next.
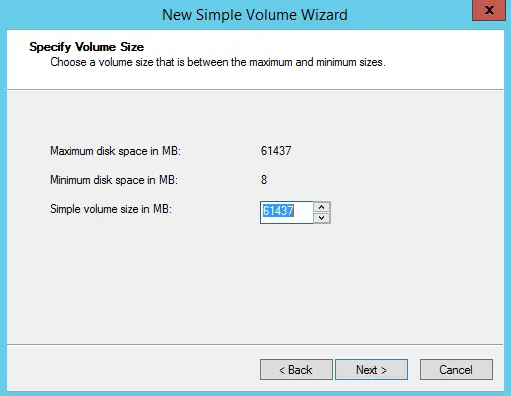
Specify your volume size, and then click on Next.
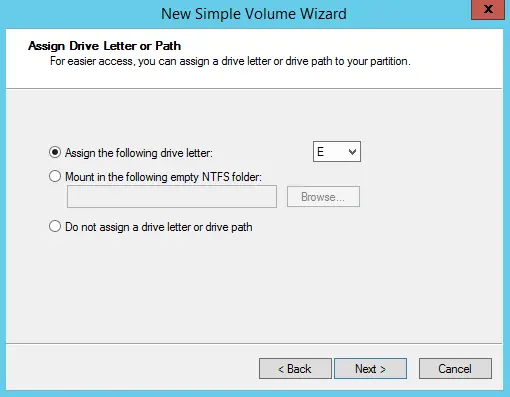
Assign a drive letter or path, and then click on the next button.
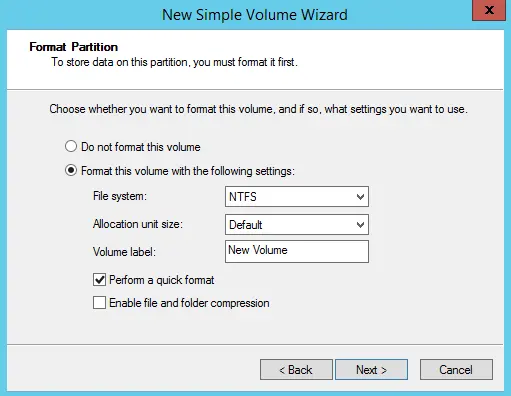
New simple volume wizard, format partition, and click next.
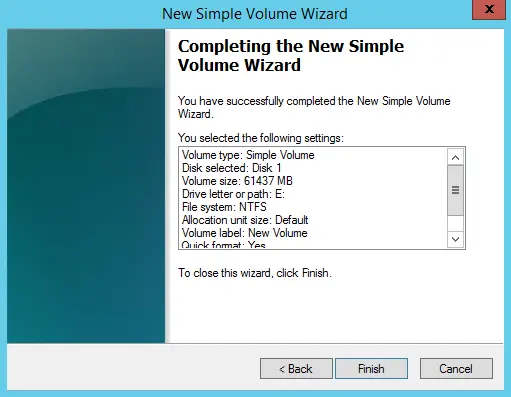
A new simple volume is successfully created; choose the finish.
You can see a new volume.