
This article explains how to add server to Backup Exec. If you add a server name to the list of servers, Veritas Backup Exec should be able to resolve the title to a TCP/IP address. If Veritas cannot resolve the name to a TCP/IP address, the server’s name shows up in the server list. Though Veritas Backup Exec is unable to connect to it,
Backup Exec can clear up the names of the NetWare server names and IP addresses in your network’s DNS database. If these IP addresses and names are not in the domain name service,. You need to manually add the names and IP addresses to the media server’s host file. You can find the file in the \WINDOWS\SYSTEM 32\Drivers\ETC directory.
Table of Contents
Add Server to Backup Exec
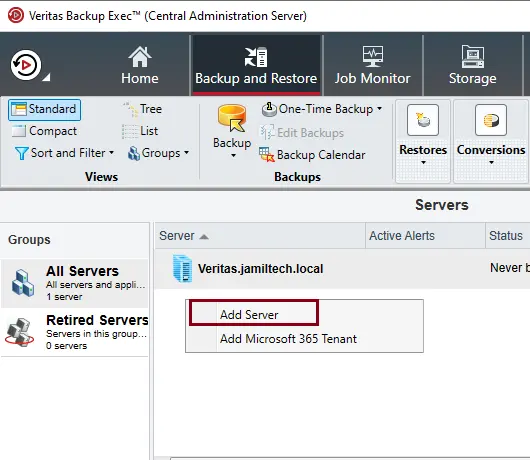
On the Veritas Backup and Restore tab, under the Servers option,. In the Hosts group, right-click and then choose Add Server.
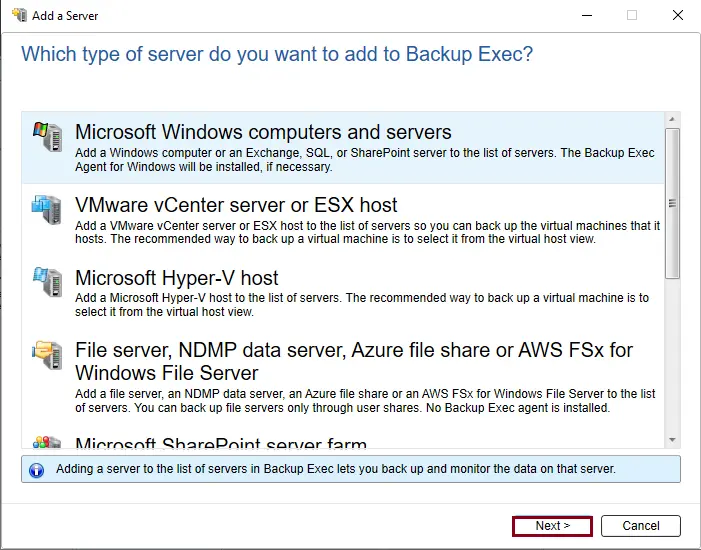
Click on the type of server that needs to be backed up.
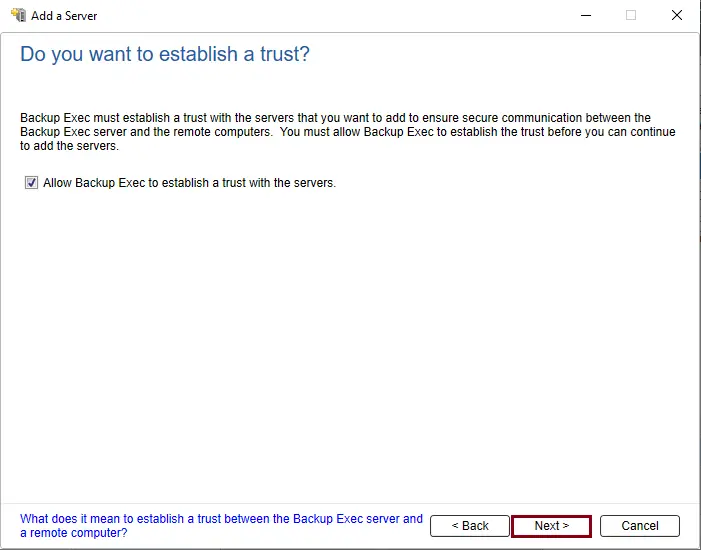
Verify that the box “Allow Backup Exec to establish trust with the servers” is selected, and then choose next.
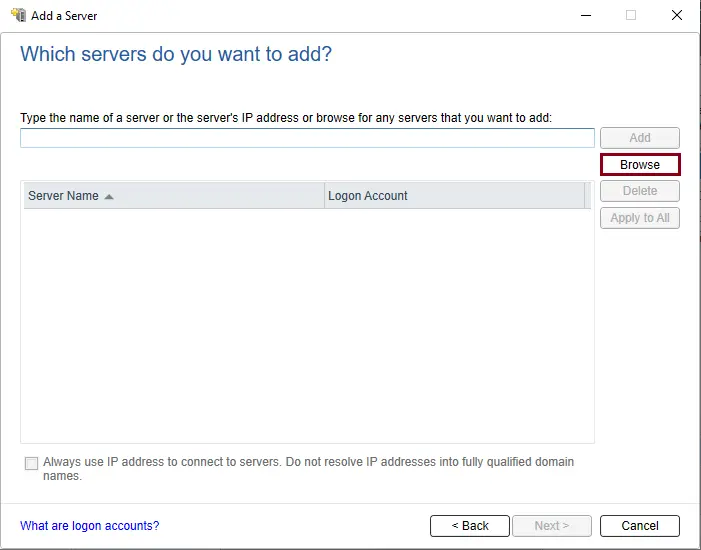
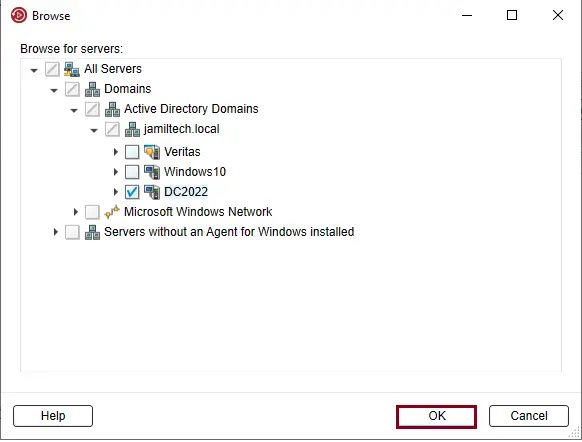
Which server do you want to add? Click on the browse button.
Expand the servers tab, and then choose the servers you wish to add for backup.
You want to install the agent for Windows, and then choose OK.
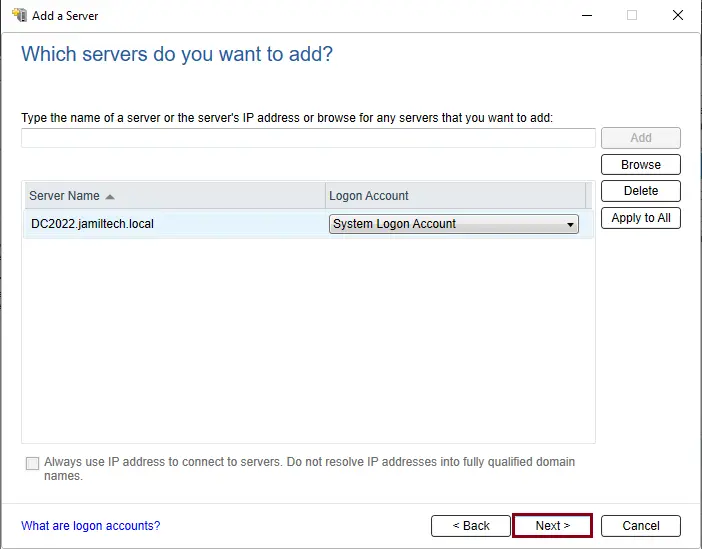
Verify Logon Account
Add a server with an associated account, and then choose Next.
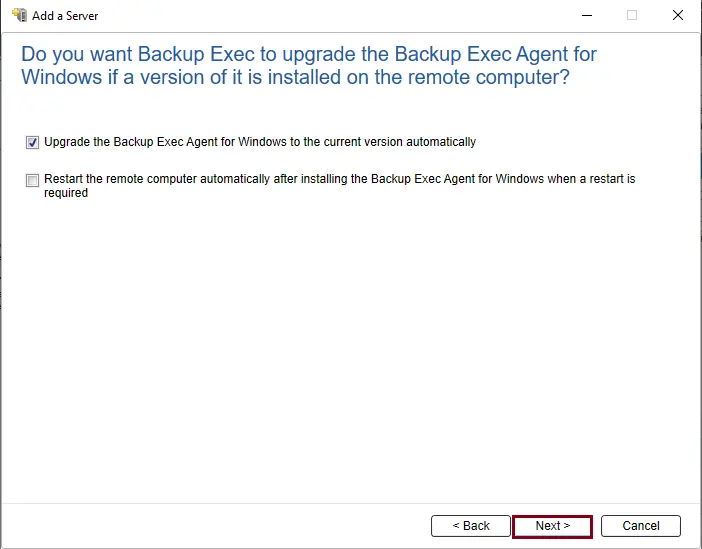
Tick the box to ensure that updated backup agent software has been installed, and then choose next.
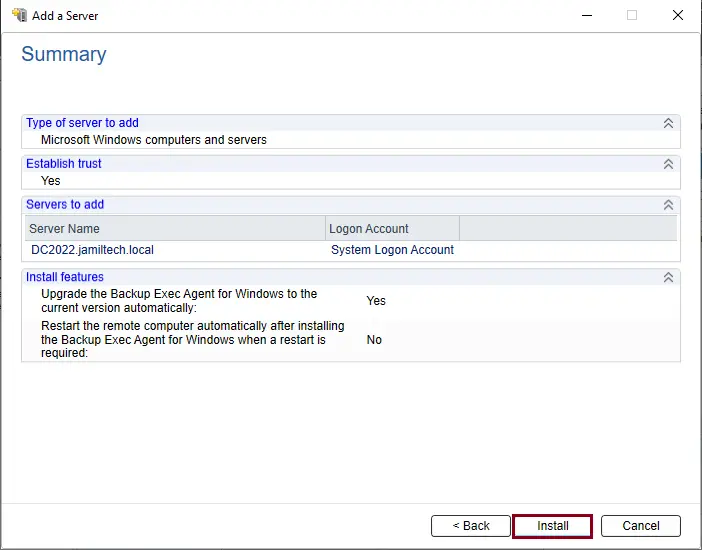
Review the summary type of server to add, and then choose Install.
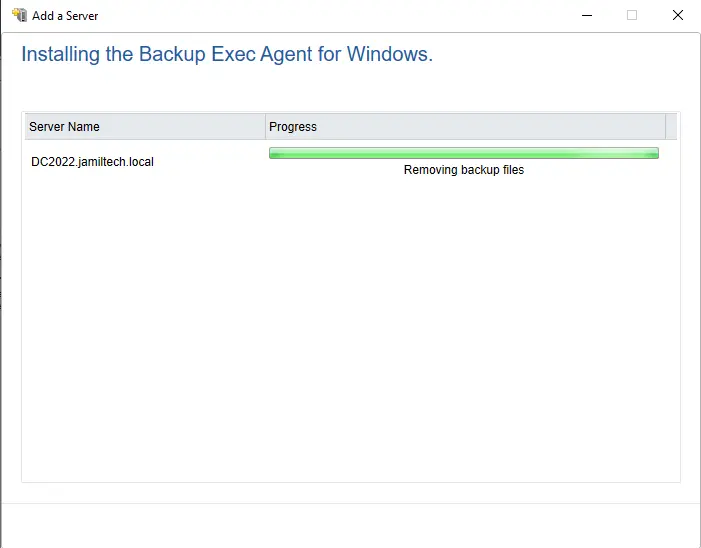
installing the Backup Exec agent.
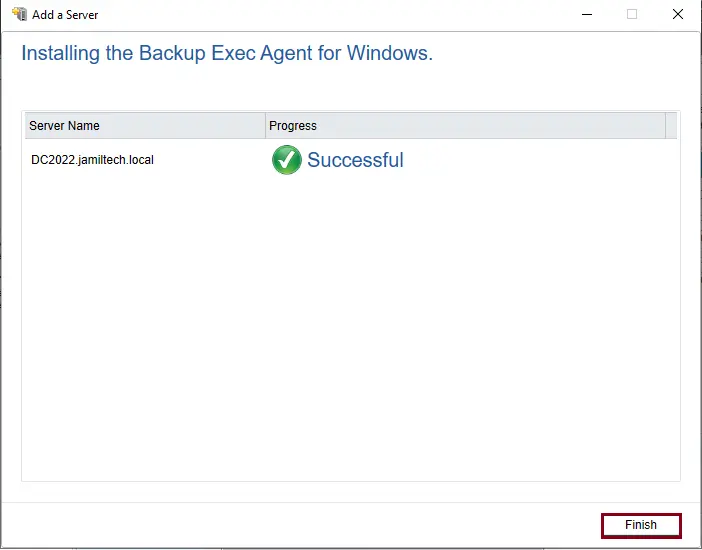
The Veritas Backup Exec agent will verify that installation packages have been configured and installed on the remote server. Click Finish
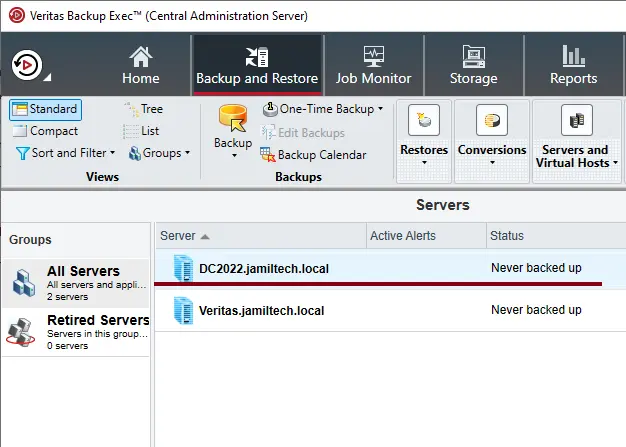
After you install the Veritas Agent for Windows, you can see that the server is added to the list of servers in Veritas Backup Exec.
Visit this article to learn more about adding servers to Backup Exec.

