How to Add a Tape Server in Veeam Backup and Replication
In this article, we will guide you through the process of adding a tape server in Veeam Backup and Replication. Before you begin, ensure that a supported physical connection between the tape server and the tape library server is established and that all necessary drivers are installed on the Windows server operating system.
Welcome! In my previous article, I explained how to install and configure StarWind Virtual Tape Library. Today, I’ll be walking you through the steps to add a tape library and set it up in Veeam Backup and Replication.
Table of Contents
So please follow the steps below in the addition and configuration of the tape library in Veeam Software. Visit StardWind to download VTL for free.
Add Tape Server in Windows Server
To add a tape server using Veeam Backup and Replication on a Windows Server 2022, follow these steps:
- Open Veeam Backup and Replication Console:
- From the console, navigate to the Tape Infrastructure option.
- Add Tape Server:
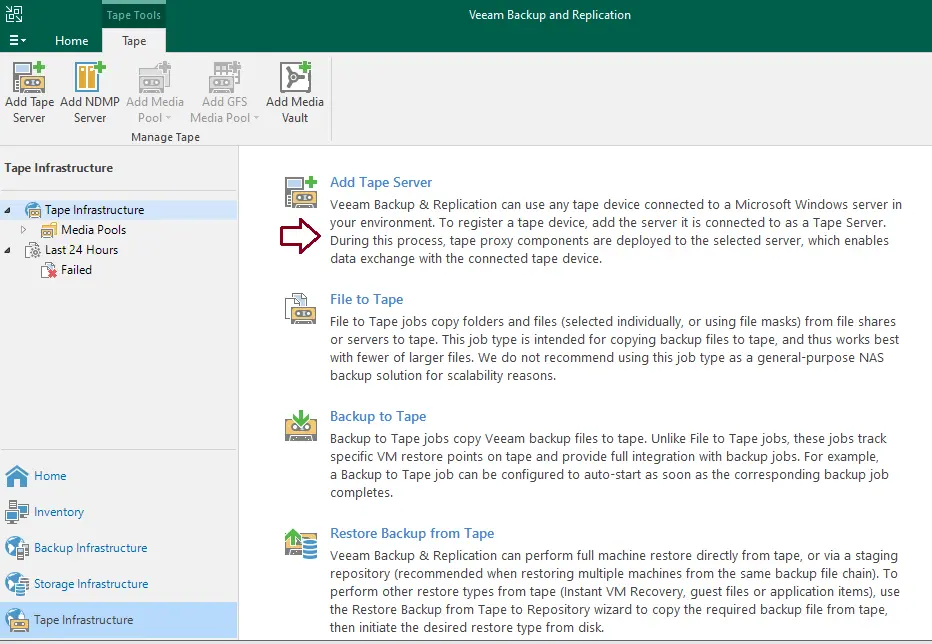
- Click on Add Tape Server to start the process.
- Select Server:
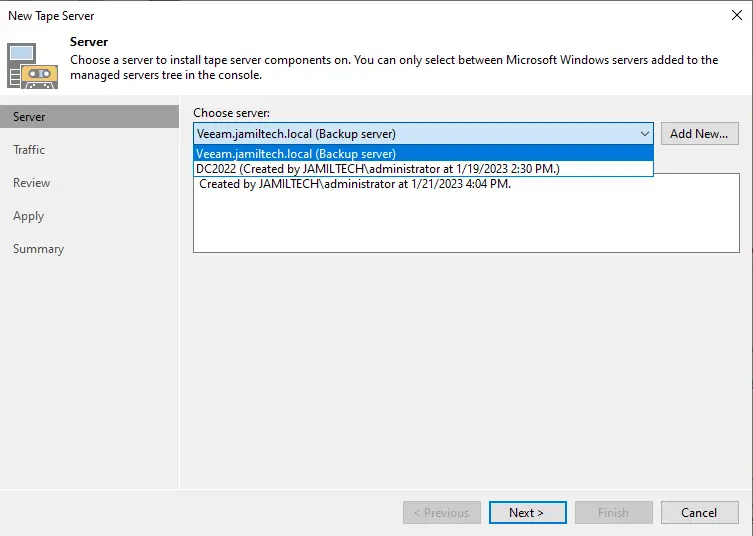
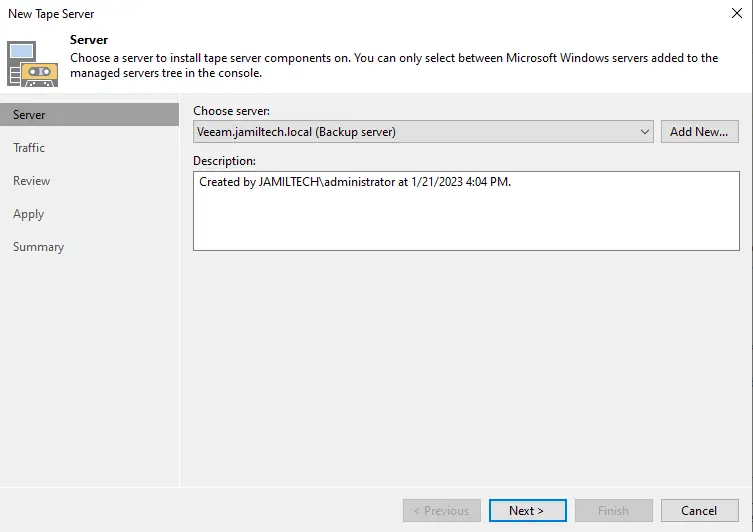
- In the new tape server wizard window, select the server where you want to install the tape components.
- Specify Server Details:
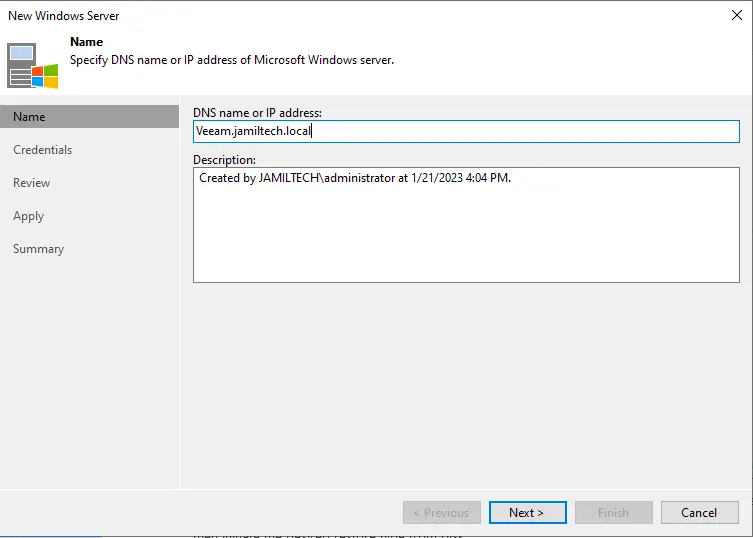
- Enter the DNS server name or IP address of the Windows server and click Next.
- Review and Proceed:
- Click Next to proceed.
- Configure Network Traffic Rules:
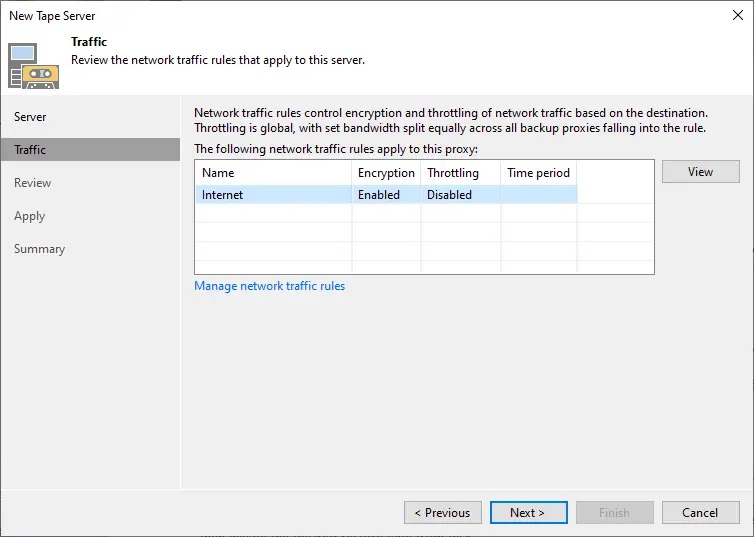
- Review the network traffic rules and control encryption settings. After confirming everything is correct, click Next.
- Review Tape Library Settings:
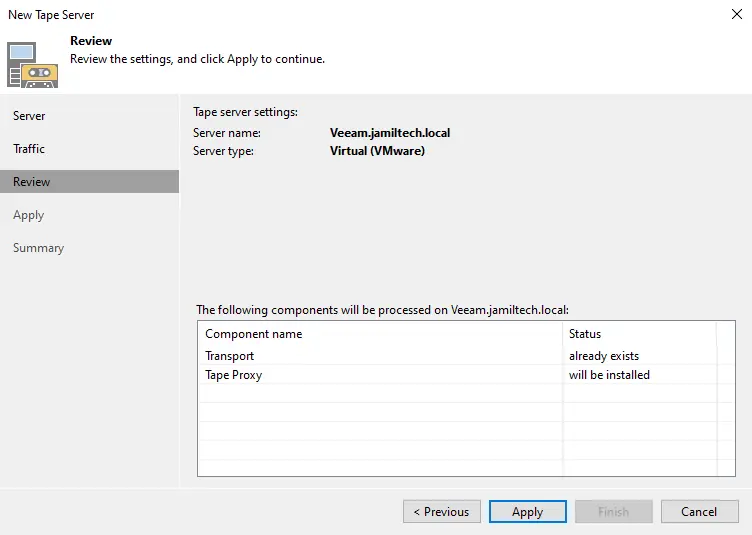
- Review the tape library settings and click Apply to continue.
- Installation and Configuration:
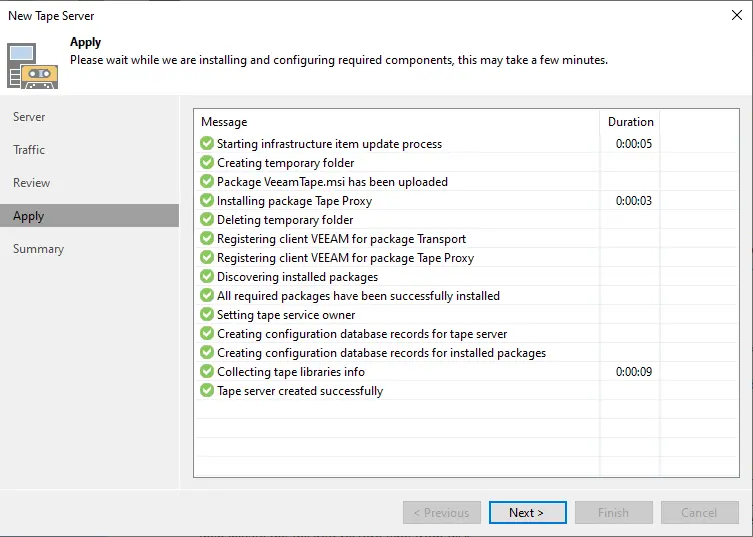
- The tape server will begin installing and configuring the required components. This process may take a few minutes. Once completed, click Next.
- Finalize Setup:
- After the tape server is successfully created, check the box “Start tape library inventory when I click on the finish button”. Then, click Finish.
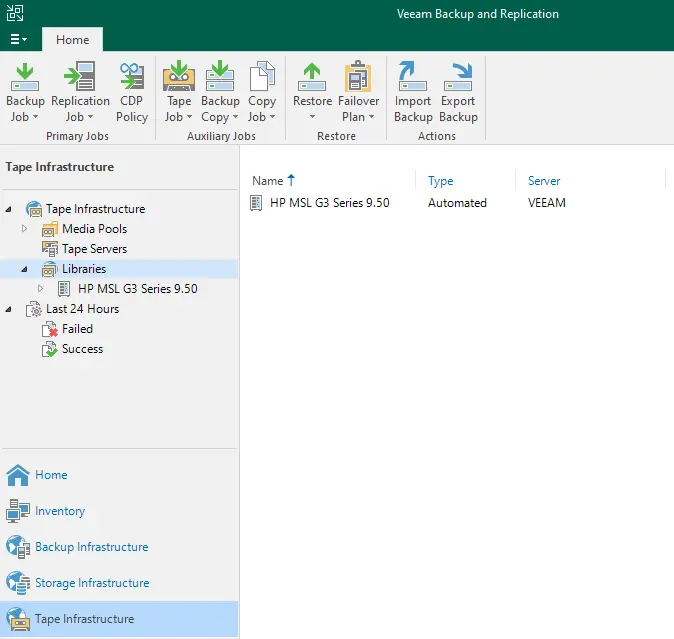
- You should now see your tape server added to the tape infrastructure library in Veeam Backup and Replication.
Add Tape Server Veeam
Run Veeam Backup and Replication, choose the tape infrastructure, and then click on Add Tape Server.
In the new tape server wizard window, choose a server to install tape components on.
Specify the DNS server or IP address of the Windows server, and then click on the next button.
Choose Next
Review the network traffic rules and control encryption, and then click on the next button.
Review, add a new tape library setting, and then click Apply to continue.
The Tape server begins installing and configuring the required components; it will take a few minutes to complete the process, and then click on the next button.
The tape server has been created successfully; please tick the box “start tape library inventory when I click on the finish button”.
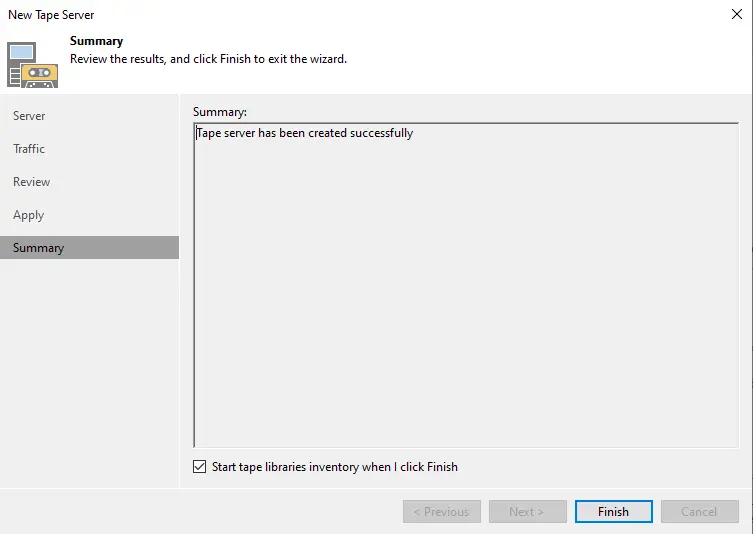
Now you can see your Tape server has been added to the tape infrastructure library.
