
Configure Backup Job – Veeam Agent Free for Windows
Veeam Agent Free for Windows allows you to set up a single operating system backup job, which is perfect for securing your Windows installation. Follow the steps below to configure a backup job.
Step-by-Step Guide
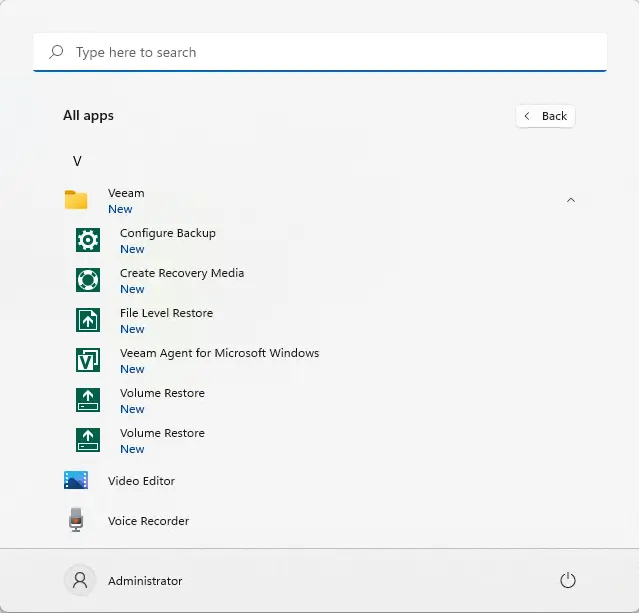
1. Install Veeam Agent for Windows
- Download and install Veeam Agent for Microsoft Windows from the official site.
- Once installed, open the Veeam Agent application.
2. Create a New Backup Job
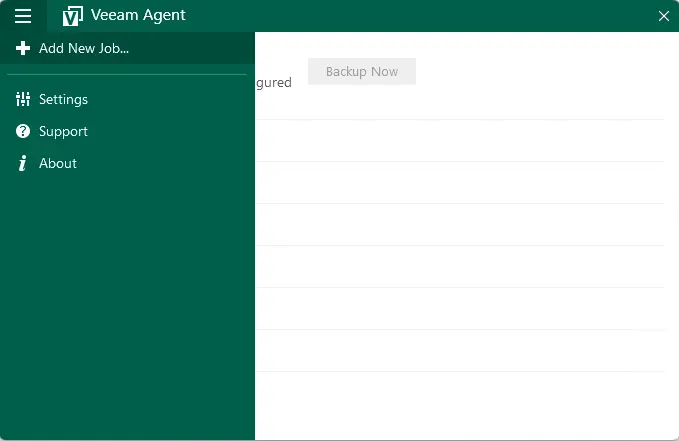
- From the Veeam Agent’s main menu, click on Add New Job or search for Configure Backup using Windows Search.
- Click on the + Add New Job option.
3. Configure the Backup Job
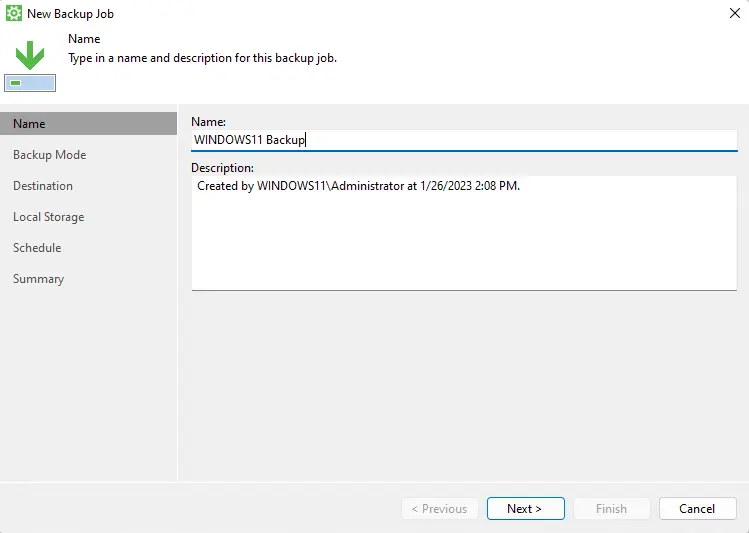
- In the New Backup Job Wizard, enter a Name and a brief Description for the backup job to help you identify it later.
- Click Next to continue.
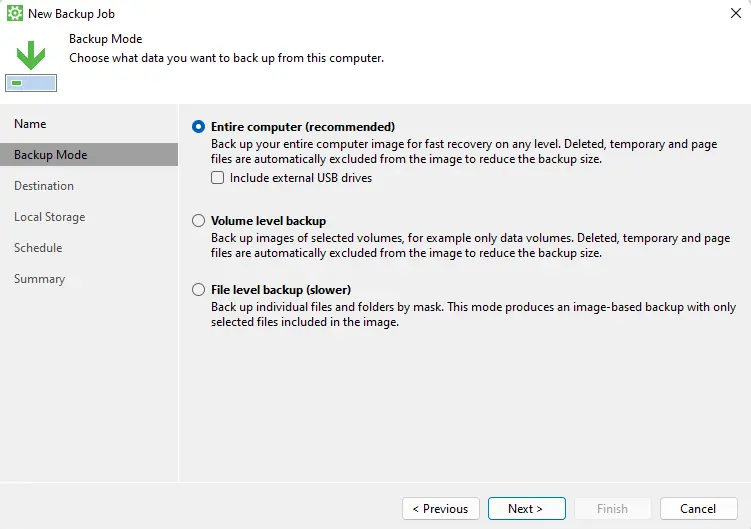
4. Select Backup Mode
- The default backup mode in Veeam Agent for Windows is “Entire Computer”. This option backs up everything, including system files and non-essential data. If you want a full system backup, leave this selected.
- For a more streamlined backup, you can choose to back up only the operating system.
Click Next to continue.
Click on + Add new job.
A new backup job wizard, Type a backup name and a small description to remember the backup job, and then click next.
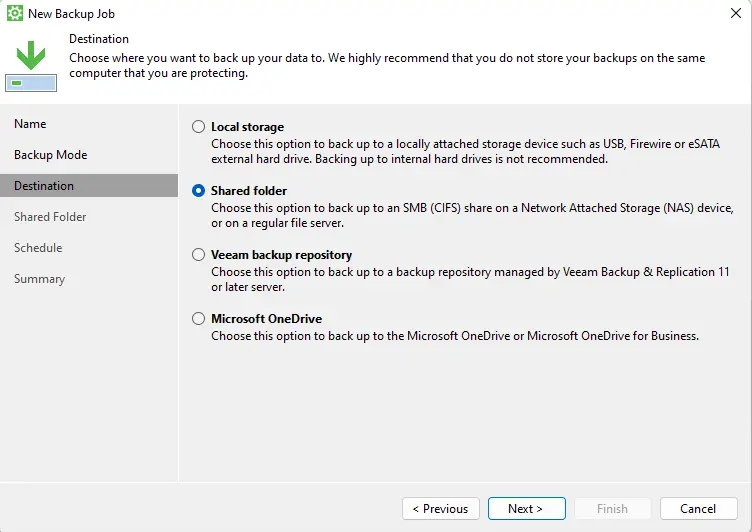
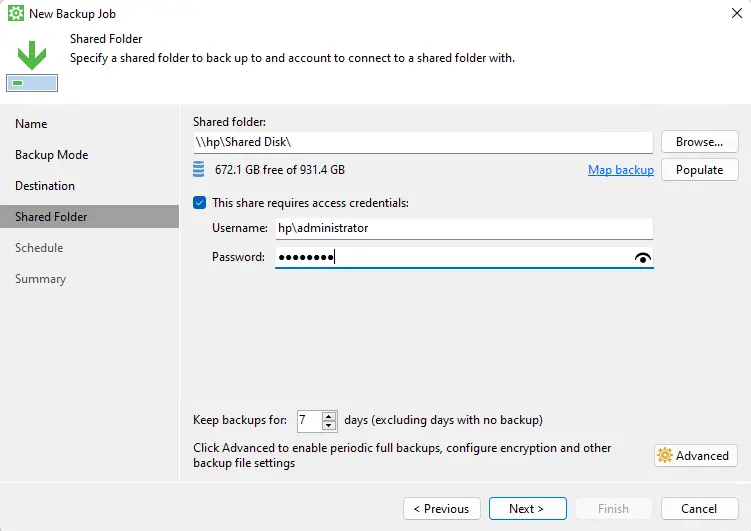
5. Choose a Backup Destination
- Select where you want to save your Windows OS backup. This can be a local drive, external storage, or a shared network folder.
- Enter the Shared Directory Path or click the Browse button to locate the destination folder.
- If access credentials are required for the shared folder, tick the This share requires access credentials box and enter the required information.
- Click on the Advanced button to configure more detailed settings.
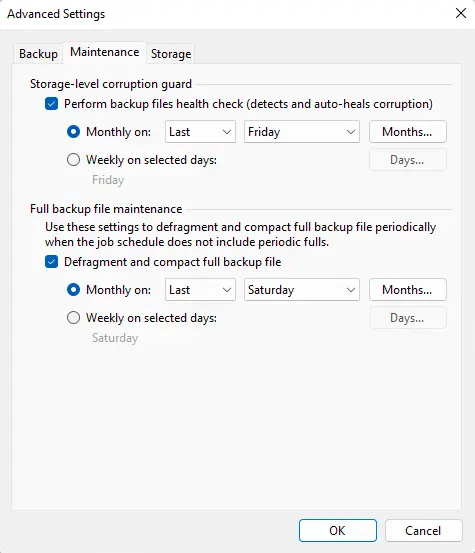
6. Configure Advanced Settings
- Under Advanced Settings, go to the Backup tab and select Active Full Backup. This ensures that the entire system will be backed up, not just the changes (incremental backup).
- You can also configure Backup Maintenance settings, which allow you to set up retention policies and delete outdated backups.
- In the Storage tab, adjust settings to optimize your backup, such as compression levels and encryption.
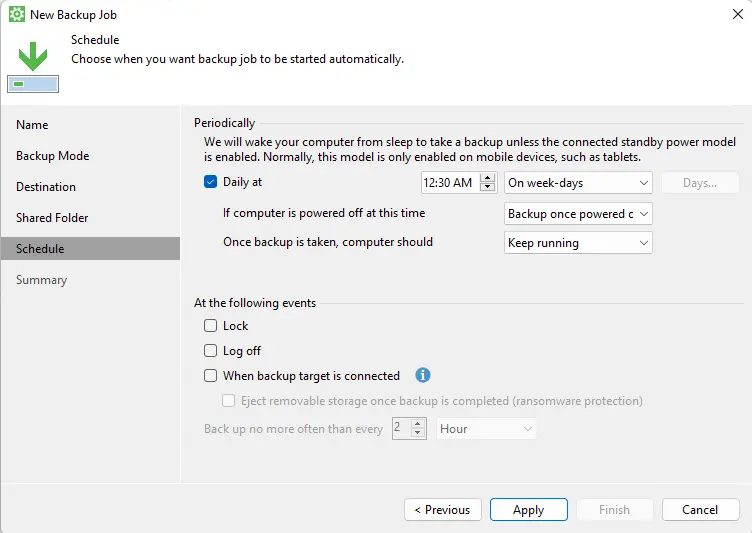
7. Set Backup Schedule
- Choose when the backup job should run. You can set it to run daily, weekly, or at specific times.
- Configure the schedule based on your preferences, and click Next.
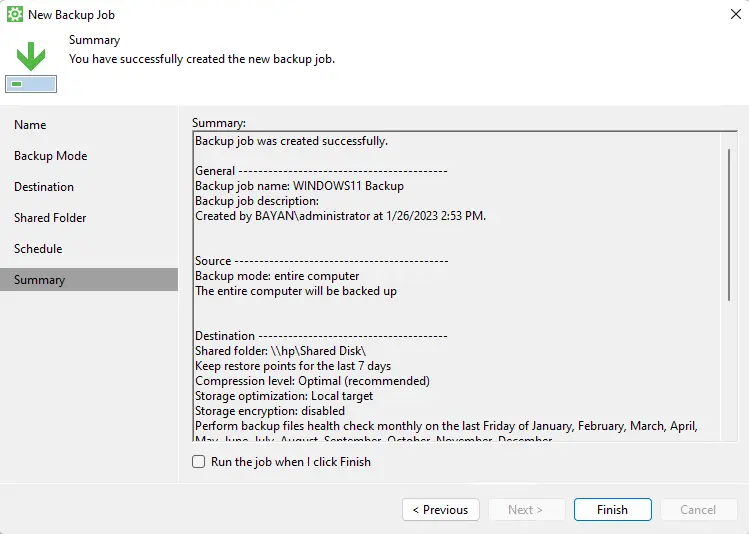
8. Review Backup Job Summary
- Review the configuration summary to ensure everything is set up correctly.
- Click Finish to save the backup job settings.
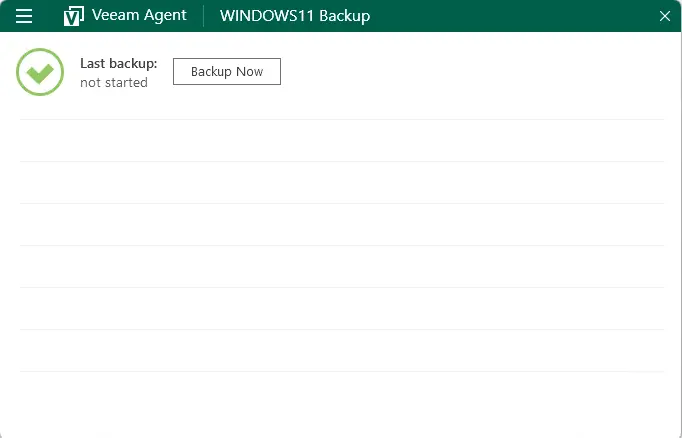
9. Start Backup Job
- After creating the job, you can start it immediately by clicking on Backup Now. This will initiate the backup process.
10. Monitor Backup Job Progress
- You can monitor the progress of your backup in real-time. A storage graph will display how much space the backup occupies.
Select a destination where you want to save your Windows operating system backup, and then click next.
Modifying an Existing Backup Job
- If you want to change the backup job settings later, go to the Veeam Agent menu.
- Your configured backup job will be listed there. Select the job, and click on Edit Job from the sub-menu to modify any settings.

In the advanced settings, click on the backup tab, and then select active full backup.

Setup backup maintenance.
Click on the storage tab and configure it as per your requirements.
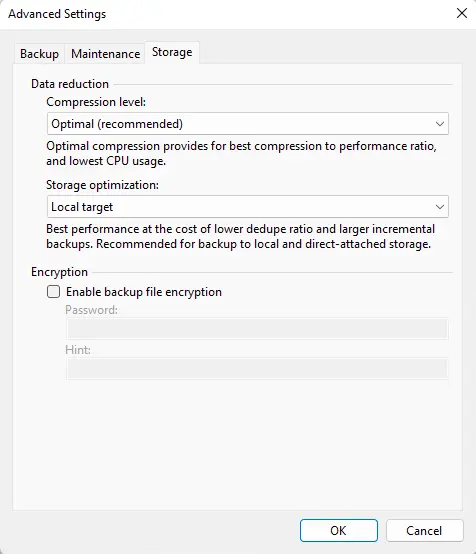
Click next
Configure the Veeam Agent backup job schedule when you wish to start the backup job, and then click next.
Review the Veeam agent backup job summary and click on the finish button.
Click on “Backup Now” to start the Veeam Agent backup job.
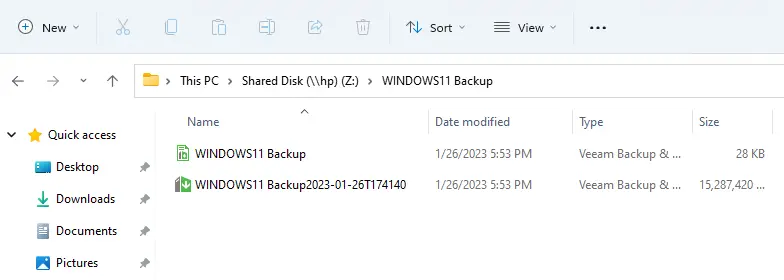
Each Veeam Agent backup is represented by a storage graph that displays how much space it occupies.
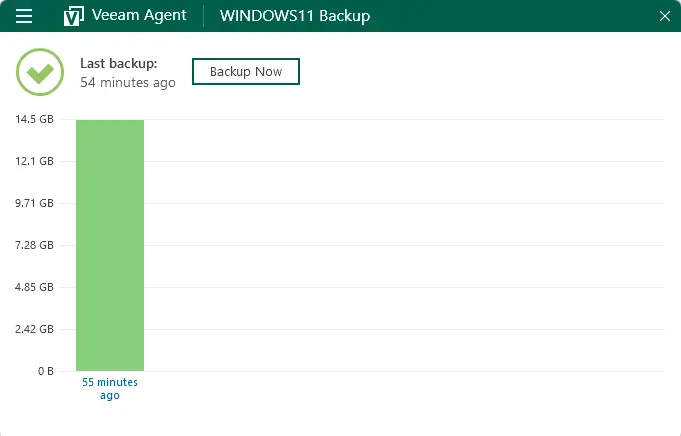
A Veeam Agent backup image for Windows is created.
By following these steps, you will have successfully configured a backup job using Veeam Agent Free for Windows, ensuring your system is protected against potential data loss.
