This article will provide steps on how to convert backup to virtual machine Veritas Backup Exec. Complicated infrastructures and the changing needs of IT demand flexible and dynamic solutions that aren’t just built to last but also to change. Is it not time for a backup and recovery resolution that adjusts to your environment and works with your budget? Then this is the time to have a look at Backup Exec. The backup and recovery that are built for change afford the flexibility to protect the entire environment while also delivering agile recovery.
Table of Contents
Backup Exec provides you with simple, easy, complete backup and recovery protection for a business to cover all your data wherever.
Convert to Virtual Machine after a Backup Job
Select the Backup and Restore tab, and right-click the server that contains the data you wish to back up and convert.
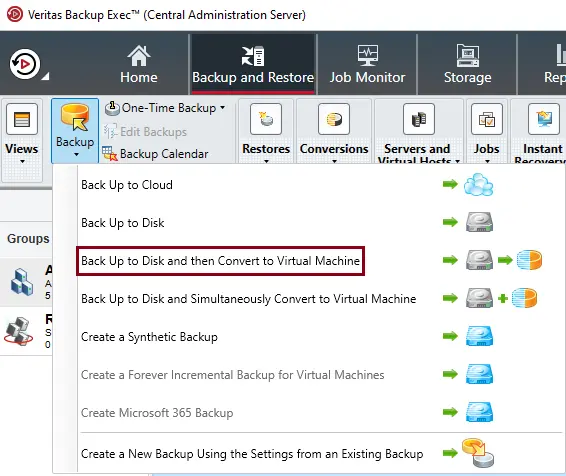
Choose the Backup option, then choose Back Up to Disk, and then Convert
to virtual machine.
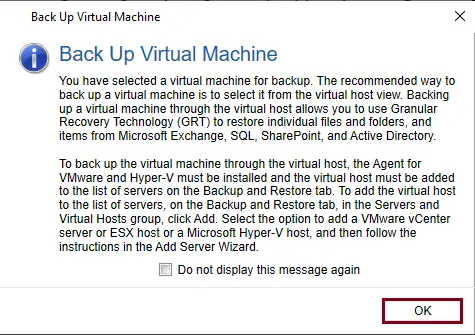
Back up the virtual machine, and click Ok.
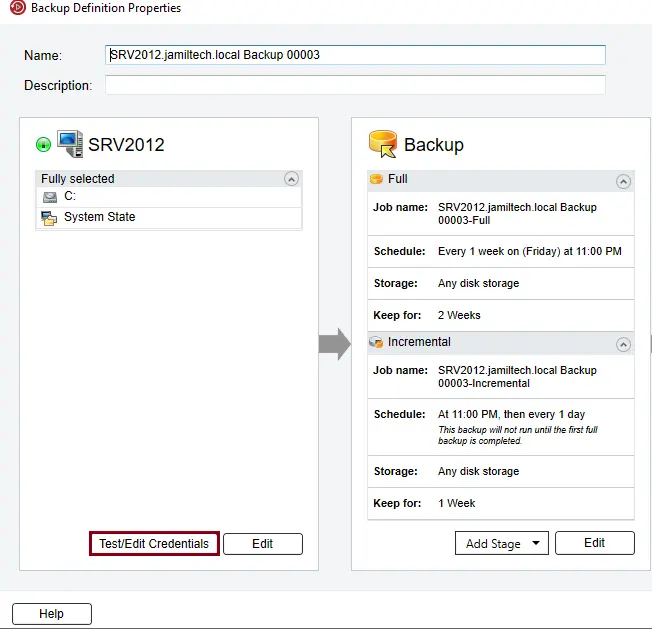
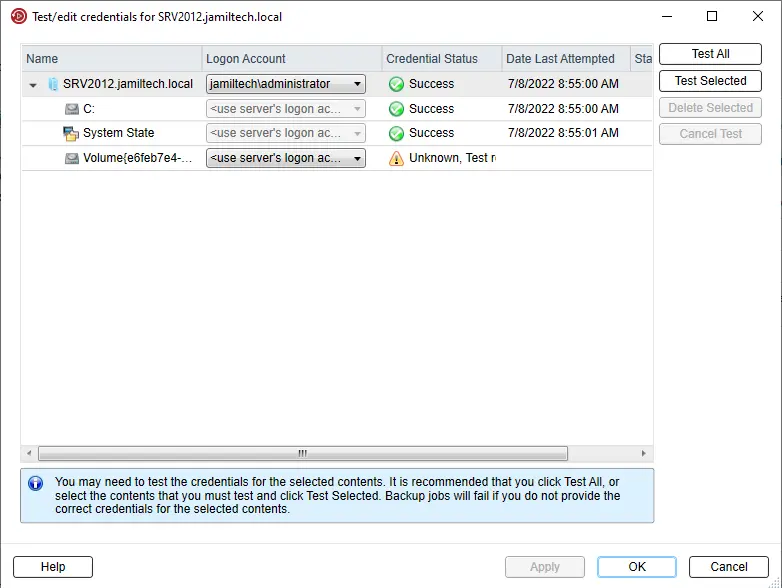
In the backup destination properties, click on Test/Edit Credentials.
Choose Test All, and then choose OK.
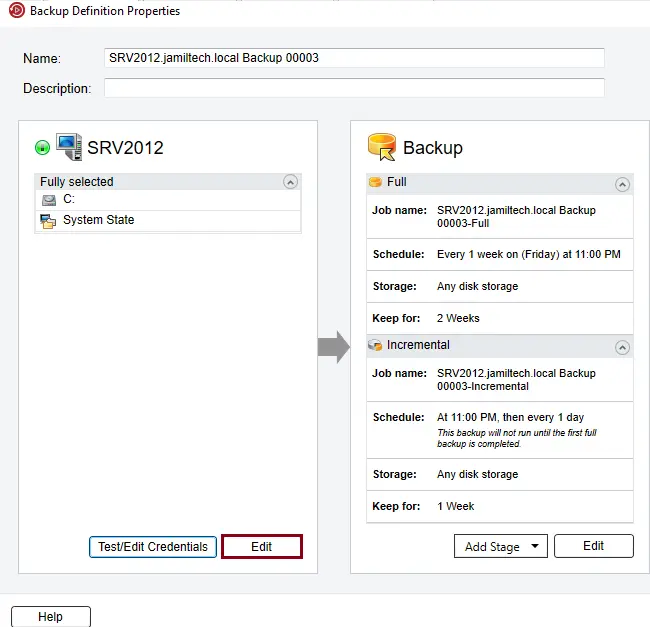
Under the server name, select Edit.
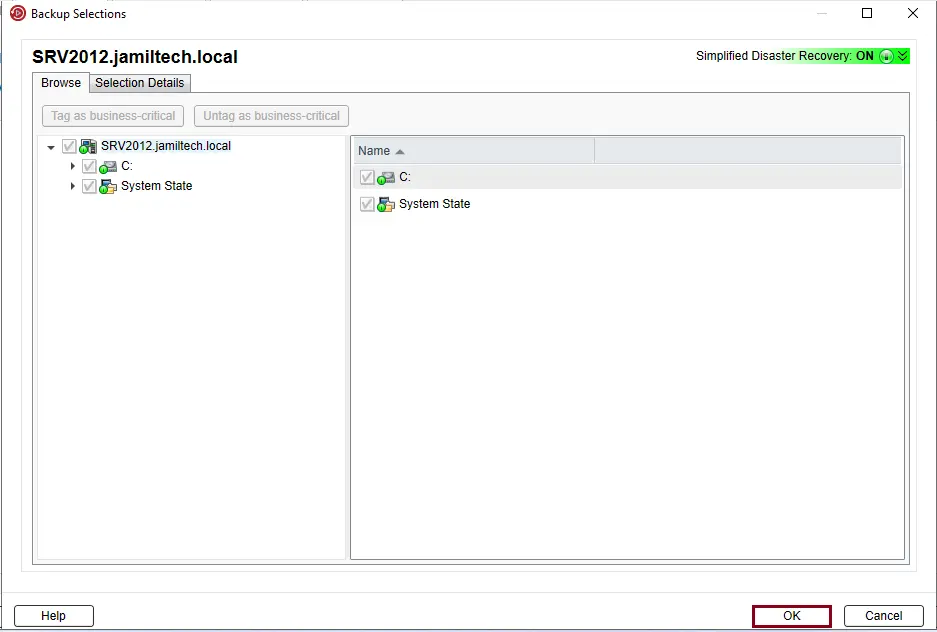
Select the items you want to backup, and then click OK.
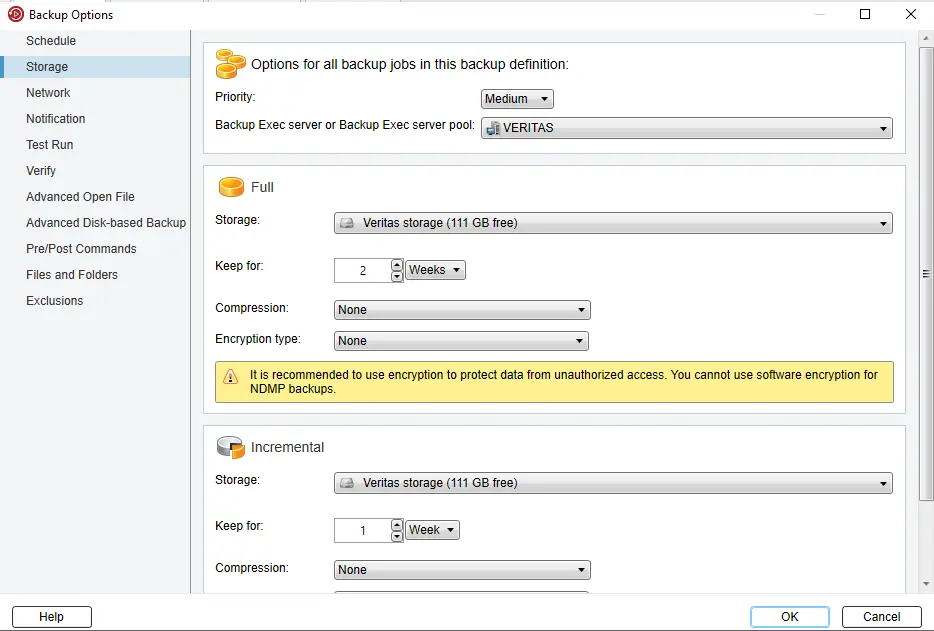
Under the Backup option, click Edit, and then change the backup options as needed.

From your left pane, choose Storage, and then select the Veritas storage device that you wish to use for the backup job or jobs.
Specify the network interface that Back up Exec uses to access remote computers.
Choose any additional options that apply to the backup job or jobs.
Click OK to save the backup settings.
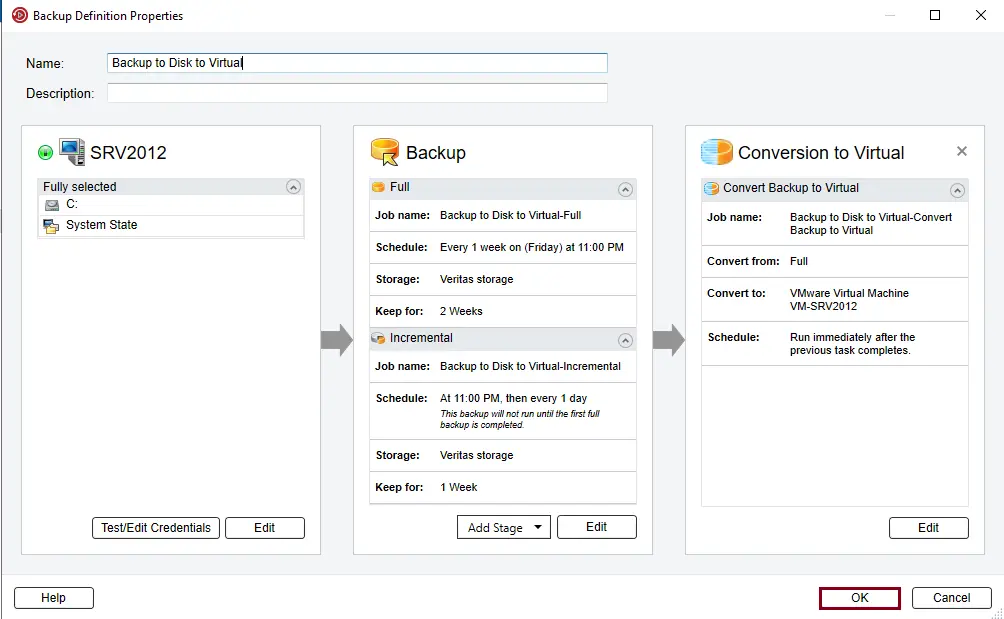
In the conversion to virtual box, select Edit, and then change the backup options as needed.

Configure Schedule
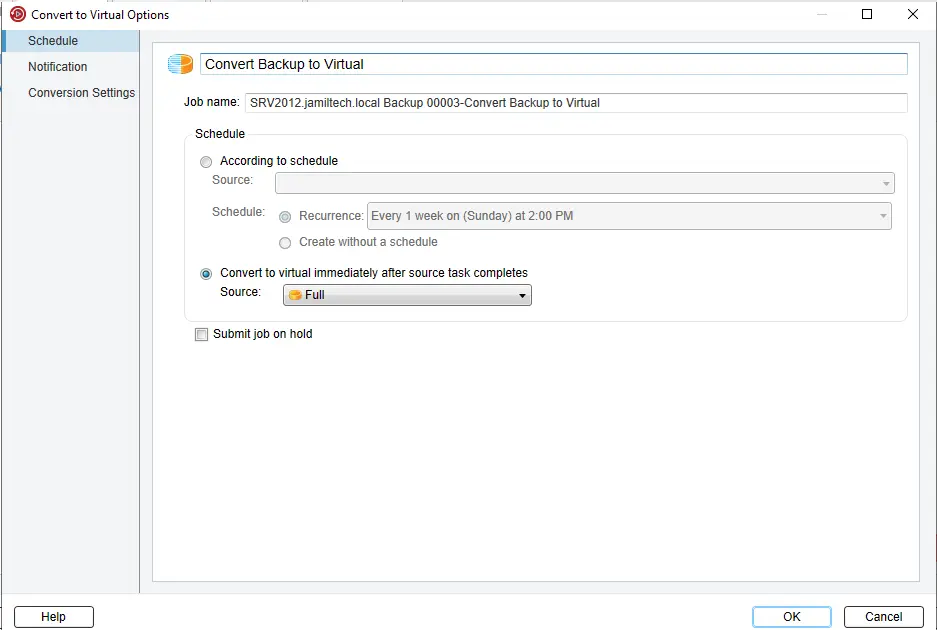
Configure Notification
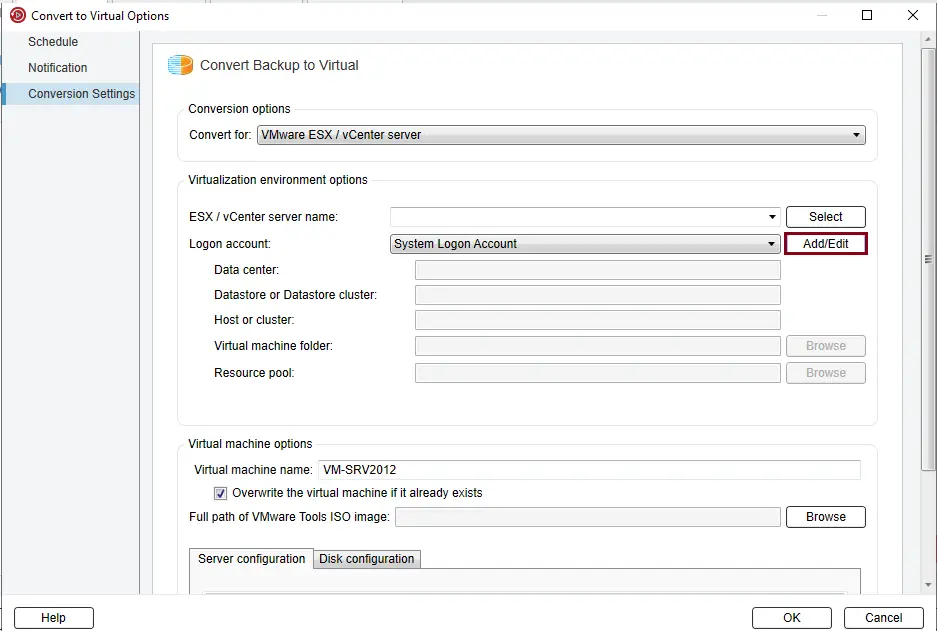
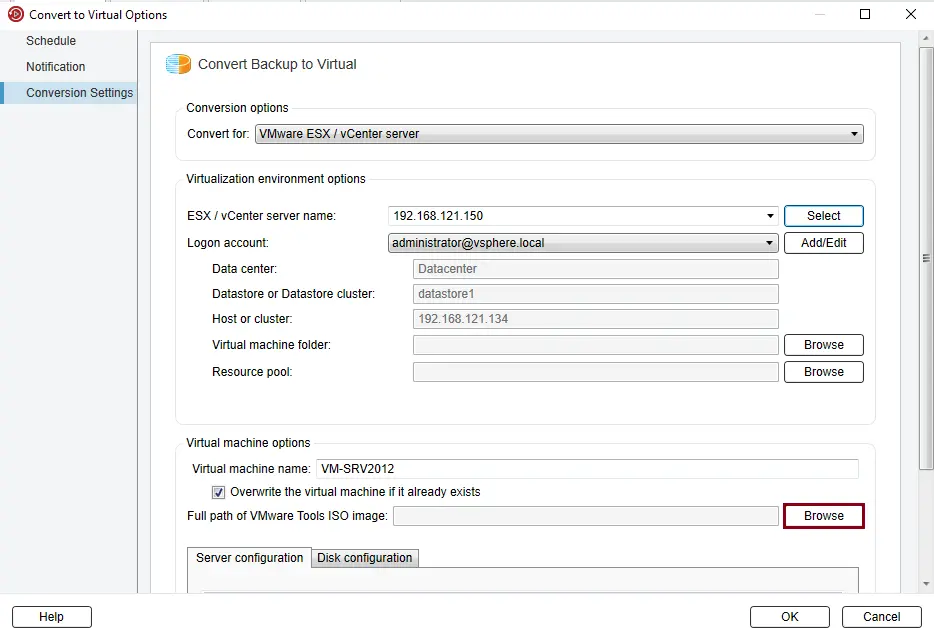
Convert Backup to Virtual Machine Veritas
Next to Login Account, click the add/edit button.
Login account selection, click on test.
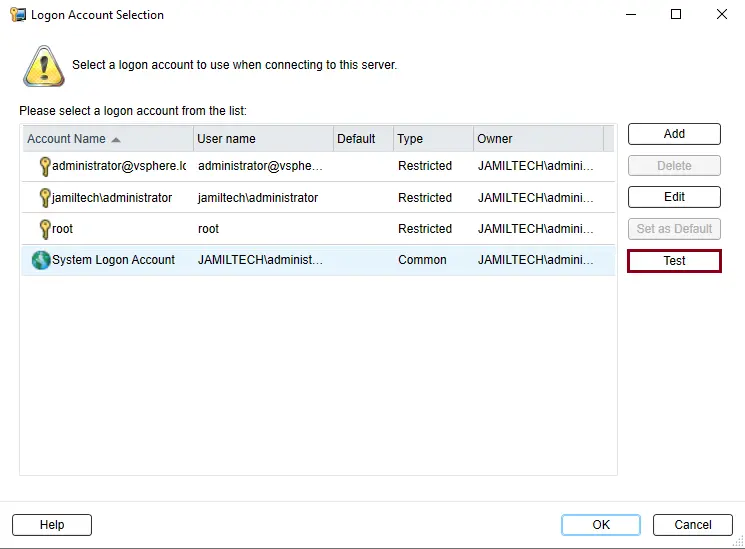
Choose Test and it will be successful.

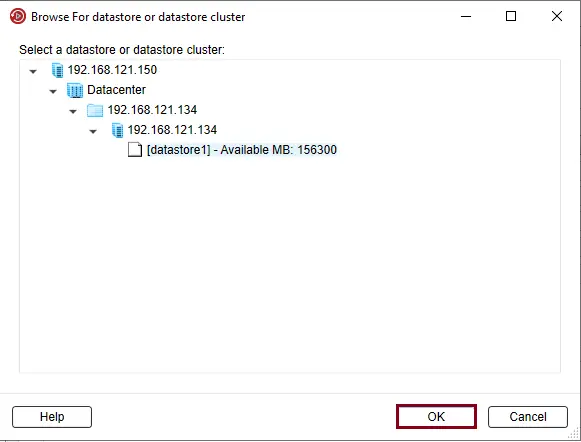
Next to ESX / vCenter Server Name, choose Select.
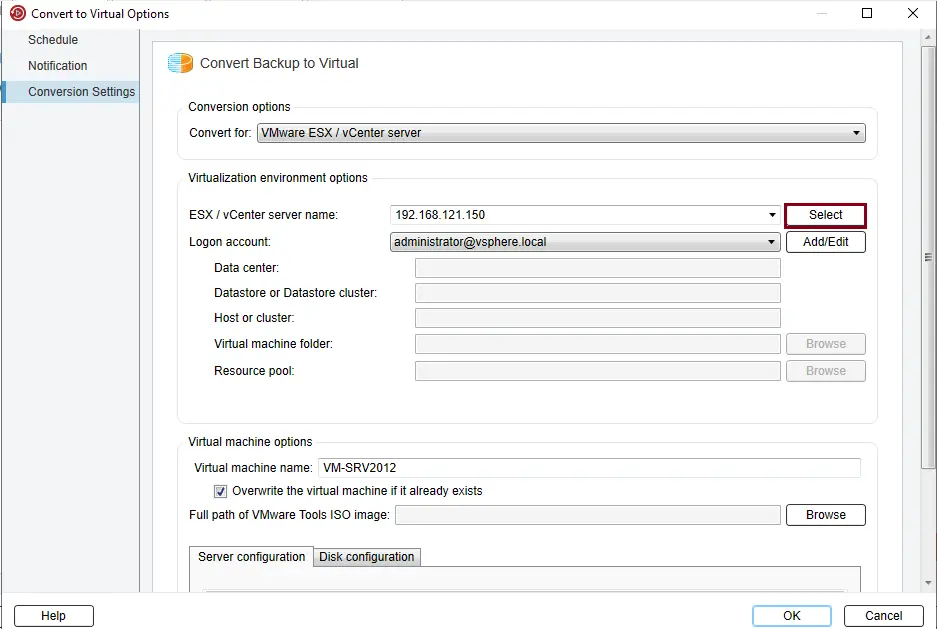
Choose a datastore, and then click OK.
Click Browse
Select the path to the VMware installer and click OK.
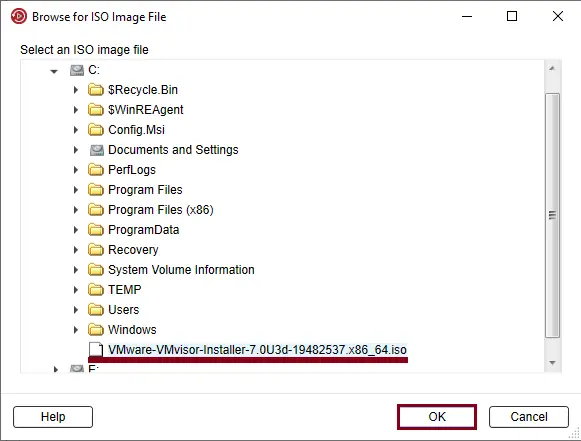
Click ok
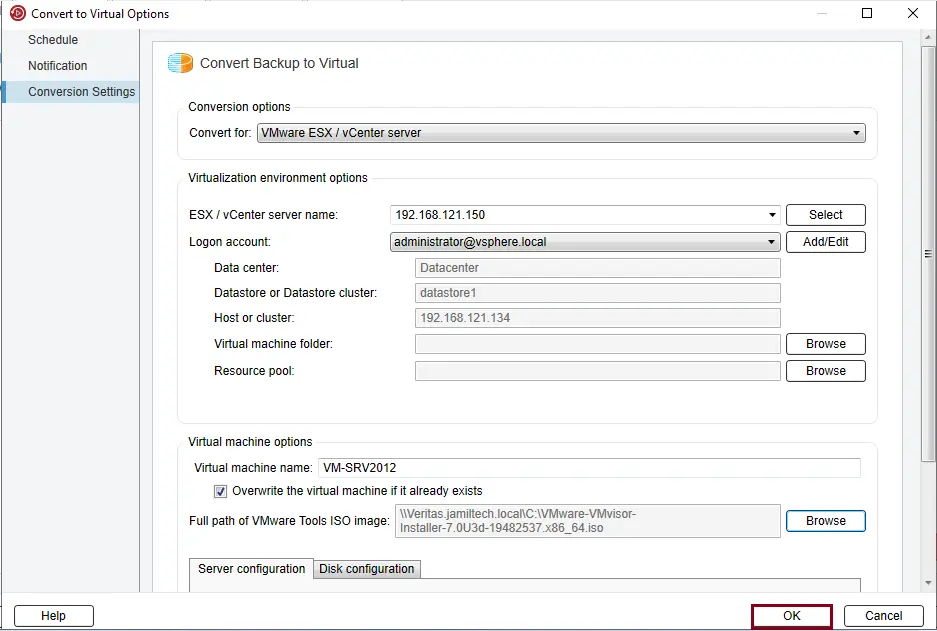
After completing the backup configuration, click OK.
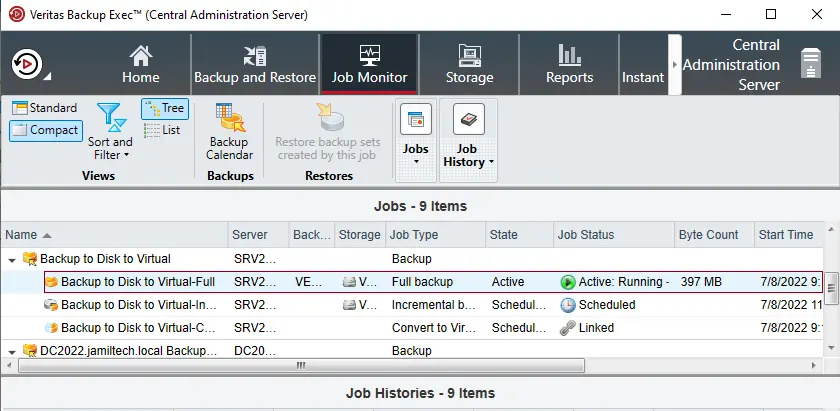
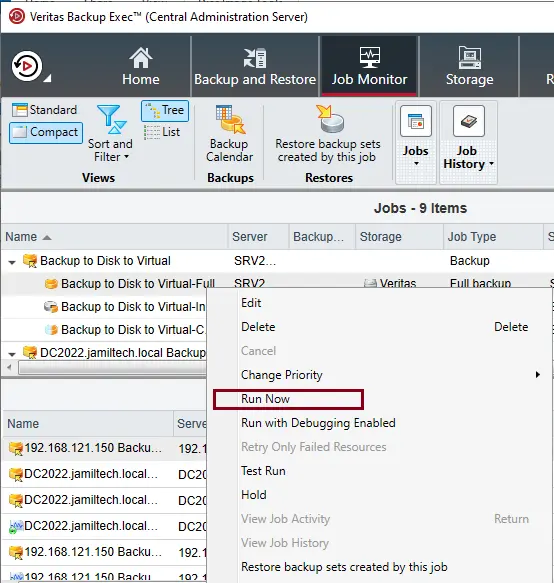
Right-click on the job created, and then choose Run Now.
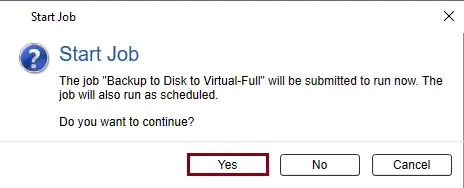
Click Yes to start the backup.
Backup Running