
In this article, we will teach you how to convert Virtual Machine to Hyper-V with MVMC. Organizations are always looking to move their systems to more typical and stable virtual environments that are less costly to license. Hyper-V at this point is getting more buyers since it is steady and getting frequently better as a hypervisor, mostly because of the license cost. These days, Hyper-V is a stable environment, and companies are now deciding whether it is safe and worth moving to Hyper-V.
Table of Contents
How to Convert VMware to Hyper-V
To perform a virtual to Virtual migration or even a Physical to Virtual migration, you need a converter tool. Instead, if you wish to convert V2V, then you need to export and import a VM using an OVF file from various hypervisors to Hyper-V.
Convert VMware to Hyper V with MVMC
Regarding MVMC, Microsoft has already removed this tool (June 2017), and it was presumed to be available only via System Center.
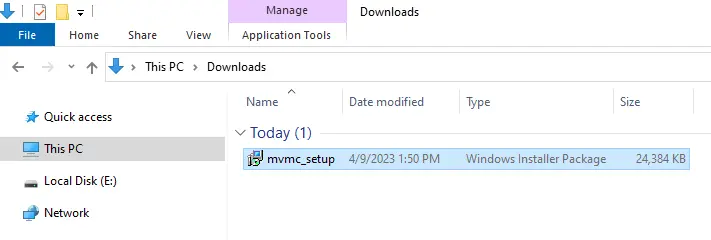
The free MVMC tool can be downloaded from this Site.
How to install Microsoft Virtual Machine Converter
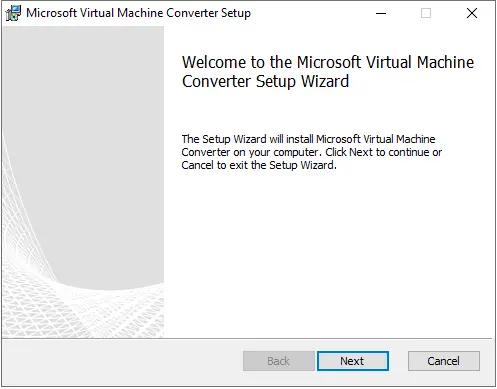
The installation of MVMC is very simple. Double-click to install the MVMC on a device that has access to both the source and destination.
Welcome to Microsoft virtual machine converter Microsoft setup, choose next.
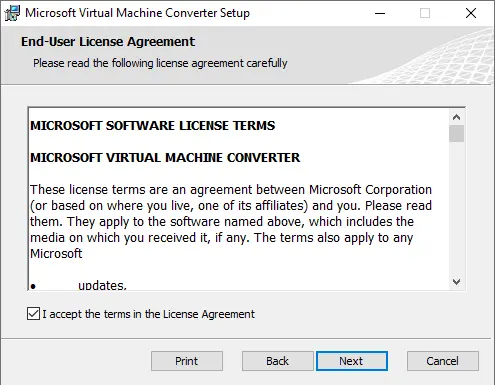
Accept the license agreement, and then choose next.
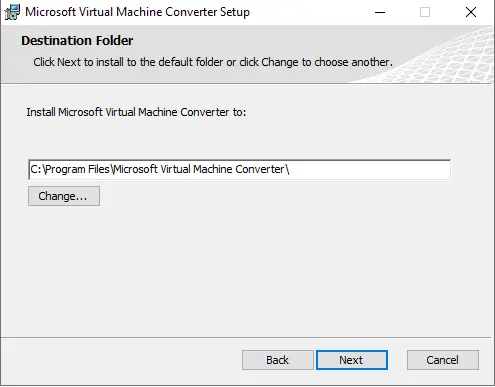
Choose the installation folder, and then choose next.
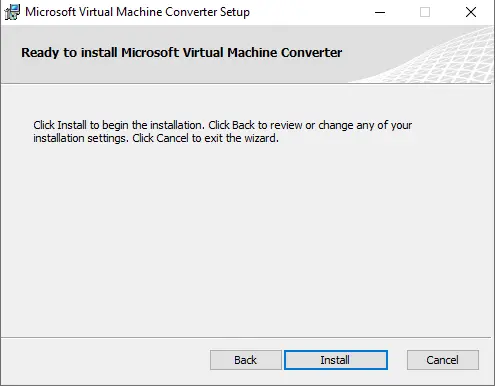
Click install
Choose finish
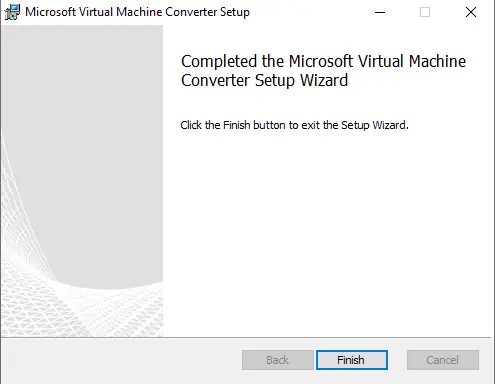
MVMC is successfully installed and ready to start the conversion.
Our Conversion Scenario
VMware vCenter v5.5 (with ESXi host)
Hyper-V Cluster (with Windows 2022 Server)
Converting a Virtual Machine with Windows Server 2012 installed.
Convert Virtual Machine to Hyper-V
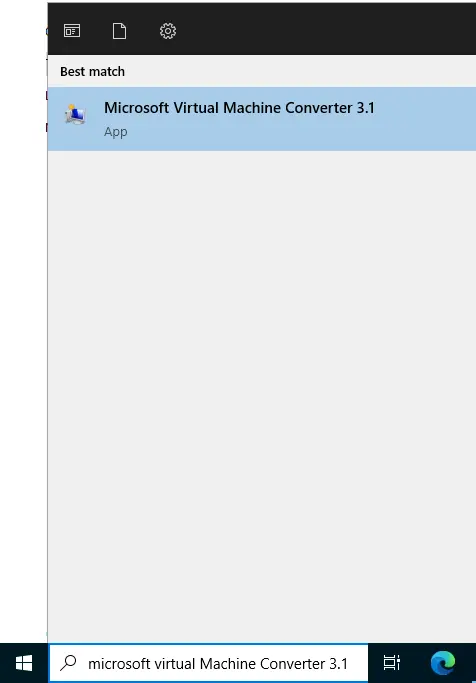
Search for a Microsoft virtual machine converter and open it.
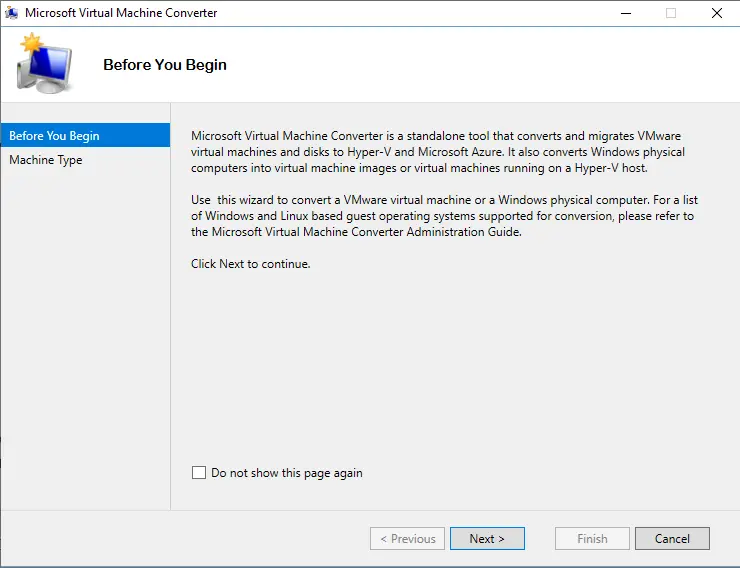
Microsoft virtual machine converter wizard, choose next.
Select the Virtual Machine Conversion option, and then choose Next.
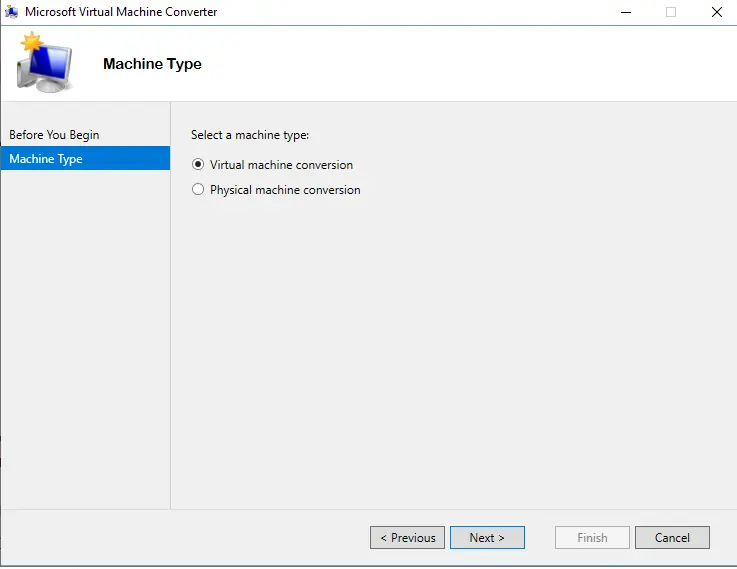
You can find two options to convert a virtual machine into a Microsoft Hyper-V.
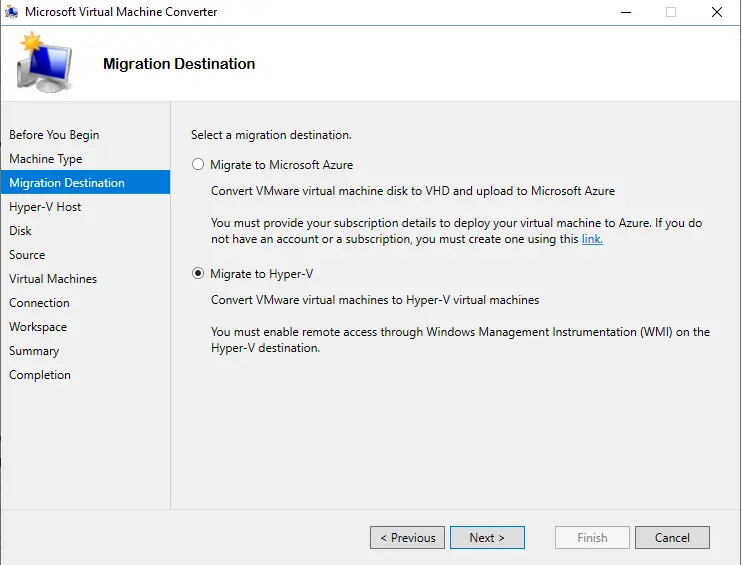
Choose to migrate to the Hyper-V option, and then choose next.
VM Conversion Destination
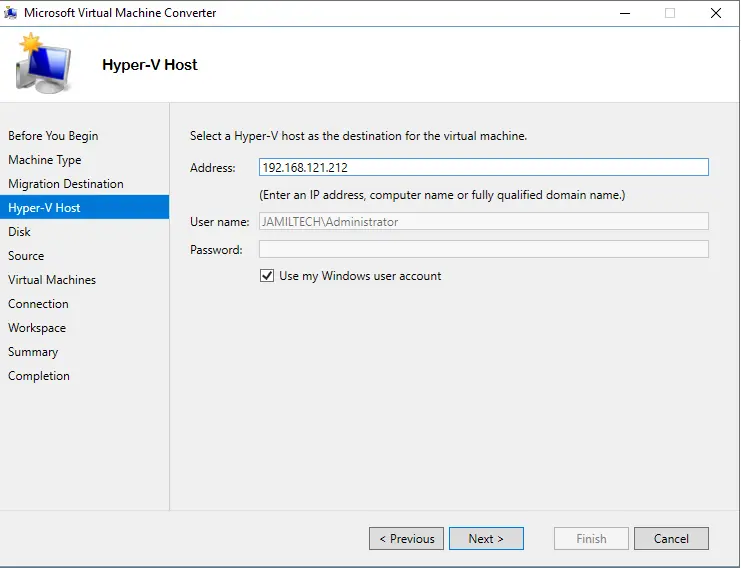
First, add the Hyper-V destination for this virtual machine.
The user name must be a local or an admin administrator on the destination Hyper-V, and then click next.
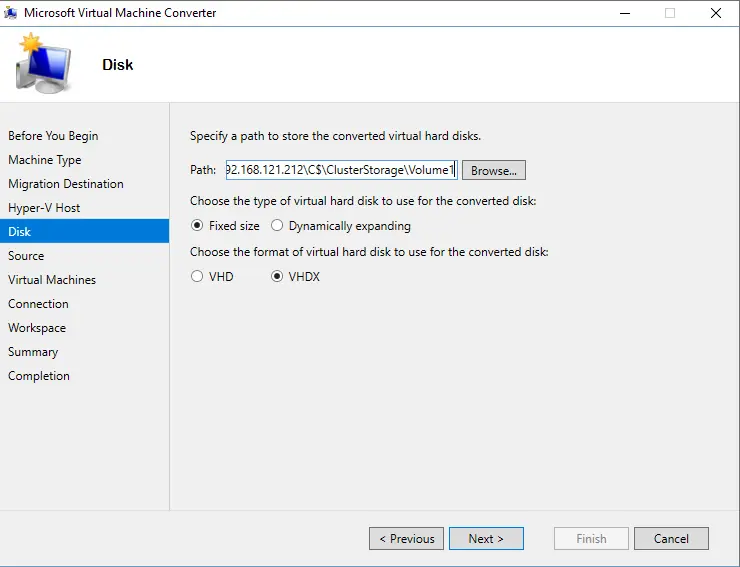
Next, you need to add the destination path in the Hyper-V to save the converted virtual machine.
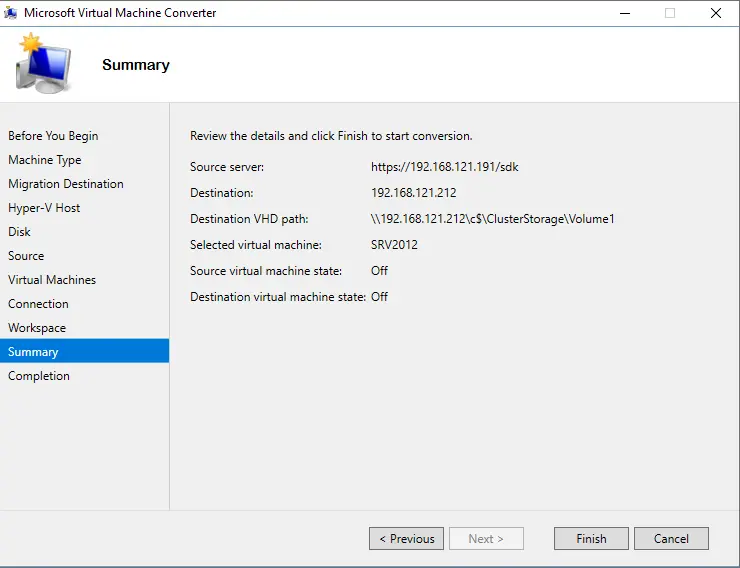
In this example, the Hyper-V is part of a Hyper-V cluster, and the storage path is ClusterStorage
\192.168.121.212\C$\ClusterStorage\Volume1\
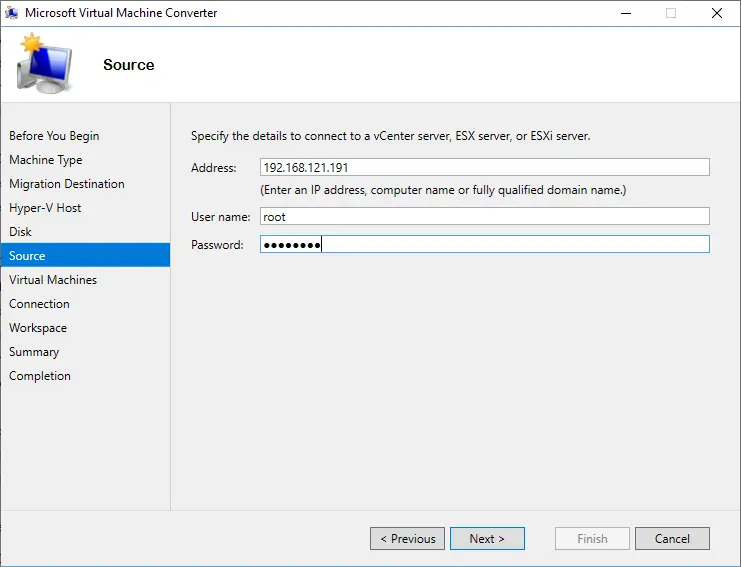
Conversion Source
The source can be a VMware vCenter or an ESXi host.
The user name must always be a local or vCenter domain administrator account.
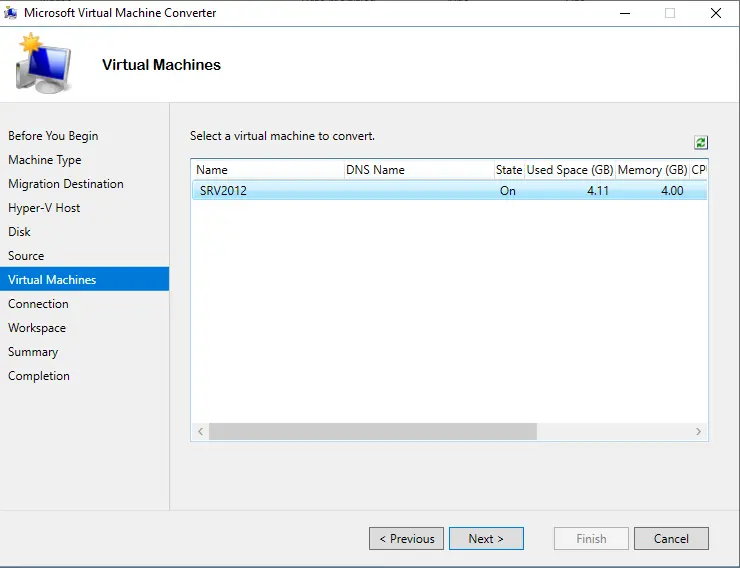
Click on the virtual machine for the conversion, and then choose Next.
Click next

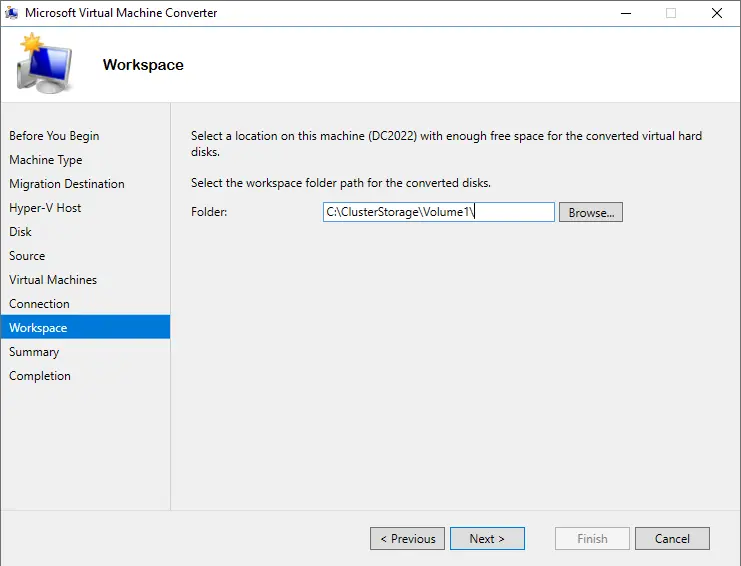
Add the folder where the converted files must be stored temporarily.
For better performance, this must be a local folder on a local disk.
Click Finish to start the conversion process.
Once you finish all conversions from source to destination, the process starts.
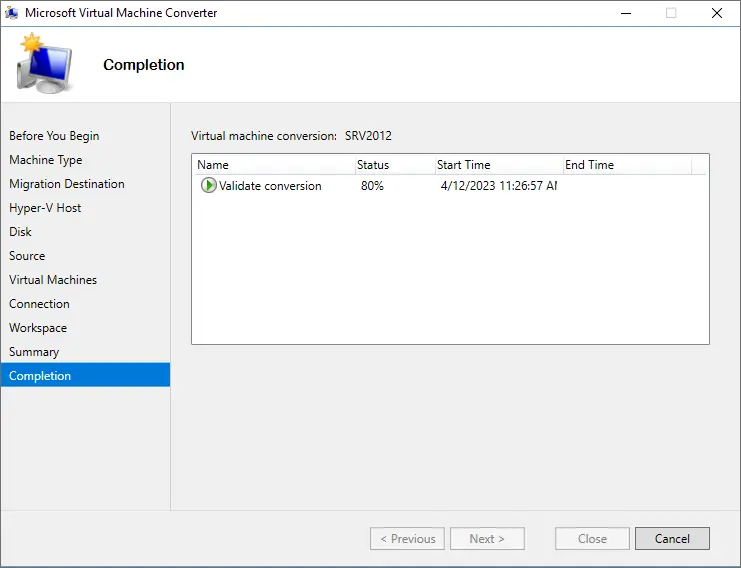
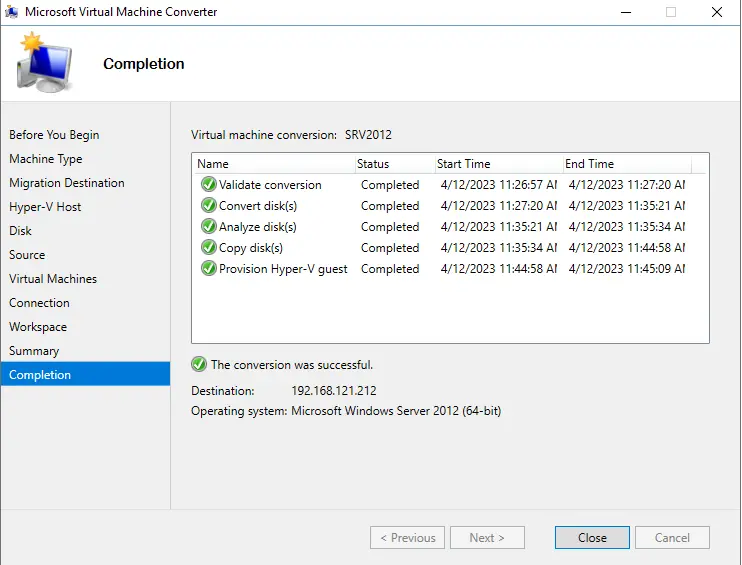
Once the conversion is done, you get a report for every task in the conversion.
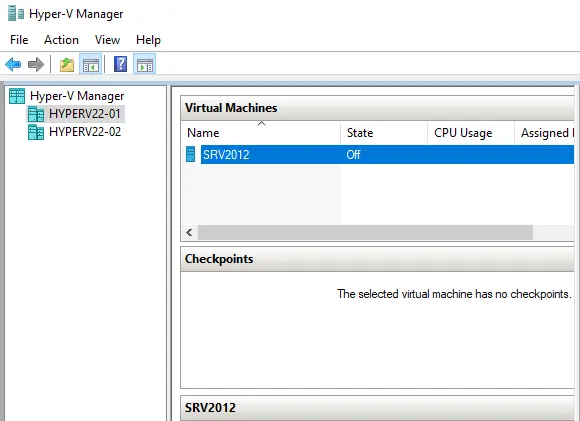
You can check your newly converted VM in Hyper-V.
Start the virtual machine.
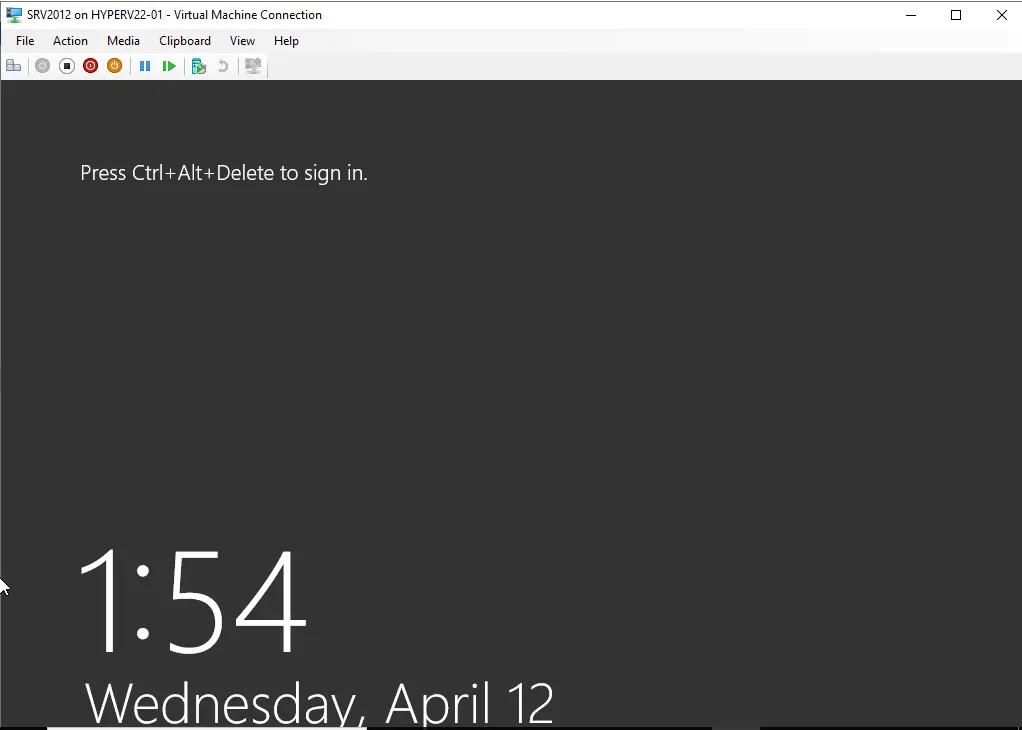
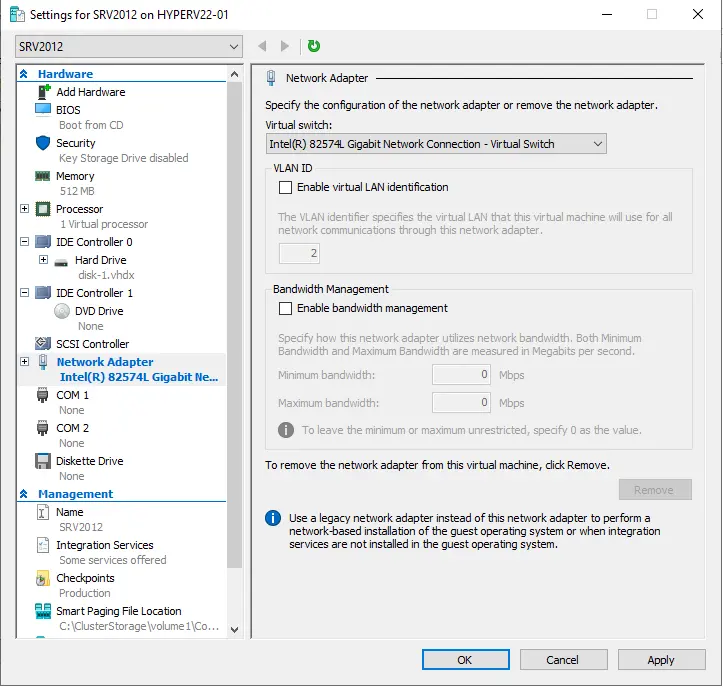
Now the converted VM is running on a different network. You have to enable the network and add it to the correct network in the Hyper-V Network environment.
Edit the newly converted virtual machine and select the Network section. Select the correct network adapter.
Read this article to find out how to convert a VMware VM to Hyper-V with MVMC.

