
In this article, I will show you how to create Disaster recovery disk Backup Exec. Veritas Backup Exec is a data protection application product that supports physical, virtual, and cloud platforms. Veritas Backup Exec is compatible with the best storage devices, including cloud, disk, and tape.
Create Disaster Recovery Disk Backup Exec
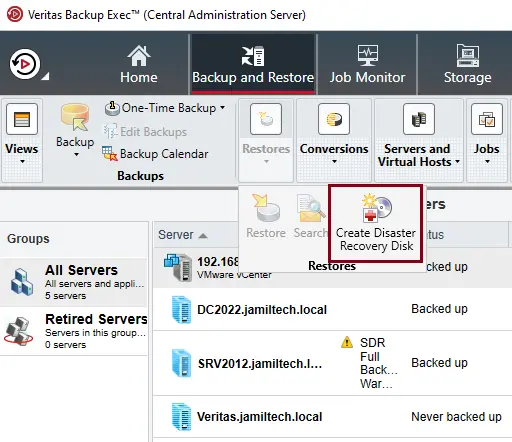
To create a simplified disaster recovery disk on Veritas Backup Exec 22. Select the backup and restore tab, click on the Conversions option, and then select Create Disaster Recovery Disk.
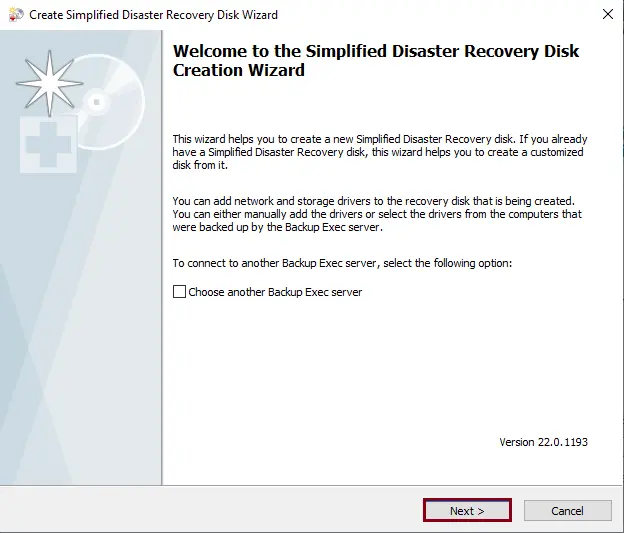
Create a Simplified Disaster Recovery Disk wizard, and then choose next.
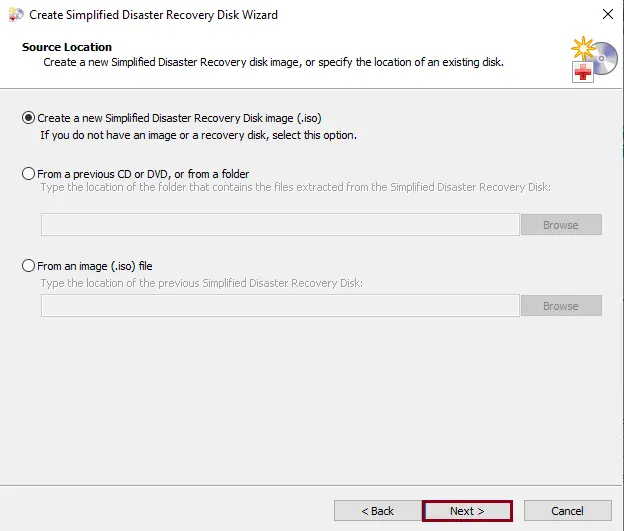
Choose to create a simplified disaster recovery disk ISO image, and then click on the next button.
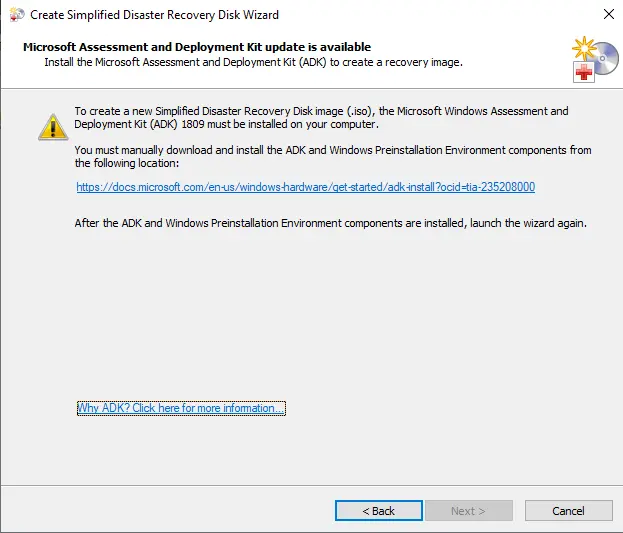
The Veritas Backup Exec SDR requires the Microsoft Assessment and Deployment Kit (ADK). You need to Download ADK and install Assessment and Deployment Kit.
NOTE: If the disaster recovery wizard is being run on a stand-alone system that is not connected to the internet, then you can download the ADK from another computer and install it.
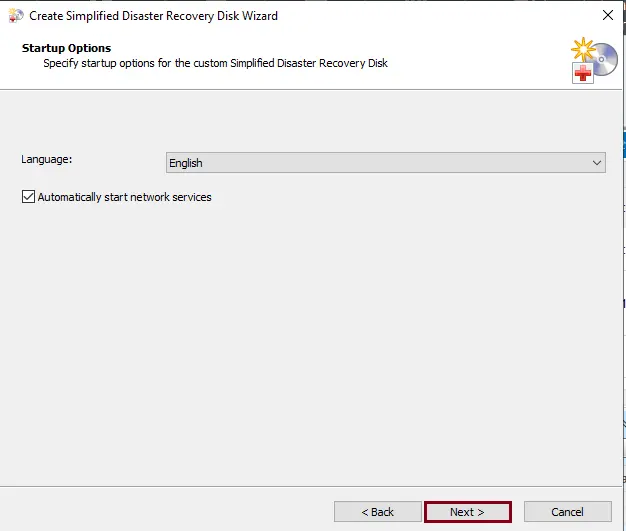
The SDR Wizard then gives you the option to select the preferred language and check the box to automatically start network services. The Veritas Backup Exec ISO image creation will create a 64-bit SDR ISO. Click on Next.
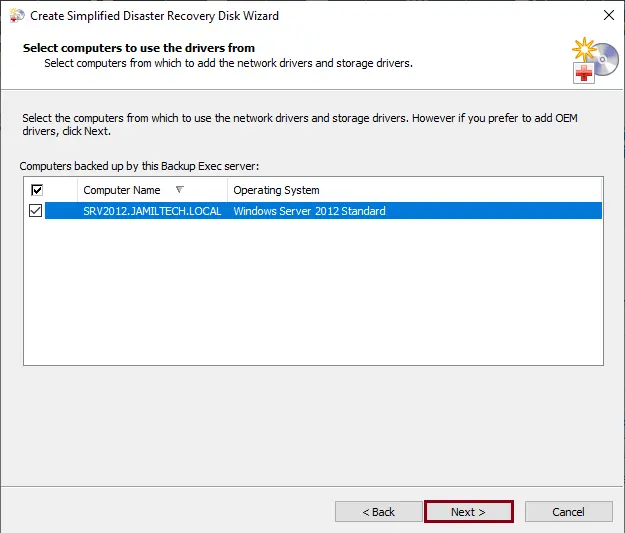
Select the computers for which you wish to add the drivers to the Veritas Backup Exec recovery disk, and then choose next.
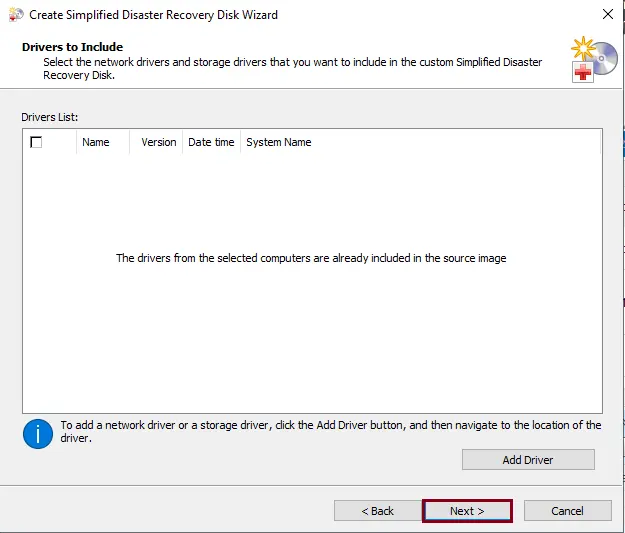
If you have any available network or storage drivers, then choose the Add Driver button to add those drivers, and then click Next.
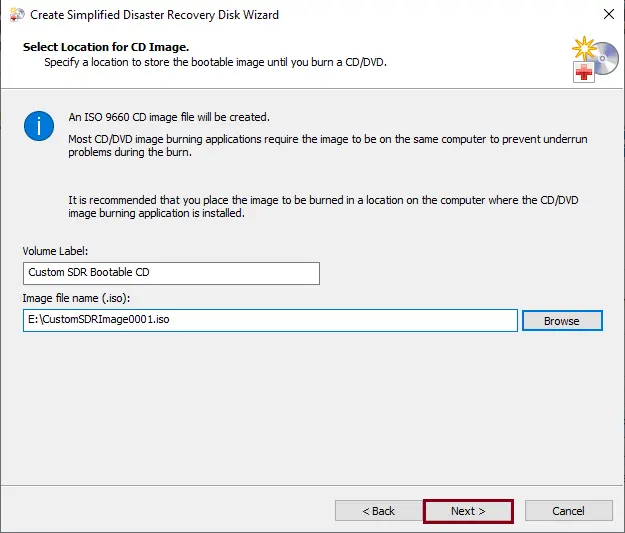
Type the volume label and the location for the ISO image file to store the startup image, and then choose next.
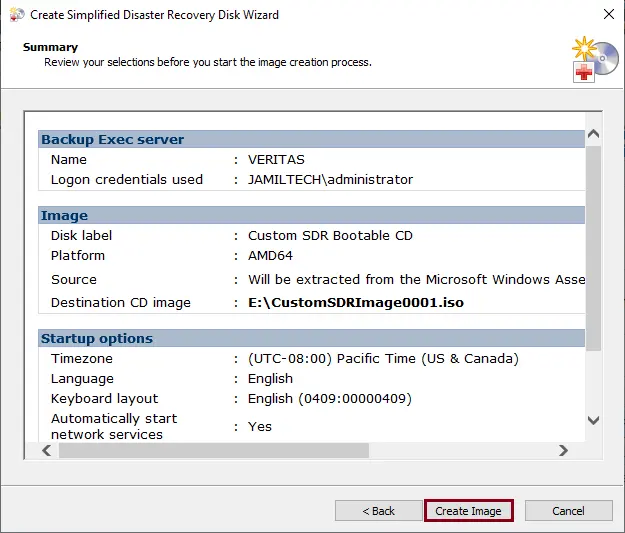
Review the Veritas recovery disk summary panel, and then choose to create an image.
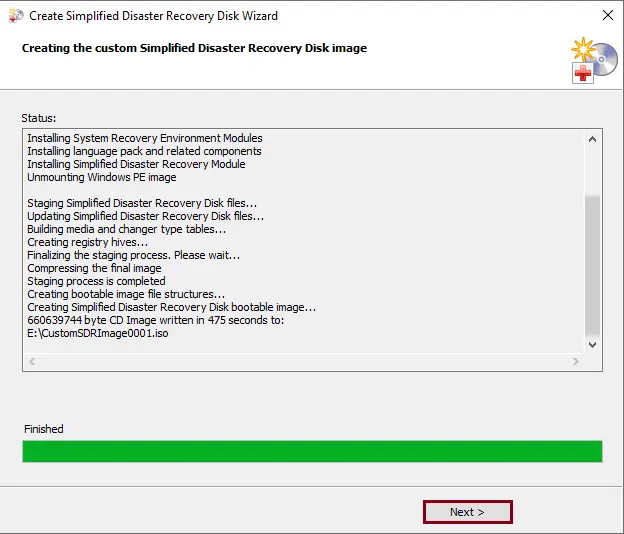
Once the Simplified Disaster Recovery disk ISO image is created, choose next.
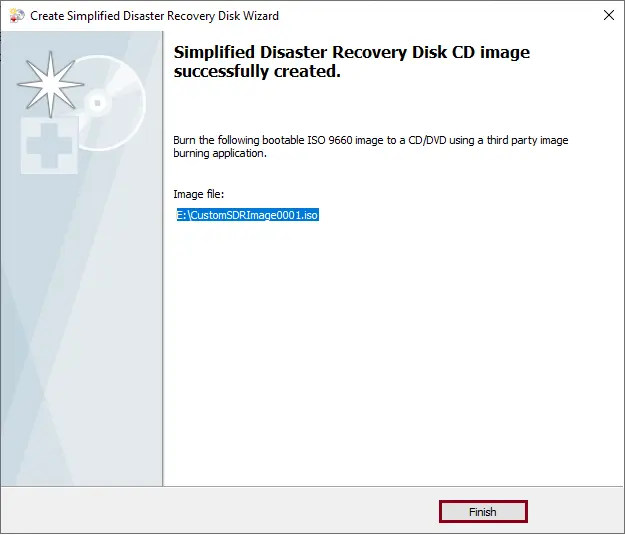
After successfully creating the Veritas disaster server recovery disk image, click close.
Refer to this article to learn more about how to simplify disaster Recovery (SDR) with BackupExec.

