
This article describes how to create Reverse Lookup Zone in Windows Server 2022. Reverse lookup zones are utilized to resolve the hostname to IP addresses. In Windows Server 2022, the reverse lookup zones utilize a PTR record that provisions the mapping of the IP address in the zone to the hostname.
In the world of DNS, reverse lookup zones request the fully FQDN (qualified domain name) that agrees with an IP address. When we inquire about an IP, the reverse lookup address helps you get the FQDN associated with that IP. This is what we are going to set up on the DNS server we installed earlier on Windows Server 2022. Creating a reverse lookup zone is different. We can create a reverse lookup zone with the subnet. For instance, we create a reverse zone by using 192.168.121.0/24, but we recover the reverse zone by using 241.168.192.in-addr.arpa.
Create Reverse Lookup Zone
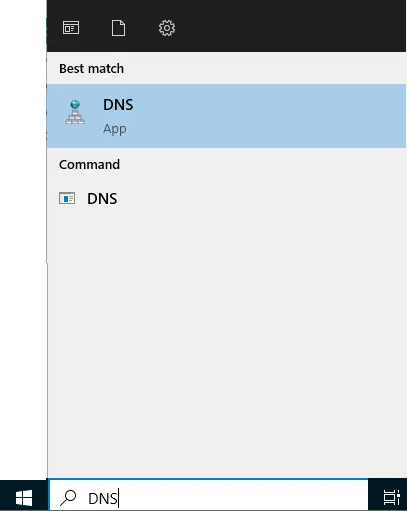
On Windows Server 2022, just type DNS in the Windows search box to quickly find the DNS console.
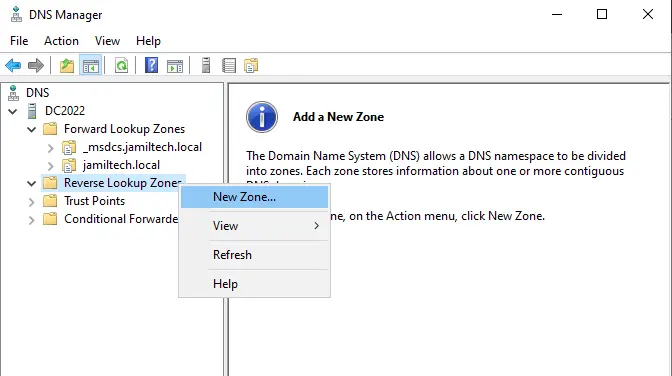
In the DNS manager page, right-click on “Reverse Lookup Zones” and then choose “New Zone”.
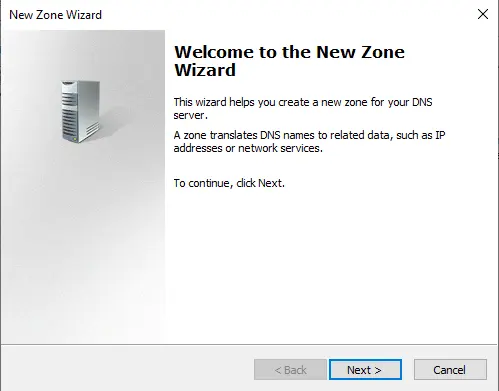
New Zone Wizard, click next.
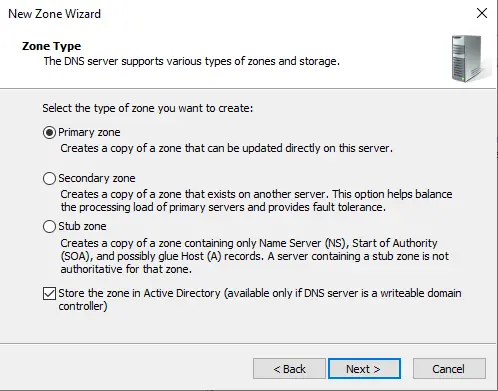
Select the type of zone you need to create (I am creating a primary zone because this is our first DNS server so keep it as it is) and choose next.
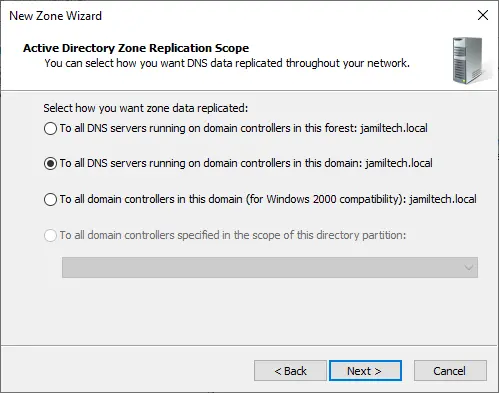
Choose the box “To all DNS servers” running on “domain controllers in this domain: jamiltech.local” and then choose next.
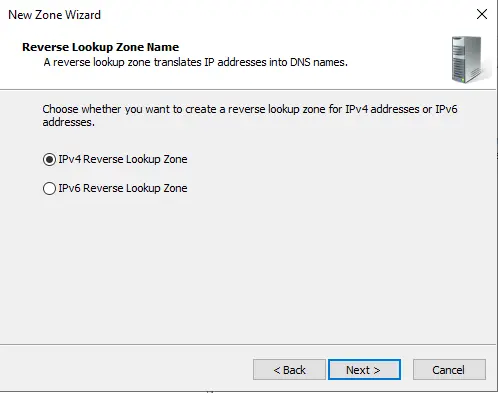
In the reverse lookup zone name, Windows selects the checkbox “IPv4 Reverse Lookup Zone” (a reverse lookup zone transfers IP addresses into a DNS (domain name server) name). Choose Next
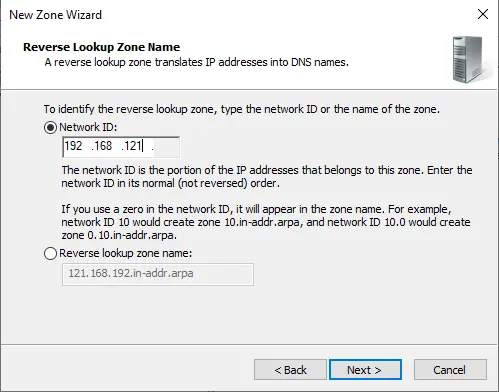
To identify the reverse lookup of an address, type your network ID and the name zone, and then choose next.
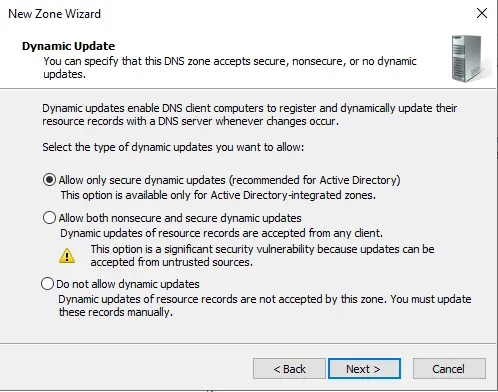
Select the type of dynamic updates you need to allow, and then choose next.
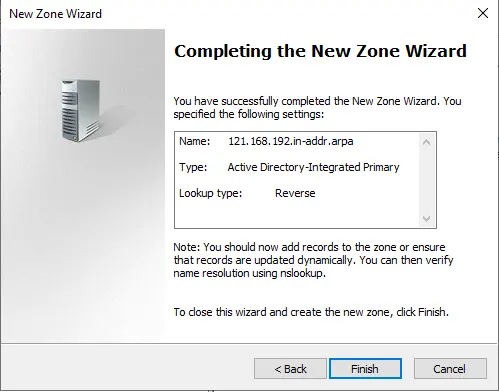
After completing the new zone wizard, click on the finish button.
Verify Reverse Lookup Zone
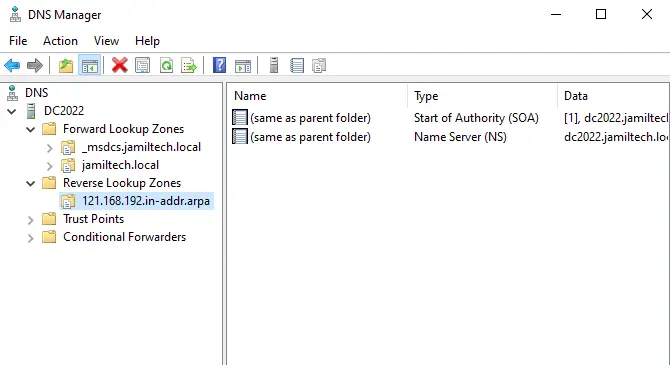
In the DNS console, select “Reverse Lookup Zone”
Now we can see the new zone listed.
Now I will click the 121.168.192.in.addr.arpa zone to view the records
Once clients (users) start “dynamically updating their DNS, the PTR records” must start populating. Also, you can manually “create PTR records” for systems that are not configured to dynamically update.
Please click on this Microsoft for more details
