Let’s have a look at this article on how to create file to tape job in Veeam backup and replication. To write files to tape, you must create a file to tape job via the new file to tape job wizard. These steps will guide you through the wizard and provide an explanation of the available options. In the article in the Veeam series, I have explained how to create files to tape jobs in Veeam Backup and Replication. In my previous article, I explained how to add Tape Server in Veeam. For more information, visit the Veeam helpcenter.
Create File to Tape Job
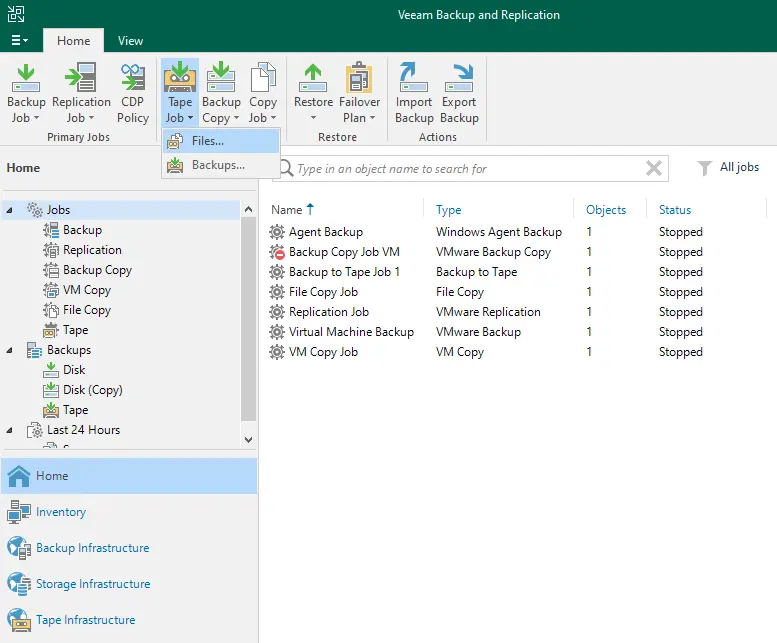
Click on the home tab, select the Tape Job option, and then choose files.
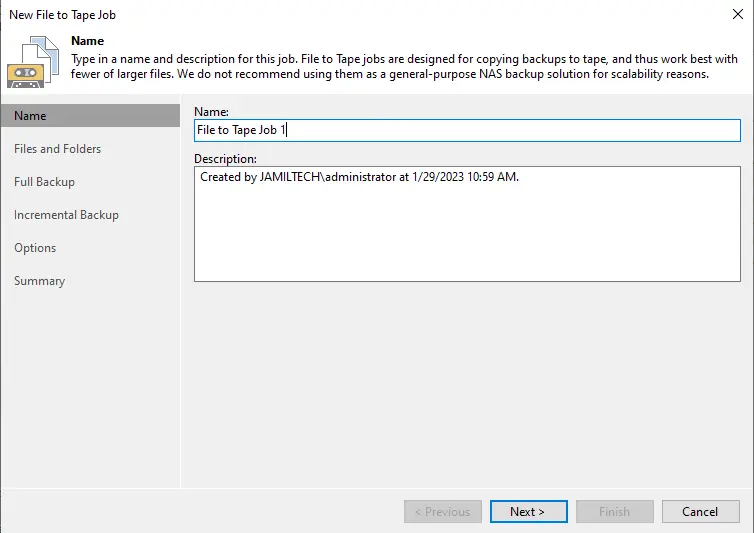
In the new file to tape job window, enter a name for the file-to-tape job.
Enter a description of the file to tape the job to remember, and then choose next.
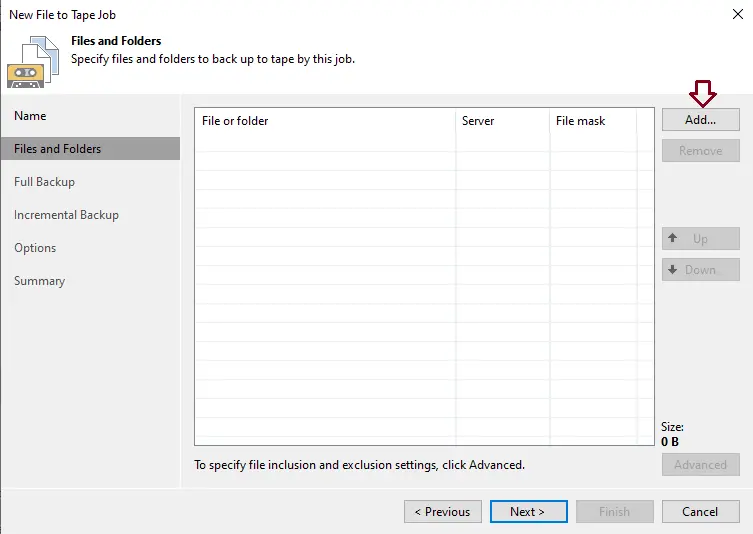
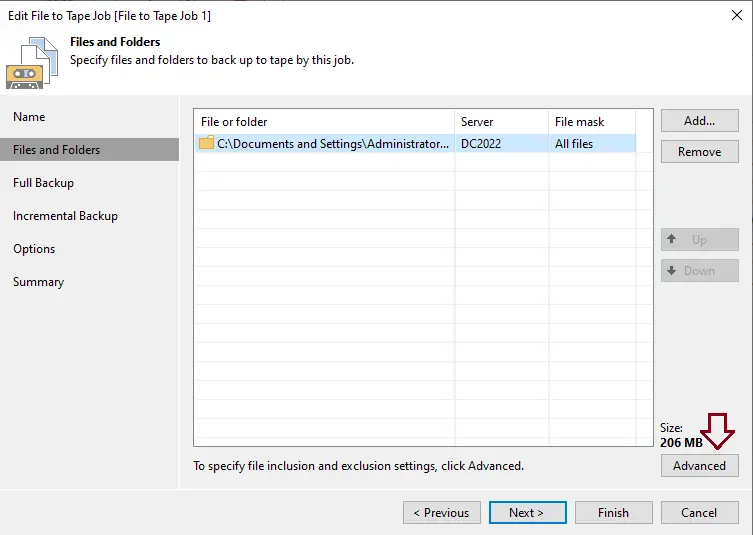
Specify files and folders to backup to tape, and then click on the Add button.
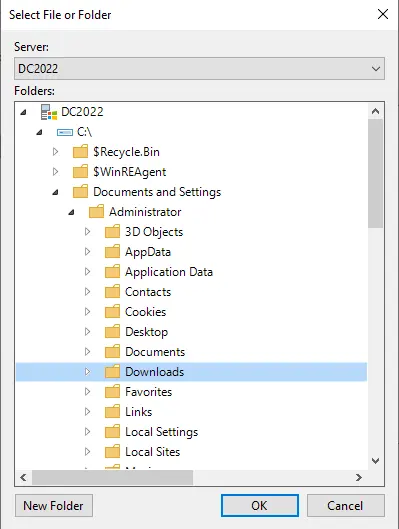
In the select file or folder window, from the server drop-down list, choose Server as the one you wish to backup files or folders. Select files/folders for the backup, and then click OK.
If you would like to back up files and folders from a Windows or Linux server, first you need to make sure the server is added as a managed server to the Veeam backup infrastructure. If you wish to back up files and folders from an NFS share or an SMB server, then you have to add a file share to the inventory. Click on Advanced
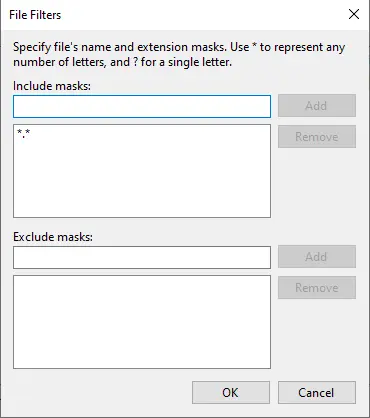
Configure the file filters, and then click OK.
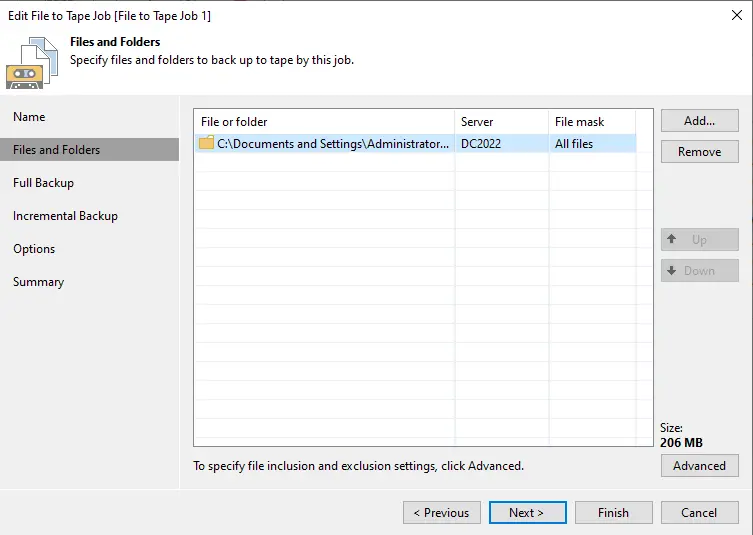
Choose Next
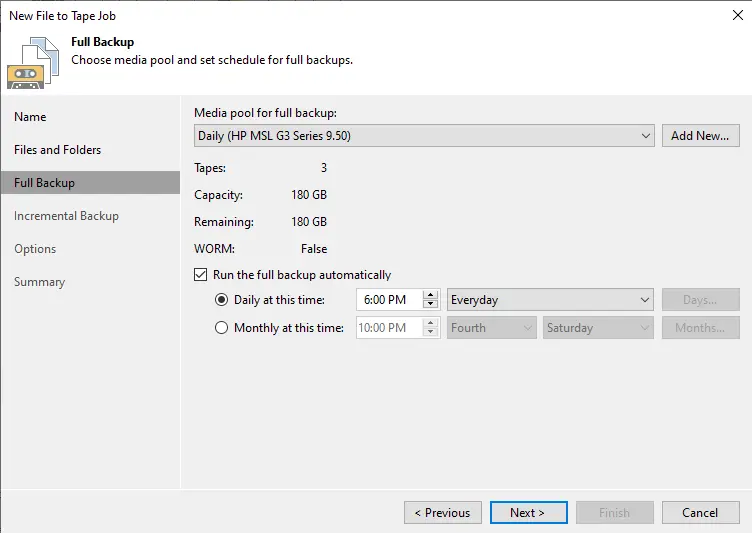
File to tape job “Full Backup options”, choose a media pool that you want to use for full backups. If you don’t have any media pools, then you need to create a media pool.
To set up a backup schedule, tick the box “Run the full backup automatically” to specify the full backup schedule, and then click next.
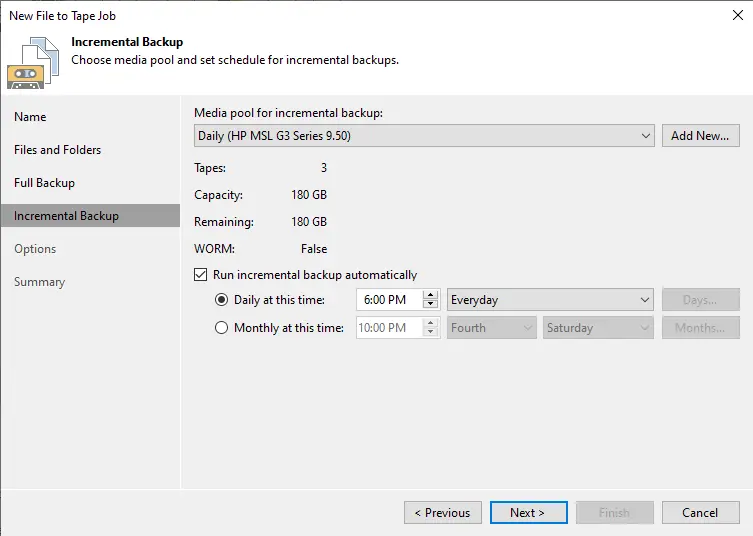
File to Tape Intermental Backup
File to tape job incremental backup settings; choose a media pool that will be used for incremental backups. Click next
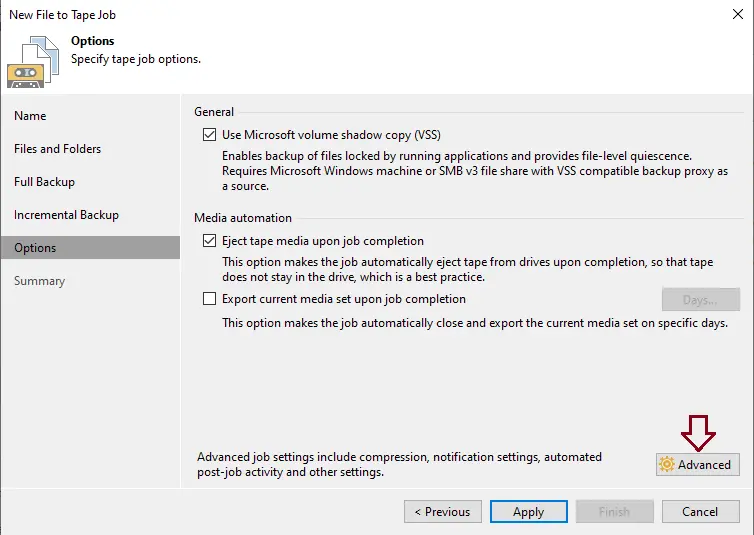
Tick the box “Microsoft volume shadow copy (VSS)” to enable the backup of files with the help of shadow volume copies.
Select the box “Eject media upon job completion” if you wish tape to automatically eject from the drive. Click on Advanced
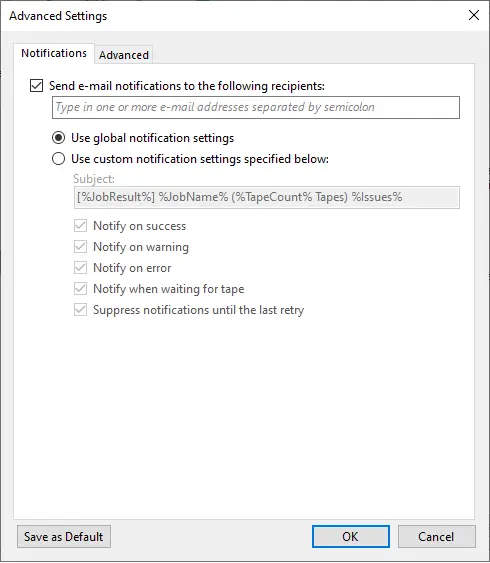
Configure notification settings, click OK, and then click Apply.
Click Finish.

If you want to run the job, then click on the start button.
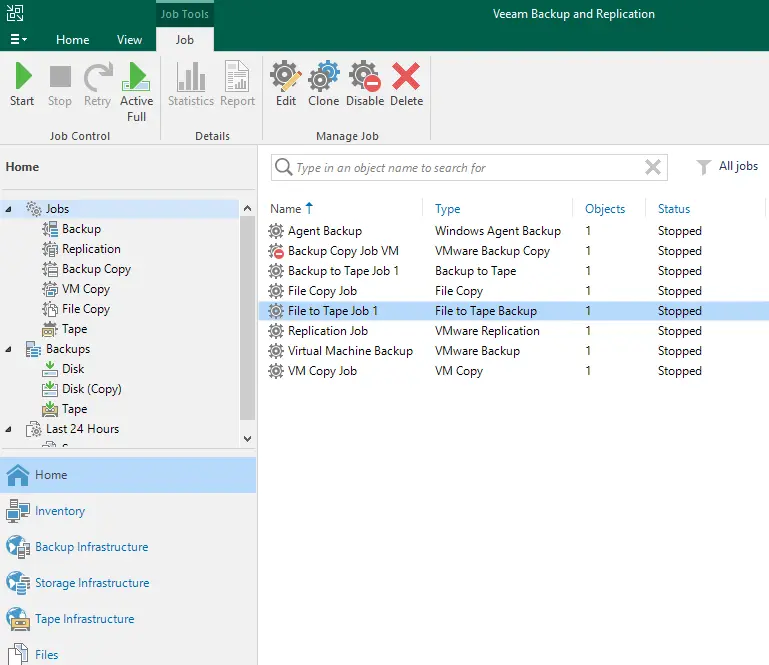
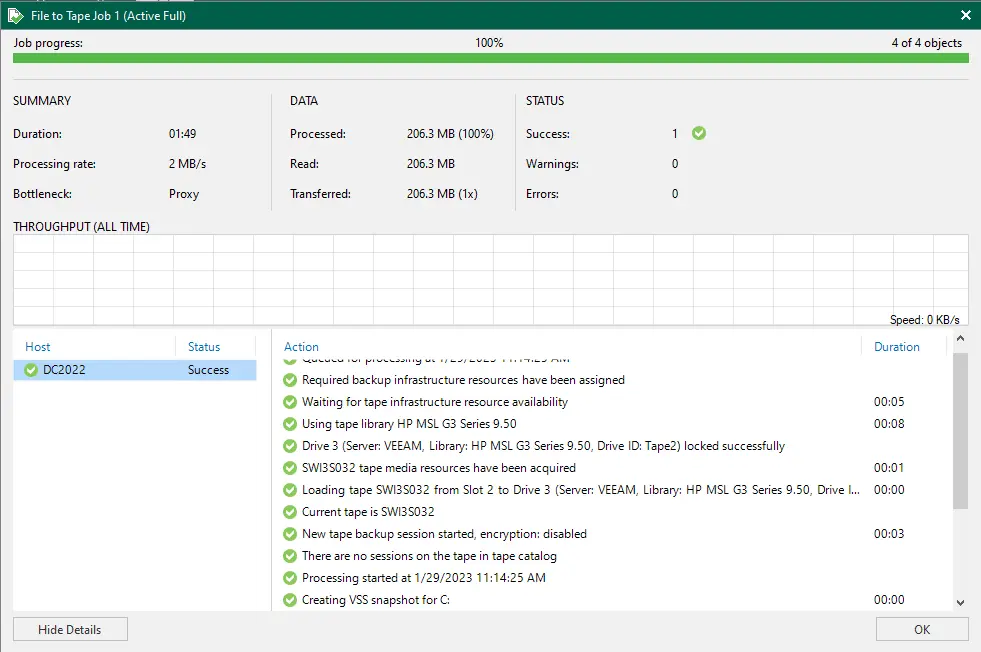
Veeam files to tape job progress.
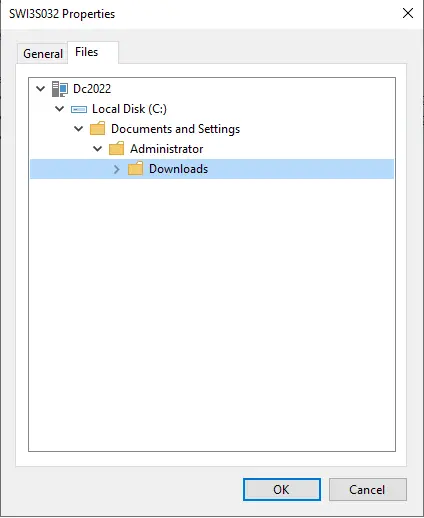
Once the file-to-tape job is completed, click on the Tape Infrastructure, select the Media Pool, and then choose properties.
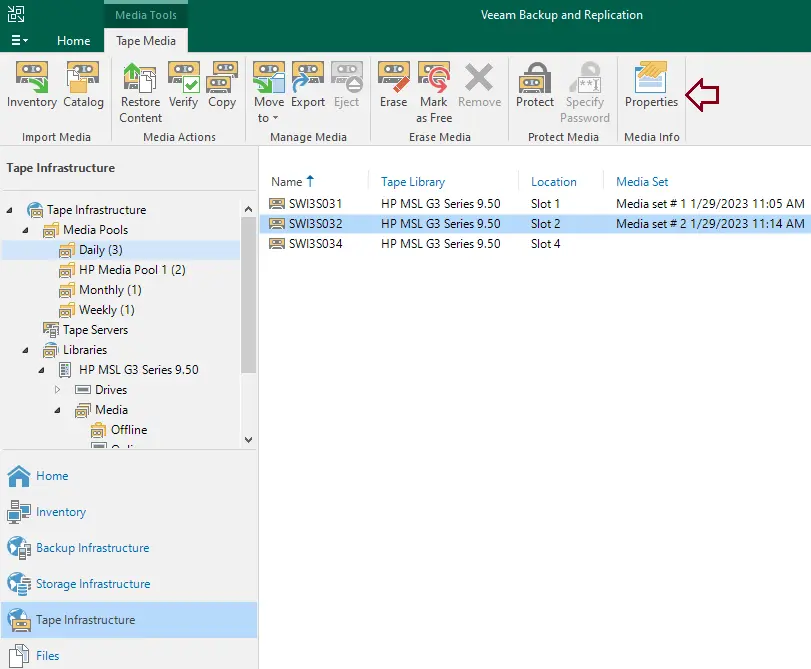
Click on the Files tab, expand the Tape node, and then locate the file archive.