Let’s fix the HAXM installation failed Android Studio Setup. Are you encountering an installation failure while trying to install Intel HAXM for Android Studio? This article will guide you through the process of installing Intel HAXM and provide an overview of what Intel HAXM is. By following the steps outlined here, you’ll be able to resolve any issues and successfully install Intel HAXM.
Table of Contents
Why HAXM Installation Fails
When we install Android Studio, Android Studio installs Intel HAXM. You may get the error Intel HAXM Installation Failed.
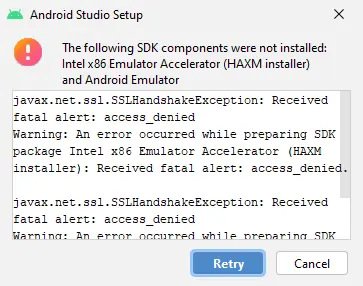
Install Intel HAXM HAXM Installation Failed
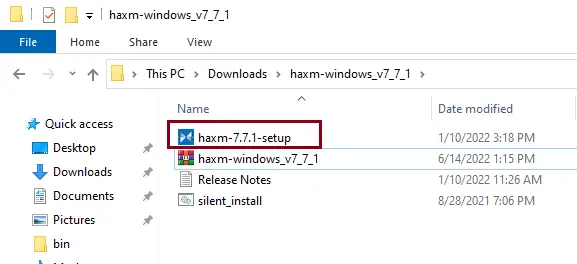
You can download the Intel HAXM Installer from the link haxm-windows.
After downloading, unzip the file, and you will find haxm-7-7-setup.exe
Run the haxm setup file.
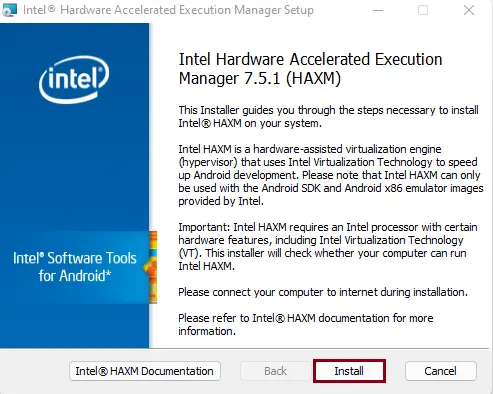
Welcome to the Intel HAXM setup wizard. Click Install.
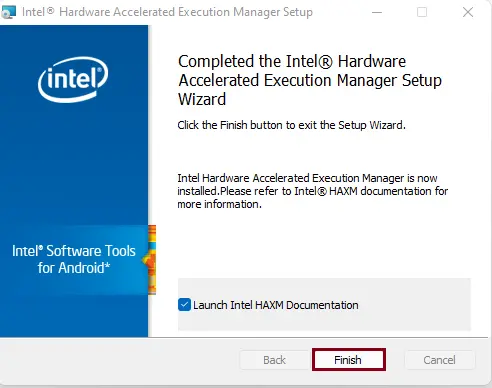
Once the HAXM is installed, click Finish.
Disable the Hyper-V Manager
Hyper-V is another virtualization method, just like Intel HAXM. We can’t use both methods at the same time. Therefore, it is essential to Disable Hyper-V. You can follow the below steps to disable Hyper-V.
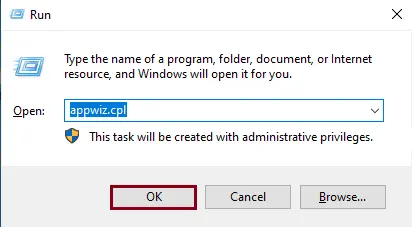
Type appwiz.cpl in the Run box, and then hit OK.
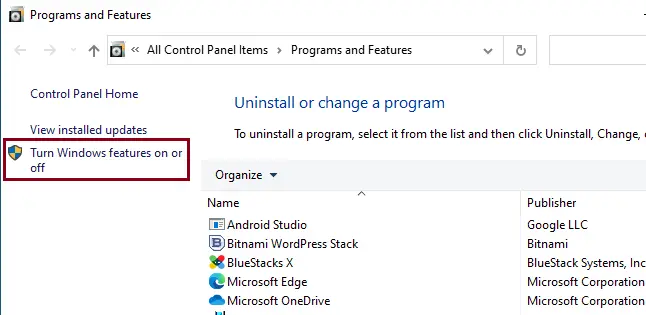
In Programs and Features, on your left side, click on Turn Windows features on or off.
From the window, select Features, disable Hyper-V options, and then click OK. Reboot your system.
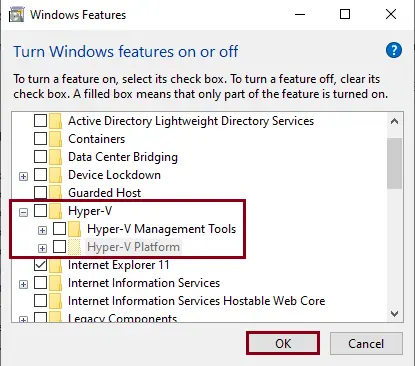
This is the main reason for the HAXM Installation Failed error.
How to Install HAXM using Android SDK Manager
Installing from the Android SDK Manager
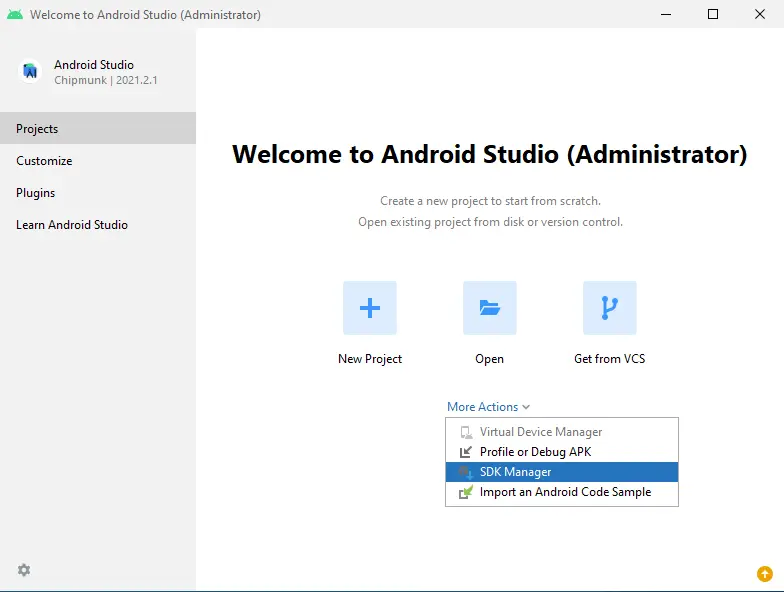
Click on the more active option and select SDK Manager.
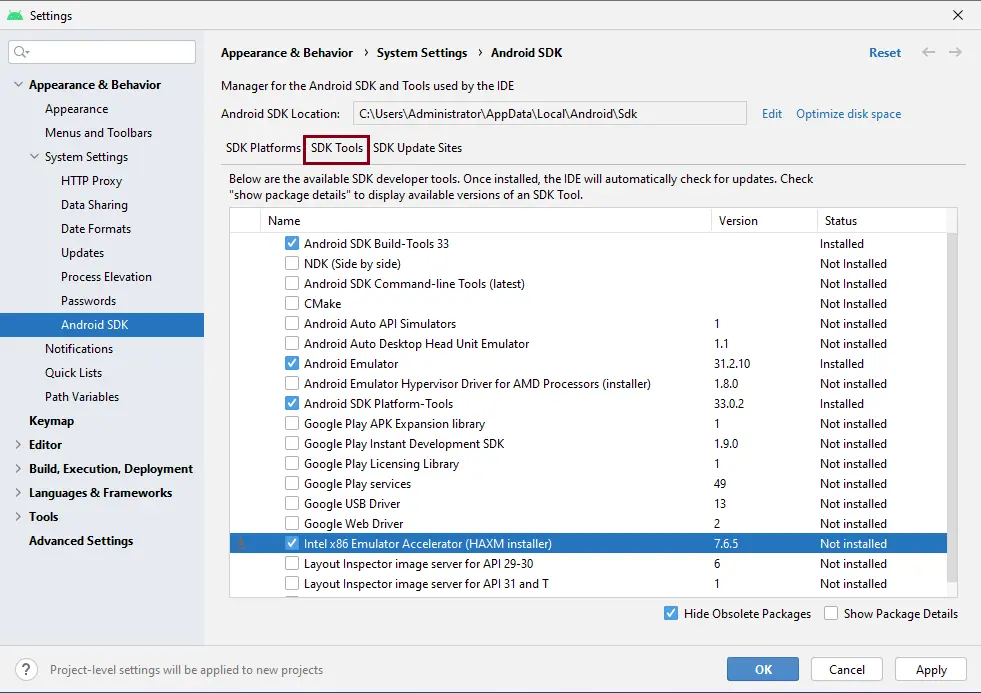
Click on Android SDK, and then click on the SDK Tools tab. Scroll down and find the Intel x86 Emulator Accelerator (HAXM) installer. Choose it, and then click OK.
Summary
We have learned how to solve all these problems in this guide. Installing Intel HAXM is compulsory if you wish to run the Android Emulator on a Windows system. Without this, the Android emulator will run very slowly. It is installed when your Android Studio is installed, but we have received the HAXM Installation Failed warning message. The common warning is due to the fact that virtualization isn’t enabled on your computer. Or because the processor is not Intel-based, the hypervisor is running.
Refer to this article to learn more about failing to install HAXM during Android Studio installation.

