Let’s have a look at how to add backup location Altaro VM Backup. Once you have installed Altaro VM Backup on your device, the next step is to open the Altaro Management Console and start setting it up. You can download the free Altaro VM Backup trial.
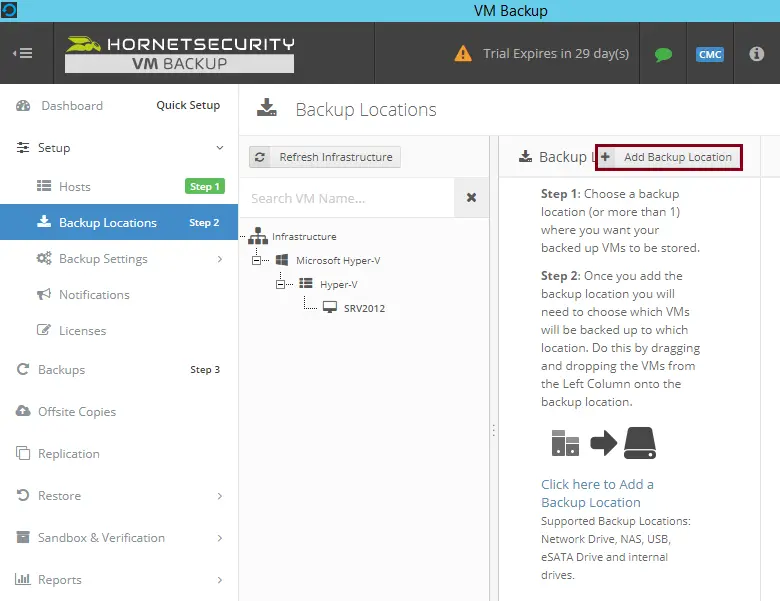
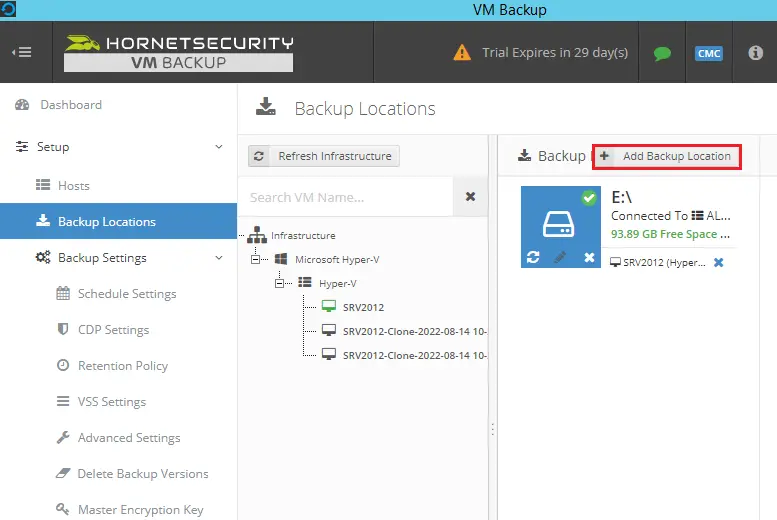
After opening the Altaro Management Console, the first thing we will have to do is add a backup location to store backups. In the following steps, I am going to add a backup location. To add a backup location in the Altaro Management console, simply click on the Add Backup Location button as marked in the below screenshot.
Table of Contents
Add Backup Location Altaro
To add a primary backup location. Go to the setup tab, expand it, and then click on the backup location option. Now on your right side, click on + Add Backup Location.
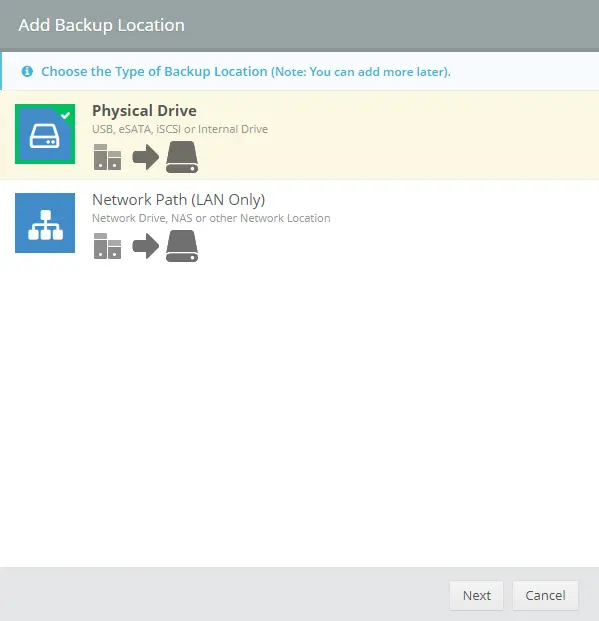
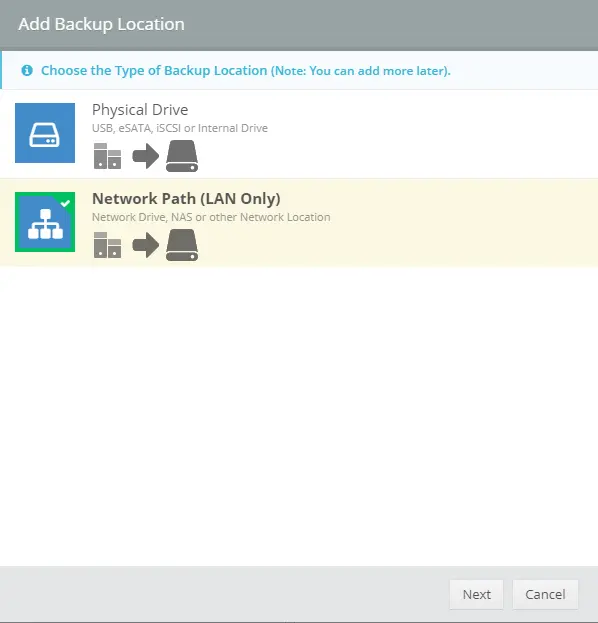
Altaro adds a backup location wizard that will give you the option of a physical drive or a network drive.
If I am selecting a physical drive, simply click on the physical drive letter where you need to place your backup data, then click next.
If you have a network drive, then you can choose a network path.
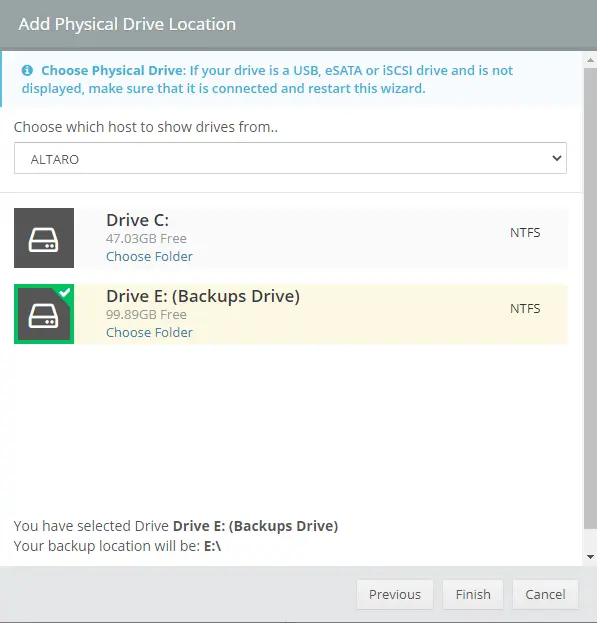
Add physical drive location to Altaro VM backup, choose which host to show drives from, and then click Finish.
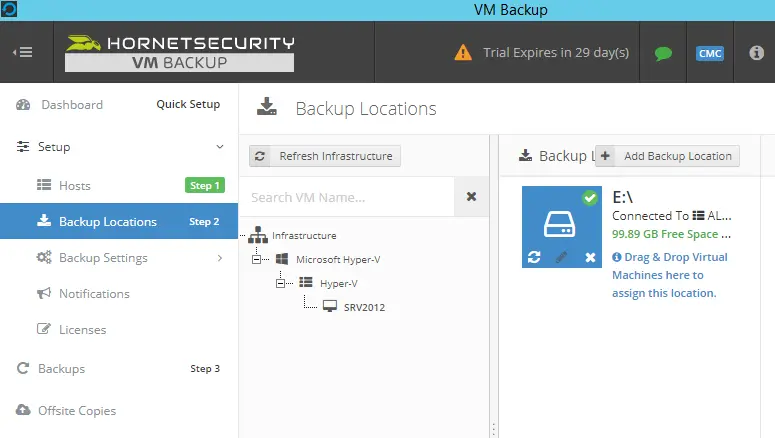
Now you can see your backup drive.
How to Add Network Location Altaro VM Backup
You can add multiple backup locations, so maybe some VMs will need to be backed up to a network share while others may be backed up to a USB drive.
Click on Add backup location.
In the Add Backup Location Wizard, click on the network path, and then click Next.
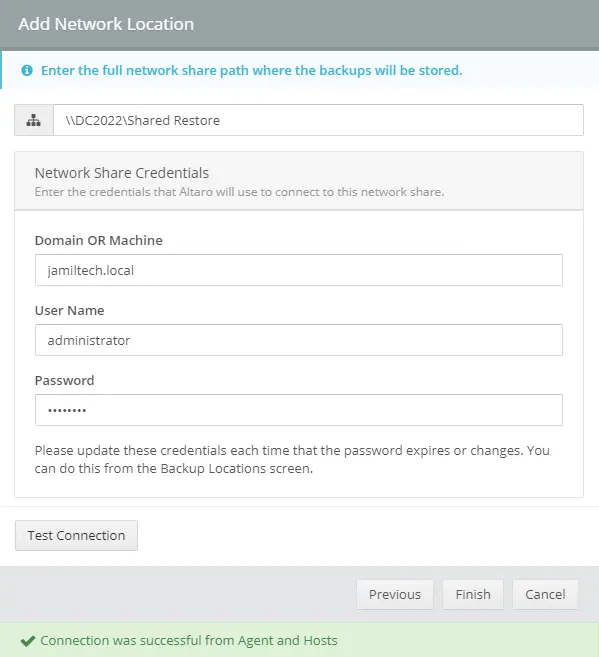
Type the network path where the VM’s backups will be stored, along with the credentials for the share. Click on the test connection, and then click Finish.
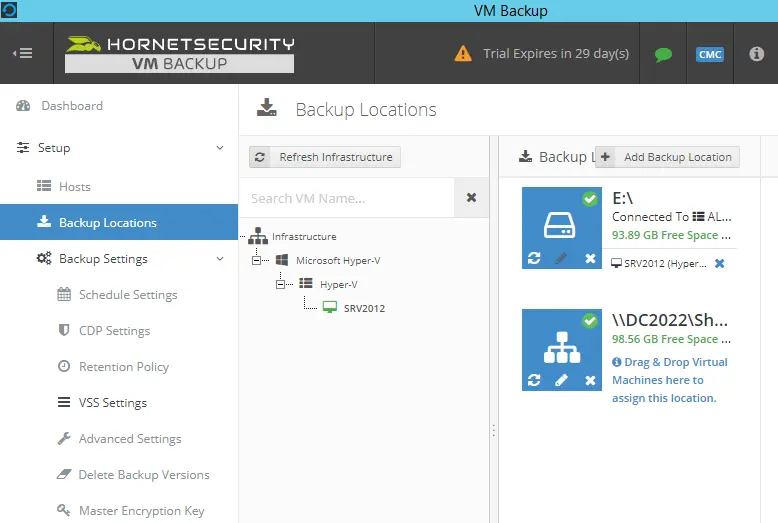
Now that you have successfully added a shared backup location, you can simply drag and drop VMs from the Altaro center pane to the shared backup location in the right pane.
This article provides information on how to add a backup location for Altaro VM Backup.
Related: How to Restore Virtual Disk in Altaro


