
In this article, we will learn how to create Android Virtual device. Android Studio, and what is Android Studio’s AVD Manager? How can we create a virtual machine for Android to test your first Android virtual machine?
An Android Studio AVD manager is a device configuration that works on the Android Emulator. It provides a virtual device-specific Android environment in which you can install and run your Android Application. AVD Manager is a part of the SDK manager that creates and manages virtual machines for Android.
Table of Contents
Create Android Virtual Device Android Studio
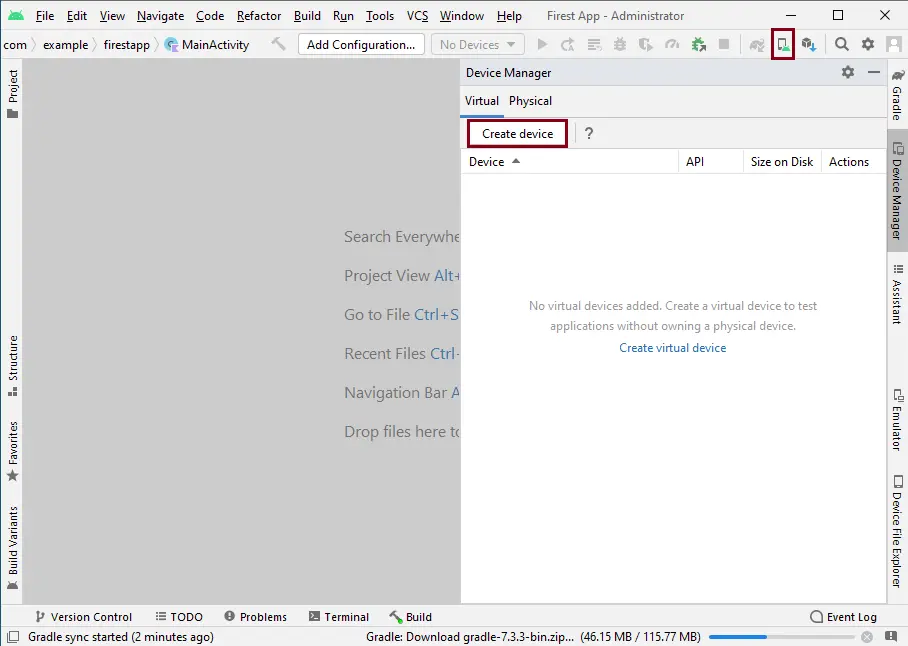
To launch AVD Manager, click on the Tools tab on Android and then AVD Manager. It will launch AVD Manager with a list of your created virtual devices. It might be empty for you now, as you have not created any virtual devices. To create a new virtual device, click on the Create Device button.
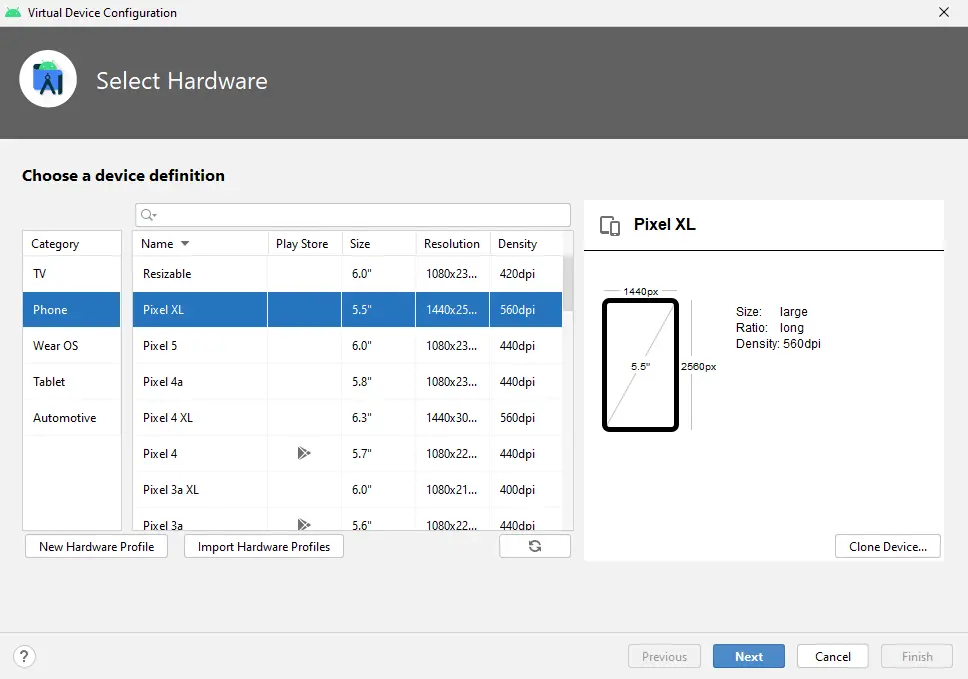
It will launch a window to choose the hardware type for your virtual device. This list encompasses almost all Android devices and their settings. Choose any one from all the devices listed with your needed configuration (screen size, resolution, and density), and then click on Next.
Download System Image
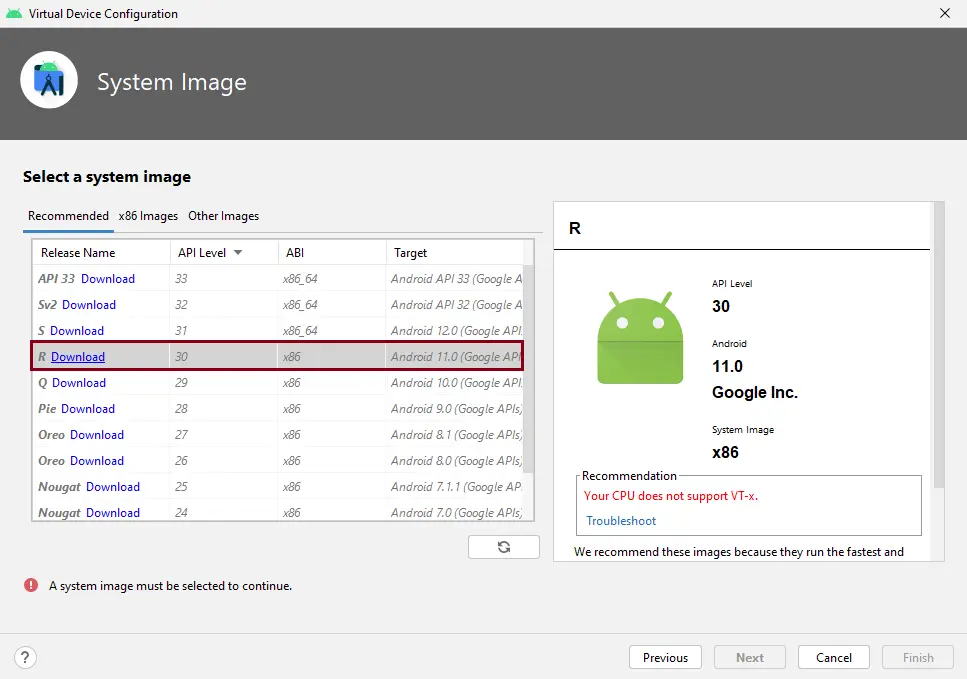
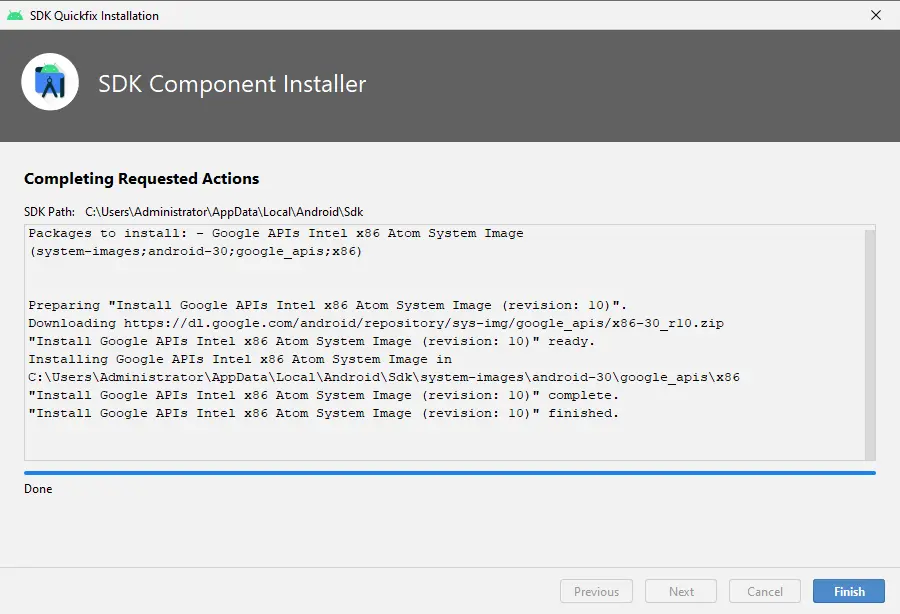
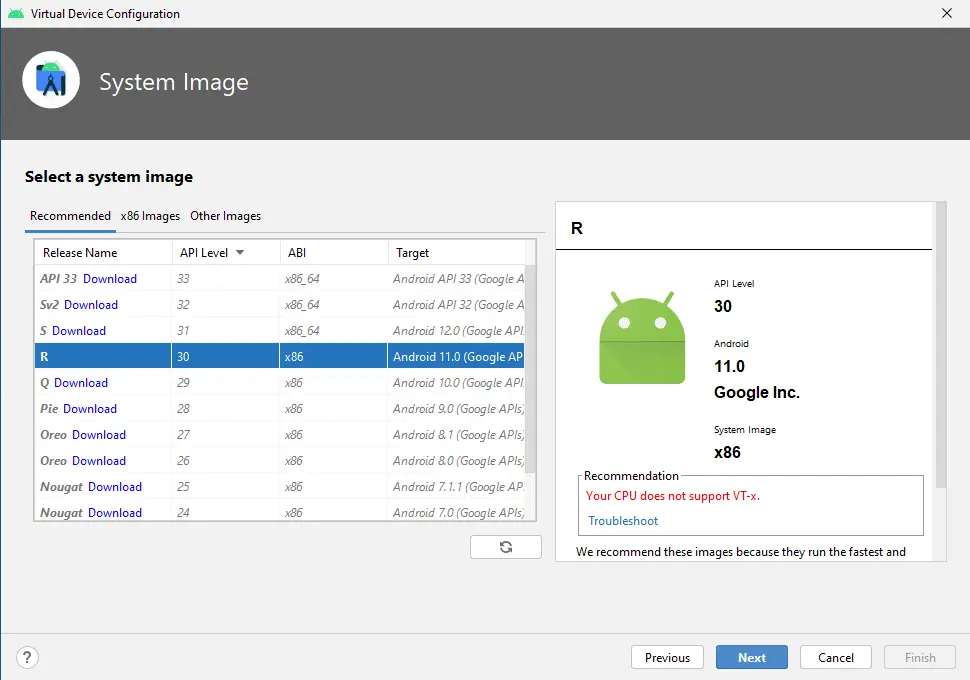
Next, you will be asked to choose the system image, which will be the running Android version for your created virtual device. You can select any Android system images that are available in the Android Studio, or you can download the one you want by clicking on the Download available. Select as per your configuration (I’ve selected API 11). Click on next.
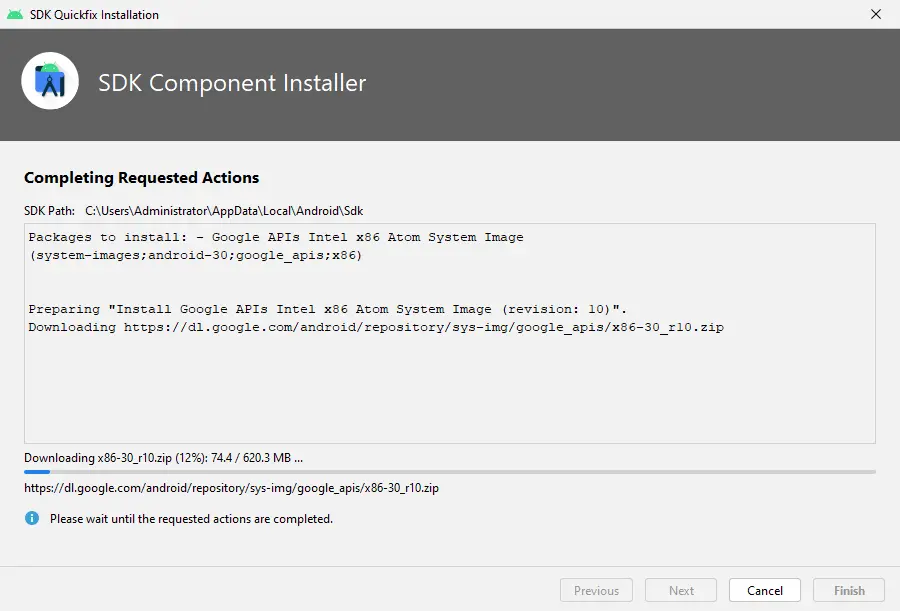
SDK installer, downloading Android device
Click Finish
Select the system image, and then click Next.
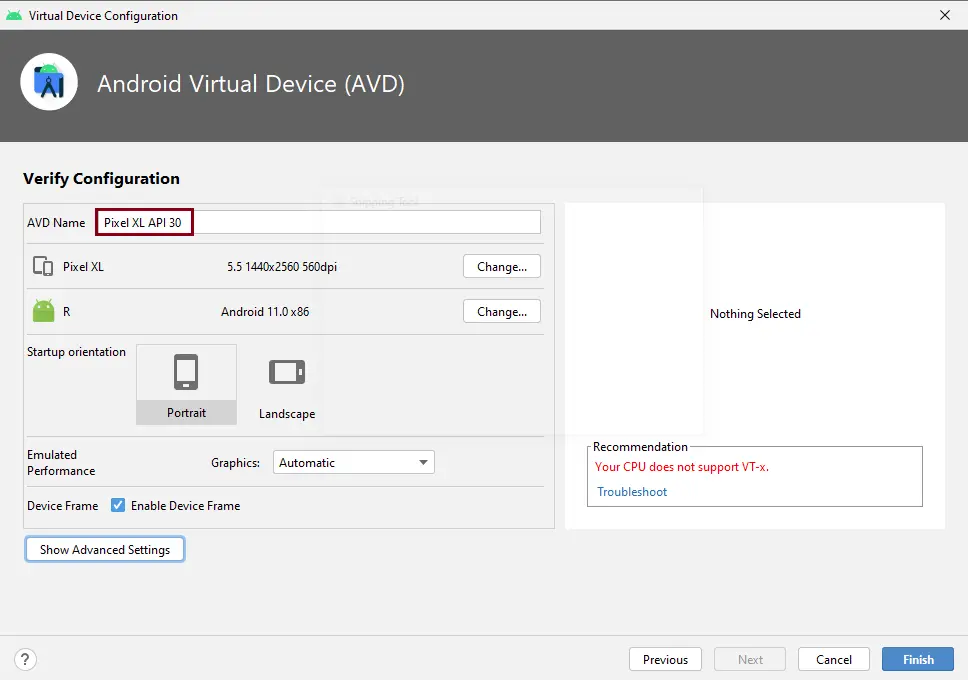
Here, you can provide your AVD with a name for identification. You can change device type and API configuration, and then you can also set up the size, orientation, and graphics for your AVD. Click Finish
Open Android Virtual Device
Android Studio will quickly start building the AVD with the chosen configurations, which might take some time. Once complete, AVD Manager will show your virtual device among the available devices.
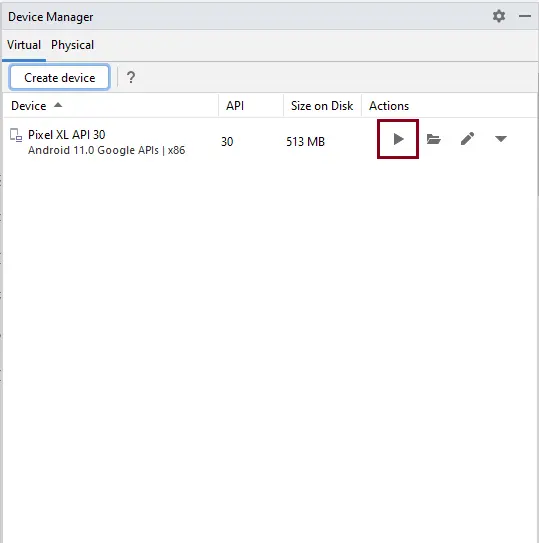
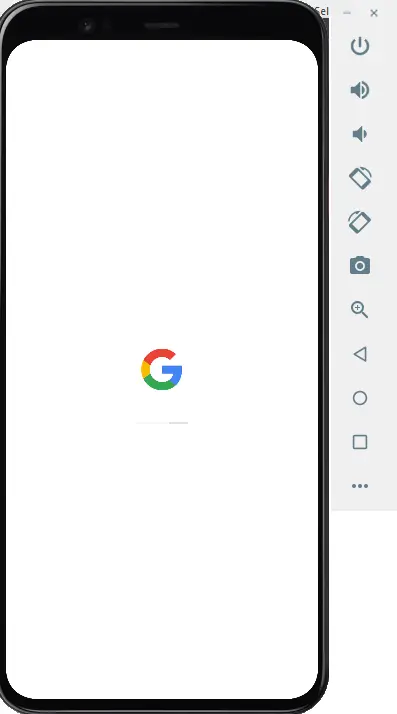
Run your first virtual device by clicking the start icon. It will launch a virtual device, just like an Android device. The side toolbar encircles buttons for achieving actions like volume up and down and changing orientation. Go back, go home. You can turn the power off for your virtual devices using the power button, and to close your virtual device, select the close button.
Related: How to Create New Project in Android Studio
Refer to this article to learn more about creating Android virtual devices in Android Studio.

