This article will provide you with the steps on how to enable Hyper-V in Windows 11. Microsoft Hyper-V is an in-house virtualization solution for Windows 11. It will allow you to create virtual machines and run them on virtual hardware. That means that if you need to use Hyper-V on your device, you will need to enable it first.
Operating system: The Hyper-V role can only be enabled on Windows 11 Education, Professional, and Enterprise editions. If you are using Windows 11 Home, you can’t find a Hyper-V role in the system.
Hardware requirements: If you are already using the correct operating system version, you need to check the BIOS settings. The reason for Hyper-V not showing might be failing to enable virtualization technology or lacking a CPU that supports VM Monitor Mode Extension.
Enable Hyper-V in Windows 11
Here are different ways to enable the Hyper-V feature in Windows 11 to run virtual machines on your system.
Shut down your system if it is powered on.
Press the PC power button to power on the device and then start pressing the Esc key (F2, F9) Different devices have different keys to view the Startup Menu.
In the bios menu, press the key to enter the bios setup.
In the BIOS Setup, use the arrow key and go to the Configuration tab.
Next, you need to enable the virtualization technology option.
Press the F10 key to save the changes and exit from Bios.
Your device will reboot and apply the changes. This may take a while to complete.
It will take some minutes to complete the process and wait for the changes to come into effect. Once VT has been done, Windows will boot automatically.
You can enable the Hyper-V feature either from the Control Panel, Windows PowerShell, or Command Prompt.
Table of Contents
Enable Hyper-V on Windows 11 using Control Panel
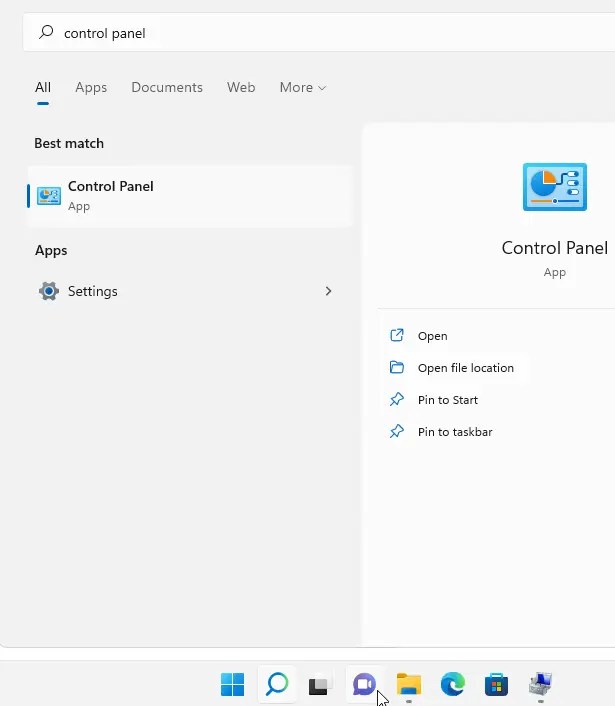
To turn Hyper-V Windows features on or off, click on the Windows 11 search button, type Control Panel, and then open the Control panel.
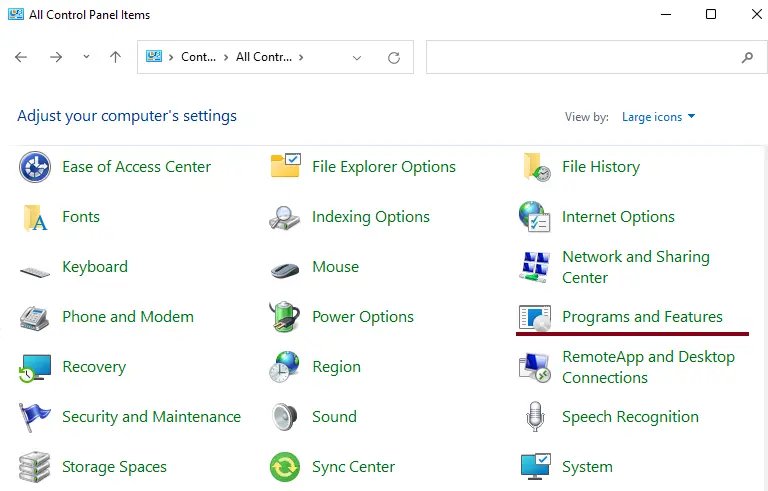
Click on Programs and Features.
On your left side, click on Turn Windows features on or off.
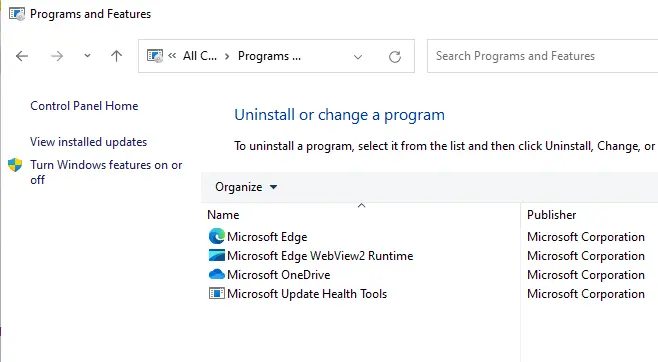
Or you can simply type “optionalfeatures” in the run box to open Windows features.
In the turn, turn Windows Features on or off screen, scroll down, and then tick the checkbox Hyper-V (make sure the Hyper-V Management Tools and Hyper-V Platform features are selected). Click ok.
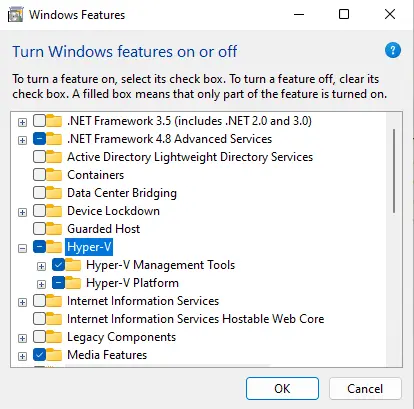
Enabling Hyper-V features.
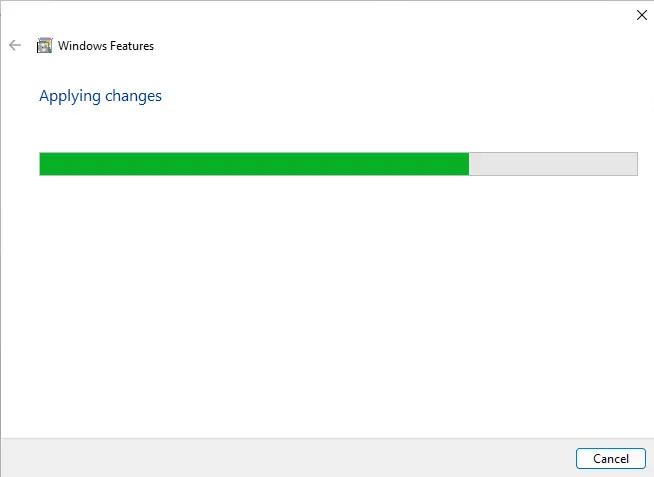
Click on Restart Now.
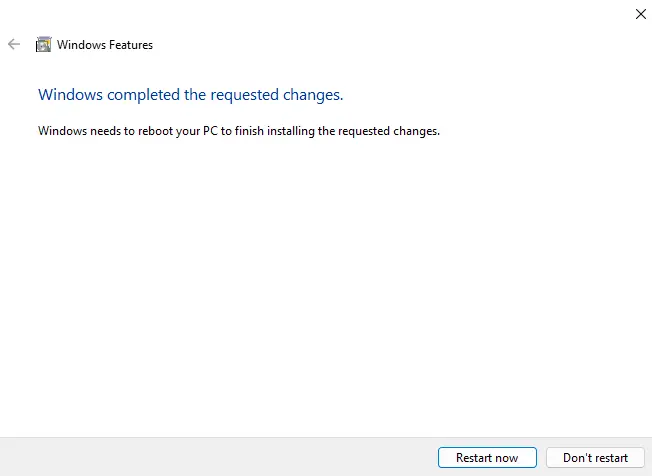
After rebooting the device, the Windows 11 Hyper-V feature should be enabled.

How to Enable Hyper-V in Windows 11 using Windows PowerShell
PowerShell is a very simple tool to enable Hyper-V in Windows 11. Here’s how to enable that.
Search for PowerShell in the Windows 11 Search box, and then select Run as administrator.
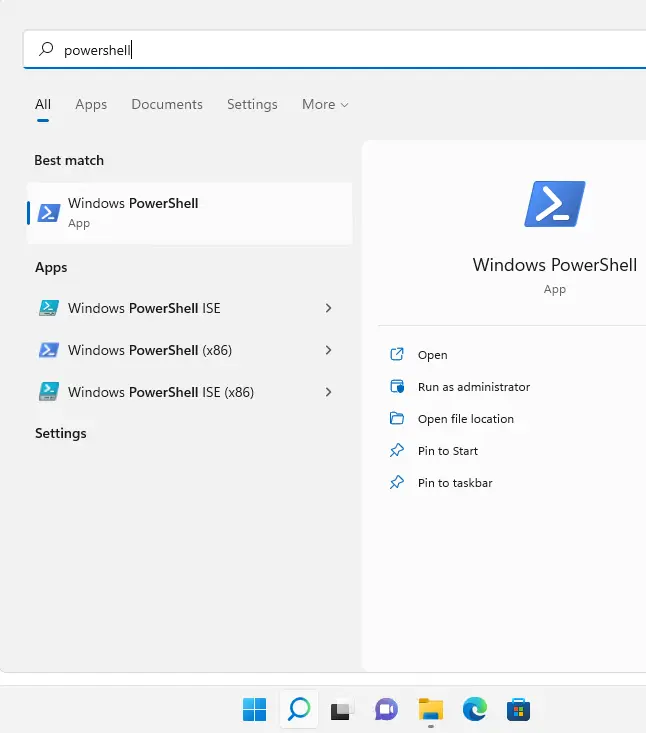
For user account control, click yes.
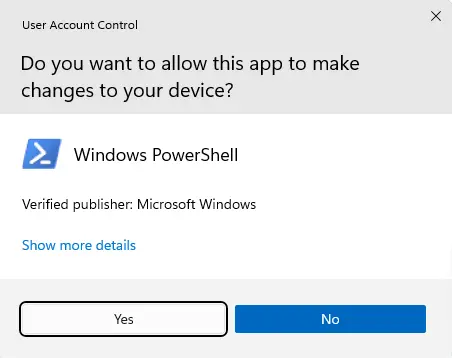
After opening the PowerShell window, type the following command to enable Hyper-V:
Enable-WindowsOptionalFeature -Online -FeatureName Microsoft-Hyper-V -All

This PowerShell command will download packages and enable Hyper-V.
Enter Y, and then press Enter to reboot the computer.

Once restarted, Hyper-V must be enabled and ready to use.
How to Enable Hyper-V Windows 11 using Command Prompt
How do I enable Hyper-V features in Windows 11? Another easy method is to use the Command Prompt tool.
Type the command prompt in the Windows 11 Search box, and then click on Run as administrator.
Select Yes when you are prompted to launch the command prompt.
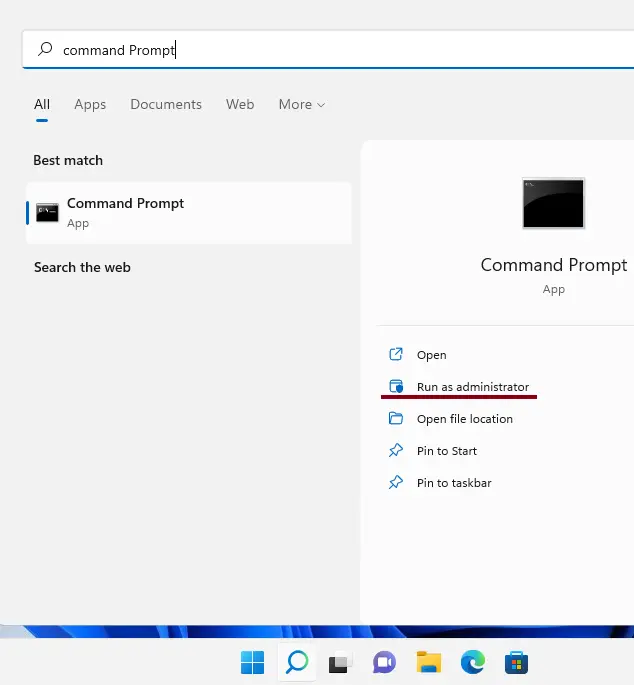
After opening the Command Prompt, copy and paste the following command, and then press enter.
DISM /Online /Enable-Feature /All /FeatureName:Microsoft-Hyper-V
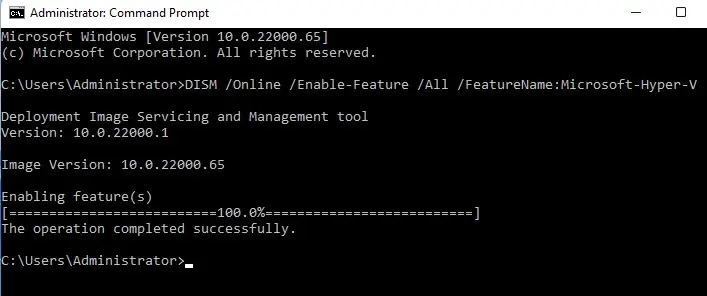
Restart your device, and Windows 11 Hyper-V should be installed and enabled.
To learn more about how to enable Hyper-V, visit this article

