In this article, we explain to you how to install IIS URL Rewrite Module on a device running Windows. The IIS URL Rewrite module is an add-in element for IIS that permits an administrator to create rules that can be utilized to rewrite URLs, among various other functions.
Having problems? Installing the URL rewrite IIS module
The Microsoft Exchange Server 2019 setup can’t continue because the local system requires additional software to be installed.
Exchange Server 2019 setup (September 2021 CU and latest versions) needs IIS URL Rewrite Module 2.1 to be installed on the device before installation can continue.
Table of Contents
Download URL Rewrite Module
Download URL Rewrite Module 2.1 and install IIS URL Rewrite Module version 2.1. Select the x64 installer for any language.
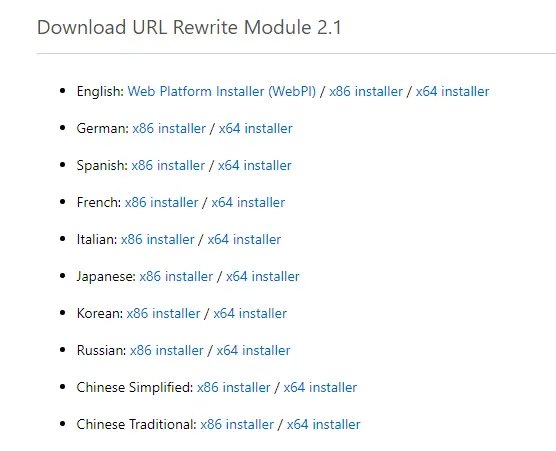
Install IIS URL Rewrite Module
Would you like to know how to install the URL Rewrite module on IIS?
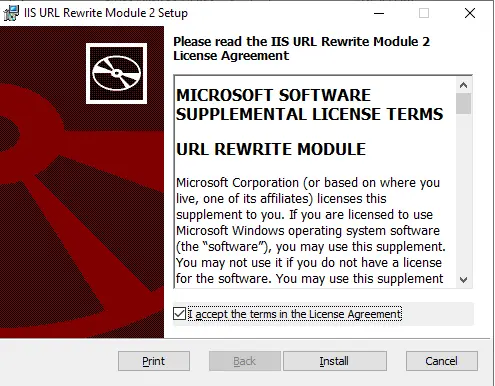
Once you have downloaded the URL rewriting module, go to your download folder and then double-click to run rewrite_amd64_en-us.

IIS URL rewrite module 2 setup wizard, accept the license agreement, and then click on the install button to install the IIS URL rewrite module 2.
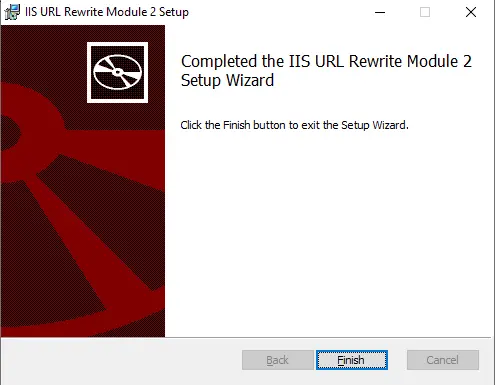
I completed the IIS URL rewrite module 2 setup.
Prerequisites
Any supported Microsoft Windows operating system (Windows 11, 10, or Server 2019, 20H2, or Server 2022)
Internet Information Services 7 or higher
A website you already host on IIS
Installing the IIS URL Rewrite Module
Kick off this article by installing the IIS URL Rewrite module. First, you need to check if the module is already installed on your system.
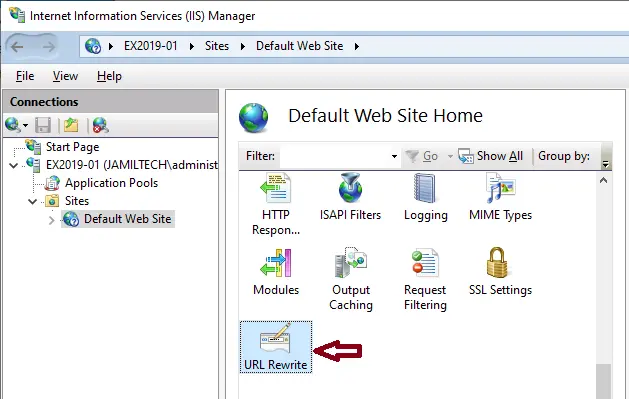
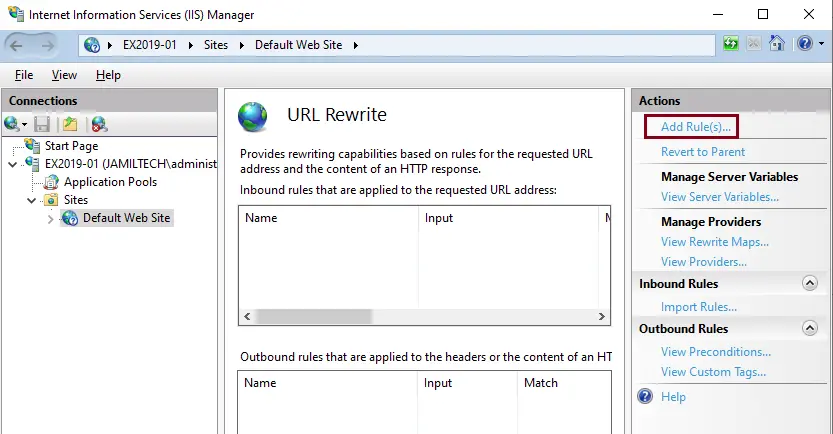
First, open the IIS Manager and click on your Default Web Site in the left panel. Double-click on the URL Rewrite module to open it, as shown in the picture below, to add rewrite rules.
Click on Add Rule(s).
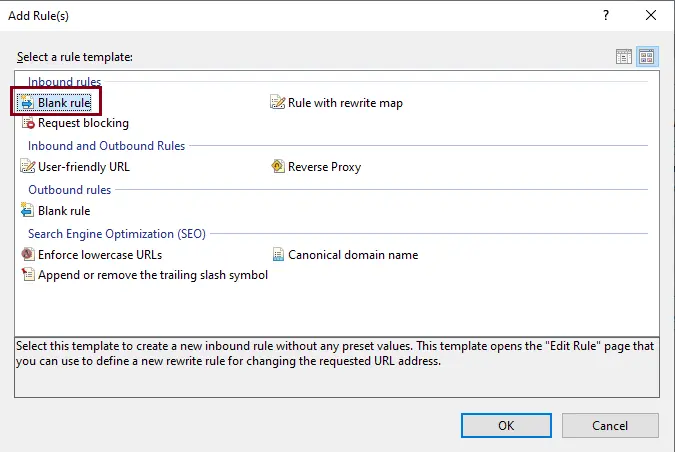
Choose the Blank rule under inbound rules, and then click OK.
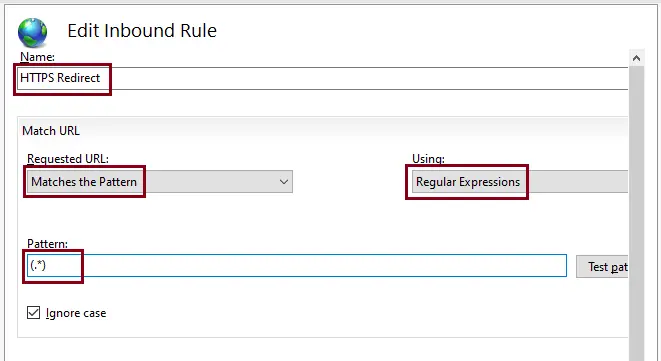
Here, you will create a regular expression pattern match rule that matches all URLs. You will match any incoming URLs, but only exchange those that are not using HTTPS.
Name: type any unique name
Requested URL: Matches the Pattern.
Using regular expressions to set up a rule to match every incoming request.
Pattern: type (.*)
The default option is to ignore cases.
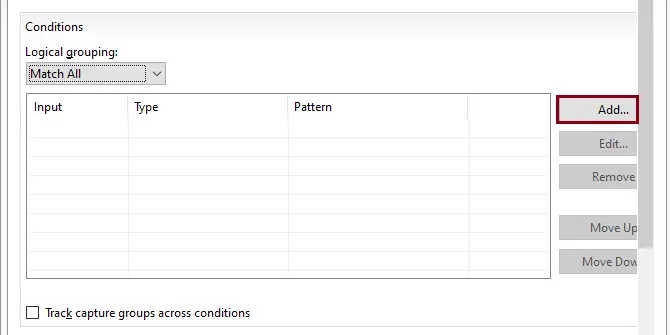
Scroll down a bit, and then click on the add button to add the condition to exclude incoming requests using HTTPS.
Condition input – {HTTPS}; this will only match appeals using the HTTPS protocol (as opposed to URL HTTP).
Check if the input string – Matches to Pattern
Pattern – ^OFF$, this causes the rule to be applied to incoming requests that do not have HTTPS as the protocol.
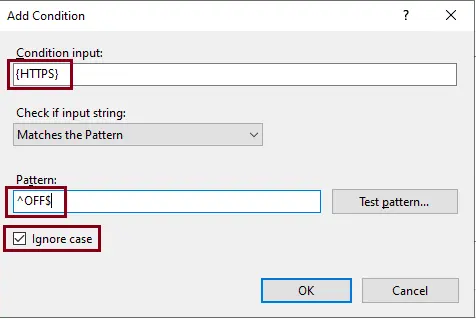
Set a condition to Match non-HTTPS requests to your Rule
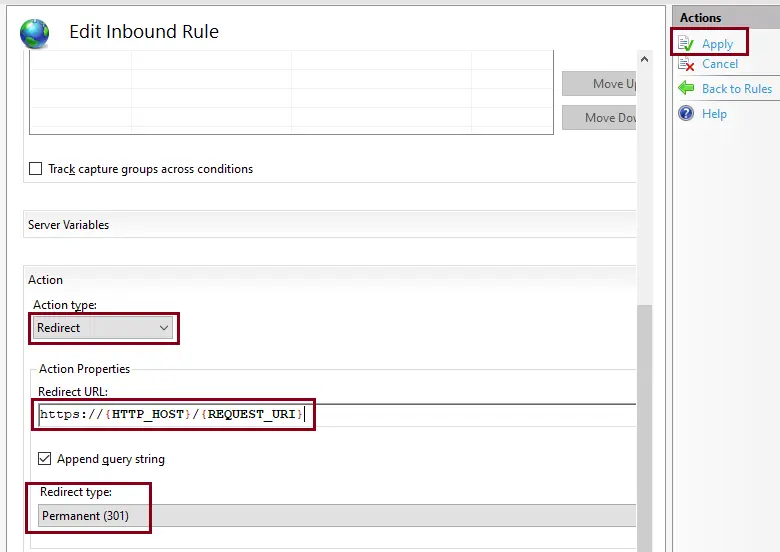
Once you add a condition, set what actions the rule will take.
Action type – Redirect
Redirect URL – https://{HTTP_HOST}/{REQUEST_URI}
Redirect type – Permanent (301).
Under the action menu, click on the Apply button to apply the redirection rule.
Now open any web browser, enter http://localhost, and then hit enter.
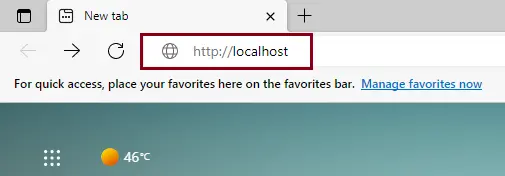
You will see that your website redirects to https://localhost for secure access.

If this update requires a restart to complete the installation, you will have to exit the Exchange 2019 setup, restart, and then start the setup again.
Visit my article on how to Configure Outlook Anywhere


