This article will teach you how to install WordPress on Laragon. If you have just started learning website design and you need a learning environment for learning and teaching, there is lots of software like WAMP, XAMPP, and… But we recommend using the Laragon program.
Table of Contents
To Install WordPress on Localhost
You can install WordPress on your localhost for WordPress by using various development environment applications. Among the XAMPP tools, Laragon is the most popular. But if you don’t need any hassle to set up the database or extract, Laragon is the best choice. The Laragon application will help you create a local WordPress website with a single click, and there is no issue.
Download and Install WordPress on Laragon
Download the latest version from the Laragon Website
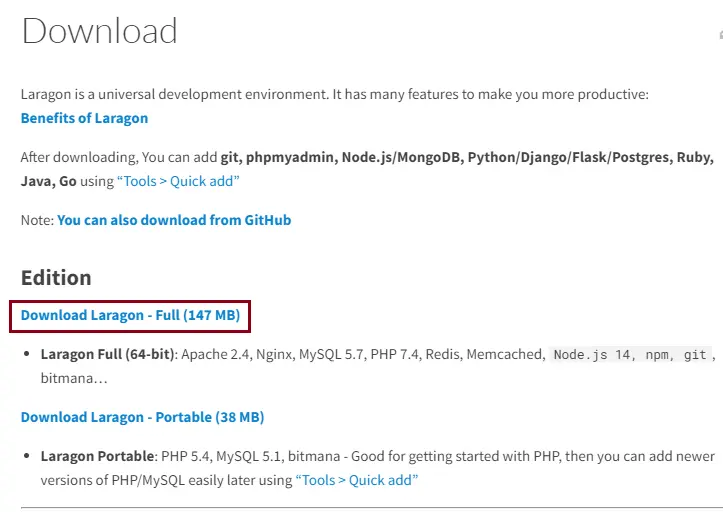
Double-click on the laragon-wamp.exe file to start the installation.

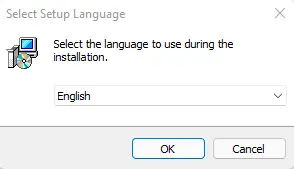
Choose the language, and then select OK.
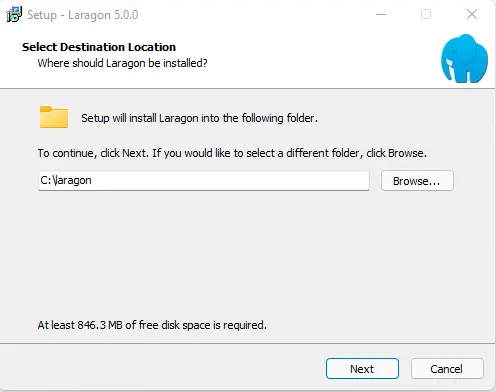
Select the destination directory where you can specify where the Laragon application should be installed (I am using the default settings; you can change it). Then click next
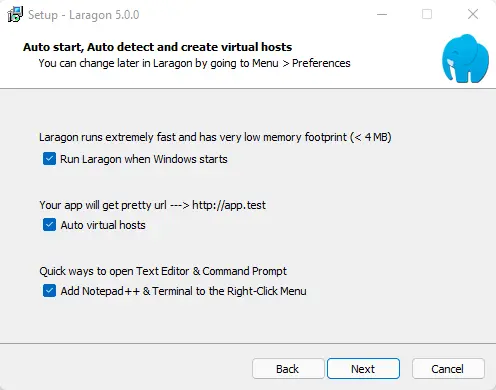
In the setup Laragon page, some Laragon configuration settings can already be selected; click next.
Click on the Install button to begin the Laragon WordPress localhost installation.
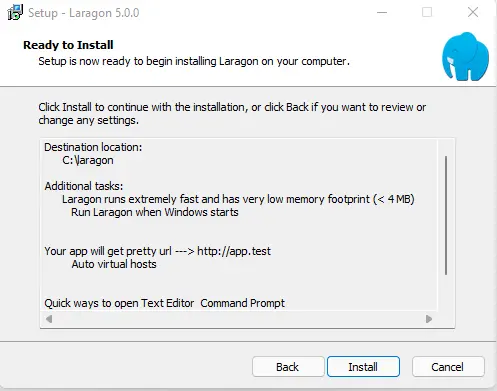
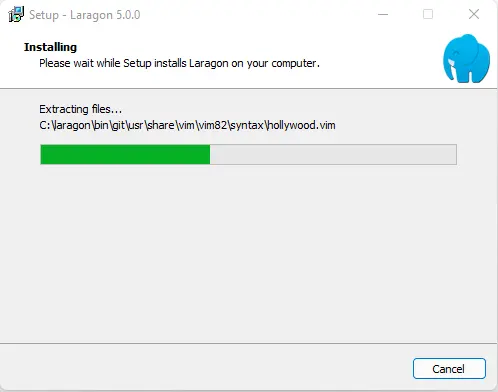
The Laragon localhost WordPress installation is in progress.
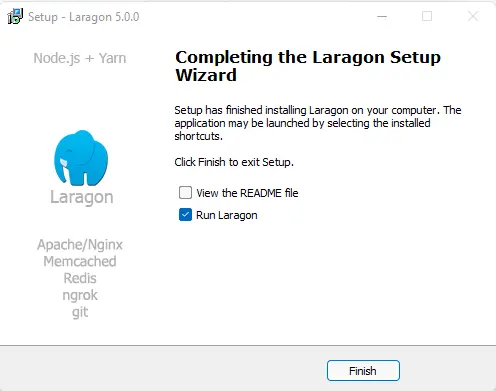
Successfully installed WordPress for localhost on Laragon, keep the checkbox, select run Laragon, and then select finish.
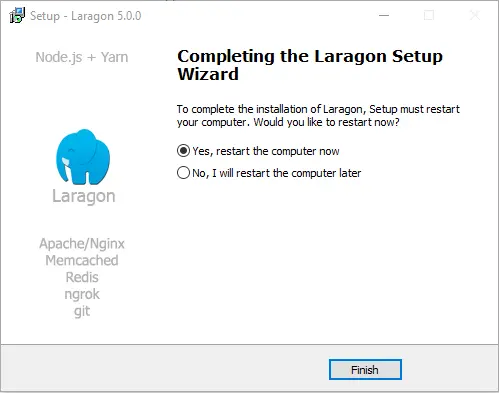
Click on Finish to restart the computer.
Install WordPress on Localhost Using Laragon
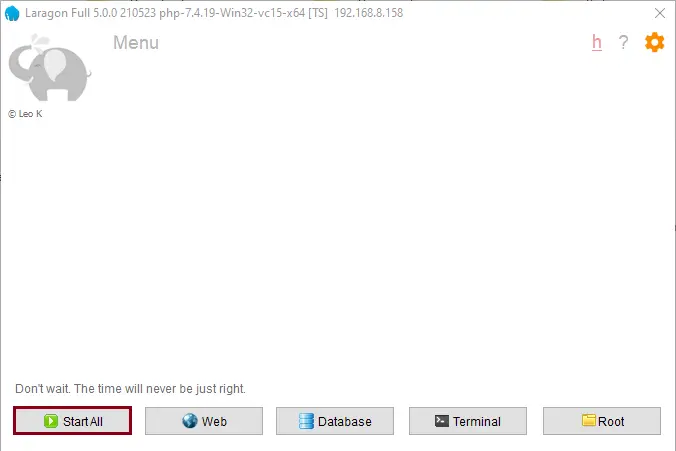
After the Laragon installation is complete, start the program, and then click on the Start All button.
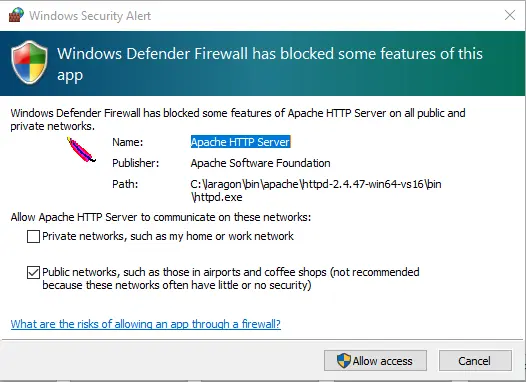
At this point, the Windows Defender Firewall or another firewall will nearly certainly report and prompt both the MySQL and Apache HTTP servers to allow access to your local network. These two accesses must be granted for the further procedures of the web and database servers.
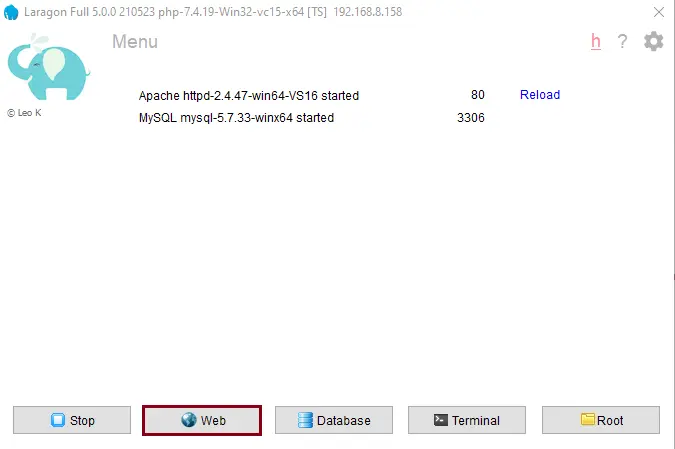
When the servers are permitted to access the ports successfully, Laragon should show the two services, MySQL and Apache, as started.
Click on the Web menu.
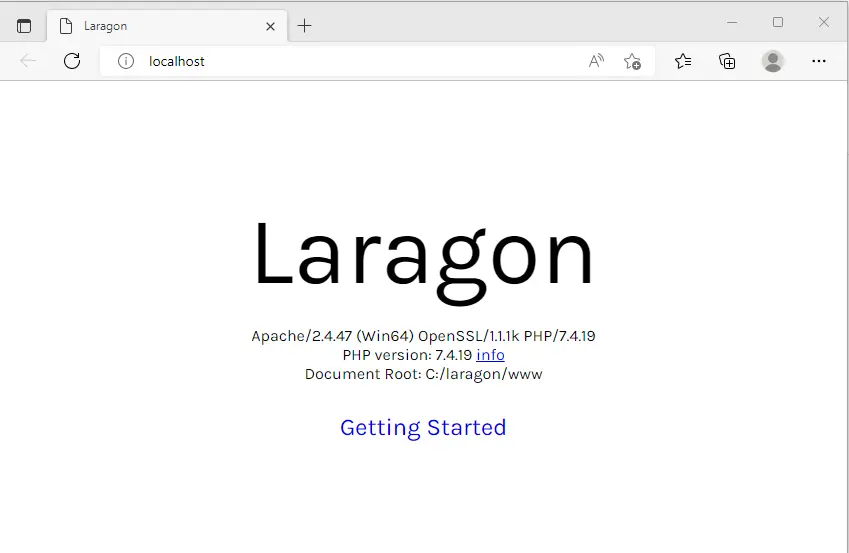
Laragon WordPress on the localhost screen.
How to Rename Laragon Local Site
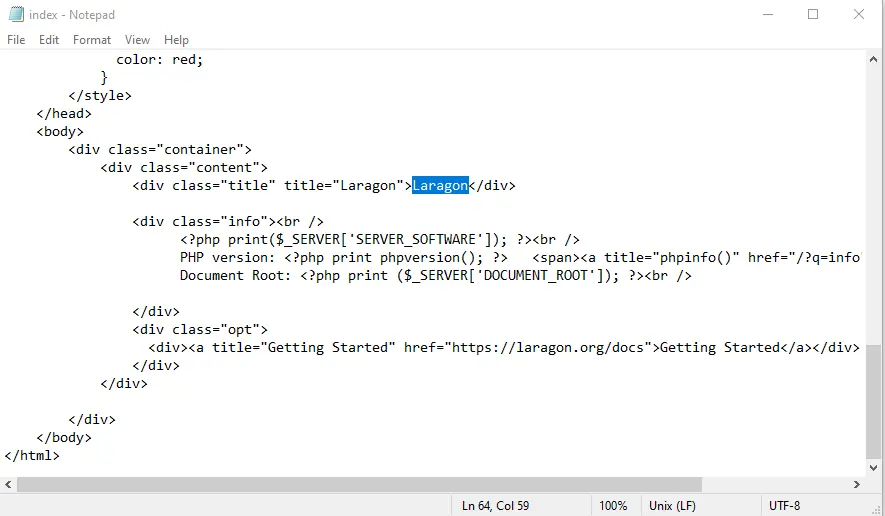
Go to the Laragon installed folder, open the www folder, and then open index.php in Notepad.

Scroll down, and you will find Laragon.
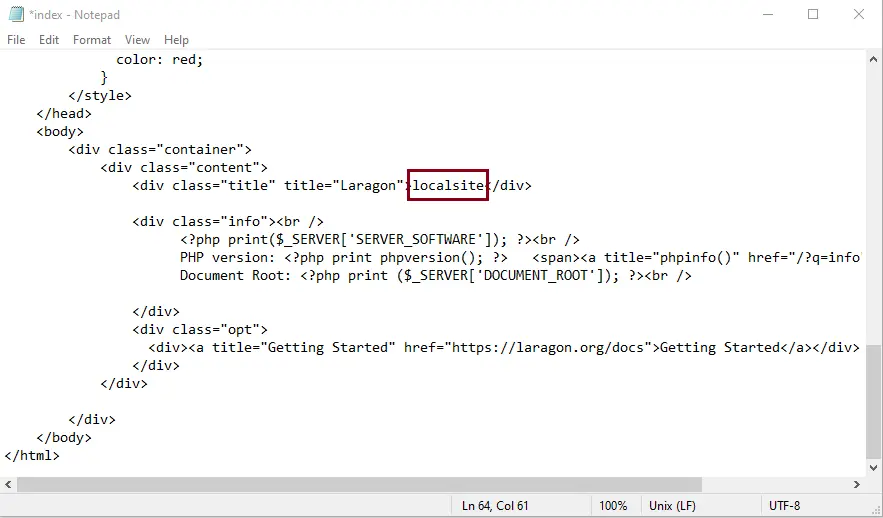
Replace it with your project name (localsite).
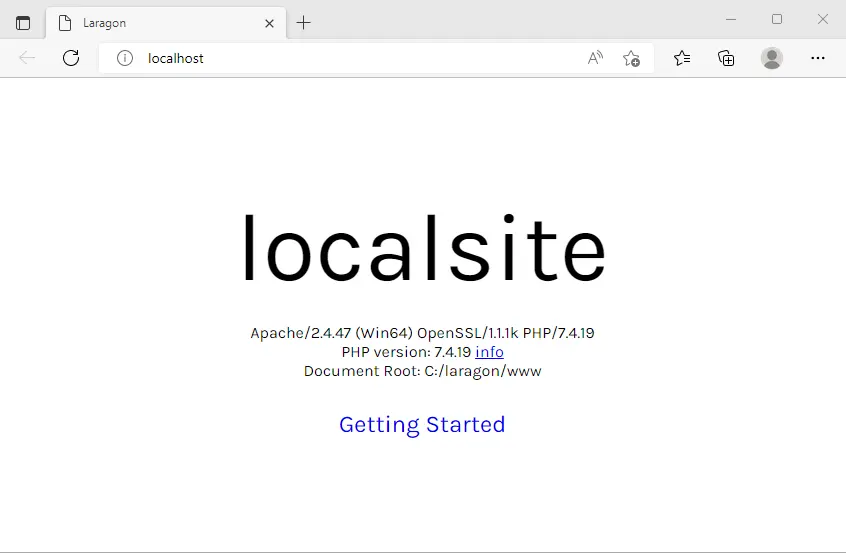
Press F5 to refresh your browser.
How to Create a Database in Laragon
Click on the Terminal Menu.
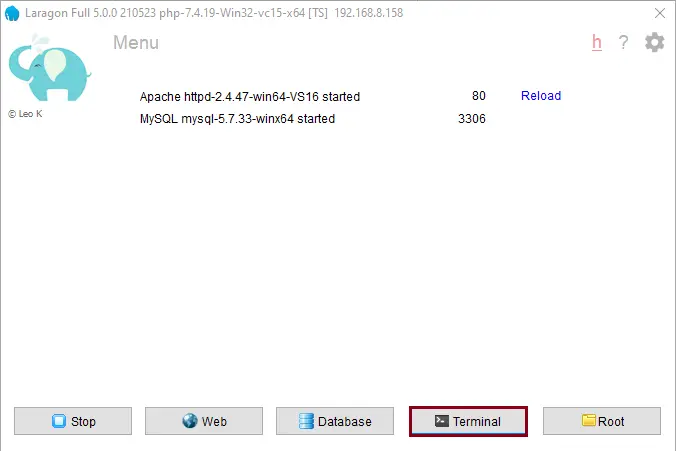
Type mysql –uroot –p and press enter
Hit enter again without typing a password.
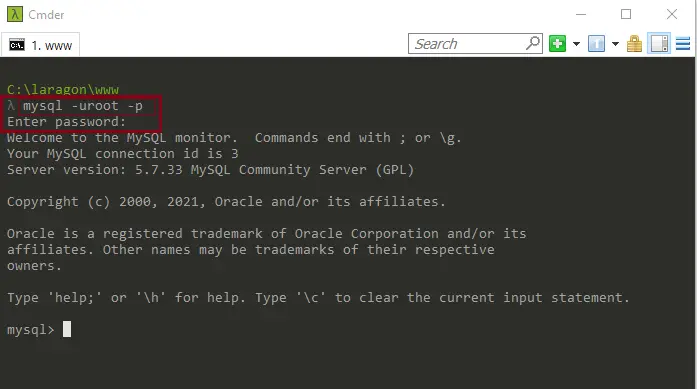
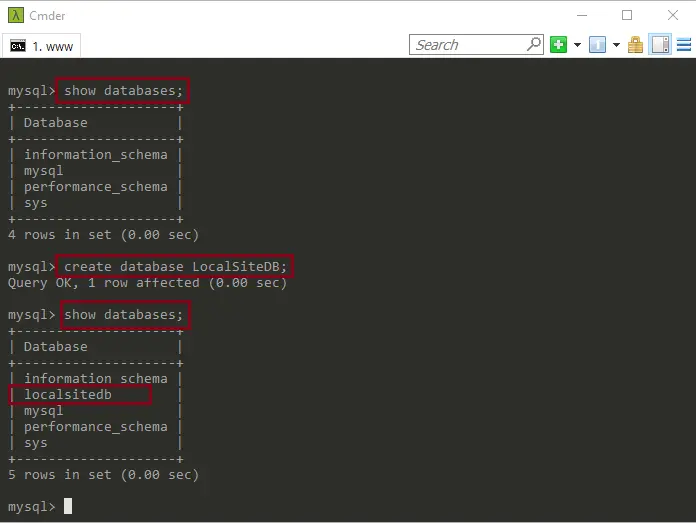
Enter show databases to view the databases.
Type create database; type “create database LocalSiteDB;” and then press enter
Type again to show databases; now you can see your new database (localsitedb).
Now Laragon WordPress services will be started, and the port number will be shown on the screen.
Install WordPress on Laragon
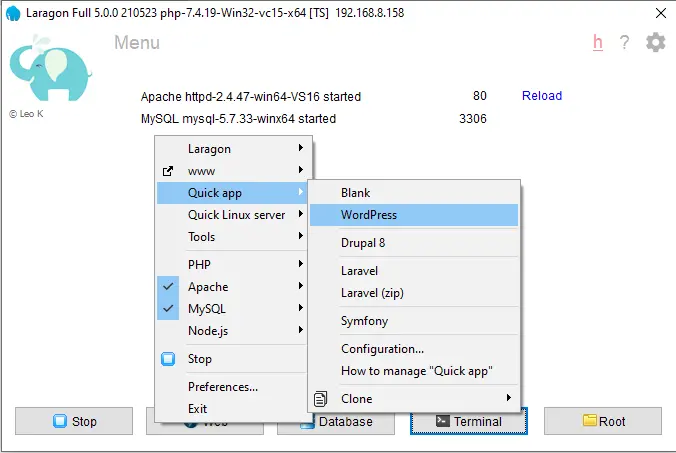
Right-click on any empty place, click on Quick App, and then select WordPress.
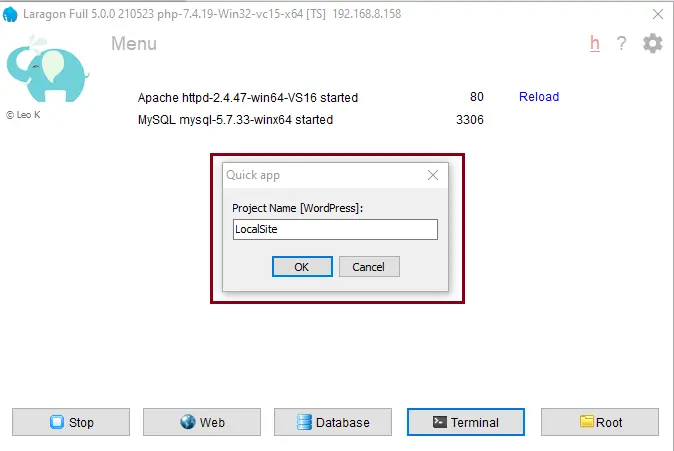
Provide a sweet title, and then click OK.
For the first time, WordPress software will be downloaded, and it will take some time. Later on, your website will be created immediately after you give it a title. When your website is ready, you will be able to see the Visit Site button, then click on it.
Wait, Laragon, start creating a database.
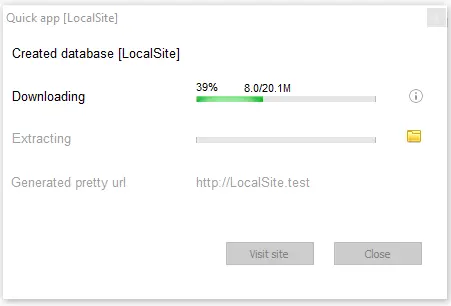
Successfully created a database (LocalSite).
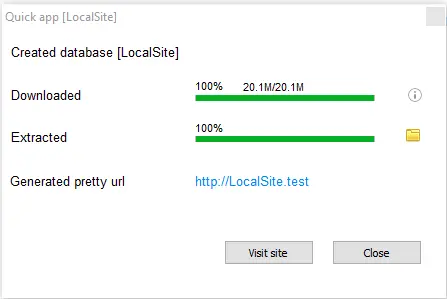
Laragon will open WordPress in your web browser when you click on the URL.
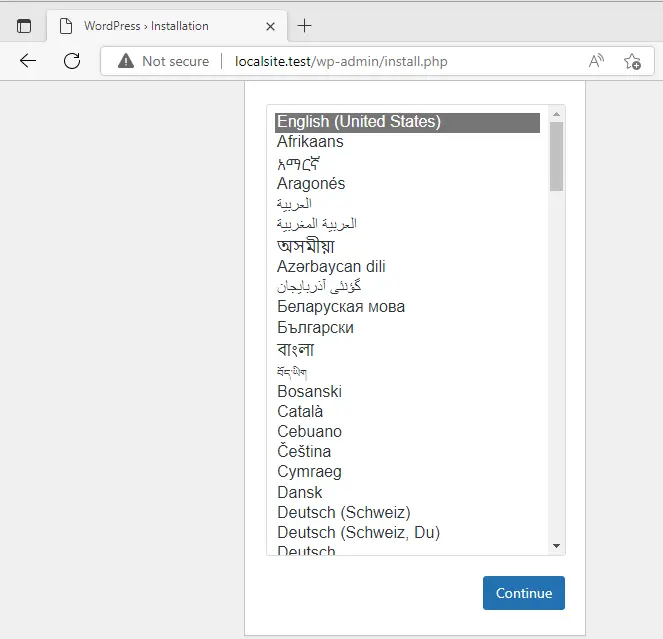
Or type (localsite.test) in the browser and then press enter.
Choose the language, and then select Continue.
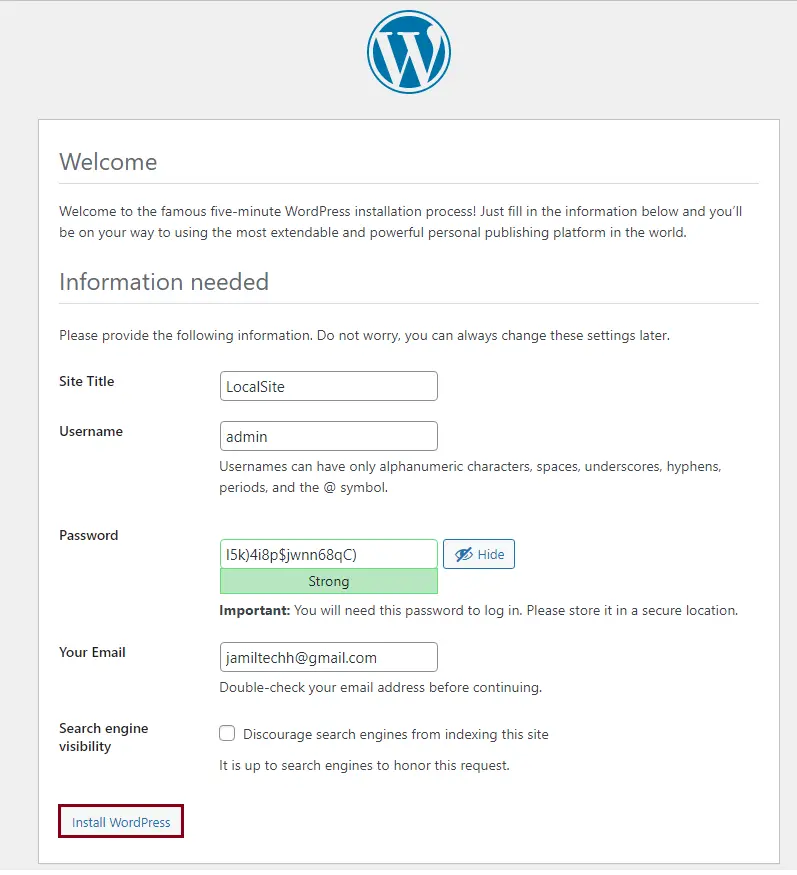
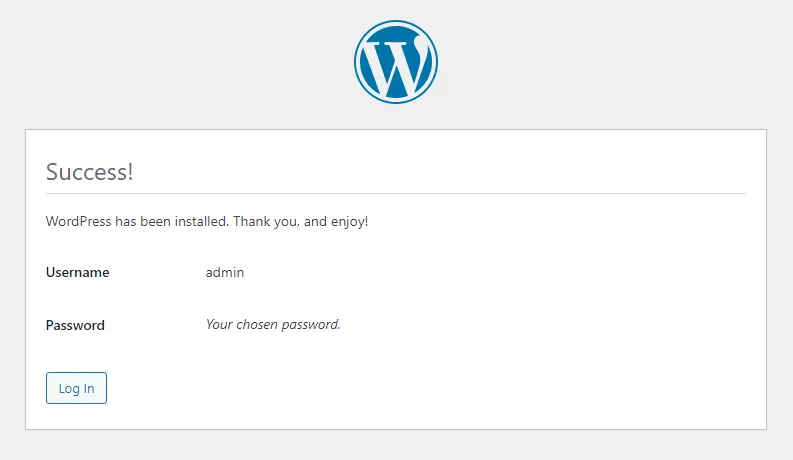
Now type the site name, site username, and password, and then click on the Install WordPress button.
Click on Log in.
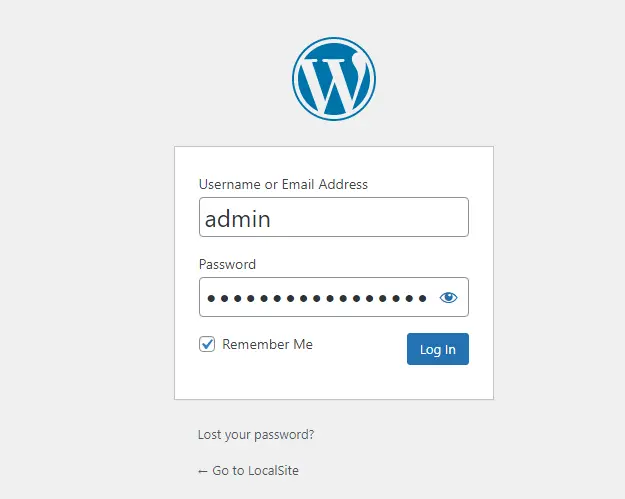
Type your localsite username and password, and then click on log in.
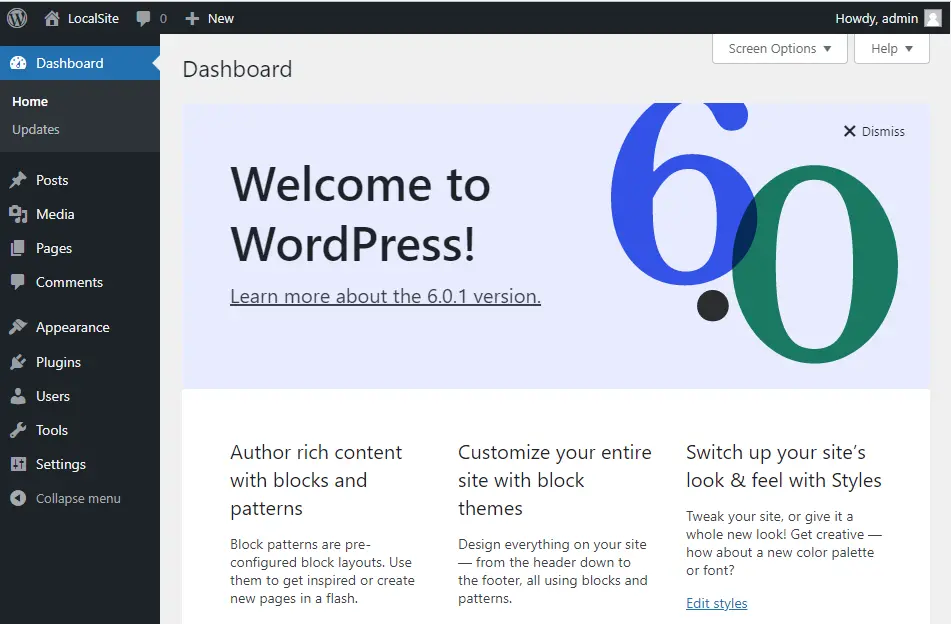
Laragon on the localhost dashboard.
Related: How to Uninstall Laragon
Refer this article on how to install WordPress Laragon


