
In this article, I will explain how to Remove Hyper-V Role on Windows Server 2022. In most cases, if you just enable and disable the Hyper-V hypervisor, you will not lose the virtual machine files/folders stored in the local storage. Though, to avoid accidental problems, we highly recommend taking backup of Hyper-V virtual machines before this risky operation.
In most cases, if you just enable and disable the Hyper-V hypervisor,
Microsoft Hyper-V is an additional feature built into Windows Professional, Enterprise, Education, or Windows Server operating systems. It doesn’t require a download and only requires Enabling Hyper-V roles in Windows features.
The process to remove or disable the Hyper-V feature on Windows and Windows Servers is different. In this article, I will disclose how to disable Hyper-V on Windows Server 2022 as an example.
before this risky operation.
Table of Contents
Remove Hyper-V Role on Windows Server 2022
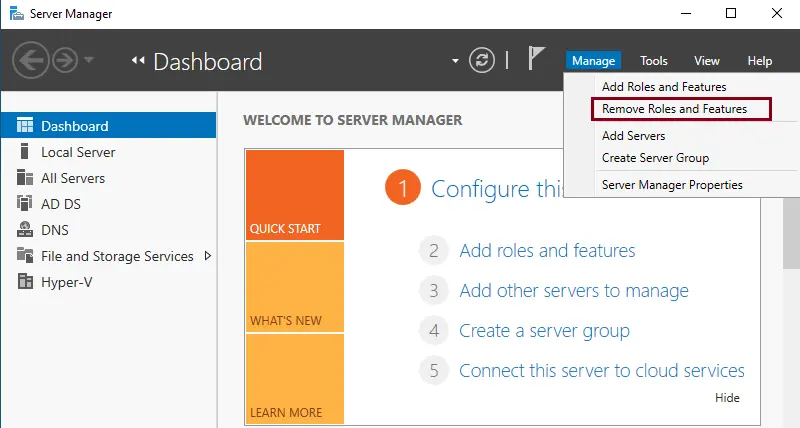
Open Server Manager, click on the Manage tab, and then click on the Remove Roles and Features option.
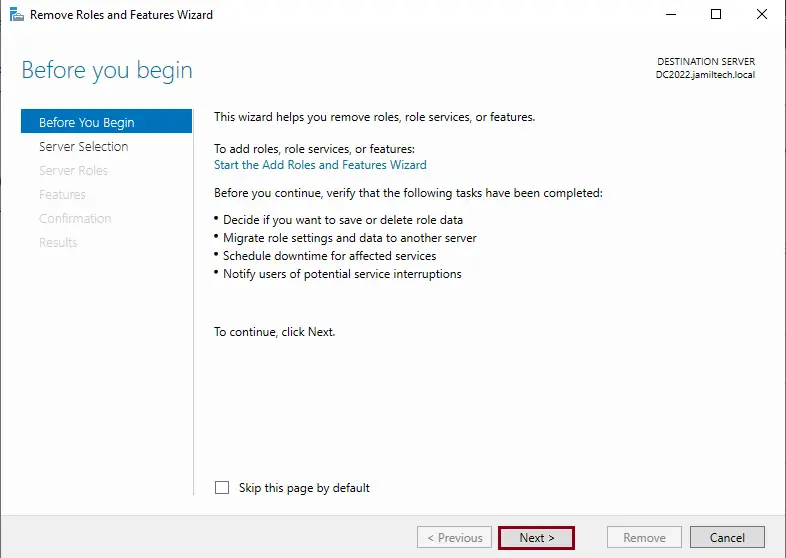
In the Remove Roles and Features Wizard, click next to continue.
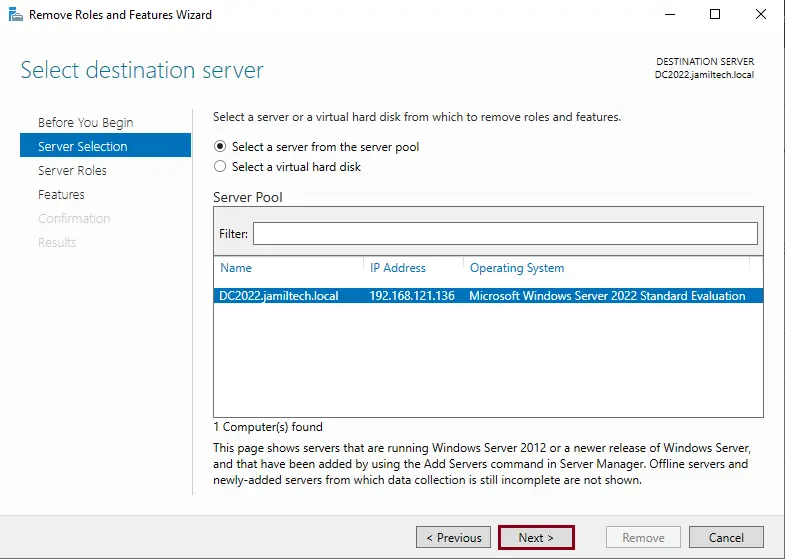
Click on the server you wish to disable the Hyper-V role, and then click next to continue.
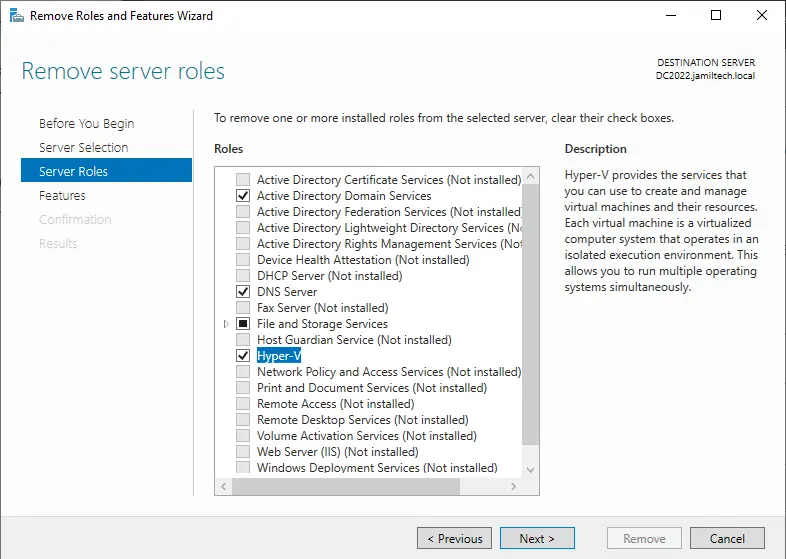
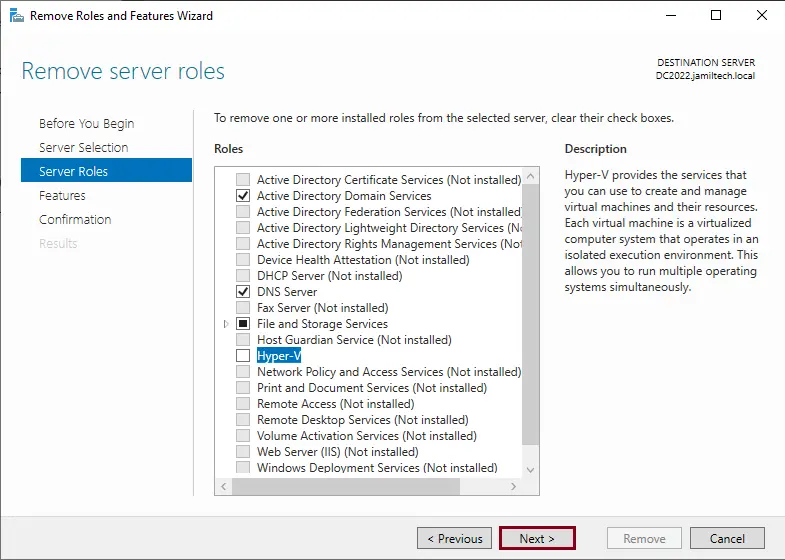
On the Remove Server Roles page, deselect the Hyper-V role option from the server role list, and then click Next.
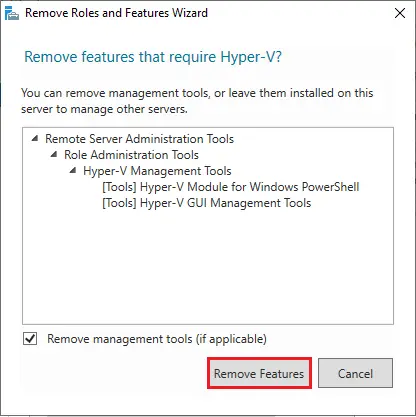
Select the Remove management tools (if appropriate) option and choose Remove Features on the remove feature that requires.
Confirm the checkbox is removed, and then click on the next button.
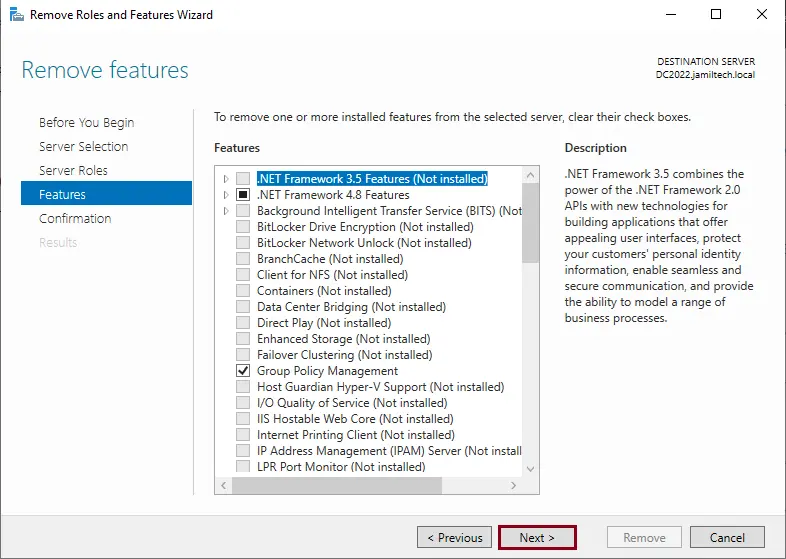
On the Remove Features page, choose Next to continue.
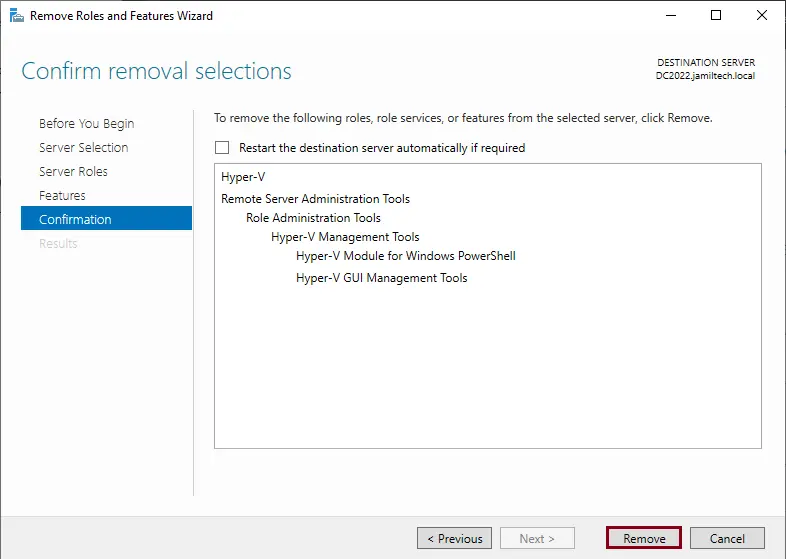
Confirm the removal selection, and then click the Remove button to start the Hyper-V removal process.
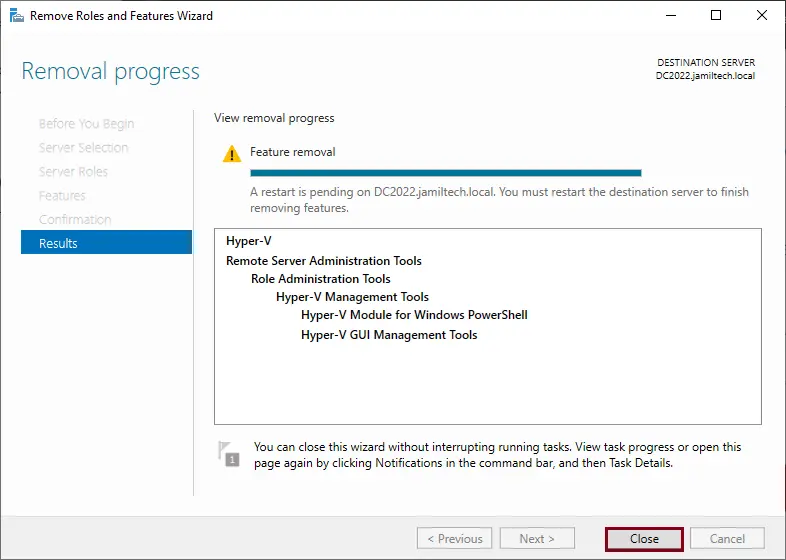
You have to wait for a few minutes until Hyper-V role removal completes. Click on the close button, and then restart your computer to complete the Hyper-V removal process.
Thank you so much for being with me.
For more detail, please visit Docs.Microsoft
