
In this article, I will show you how to install StarWind Virtual Tape Library. How to create the VTL device virtual tape library that runs on top of the Windows Server. StarWind Virtual Tape Library is a tool that permits you to imitate physical tape libraries while storing data on hard disk drives. The solution targets organizations that need to completely stop utilizing the physical tape library as well as facilitate and accelerate the process of backup and recovery.
Here I will be installing StarWinds VTL on a virtual machine running Windows Server 2022 and Veeam Backup and Replication 11. The virtual machine is configured with 2 CPUs and 4GB of memory. It has a second volume, E, that I will use for both Veeam backup files and the StarWinds VTL virtual tapes.
Table of Contents
Download StarWind Virtual Tape Library
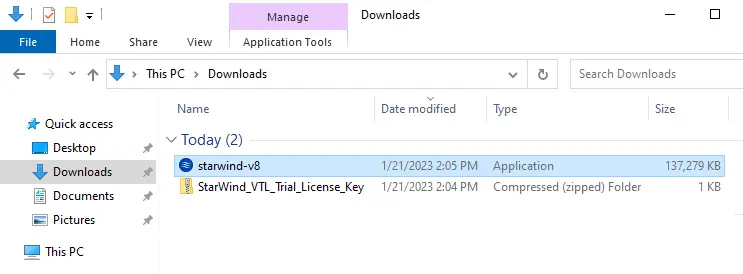
To deploy the StarWind virtual tape library, you first need to Download StarWind VTL.
Install StarWind Virtual Tape Library
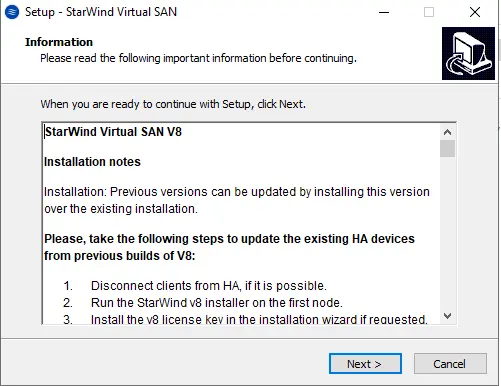
Double-click on the StarWind v8 setup files to start the StarWind VTL installation.
Set up StarWind’s virtual Sab wizard, and an information page will appear to click next.
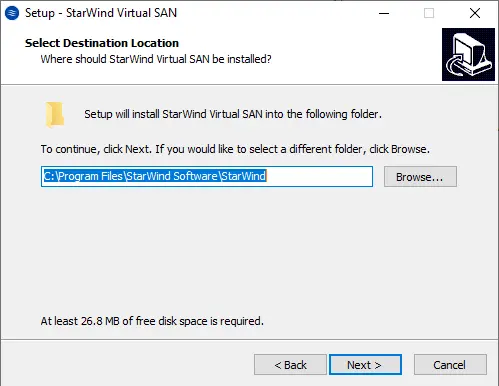
Select a destination location; I have left it at the default here. Click next.
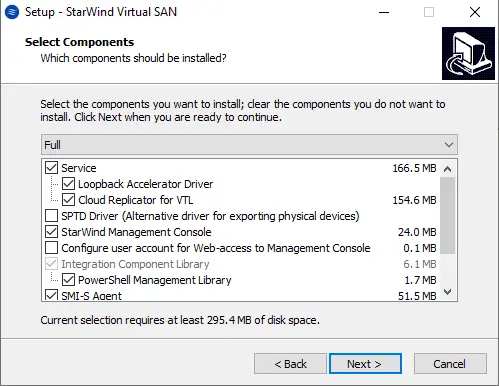
One thing you will notice here is that the installer is used to installing a range of different StarWind products. Select the boxes for VTL and Cloud Replication. This will make sure that the components needed for the VTL will be installed. Choose next.
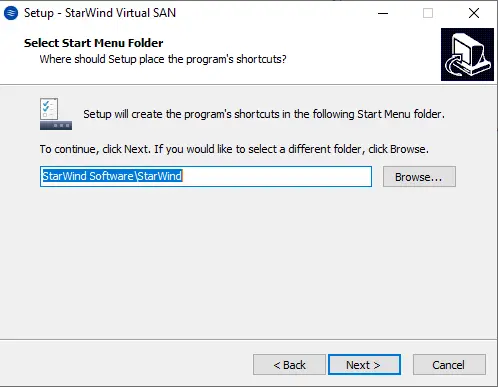
Select the StarWind start menu folder, and then click next.
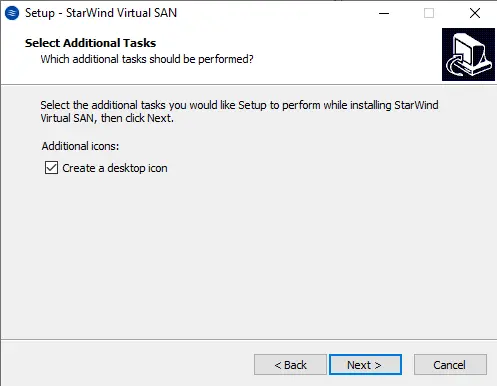
Choose additional tasks in the “create a desktop icon” box, and then click on Next.
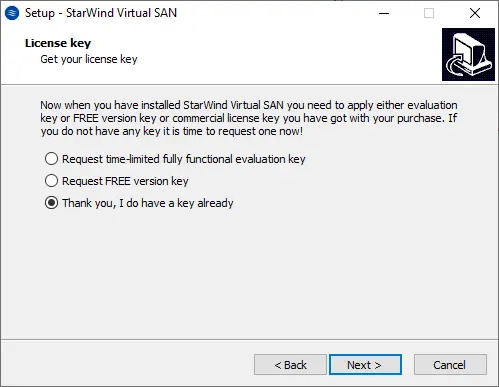
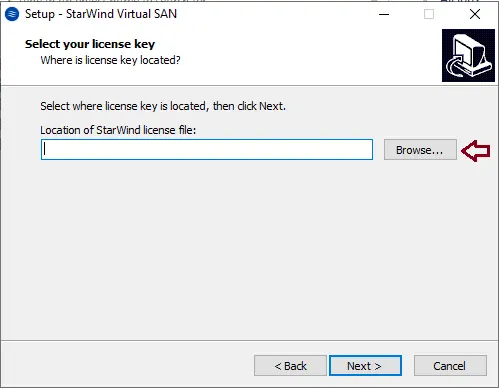
Here it is asking for a license key; if you don’t have one, choose the option and click on Next.
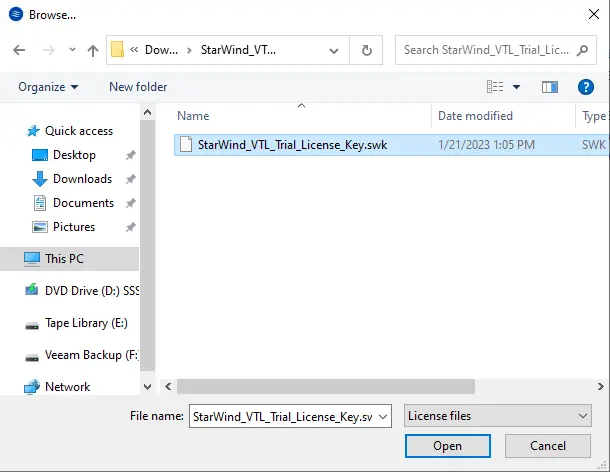
Click on Browse to select the trail key.
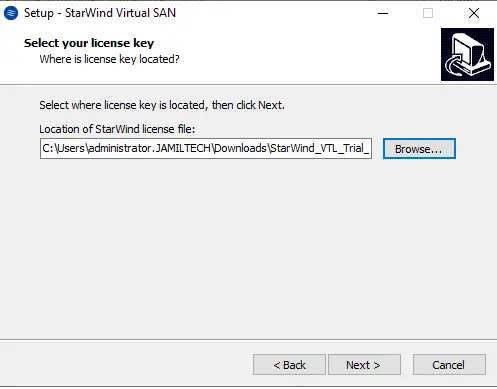
Select your license key, and then choose Open.
Choose Next
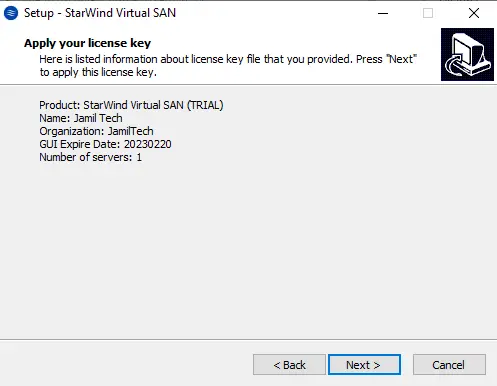
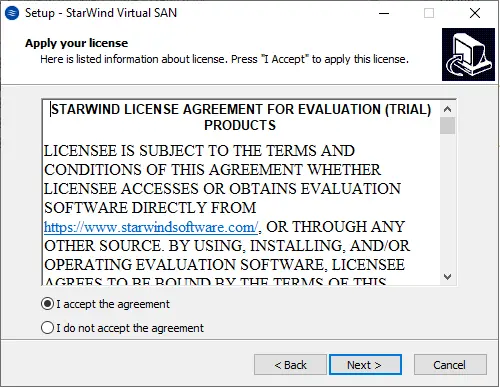
Starwind license information is chosen next.
Accept the StarWind license agreement, and then click next.
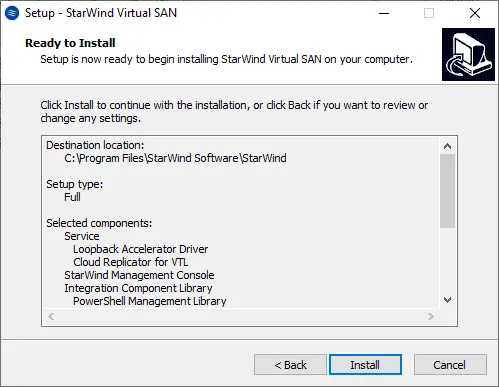
Ready to install the StarWind virtual tape library? Click Install.
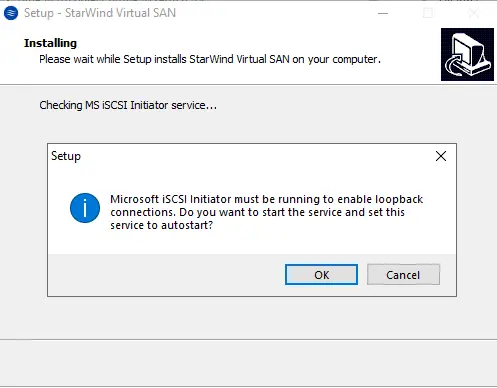
After checking the MS iSCSI initiator service, click OK.
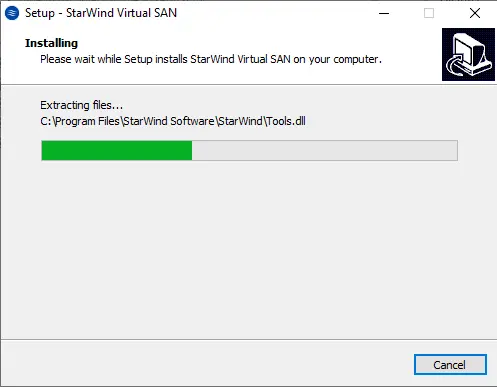
Installing StarWind’s virtual SAN.
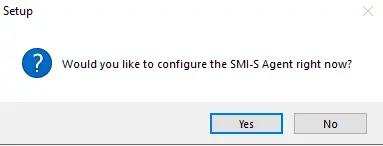
Choose yes
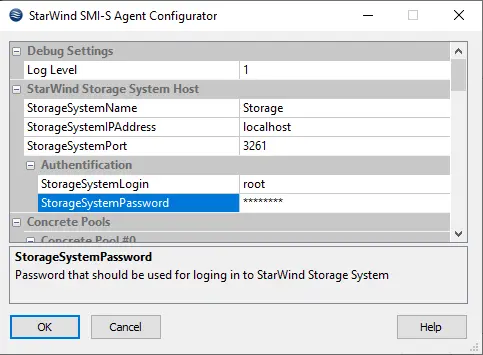
StarWind SMI-S agent configurator, click OK.
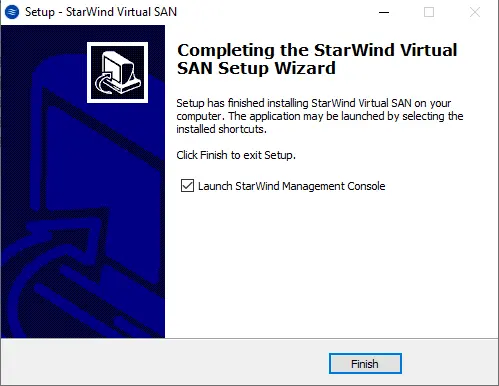
Once the virtual tape library installation is complete, choose Finish.
StarWind Virtual SAN logo screen.
Click yes to configure the storage pool.
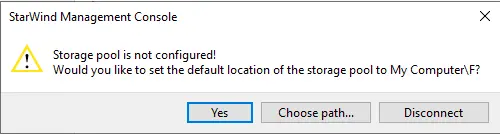
StarWind Management Console.

Refer to this article for information on how to install StarWind VTL.
In the next article, you will learn how to Configure StarWind Virtual Tape Library.
Conclusion
If you don’t need to invest in a physical tape library, you can use the StarWind Virtual Tape Library to store your data. In the real world, you usually use a physical tape library with a lot of SATA devices. Instead of using tape, use SATA devices. In addition, to be a low-cost solution, you don’t want to implement a procedure for tape rotation. However, the StarWind virtual tape library should be in another datacenter in case of a datacenter disaster.
