
The article describes how to create instant disk recovery in Veeam backup and replication. With this instant disk recovery feature, we can simply instantly recover a disk from a Veeam backup file directly from a running machine to the original or different machine. This feature is pretty helpful in that, with instant disk recovery, you can immediately restore a virtual machine disk from a backup file and publish it in its initial format. Visit Veeam to learn in detail about creating instant disk recovery.
Table of Contents
Create Instant Disk Recovery
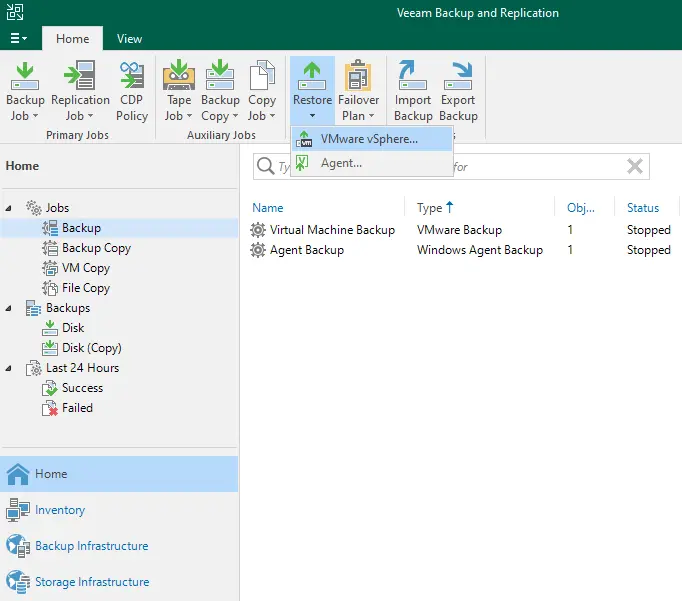
From the Home tab, click on the Restore menu, and then select VMware vSphere.
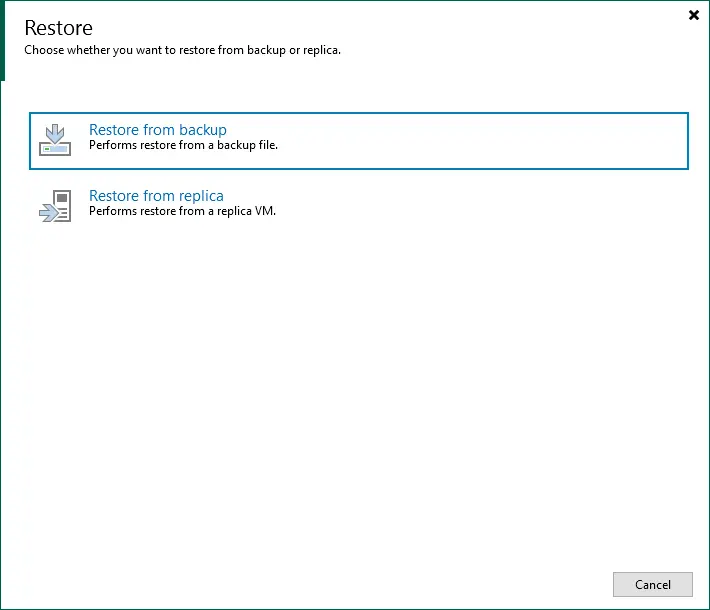
Click Restore from backup.
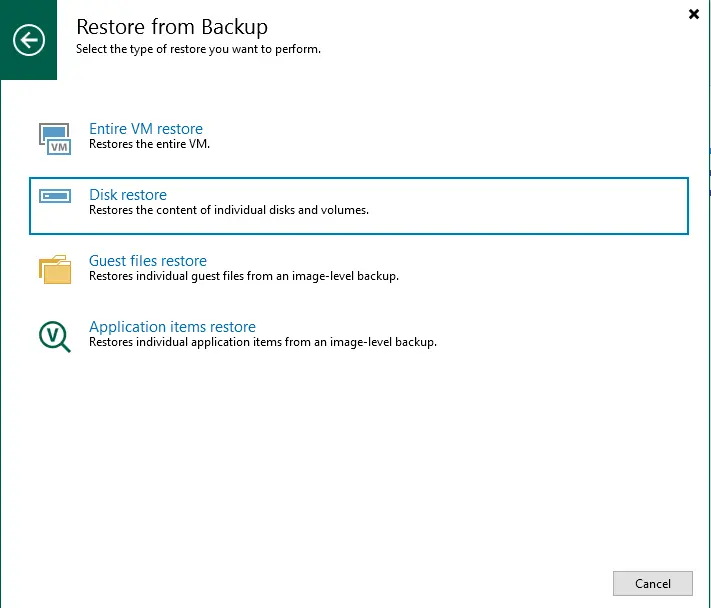
Click on Disk Restore.
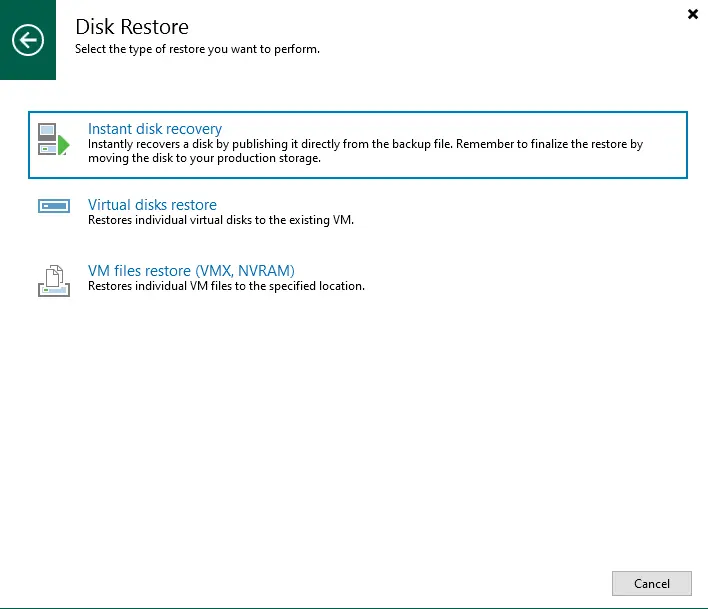
Choose instant disk recovery.
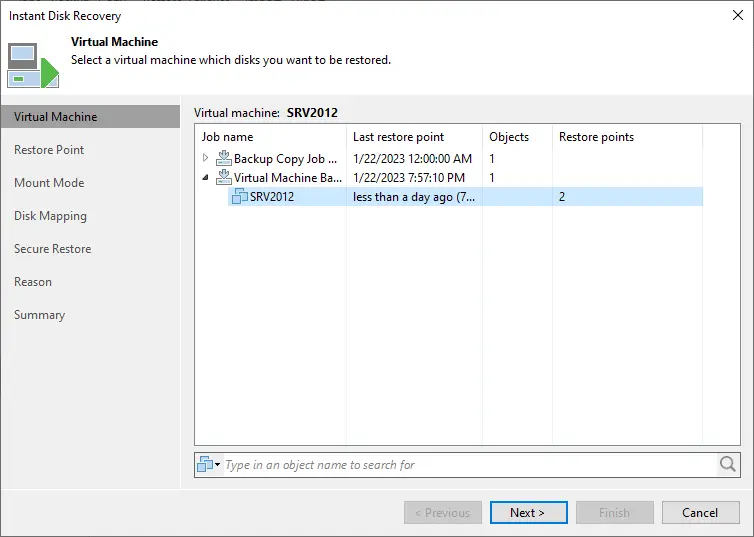
In the instant disk recovery wizard, from the virtual machines list, expand a backup job Choose a virtual machine whose disks you wish to recover, and then click Next.
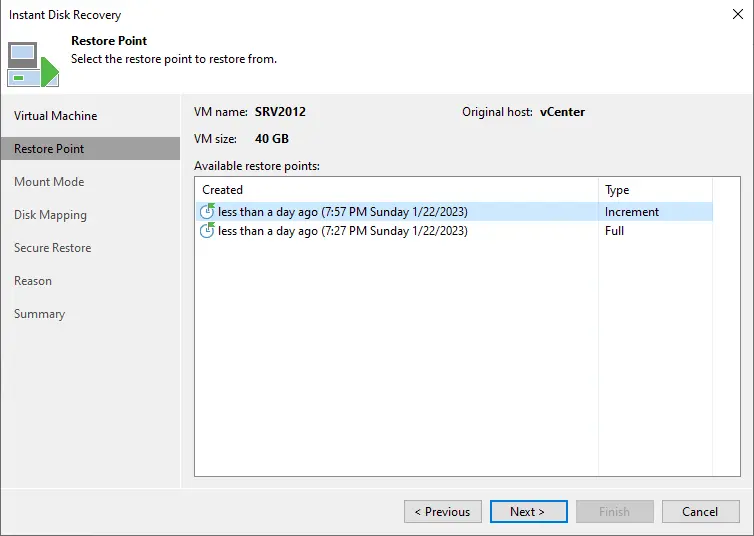
Restore point: choose a restore point to restore from, and then choose next.
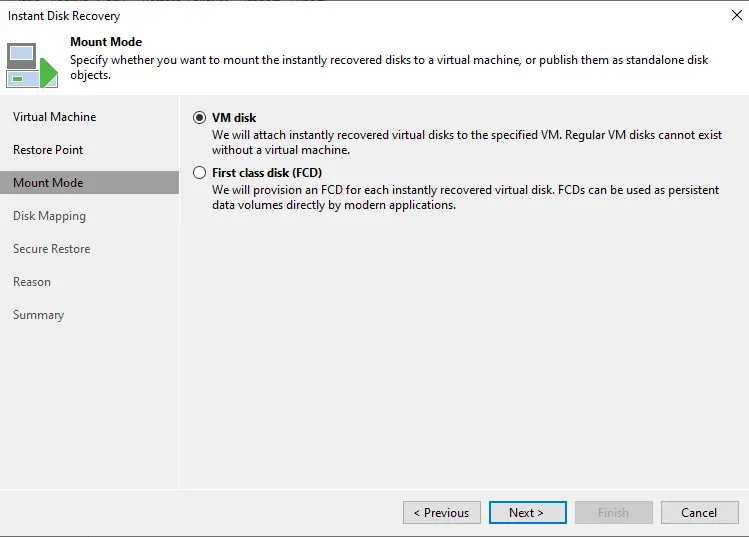
Select mount disk, and then click next.
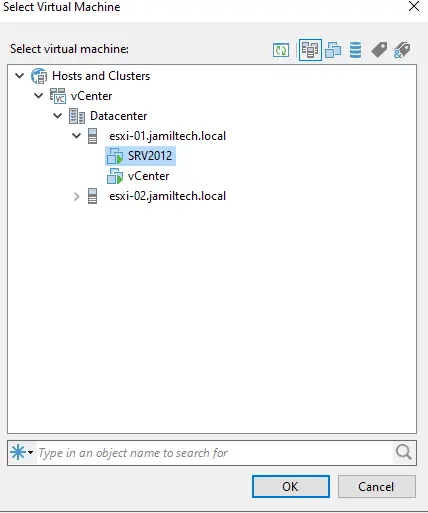
To select the destination virtual machine, click on the choose button.
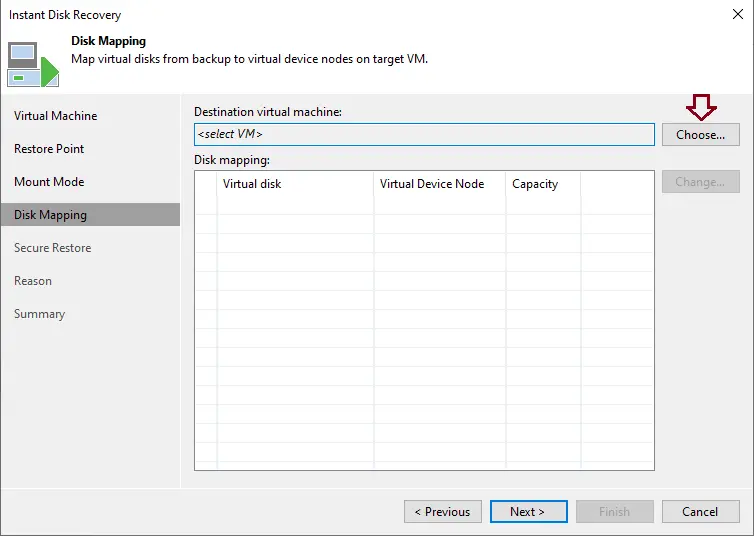
Select a virtual machine, and then click OK.
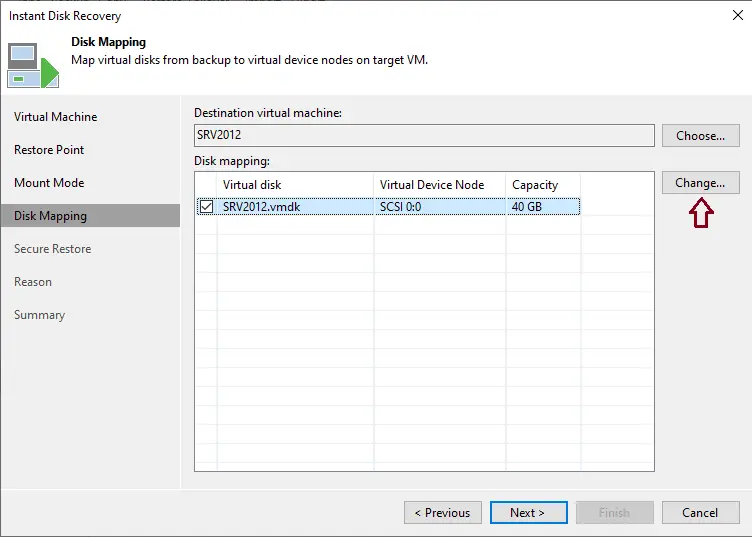
Click on the virtual machine, and then click on Change.
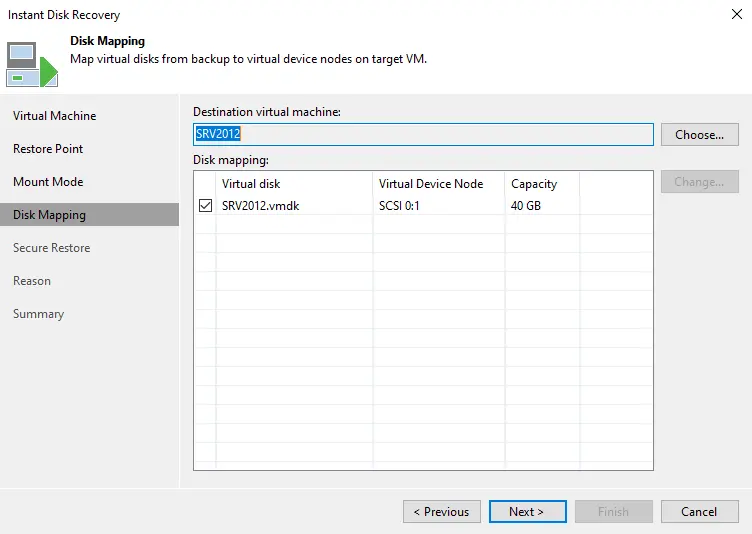
Take note of the “virtual device node”, You need to make sure that you don’t replace an existing disk on the destination VM that has the same node ID. Notice below the warning that the existing disk will be replaced.
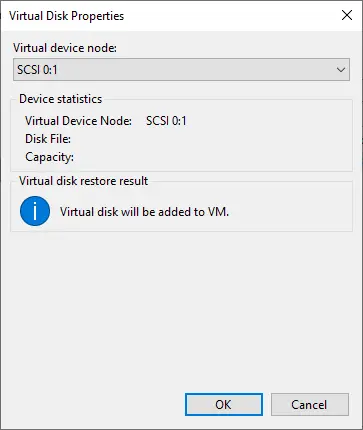
Click next
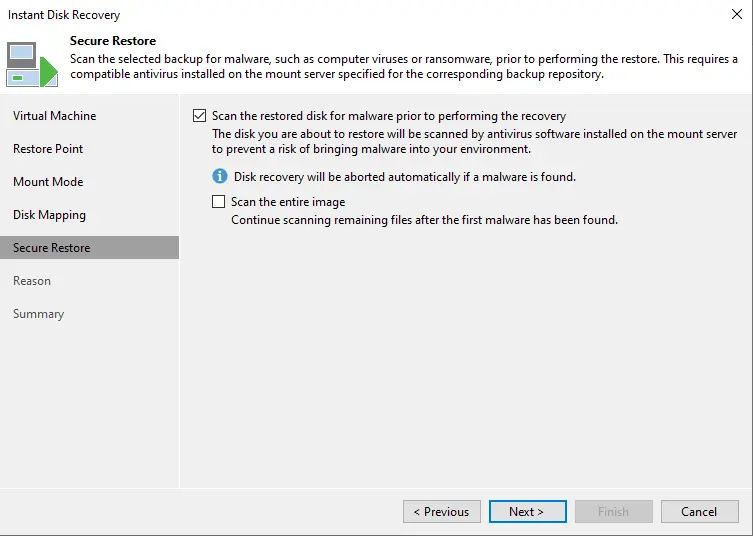
Select scan the disk if you want, and then click next.
Type a reason, and then click Next.

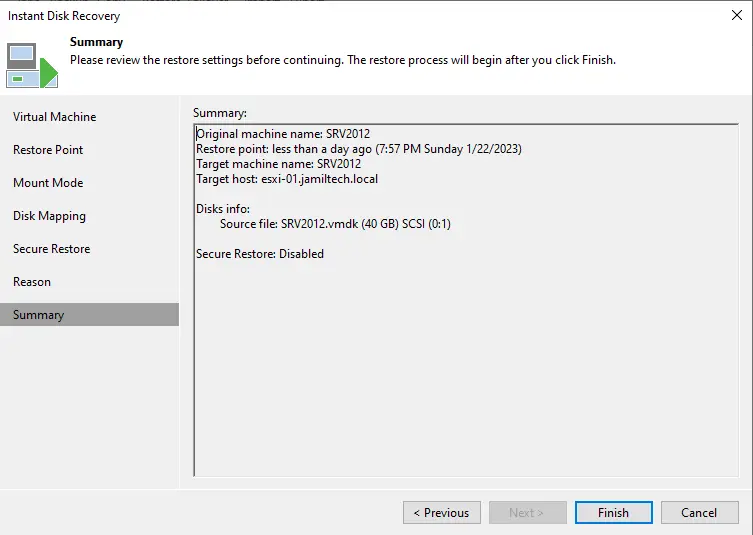
Review the summary, and then click Finish.
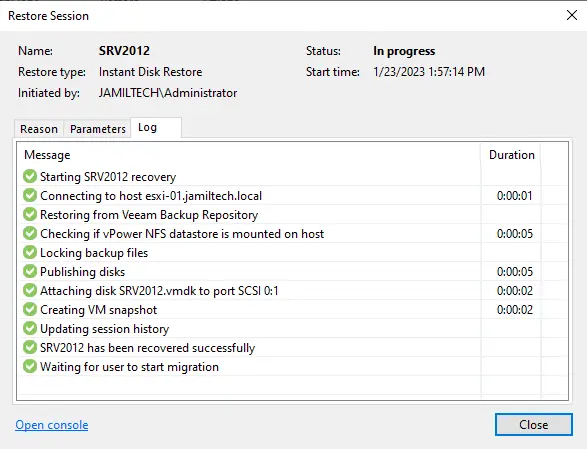
Instant disk restore session, click close
Instant Disk Recovery Open VM Console
The Veeam instant disk recovery was successfully recovered. First, we need to test the recovered disk.
Open VM Console
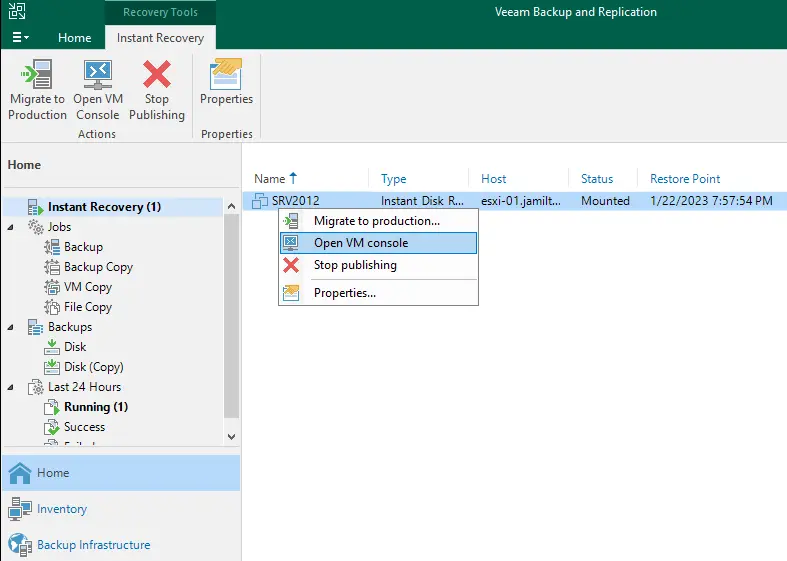
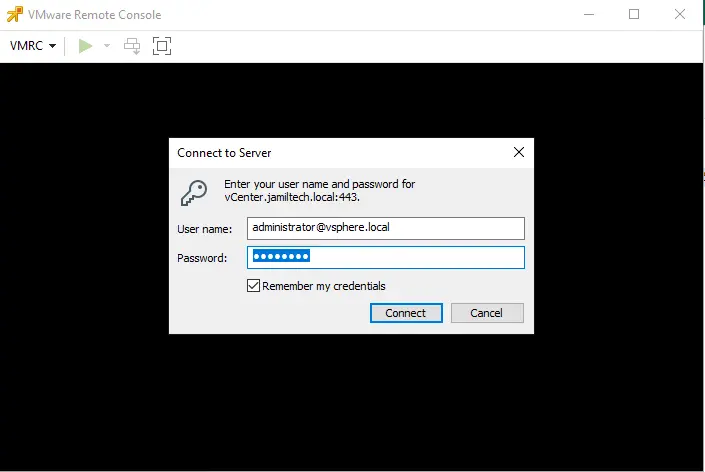
From the instant recovery tab, right-click on the virtual machine and then select Open VM Console.
Enter credentials, and then click OK.
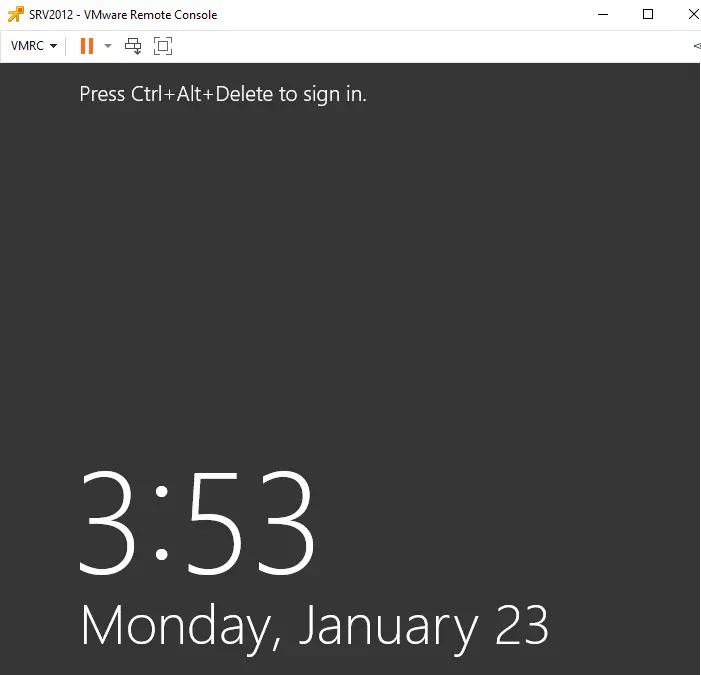
Successfully log in with an instant disk recovery system.
Migrate the Recovered Instant Disk to the Production Environment
How to migrate: click Quick Migration
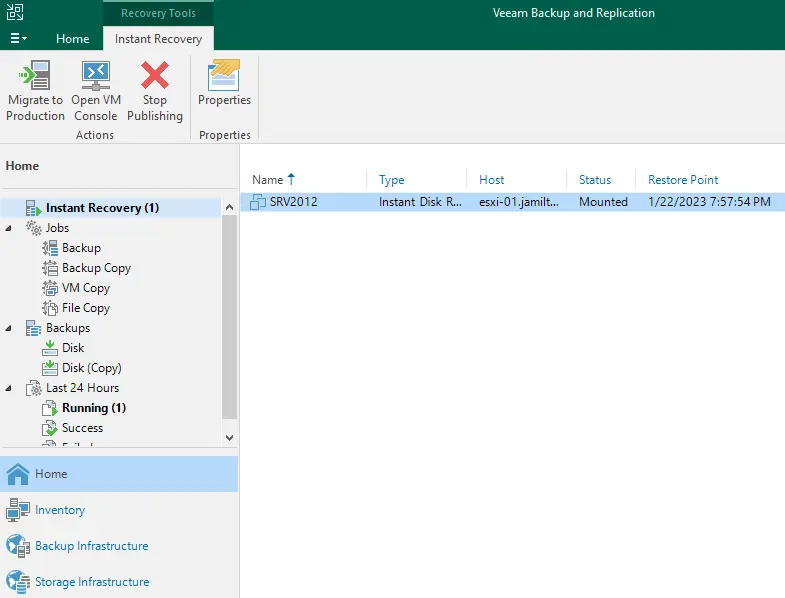
How to Remove Instant Recovered Disk
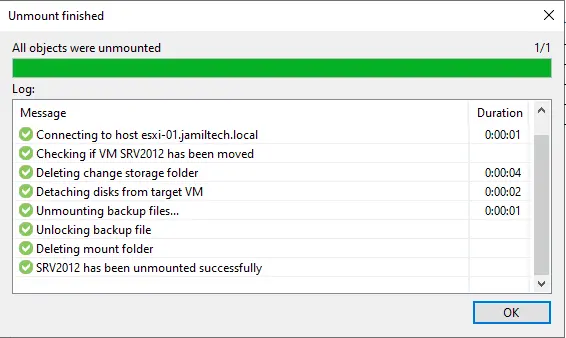
Choose the virtual machine, and then select the Stop Publishing tab.
Click ok
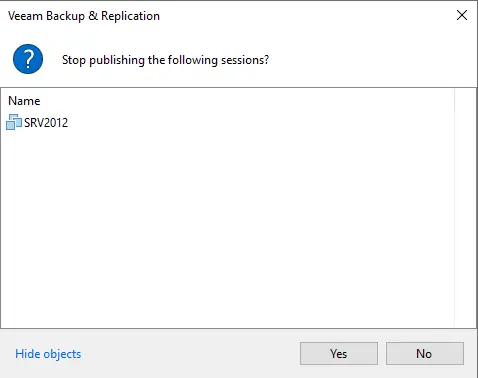
Click ok
Related: Instant Virtual Machine Recovery
