In this article, we will teach you how to merge partitions in AOMEI partition assistant. The following guide is to merge two partitions and merge unallocated space into a single partition. Please select the right disk according to your requirements. This way, you can distribute the storage on your system. If you wish to merge two partitions, the AOMEI Partition Assistant software is one of the best choices available. This operation can be done very smoothly and usually takes a short time, just follow the manual below.
Table of Contents
Merge partitions in AOMEI
Your system’s hard drive partitions can be very handy, especially if you need to format your system. In any case, often the division performed on our hard disks isn’t the best. This is why you need to use merge tools.
When we talk about merging partitions, we are particularly referring to the joining partition property of a disk, which is very useful if you need only one unit of storage to be displayed. In addition, the sections made on your hard disks can be better distributed.
Merge Two Partitions into One
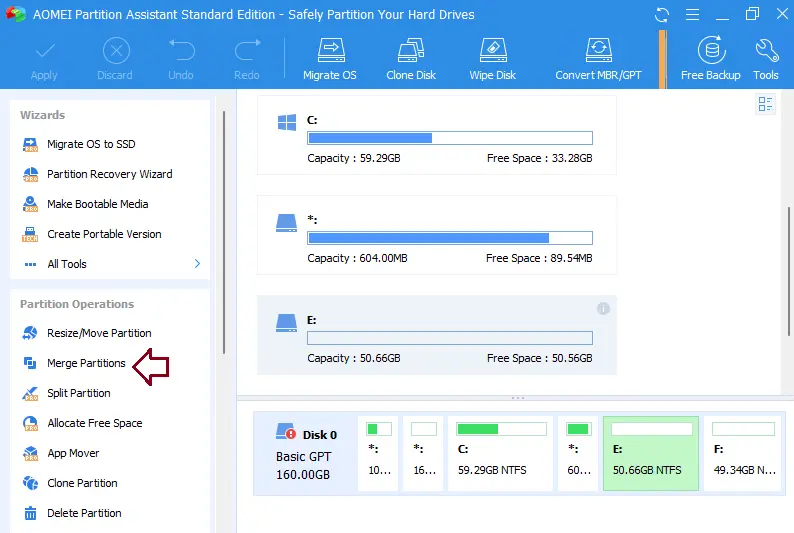
Install AOMEI Partition Assistant and then launch it. In case you don’t have the tool, you can get it from their official page. Select the partition (here is E:) which you wish to merge, and then select the “Merge Partitions” menu.
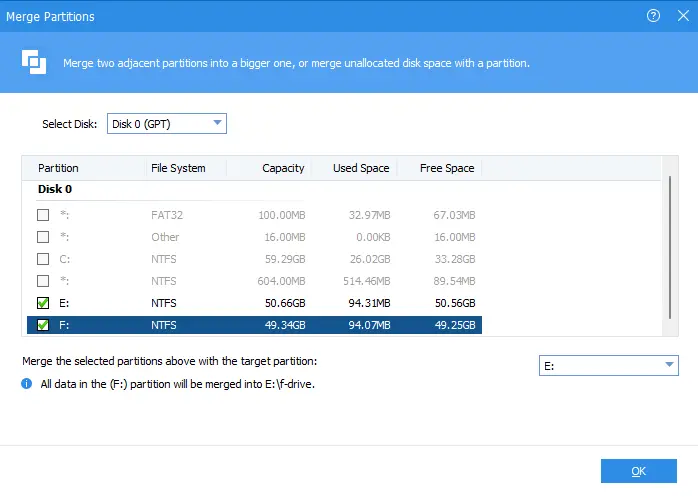
A merge partition window will pop up. Select the partition (here is E:) in the box and choose the target partition (we choose F:). And then choose OK to continue. In this case, all your data on partition F will be transferred to the E:\ e drive.
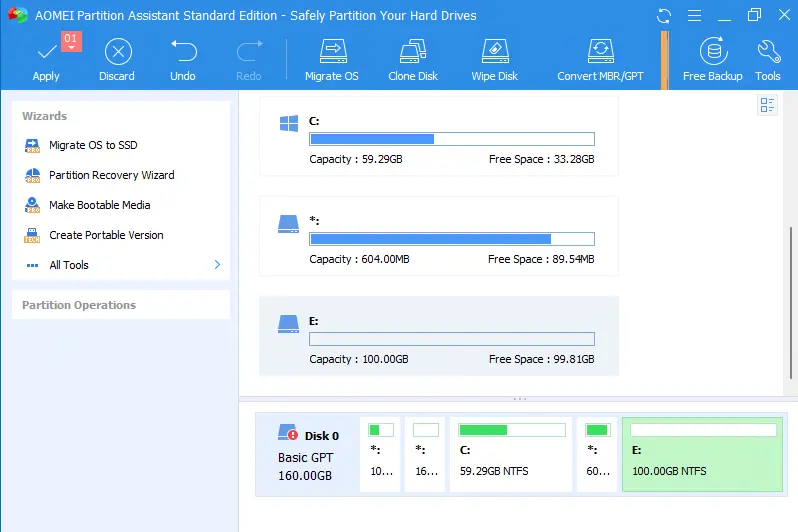
You can view changes in the Pending Operations on your left. To save the changes, just click Apply from the toolbar.
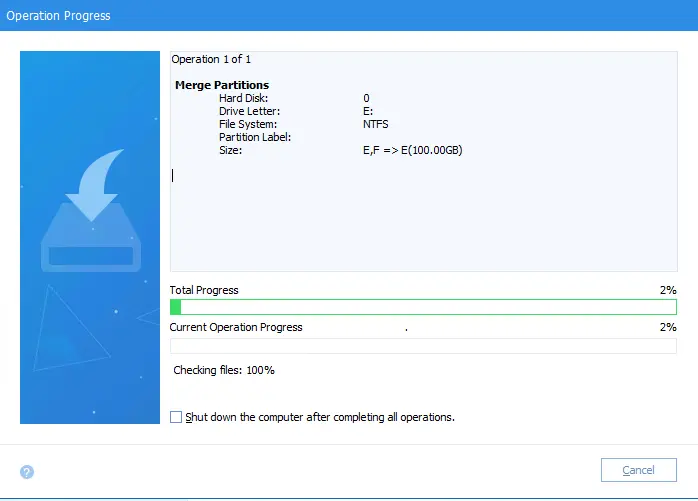
Review the merge partition details, and then click on Proceed.
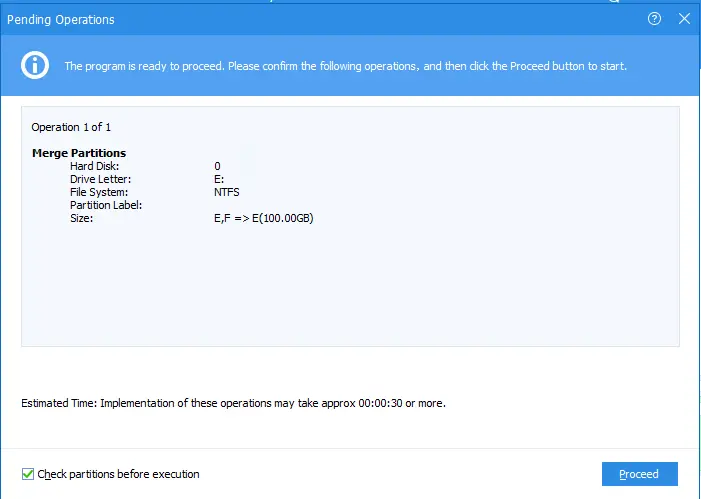
Choose OK to start the pending partition resizing operation.
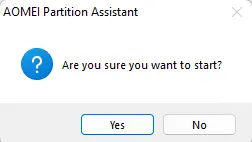
Merge partitions are in progress.
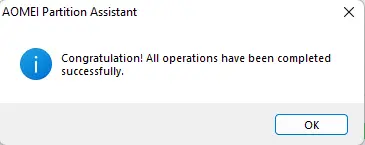
Select ok
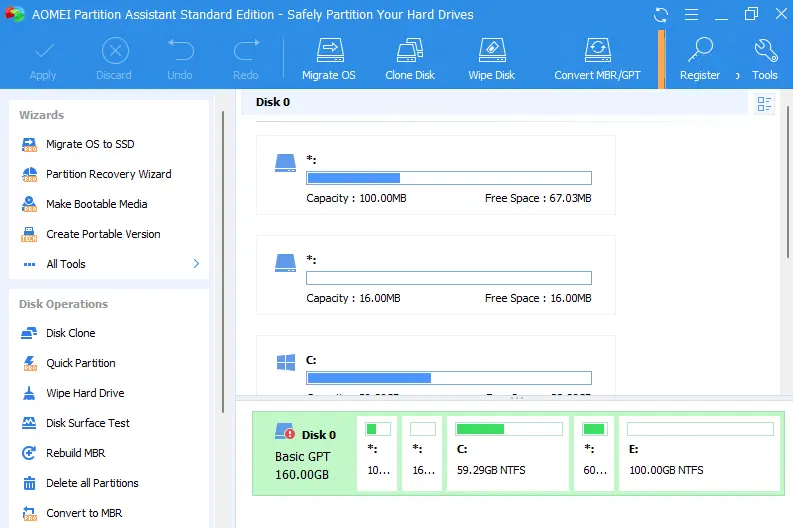
Now you can see your merge partition.
Related: How to Uninstall AOMEI Partition Assistant

