In this article, we will learn how to restore Virtual Disk in Veeam Backup and Replication. We can restore the virtual disks of a virtual machine from Veeam backups. We have the restored disks, which we can attach to their original virtual machine. For instance, if we would like to replace a corrupted disk or map with any other virtual machine in our virtual infrastructure,.
Table of Contents
Restore Virtual Disk in Veeam
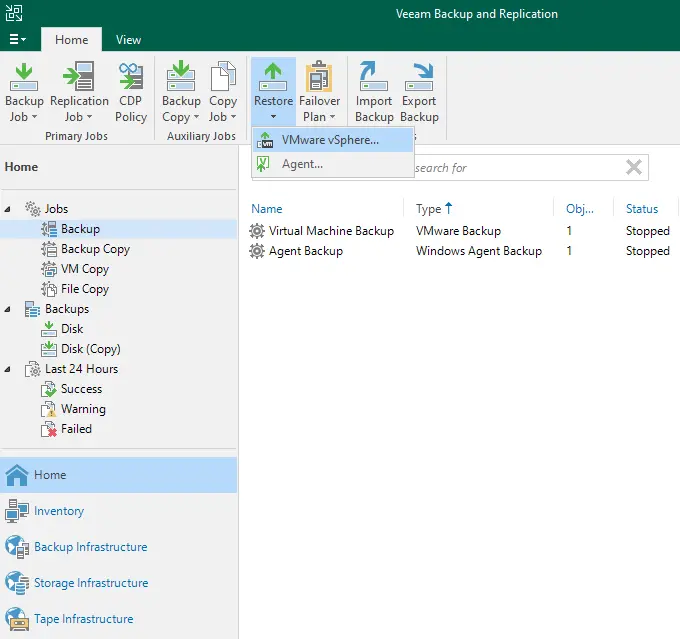
Run Veeam backup & replication, in the home tab, click on the Restore tab, and then VMware vSphere.
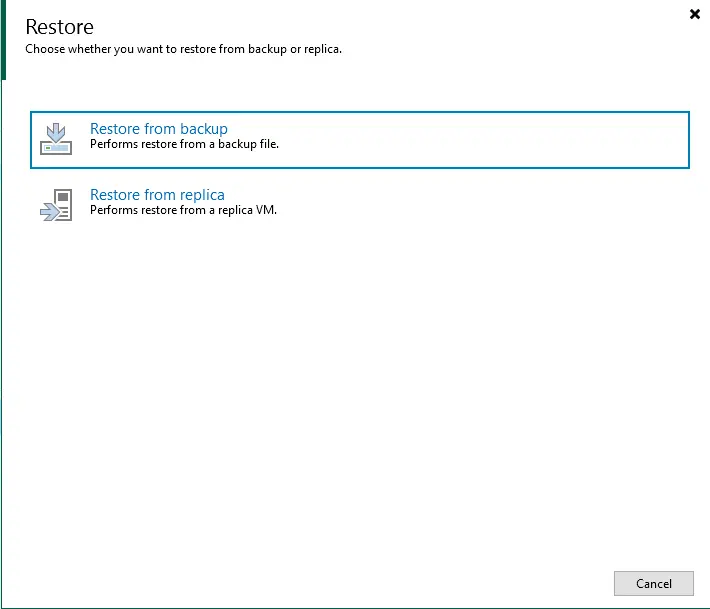
Choose Restore from Backup.
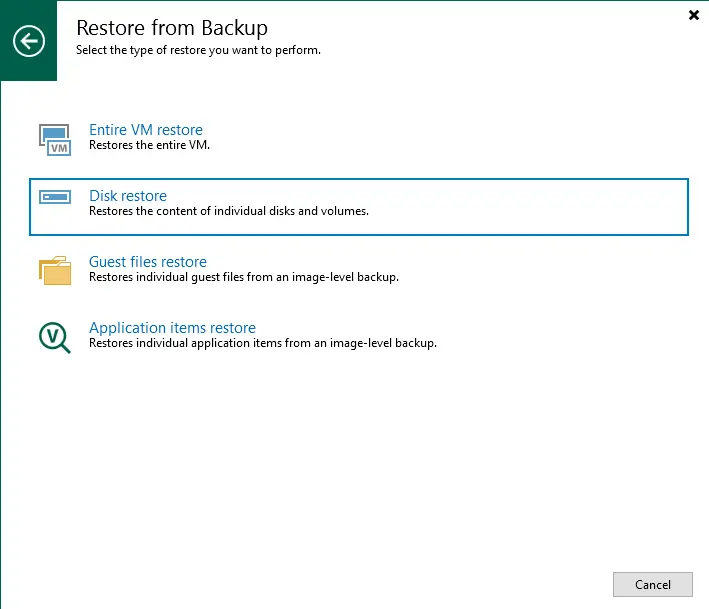
Select the type of restore, “Disk restore”.
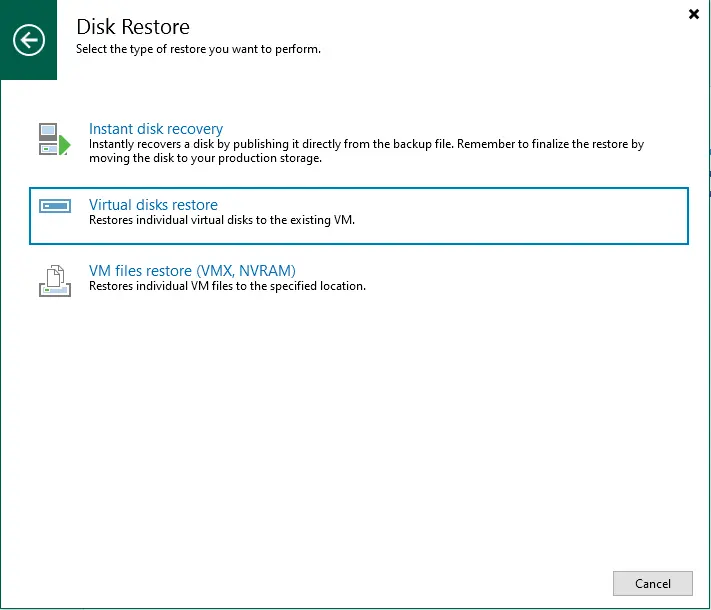
Click on Virtual Disks Restore.
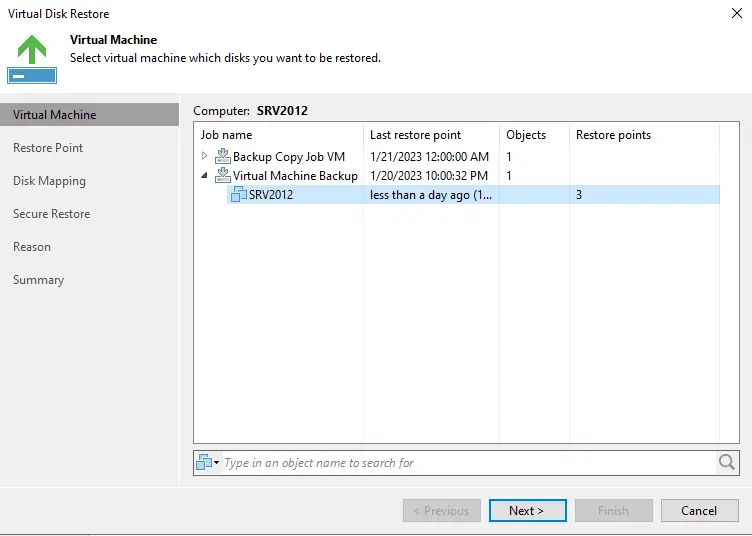
Select the virtual machine whose disks you wish to restore.
Expand the necessary backup job from the list, and then click on the virtual machine.
Select next.
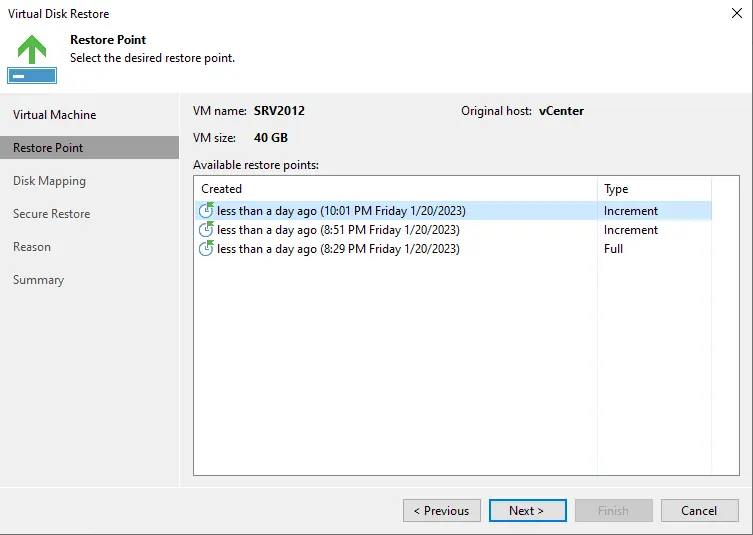
In the virtual disk restore point window, choose a restore point from which you wish to restore the virtual machine disks, and then choose Next.
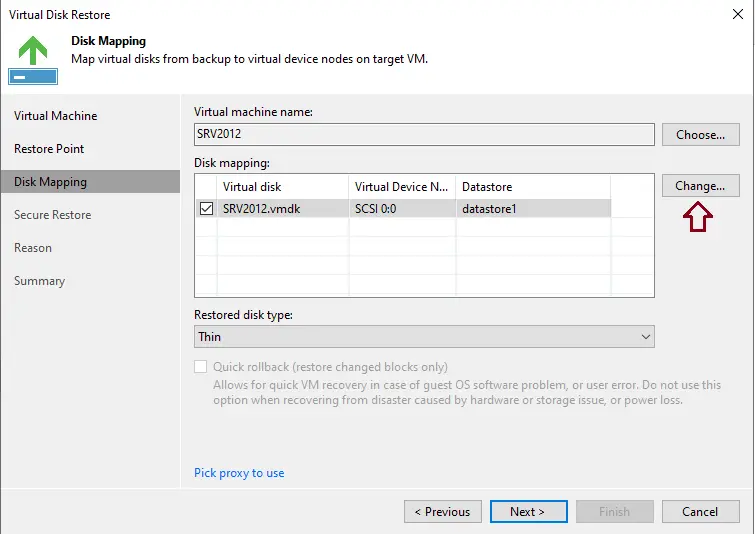
Map Virtual Disks from Backup
Choose a virtual disk to restore, choose a virtual disk to which the disks should be attached, and define additional restore settings.
By default, Veeam maps restored disks to their original virtual machines. If the original virtual machine was relocated or if you would like to attach disks to another virtual machine, you have to select the target virtual machine manually. Choose Browse, and then select the necessary virtual machine from the virtual environment.
Tick the box next to the virtual hard disks that you want to restore.
To specify virtual disk properties, choose a disk from the list and then click Change.
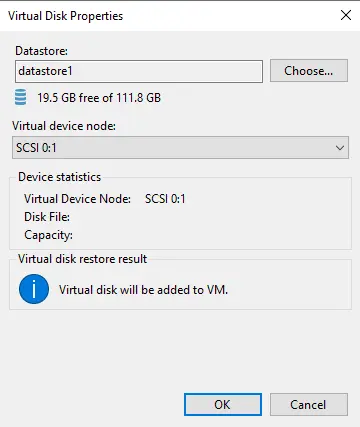
In the virtual disk properties page, pick a datastore where the restored disk must be placed.
Choose the restored disk type (Thin) and then select Next.
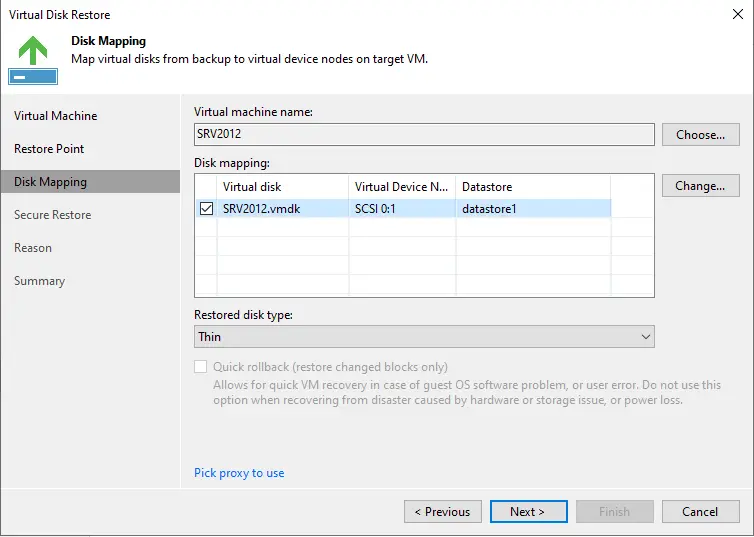
Click ok

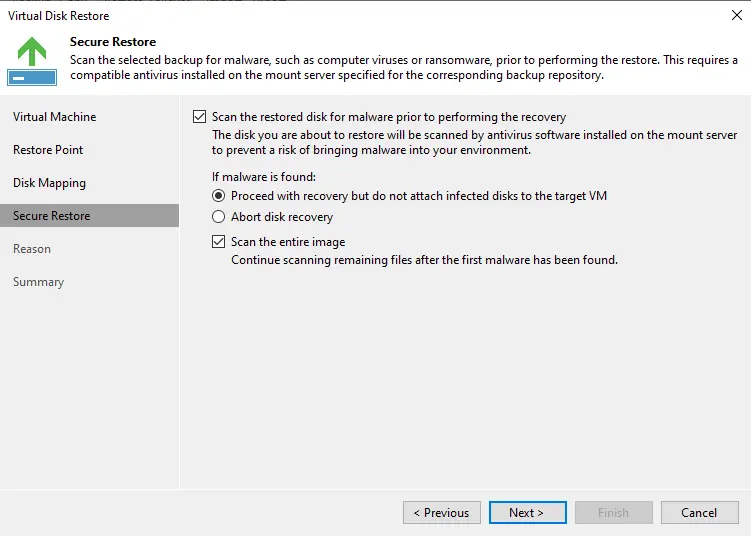
Specify Secure Restore Settings
At the virtual disk restore secure restore window, tick the box “Scan the restored disk for malware prior to performing the recovery”.
Choose which action Veeam Backup will take if the antivirus detects a virus threat.
Tick the box “Scan the entire image” if you allow the antivirus software to continue the virtual disk scan. Visit Veeam for information on how to view the results of the malware scan.
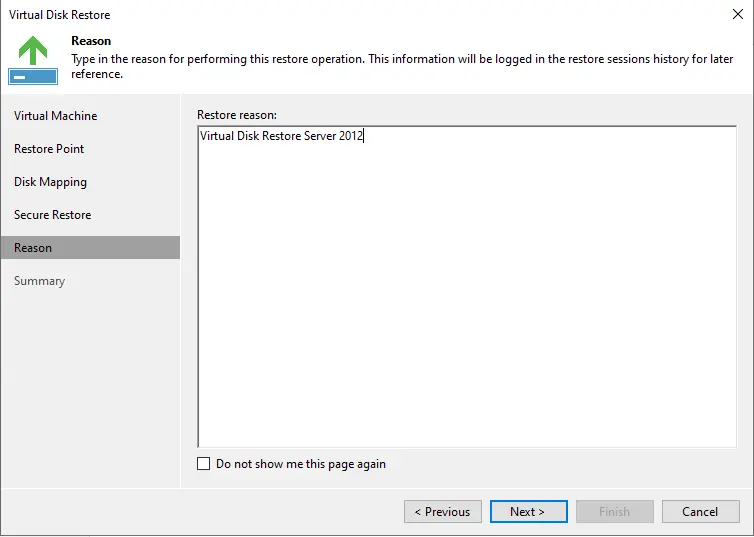
Type a reason for restoring virtual machine disks, and then choose Next.
In the virtual disk restore summary window, click on the Finish button to start the VM disk restore.
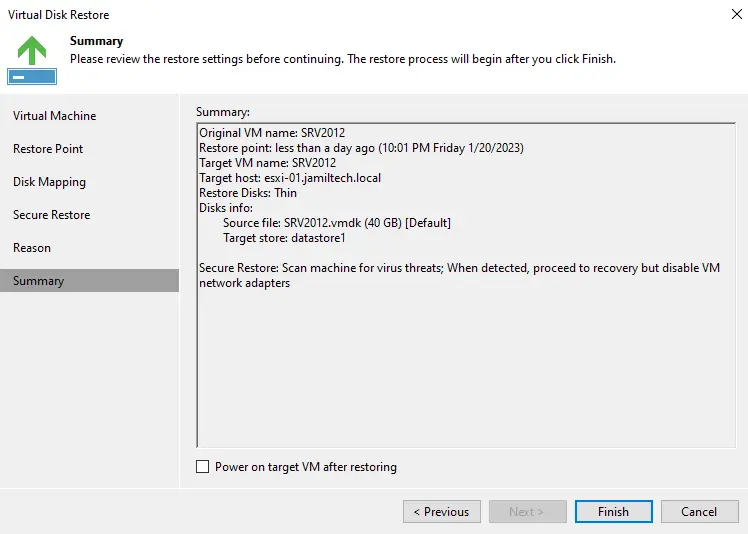
Virtual disks restore sessions.
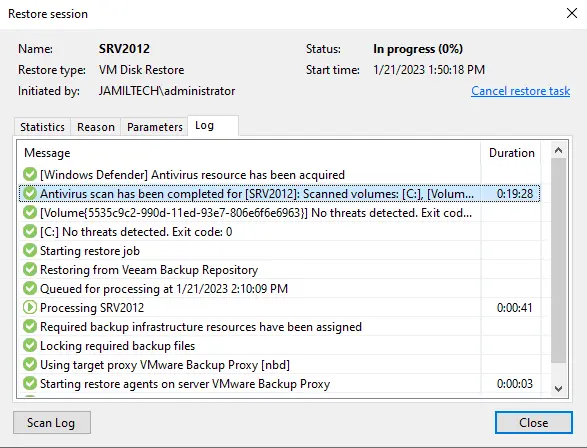
Visit Veeam to find out more about restoring virtual disks.
Read this article: How to Restore Microsoft Exchange Items in Veeam Backup.


