
This article will describe how to set up additional domain controller for an existing domain on a local area network (LAN). Let’s move on and configure an additional domain controller for an existing domain. At times, you may need to have an additional domain controller to balance the load and increase fault tolerance. This article elaborates on the steps needed to configure a domain controller to the Active Directory (AD) environment.
Once your 1st Domain Controller is ready to use, it’s time to add another Windows Server 20222 domain controller to the Active Directory environment. Either for load balancing, redundancy, or just because another DC feels the right way to go. This is the procedure we will implement in this current article, which is just as simple as the previous one.
We can add several domain controllers to an active directory for load balancing, fault tolerance, redundancy, and other purposes. All the domain controllers should engage the same content, like computer accounts, user accounts, and more.
First of all, we need to set up Active Directory Domain Services on the new domain controller, then promote that as the DC. Refer to this article for more detail on how to configure an additional domain controller.
How to Add Additional Domain Controller to an Existing Domain Controller
Table of Contents
Join Windows Server to Domain Controller
Set up Additional Domain Controller
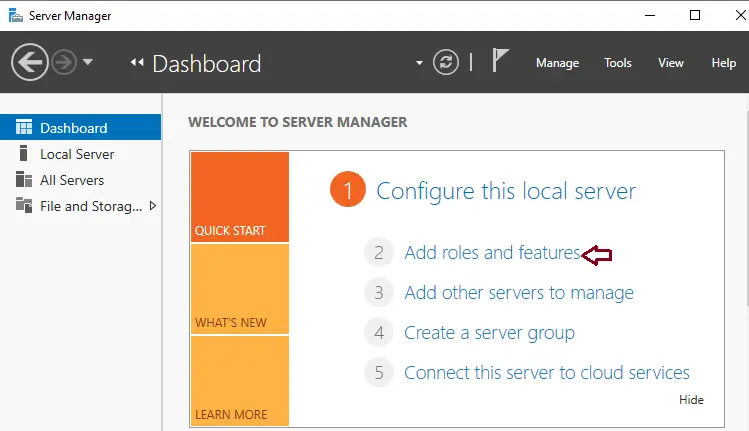
First of all, open Server Manager and click on Add Roles and Features.
Active Directory Role Installation
Click next.

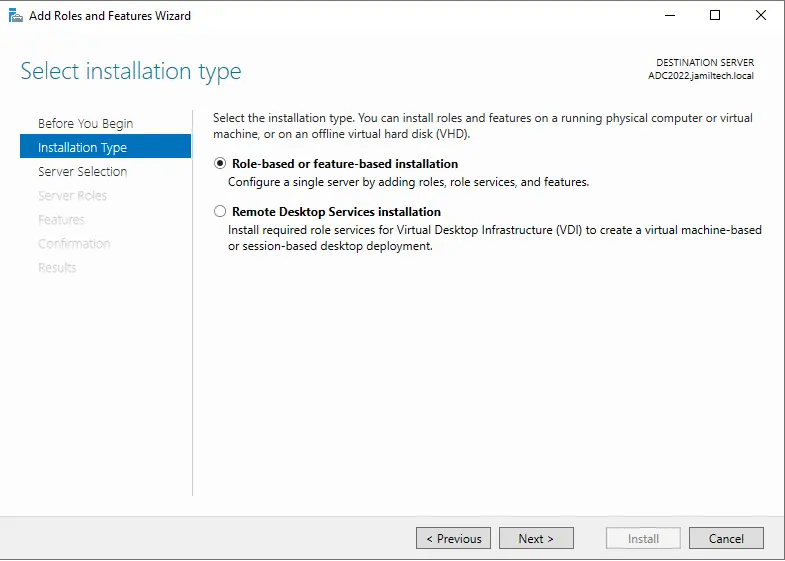
Choose role-based or feature-based installation, and then click on the next button.
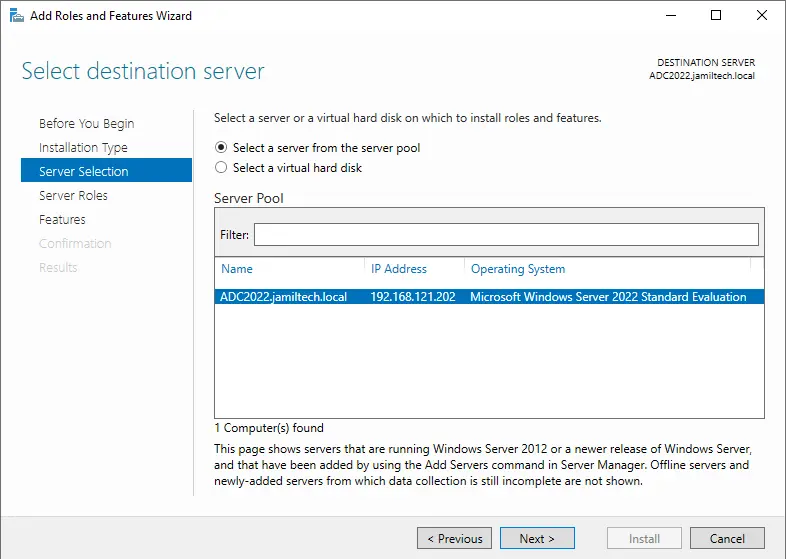
Select the domain controller server, and then select Next.
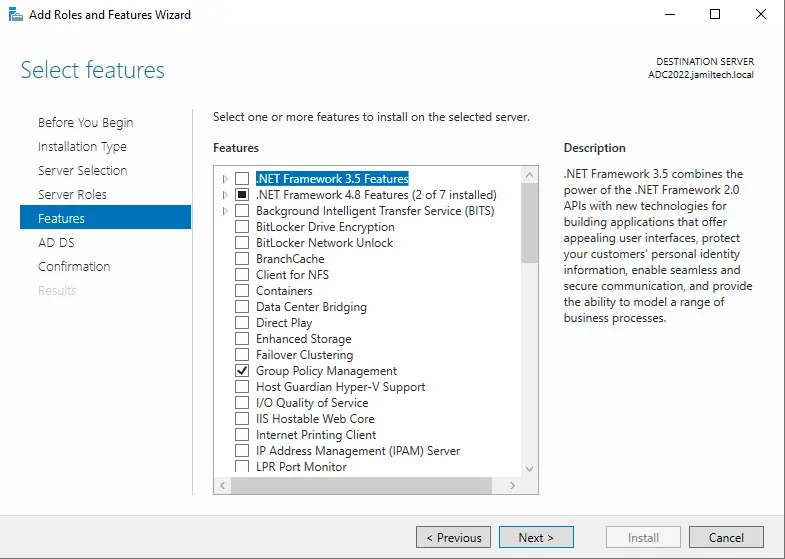
Enable Role Active Directory Domain Services
Select the checkbox “Active Directory Domain Services.”
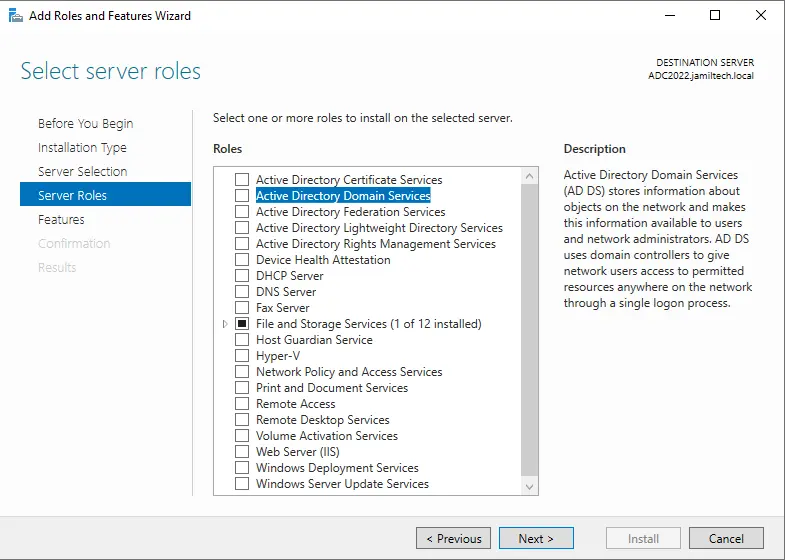
Select the add button.

After adding the server role, choose Next to set up an additional domain controller.

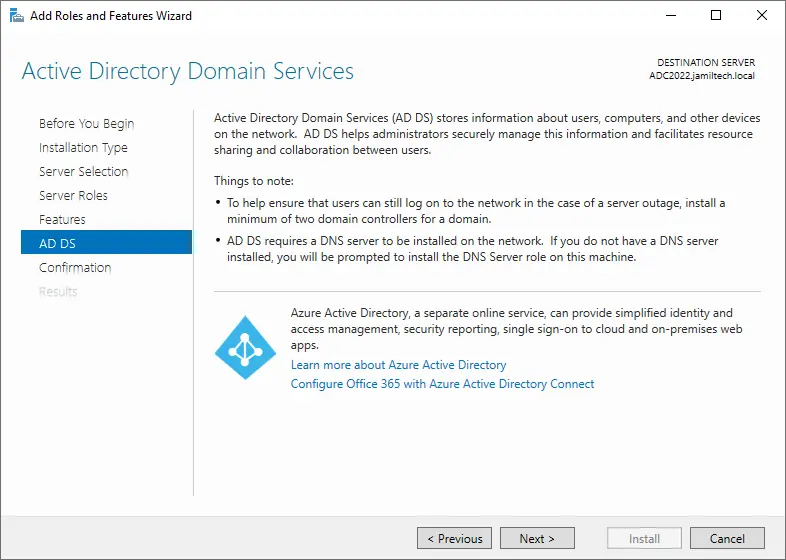
For additional domain controller features, choose next.
AD DS options, click next
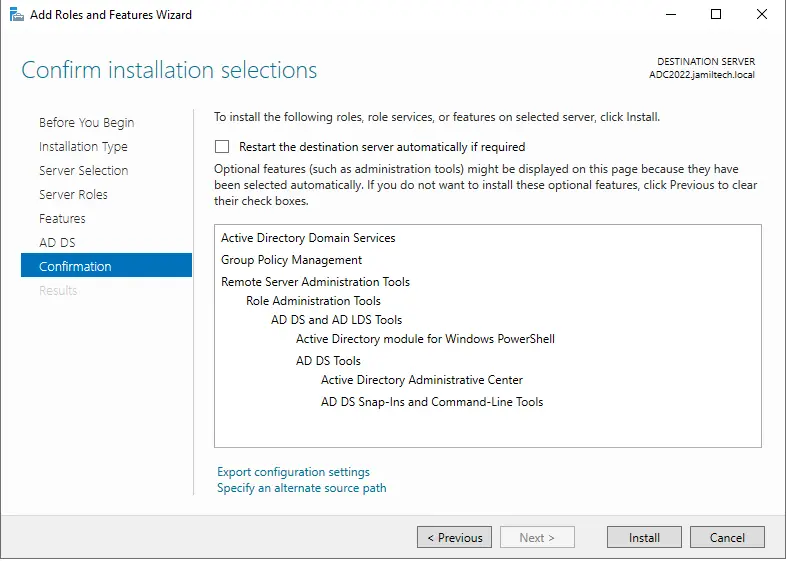
Select the Install button to start the domain controller installation.
Promote this Server to a Domain Controller
Click on the “Promote this server to a domain controller” hyperlink to promote a domain controller to an additional domain controller.
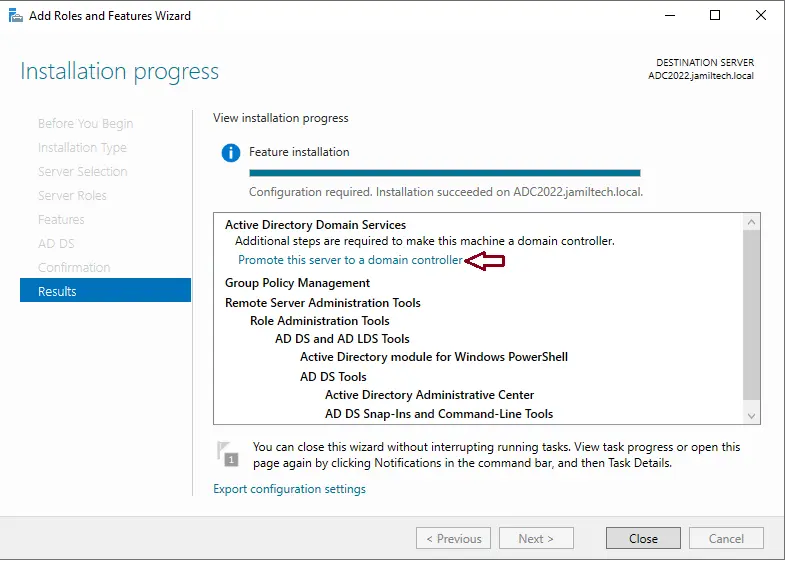
Additionally, you can click on the notification icon in the Server Manager.
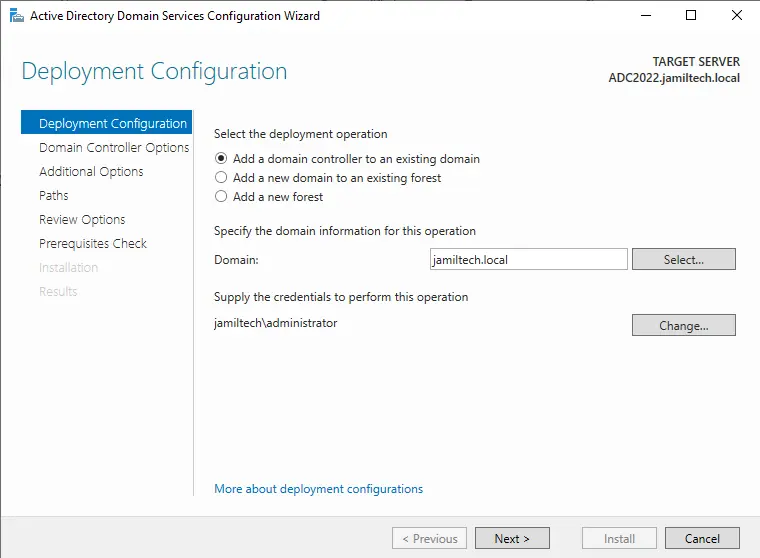
On the deployment configuration window, choose “Add a domain controller to an existing domain”. You have to specify the name of the domain to which the new domain controller will be added. Click on the change button.

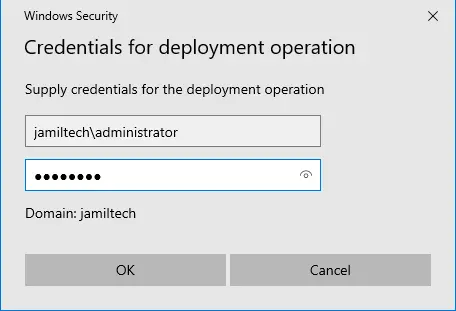
Now you can enter the credentials of an active directory domain controller account that has the rights to add a domain controller to your existing domain, such as the Domain Administrator, and then click OK.
Specify the domain information, and then choose next.
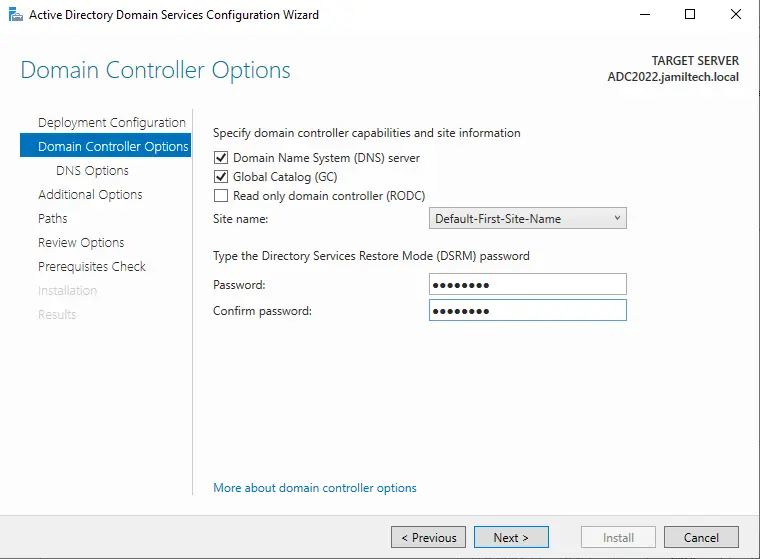
Domain Name System (DNS) server
Global Catalog (GC)
Type the “directory services restore mode (DSRM)” credentials and then choose next.
Ignore the DNS server warning, and then choose Next.

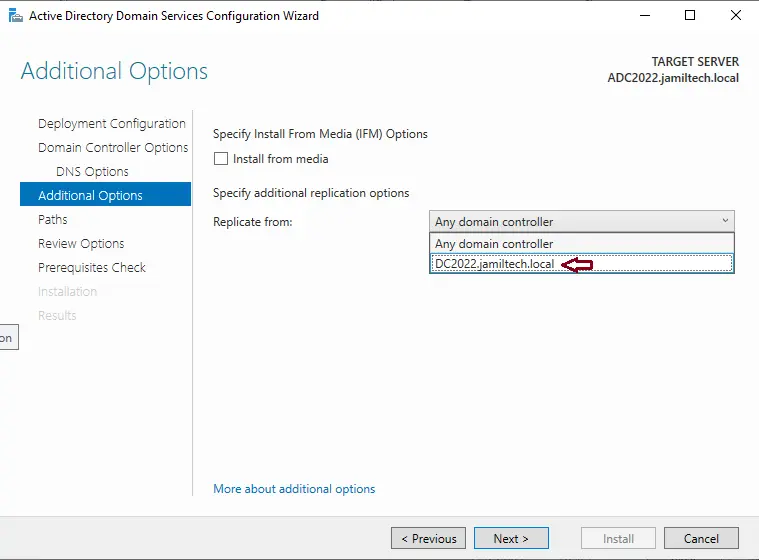
On the Additional Options window, specify the server that you need to replicate with and copy all details from that DC to the new domain controller. Click next.
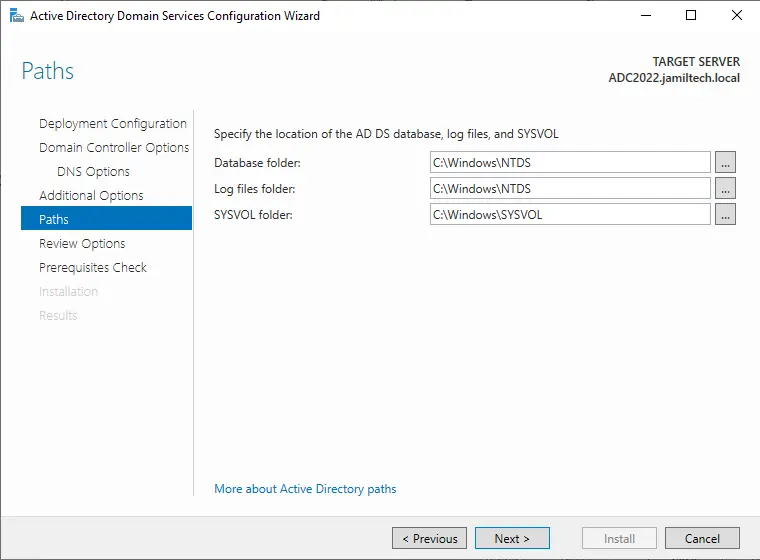
Specify the path.
AD DS database folder
Log files folder
SYSVOL folders, and then choose Next.
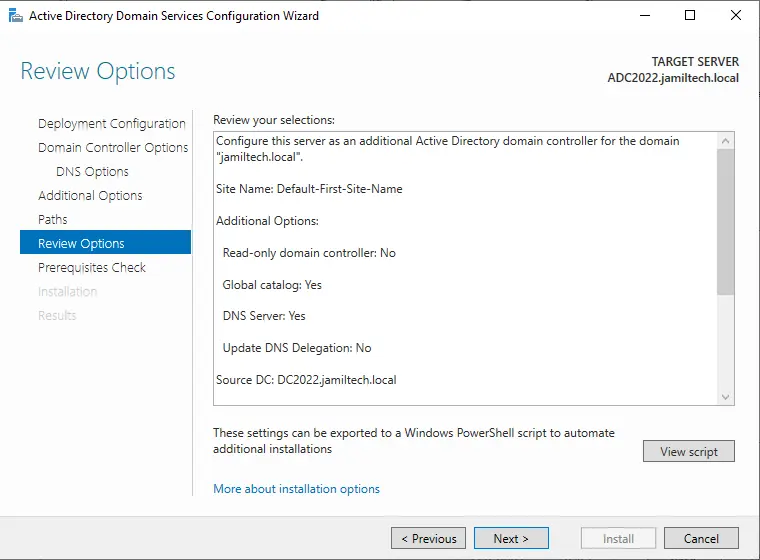
Review your selections, verify all the information, and then click next.
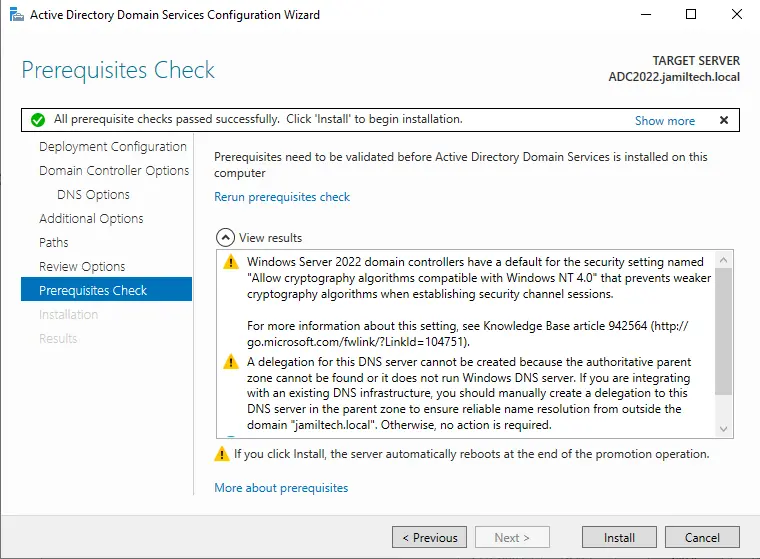
Prerequisites check page, verify “All prerequisite checks passed successfully,” then select Install.
Please wait a bit for the Additional Domain Controller process to complete. Click close to reboot the system.

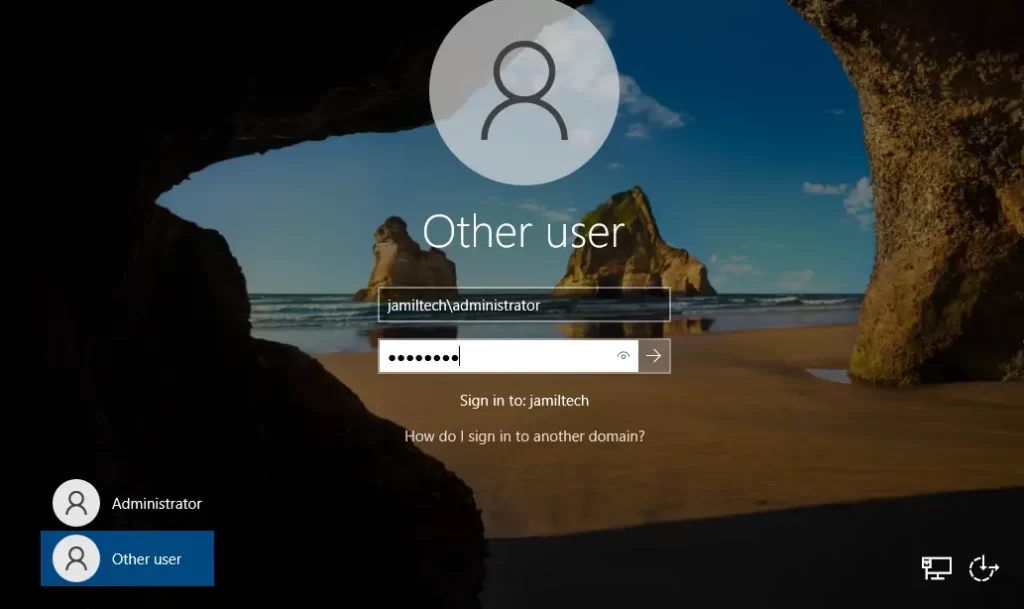
After rebooting the ADC server, log in as the domain administrator.
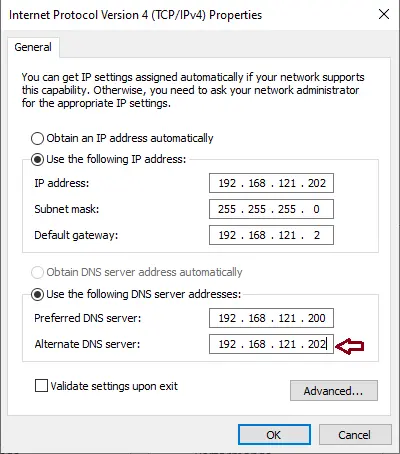
Change Alternative DNS Server IP
After a successful sign-in, open your network and change the additional domain controller’s DNS IP address.
Alternate DNS server IP address.
Verify Additional Domain Controller
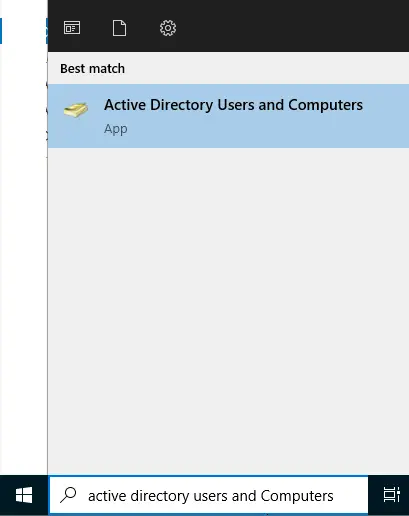
On your domain controller server, open Server Manager, select the Tools tab, and then select Active Directory users and computers.
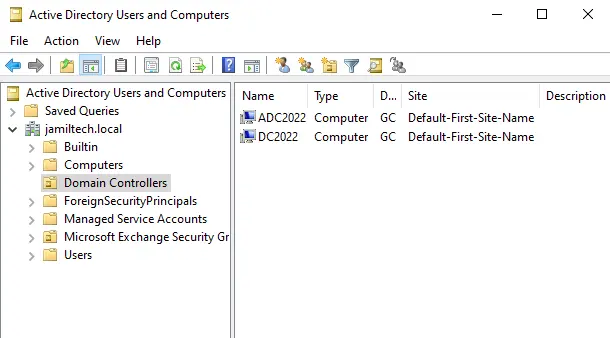
Expand your local domain computer (for example, jamiltech.local) and then select the domain controllers. Here you can find your additional domain controller.
Conclusion:
All we have done is After all, we have successfully completed replication between two domain controllers.
