
In this article, we will teach you how to setup and use File History Backup in Windows 11 to protect your important files. It’s very important to back up your library folders because they contain important data and files that are hard to replace, like your important documents, saved files, contacts, pictures, videos, and more.
More information ends up in your library folder the more you use a computer. OneDrive, which comes with Windows 11 and gives you 5 GB of free storage space, is a built-in backup tool. However, this space can be used up quickly. Because of this, Microsoft has another built-in tool called File History that lets you instantly back up your important files offline to an external drive.
With the File History feature, you can also decide how often and for how long you want to back up your files. Here’s how to setup File History and use in Windows 11.
Table of Contents
Setup and Use File History Backup
In Windows 11, it’s pretty easy to set up and use File History. First, let’s turn on the Windows 11 feature called File History.
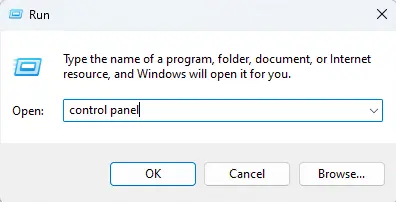
Open the control panel by typing control panel in the run box. Or type file history in a Windows search and open it.
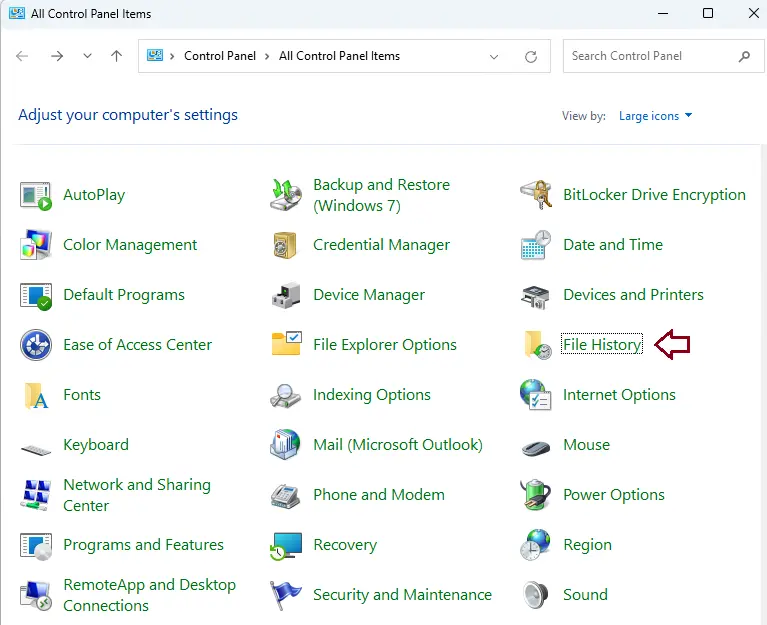
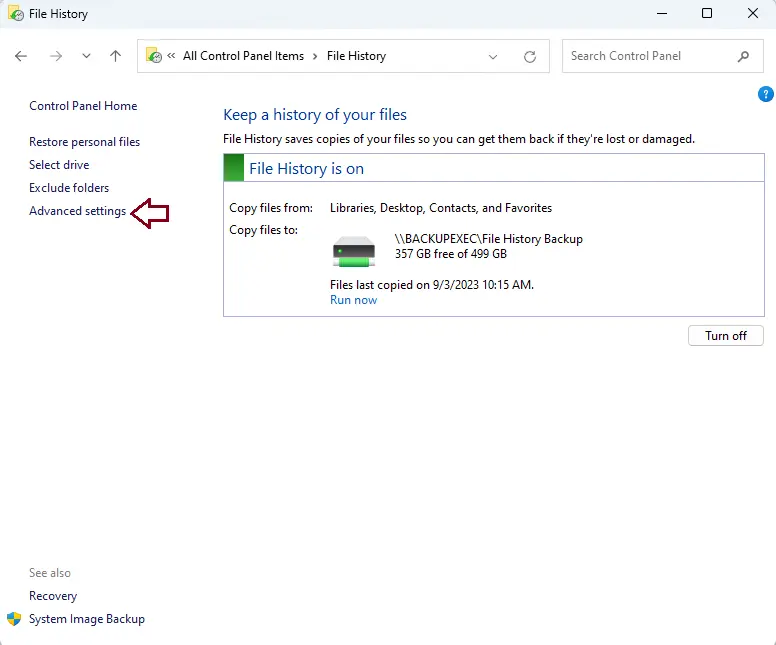
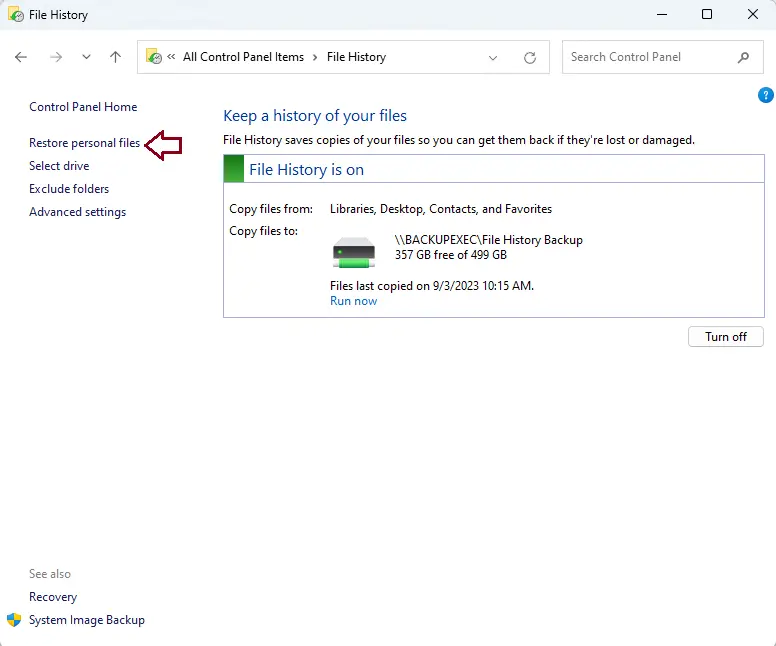
Under the control panel, choose File History.
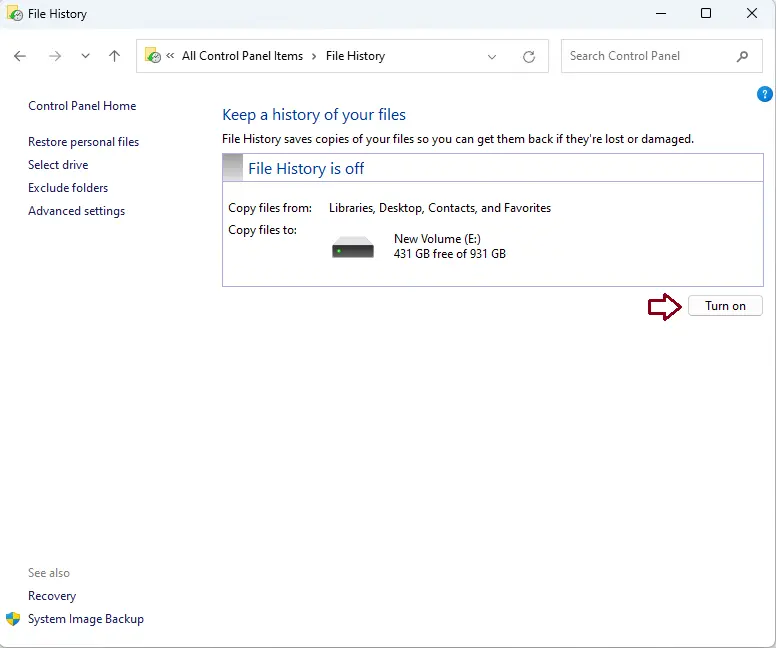
Turn on File History
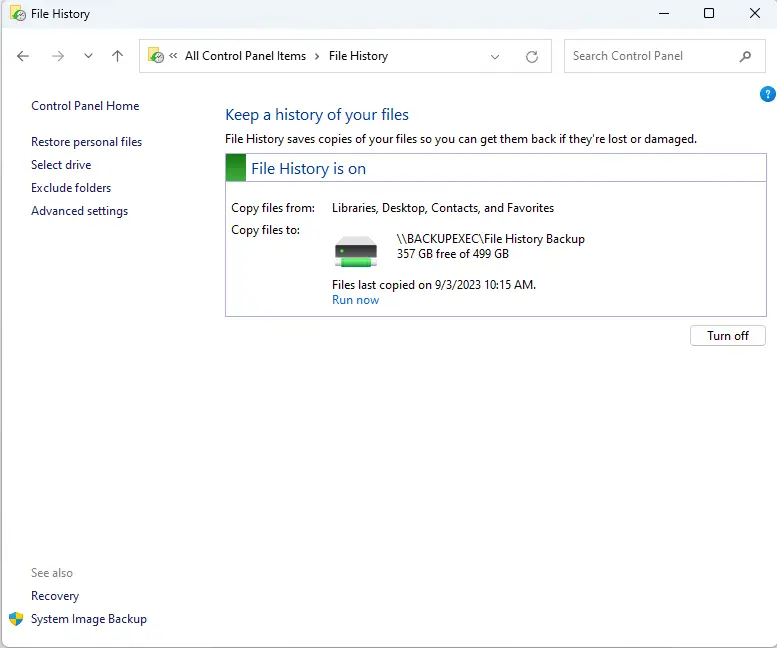
When the File History window pops up, you will see that it has already scanned for drives that are compatible with your computer and picked one to be the File History drive (if there is a suitable drive).
Simply click on Turn on to enable File History.
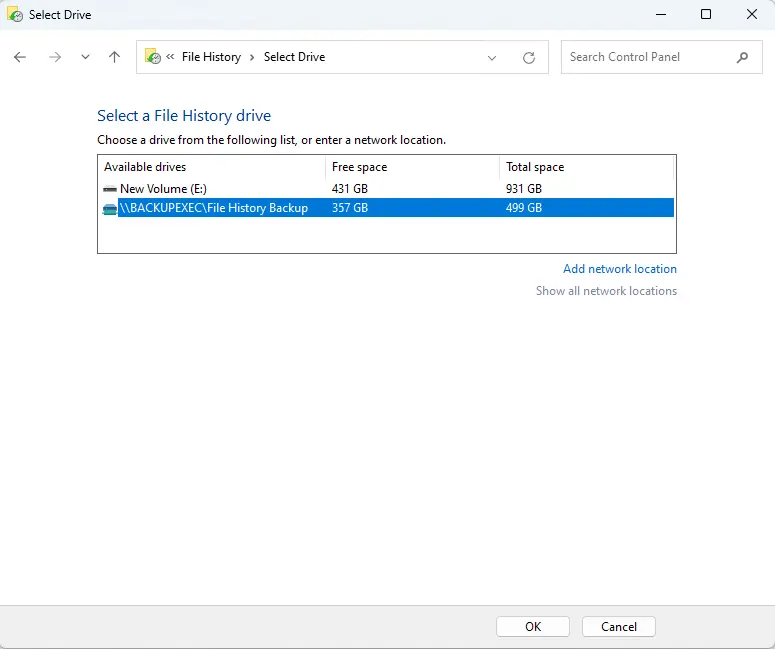
If you’re not satisfied with the chosen drive or there’s no drive selected, you can pick a different one by clicking on Select Drive from the menu on the left.
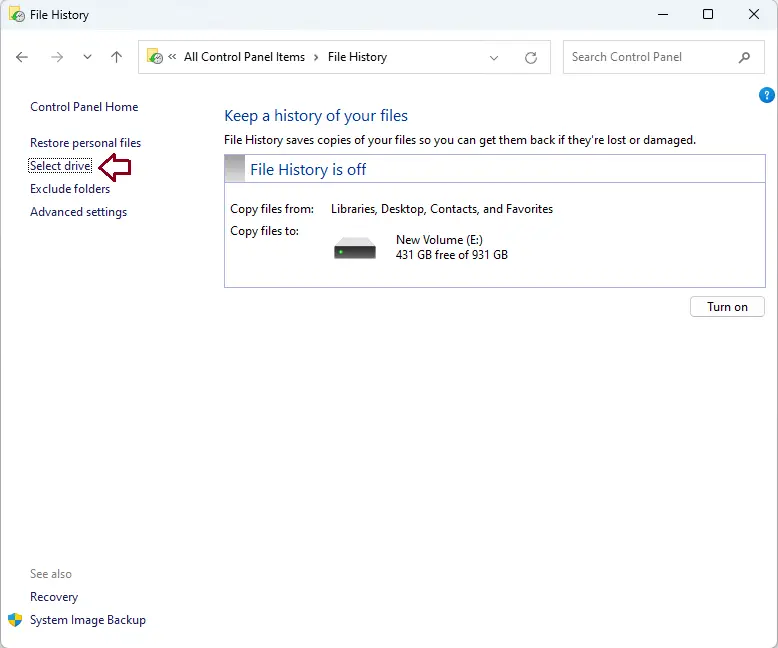
In this window, just choose the drive you want to use and click OK.
If you get the message, “Do you want to move your existing files?” you can choose Yes to transfer any previously copied files from the previously chosen drive to the new one. If not, simply choose no.
Click ‘Add network location’ and select the network folder if you want to back up your files to a network folder. After selecting the drive, File History will start saving your files in a folder named FileHistory on the provided drive.

Find your backup location and click on Select Folder.
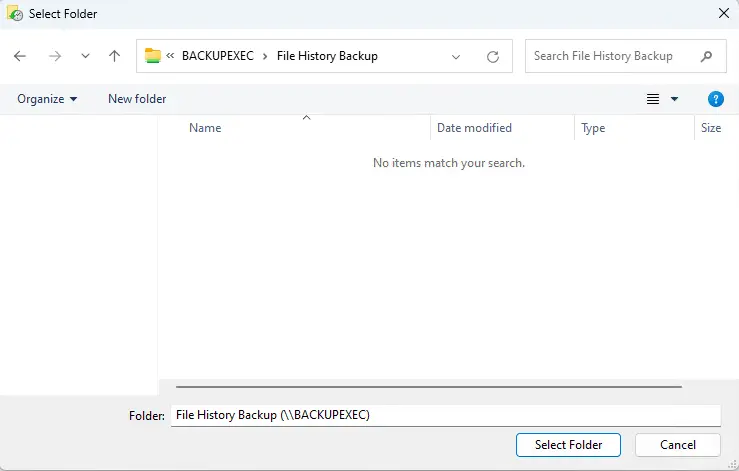
Choose ok.
By default, File History backups files hourly. Click Run now if you wish to start the backup immediately.
Add Folders to the File History.
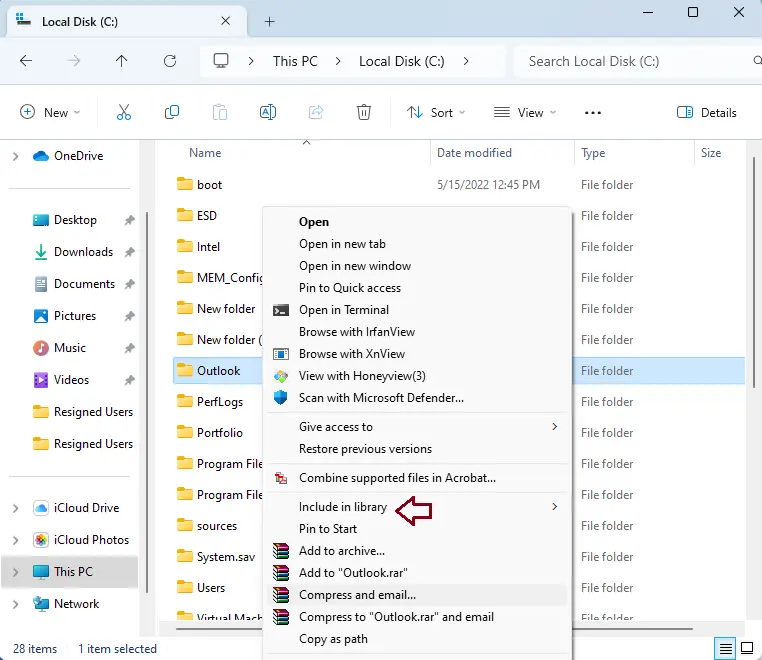
By default, File History backs up important files like documents, pictures, videos, and the desktop. But you can also make a copy of any other place you want. Find the folder you want to add to the File History, right-click on it, and choose Show more choices to open the classic Context menu.
Then, hover over the Include in Library option and select the library folder where the folder should be stored. Whenever you add a folder to the library, it will be backed up immediately.
Right-click on any folder and select Include in library.
Exclude Folders from the File History
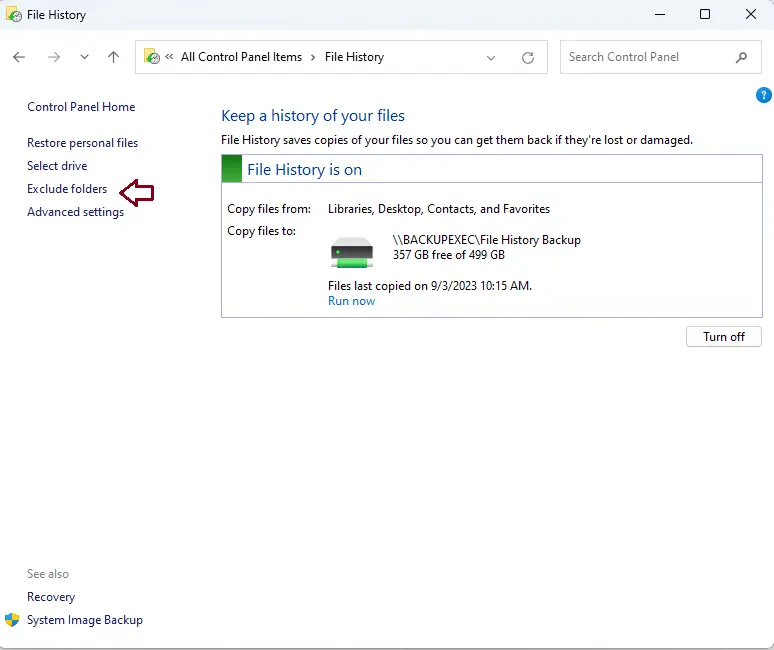
As mentioned before, File History stores copies of files from your libraries, desktop, contacts, and favorites. However, you can exclude folders that you’d rather not include in the backup. In Windows 10, there was a list of folders you could exclude from the backup; in Windows 11, you must explicitly add the folders you wish to exclude.
To exclude folders from File History, click on the Exclude folders link.
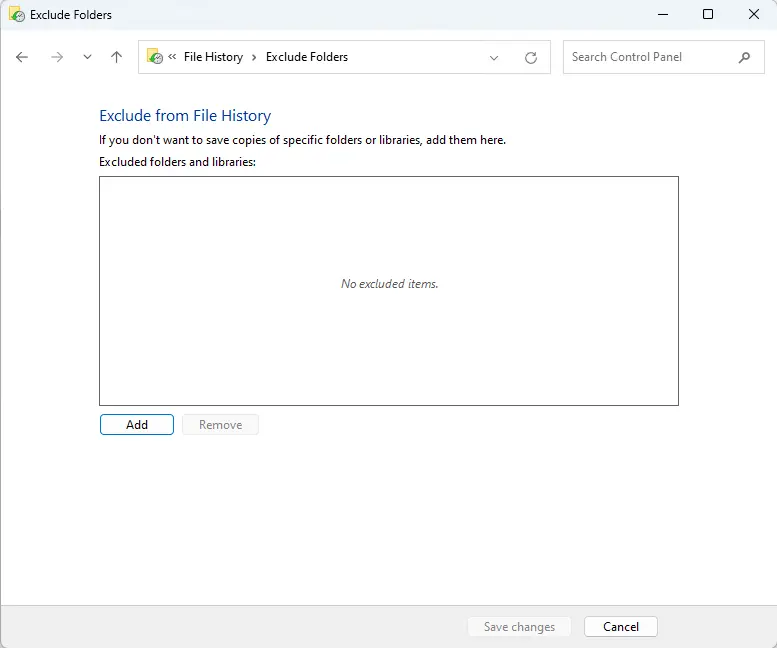
Click the Add button.
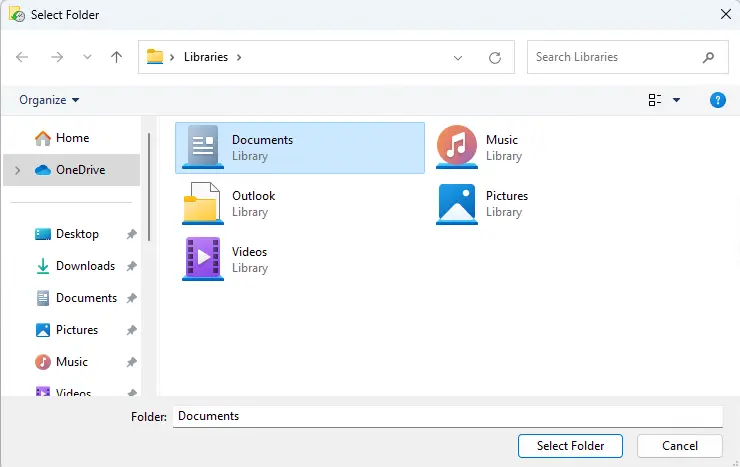
Go to the folders you wish to exclude, select them, and then click on Select Folder.
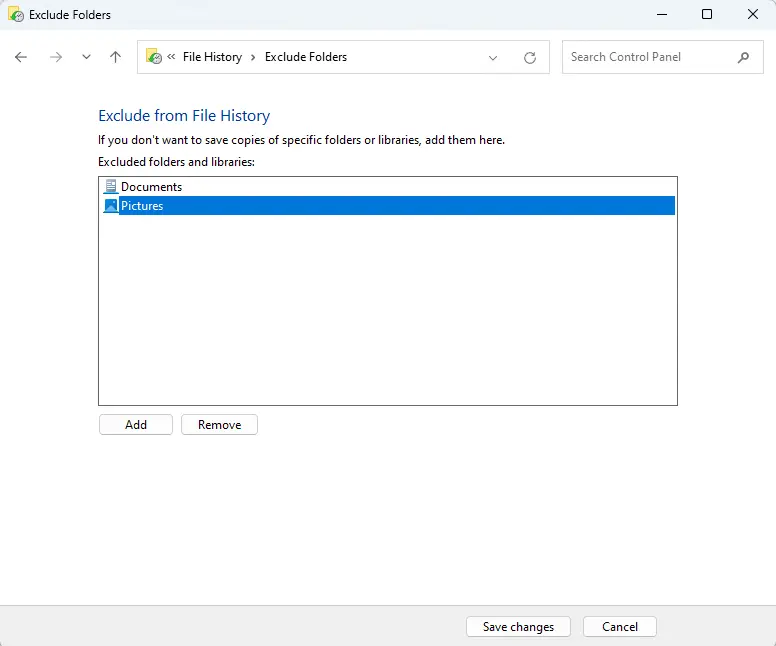
Repeat this procedure until you have excluded all the required folders. To remove a folder from the list, click Remove after selecting the folder. Click Save Changes.
Change Backup Frequency
You can also choose how often your folders are backed up and how long you want to retain backup copies. Follow these steps to modify the frequency of backups using File History.
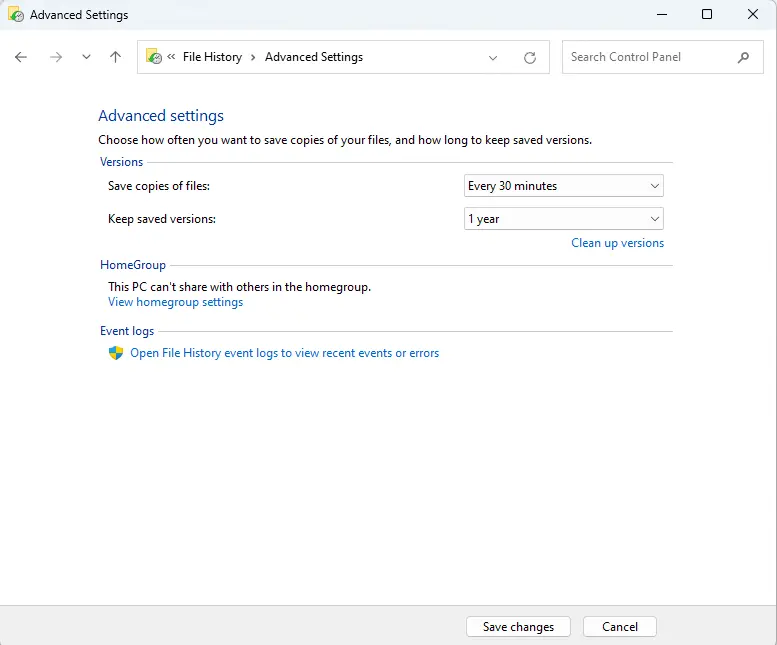
In the File History, select the Advanced Settings link.
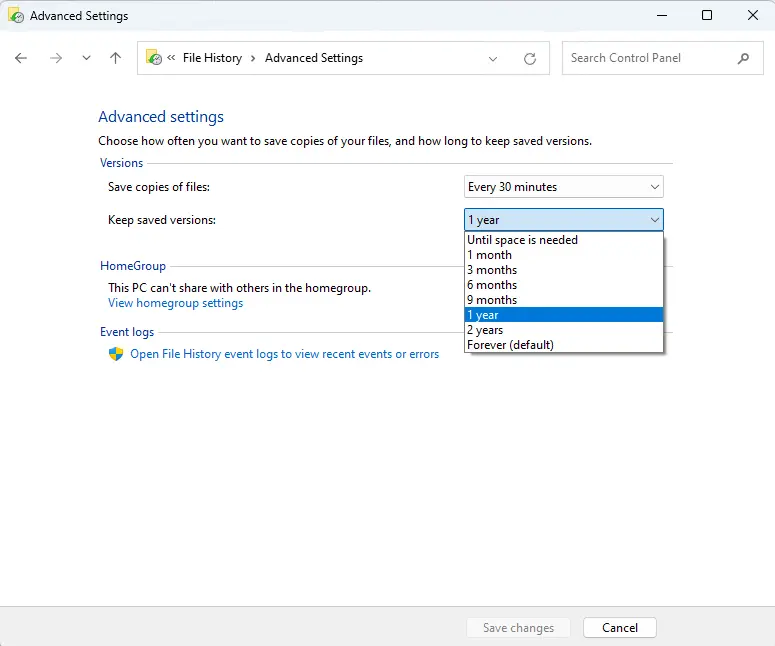
In the “Versions” area, use the “Save copies of files” dropdown menu to choose how often you want your files backed up to an external drive. You can save copies of the files anywhere from once a day to every 30 minutes.

Next, choose how long you want to keep saved versions of your files by using the “Keep saved versions” drop-down menu.
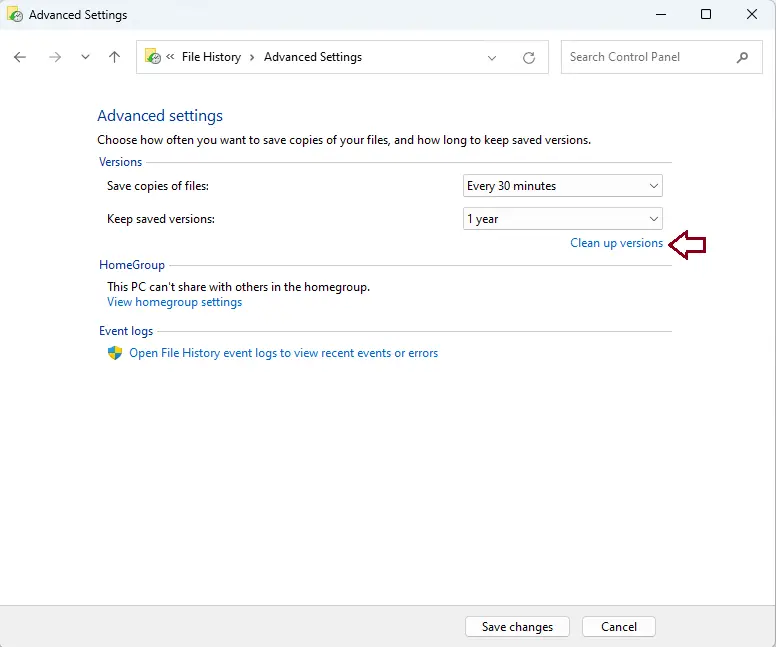
Click on Clean up versions directly below the drop-down selections to delete older versions of files.
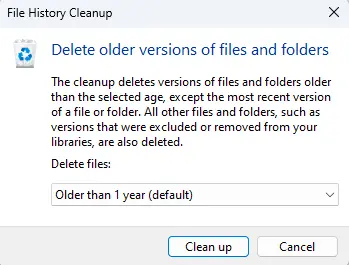
Then, specify a time frame for removing old versions of files and folders.
Choose the Clean Up button to start the cleanup process.
After making the necessary changes, click Save Changes to confirm your selections.
Restore Files with File History on Windows 11
If you lose or damage your files, you can recover them by using File History on an external device or network.
To do this, open the File History control panel and click the “Restore personal files” button on the left. You can also search Windows for “Restore your files” and choose “Restore your files with File History” from the results.
Here is a list of the folders and files that you have backed up. Using the forward and backward buttons, you can move between different versions of your files. There will be a timestamp on each version that says when it was saved.
When you find the files, you want to get back, pick them up and then click the “Restore” (green) button.

If the original file is still there, the tool will ask if you want to swap it with the backup file, skip it, or compare the two files. You may choose the option that makes the most sense to you. But if you delete the original file, File History will instantly put the backup file back where it was.
Even though OneDrive lets you share files, File History gives you another way to keep copies of your files as backups. Also, there are different ways to keep your data safe on Windows 11. For example, you can create a full system image backup that includes your personal files or set up a system restore point to get your computer back to a working state.
Refer to Microsoft to learn in detail how to use file history backup in Windows 11.

