
This guide explains the process of converting a physical computer to a virtual machine (VM) that runs on Hyper-V using Disk2vhd, a free tool that creates a virtual hard disk (VHD or VHDX) from a physical disk.
What You Need:
- Disk2vhd Tool: Download from Microsoft Sysinternals.
- A physical machine to convert.
- Hyper-V installed on the target host.
Table of Contents
Step 1: Download and Install Disk2vhd
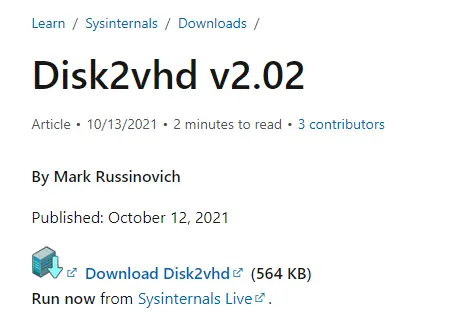
- Download Disk2vhd:
- Visit the Microsoft Sysinternals page and download the latest version of Disk2vhd.
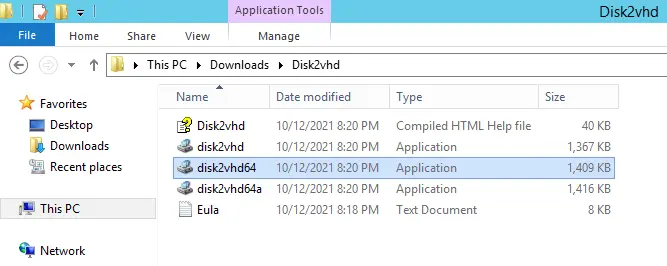
- Run Disk2vhd:
- Extract the contents of the downloaded ZIP file and run the disk2vhd.exe tool on the physical computer you want to convert.
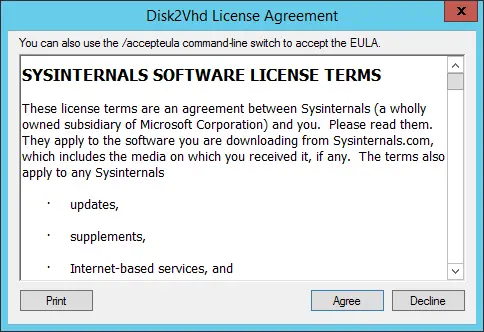
- Agree to the License:
- Accept the license agreement upon launching the application.
Step 2: Configure Disk2vhd to Convert Physical Machine
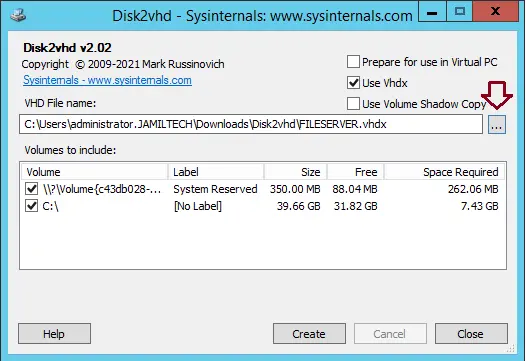
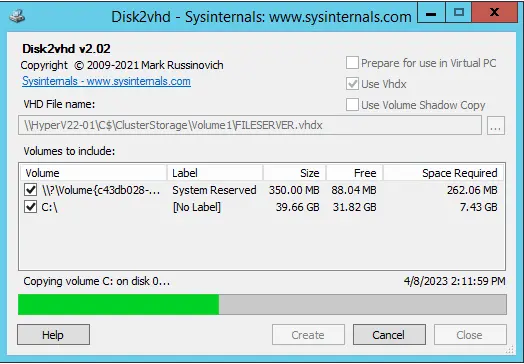
- Select Volumes:
- When the application launches, it displays the available disks on the system. Select the volumes you want to convert into a virtual hard disk (e.g., the system volume and other essential partitions).
- Choose VHDX Format:
- Ensure you select VHDX format, which supports larger disks and provides better resilience.
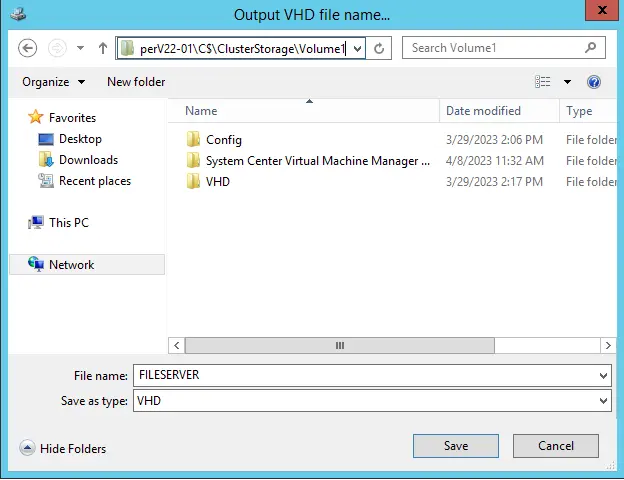
- Choose Destination:
- Click the browse button (three-dot icon) to specify the destination folder where the VHDX file will be saved.
- Create the VHDX File:
After setting up the desired configurations, click Create to begin converting the physical machine’s disks into VHDX format.
The installation is very straightforward, and the Disk2Vhd license agreement chooses to agree.
Choose to use vhdx to create a vhdx disk.
Click on the three dot icon to choose the destination for the VHDX file. Include any disk/volume you need to virtualize.
Select the folder and click save.
Click Create

Convert disks to VHDX and then copy them to the Hyper-V node.
The conversion process is running.
Convert disks to VHDX format and copy them to the Hyper-V host.
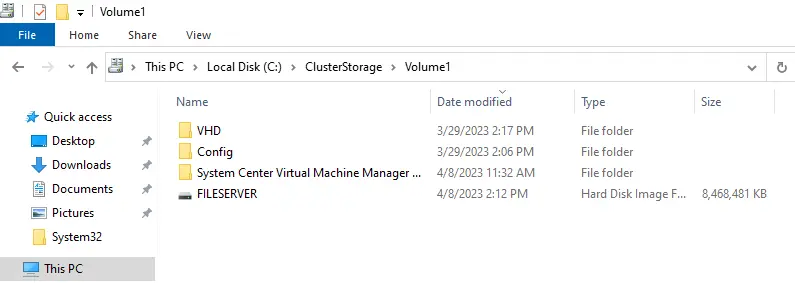
Physical computer to virtual machine successfully completed.

Go to your converted directory and see the VM.VHDX file/disk, which we can move to the Hyper-V host, and then move to the folder where you have the server virtual machine disks.
Step 4: Create a New Virtual Machine in Hyper-V
- Launch Hyper-V Manager:
- Open Hyper-V Manager on the host server.
- Create a New VM:
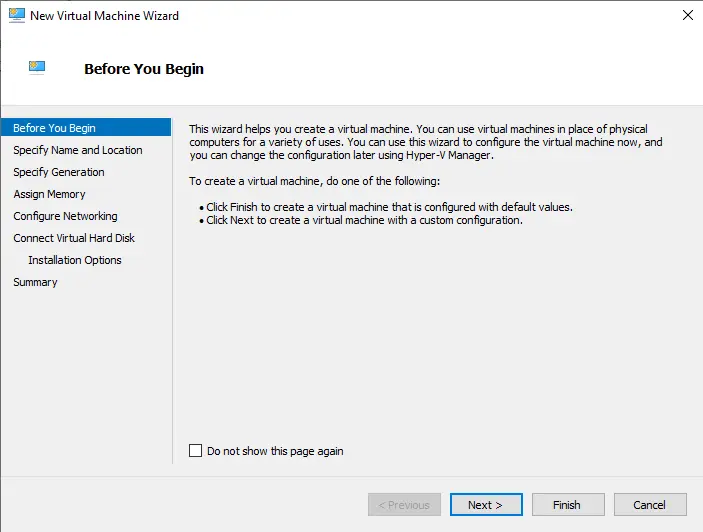
- Right-click on the Hyper-V node and select New → Virtual Machine to launch the VM creation wizard.
- Configure the VM:
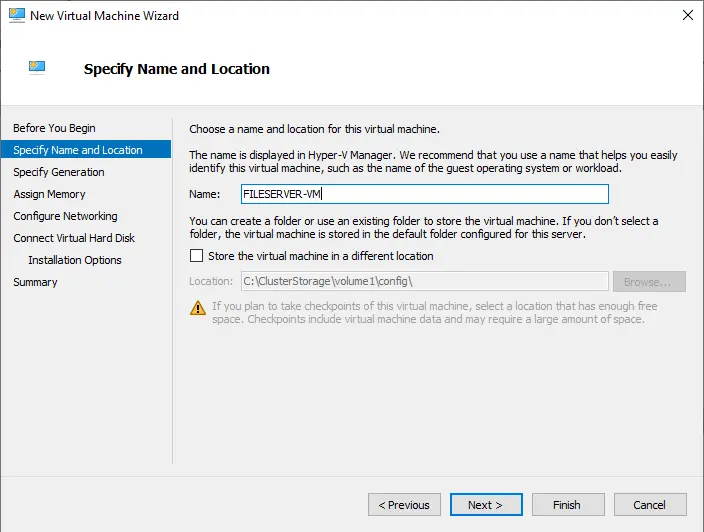
- Name and Location: Provide a name for the virtual machine and specify the storage location.
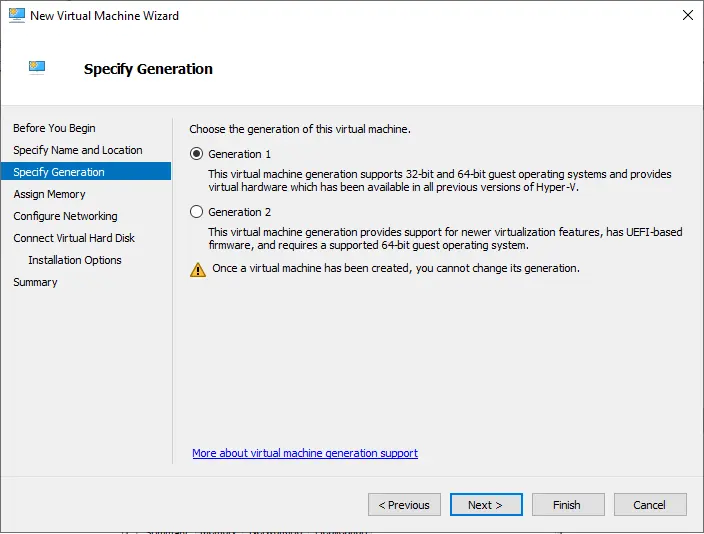
- Generation: Choose between Generation 1 or Generation 2 based on the needs of the OS and hardware compatibility.
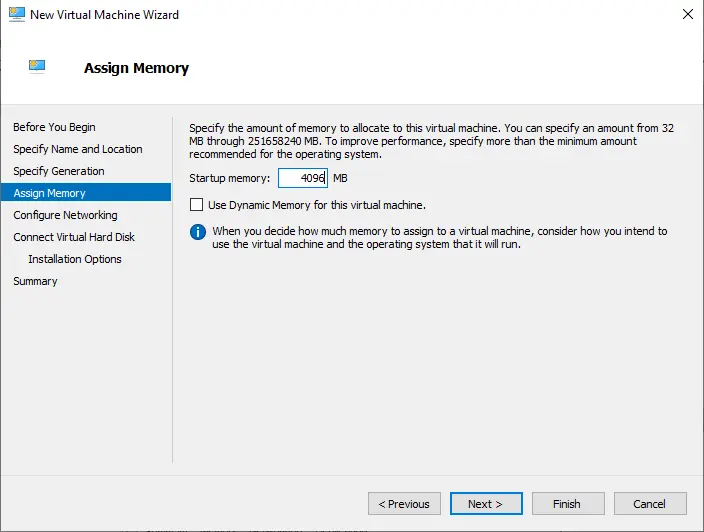
- Memory Allocation: Assign the appropriate amount of memory for the VM.
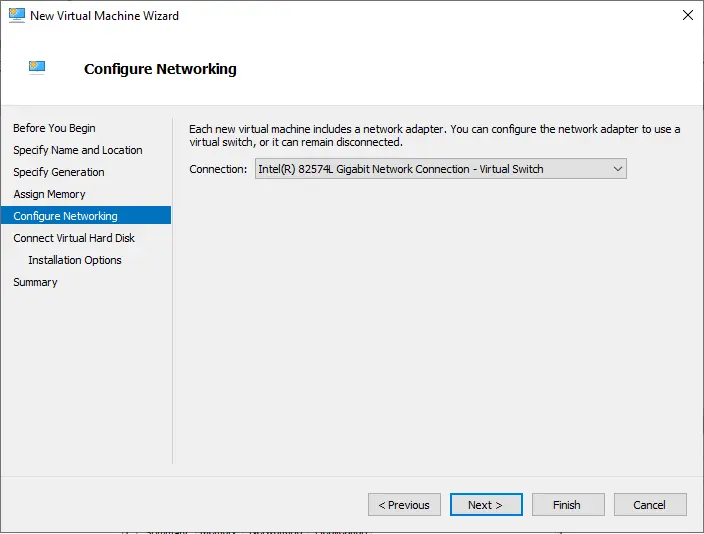
- Networking: Configure the VM to connect to a network switch.
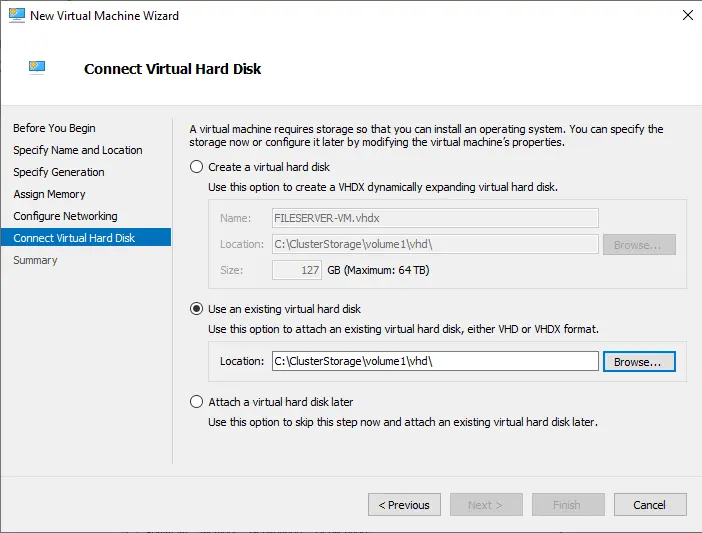
- Attach the VHDX:
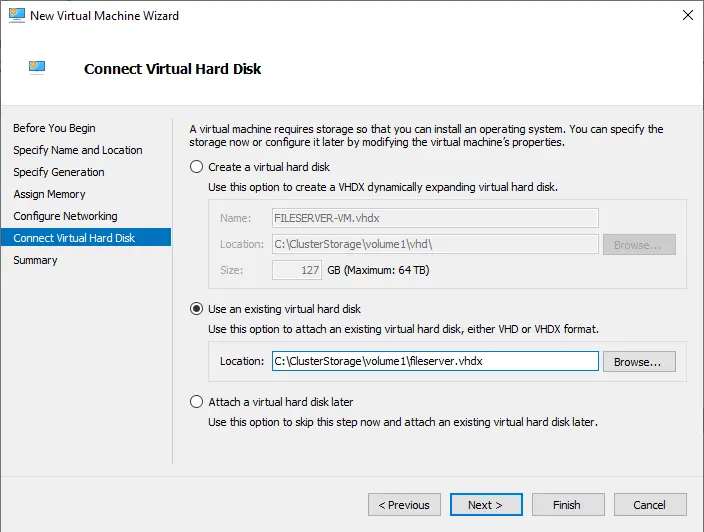
- When prompted to connect a virtual hard disk, choose the option to use an existing disk and select the VHDX file created using Disk2vhd.
- Finish VM Setup:
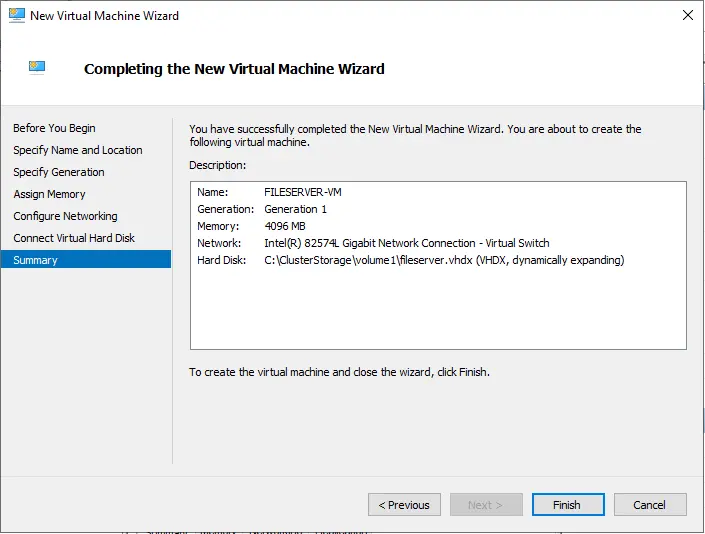
- Review the summary of the VM configuration and click Finish to complete the creation.
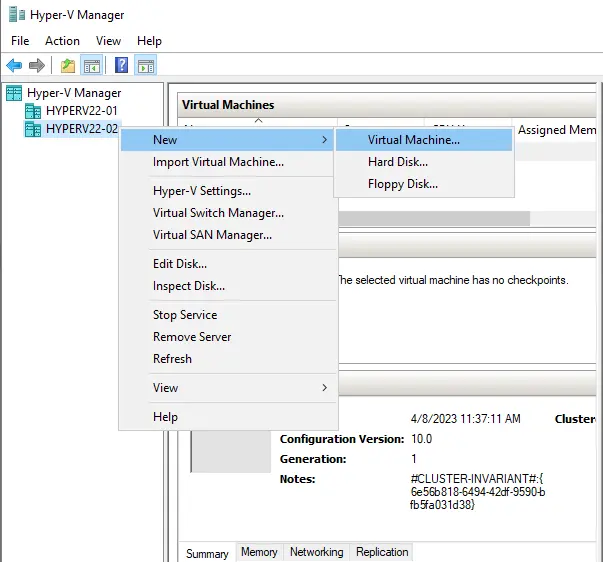
New virtual machine wizard in Hyper-V, click next.
Specify the name and location, and then choose next.
Specify the generation type for the virtual machine, and then choose next.
Assign memory, and then choose next.
Select a network for the virtual machine, and then choose Next.
Step 5: Start the Virtual Machine
- Power on the VM:
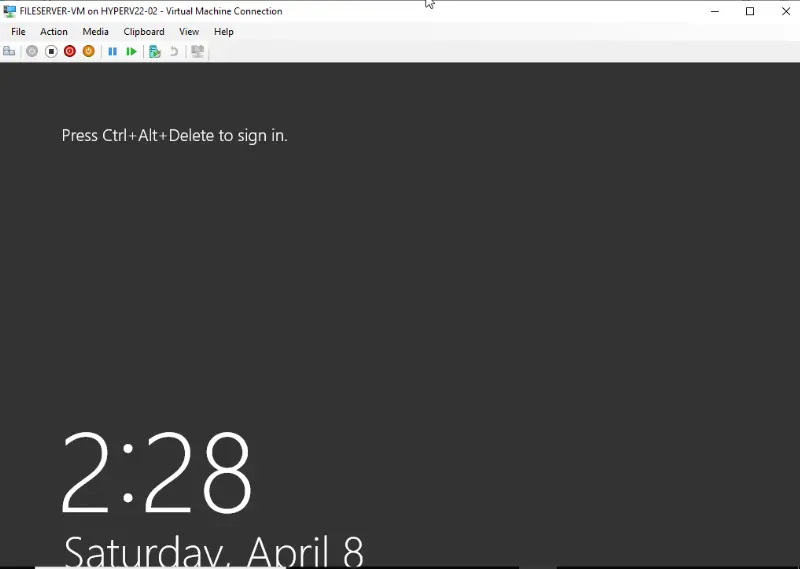
- Right-click the new VM in Hyper-V Manager and choose Connect, then click Start to boot up the VM.
- Monitor the Boot Process:
- The VM will take some time to boot up depending on its configuration. Ensure the VM starts correctly and check that all services and settings function as expected.
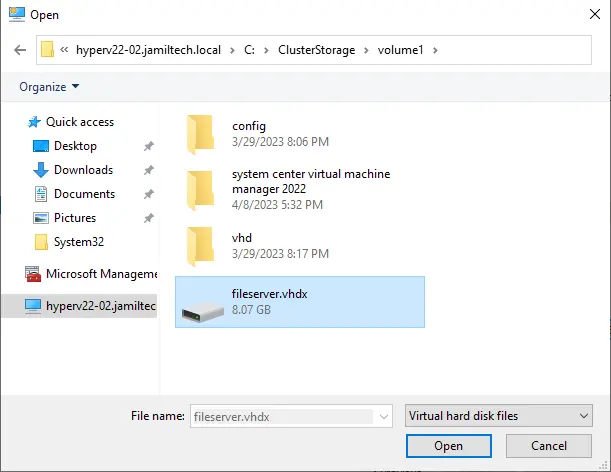
Click on vhdx, and then choose open.
Click next
Review the virtual machine summary and then choose the finish.
Right-click on the virtual machine, and then click Connect.

Click start

It will take a little time for the VM to boot up.
Conclusion
By following these steps, you have successfully converted a physical machine into a Hyper-V virtual machine using Disk2vhd. This tool is lightweight and easy to use for physical-to-virtual (P2V) conversions, making it a convenient solution for virtualizing legacy systems or preparing for migration to Hyper-V.
Read this article to find out more about converting a physical machine to a Hyper-V VM.
