In this article, you will learn how to delete temporary files on Windows 11 to free up space after installing a feature update. When you use Windows 11, temporary files are files that the system and apps store on your device for a short time. They are not necessary for the device to work normally. For example, Windows 11 has a lot of different temporary files, such as files that are left over after installing a new version, upgrade logs, problem reporting files, temporary Windows installation files, and more.
The speed of Windows 11 is much better than that of Windows 10, but you still need to do some basic things on your PC to keep it quick and responsive. We will only talk about getting rid of temporary files in Windows 11. All of these ways have been tried and tested, so you shouldn’t have any trouble starting up your PC. Let’s get right to it and look at the five ways to get rid of temporary files in Windows 11.
Although Windows doesn’t always clear temporary files properly, there are a number of quick ways to get rid of them in Windows 11.
Table of Contents
Delete Temporary Files via Disk Cleanup in Windows 11
In earlier versions of Windows, the customary method for removing temporary files was through the use of Disk Cleanup. This option exists in Windows 11.
To delete temporary files from Windows 11 with Disk Cleanup:
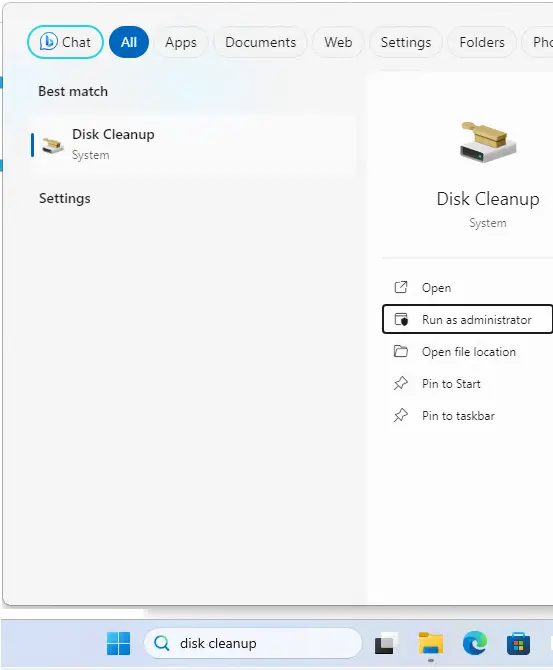
Type disk cleanup in the search bar and open it as an administrator.
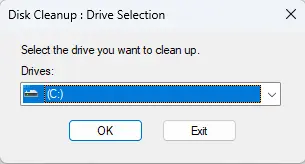
Select a drive and choose OK.
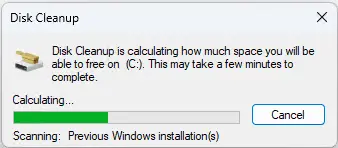
Disk cleaning process.
The Disk Cleanup screen will come up; click on the Clean Up System Files button.
Wait for the disk cleanup utility to find temp files that are safe to delete from your system and reclaim the drive space. Click ok.
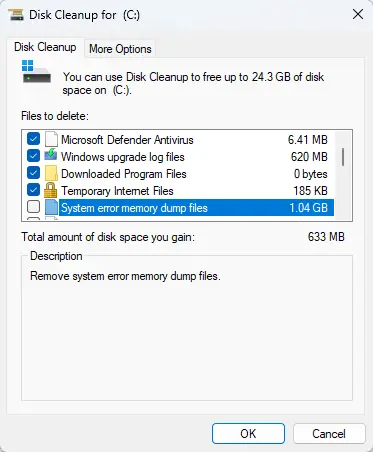
Click Deleted Files once the verification message appears.
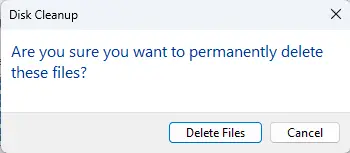
Delete Temporary Files in Windows 11
One easy way to get rid of temporary files in Windows 11 is to go to the Settings menu.
To delete temp files on Windows 11, use Settings:
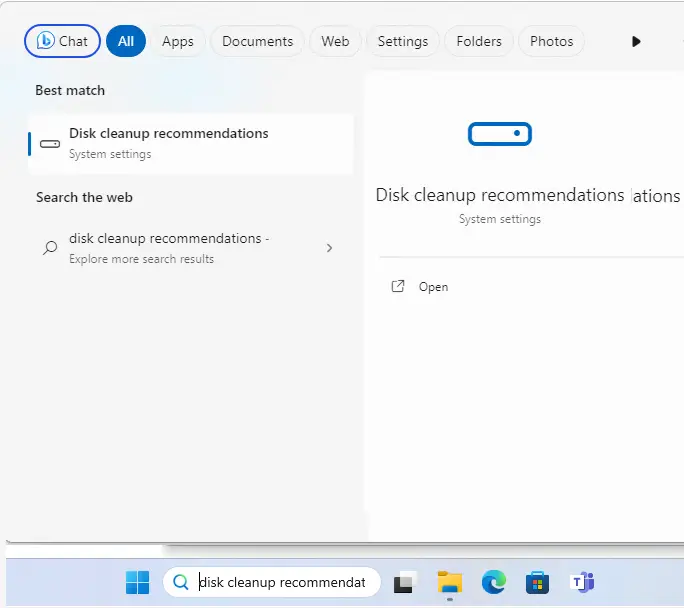
Click on the search bar and type disk cleanup recommendations.
Open disk cleanup recommendations.
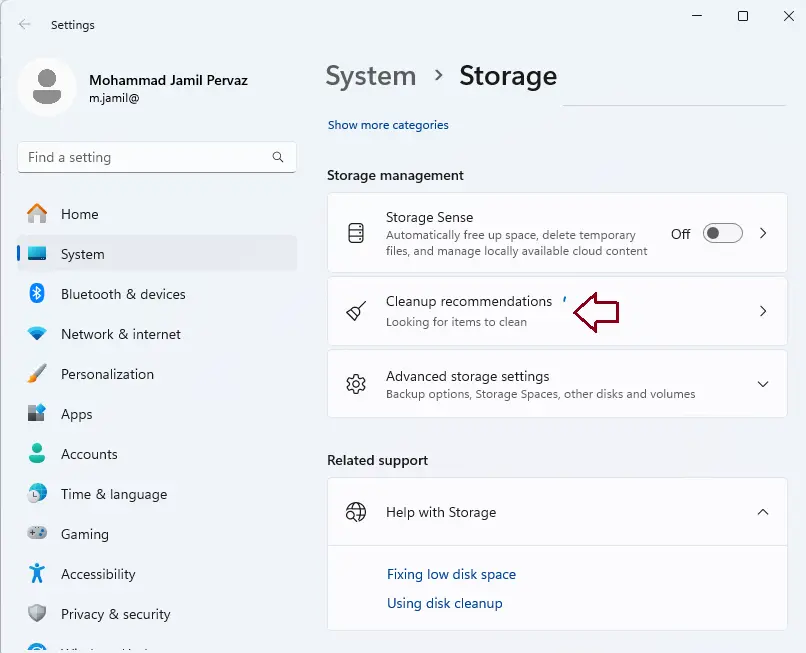
Click on Cleanup Recommendations.
Expand the Temporary Files option, tick all the options, and then click the Clean Up button to clean temp files in your system. In our example, we can delete 20.9 GBs.
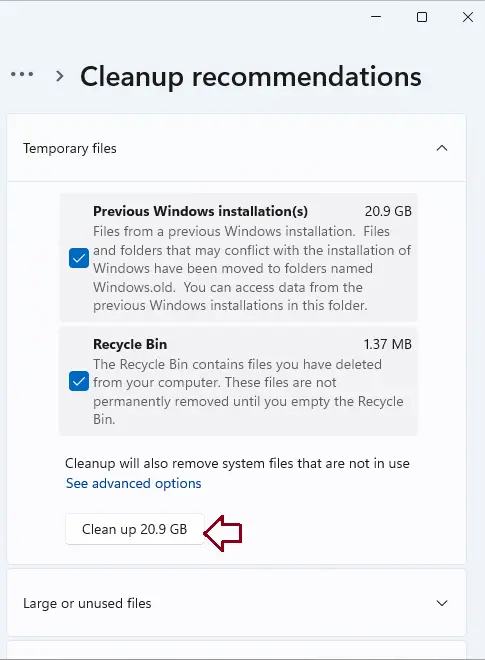
You can remove items by checking or unchecking them. The Windows Update Cleanup will take up the most space and can be safely deleted.
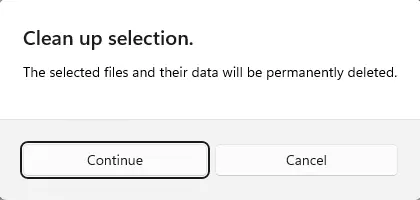
Once you click the Clean Up button, you will get a notification about the Clean Up selection. Choose Continue.
How to Manually Delete Files from the Temp Folder
Another method is to manually remove the files in your Windows 11 PC’s temp folder.
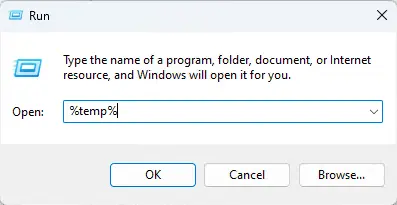
To open the Run dialog, press the Windows key + R on your computer.
Enter in %Temp% and hit Enter.
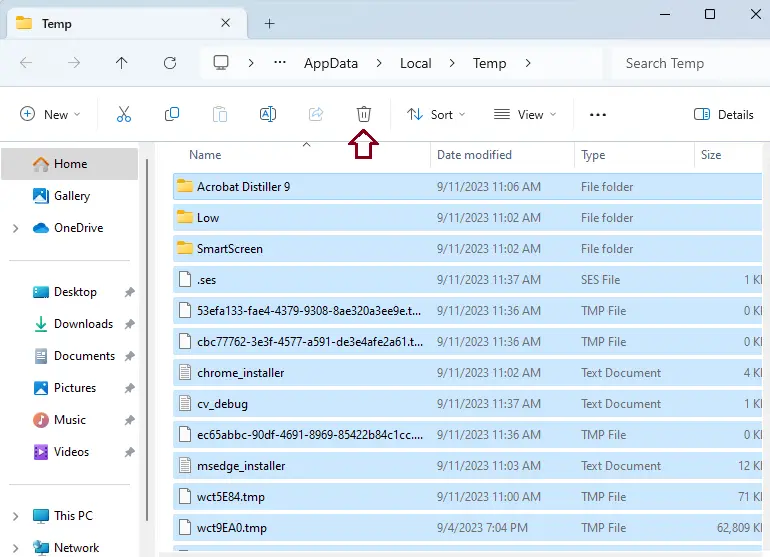
That will open the temp folder with File Explorer, select the item in the folder, and press the keyboard shortcut Ctrl + A to select all.
Click on the Delete icon on the Command bar.
If a File in Use warning screen comes up, tick Do this for all current items and choose Skip.
Delete Temporary Files on Windows 11 with Command Prompt
When you remove temporary files with the new Windows Terminal,. The steps are the same for both the older Command Prompt and the Windows PowerShell.
To erase temp files via Windows Terminal, follow the steps below:
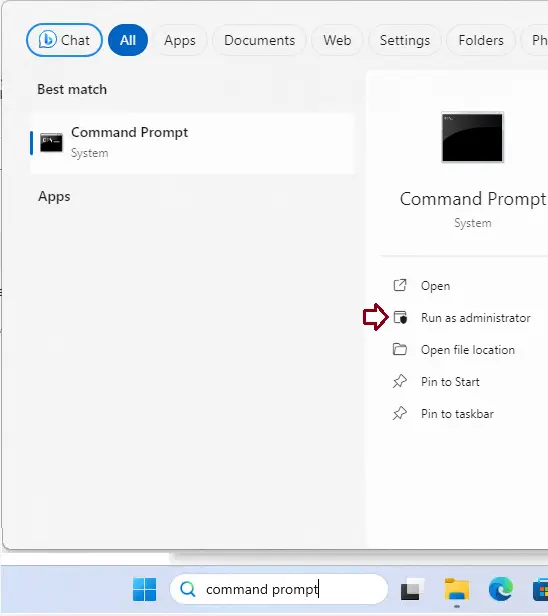
In the Windows search bar, type command prompt and then choose Run as administrator from the results from the right.
Enter the below command when the command prompt or PowerShell window launches with admin rights.
del /q/f/s %TEMP%\*
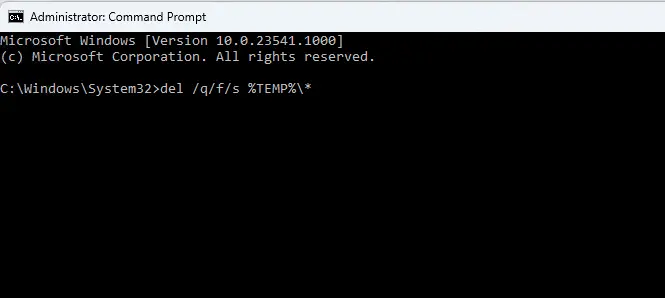
After running the command, you will see several lines of code that will indicate that temp files were successfully deleted from the Temp folder.
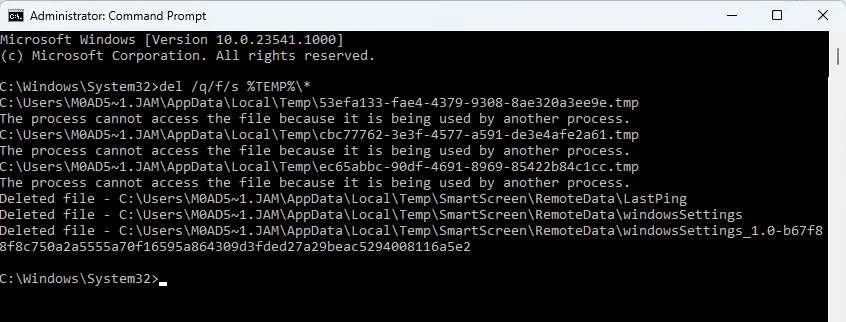
Deleting Temp Files in Windows 11
By removing temporary files from your hard drive on Windows 11, you can free up space for other tasks. In conjunction with the manual deletion of temporary files, we advise activating Storage Sense. It is a “set it and forget it” application that will remove unnecessary files from storage automatically.
Visit Microsoft to learn more about how to clean temporary files in Windows.

