
Let’s have a look at this article on how to add iSCSI storage VMware Center Server. You can use iSCSI storage as a shared datastore for your ESXi server. An ESXi server accesses the iSCSI storage disk over your local network using the TCP protocol. This article will look at how to connect an iSCSI LUN to a VMware ESXi server and then create a shared VMFS datastore on it. Read this article to find out how to add iSCSI datastore.
In this scenario, we are using a standalone host running ESXi 8.0 (you can also use the ESXi Hypervisor). This can be a virtual host or a physical host. There are 2 network interfaces on the ESXi host (one for management and the other for iSCSI traffic).
Table of Contents
You can follow my article on how to configure ISCSI storage in Windows Server 2022.
Add iSCSI Storage VMware Center
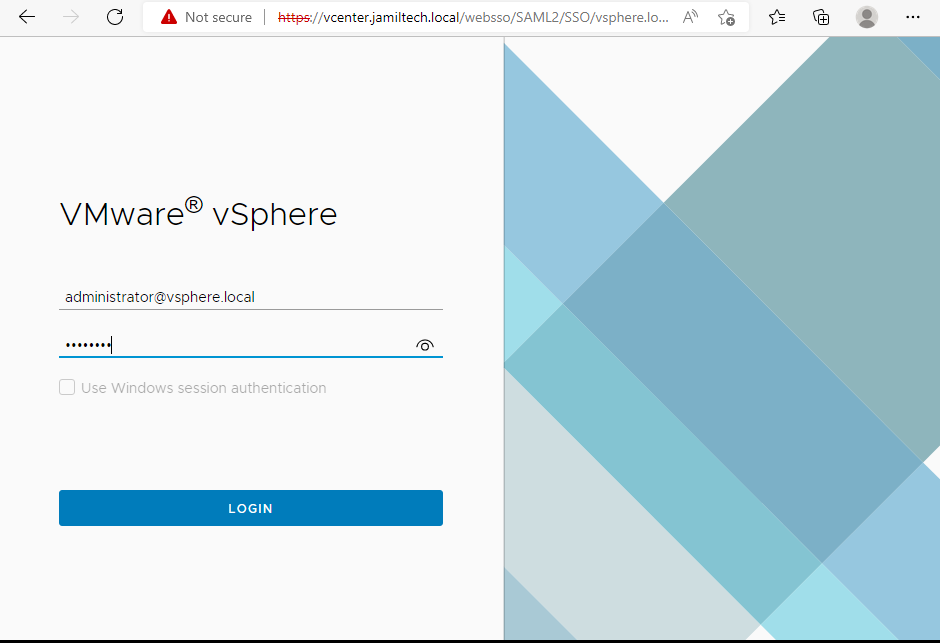
Open a browser and enter your vCenter FQDN or IP address. Enter the vCenter server username and password, and then choose login.
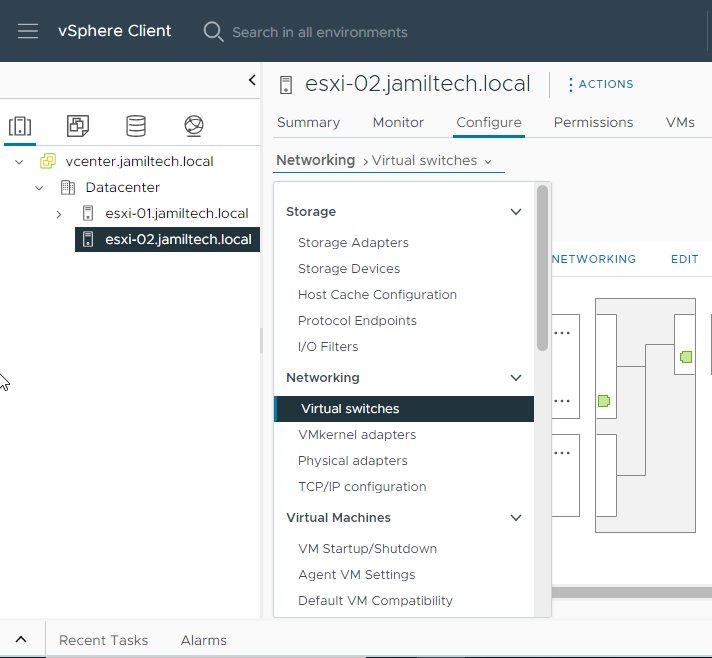
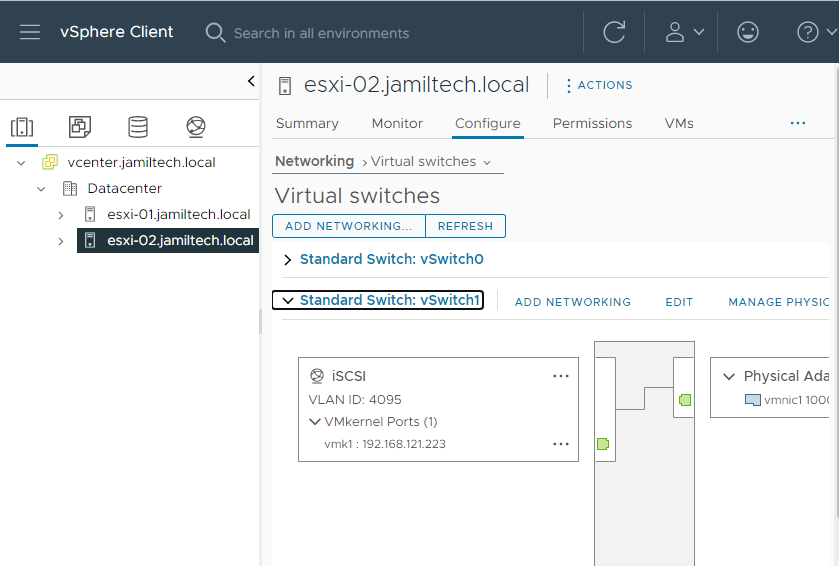
After logging into the vCenter server, click on the host, and then click on the configure tab. Choose virtual switches under networking.
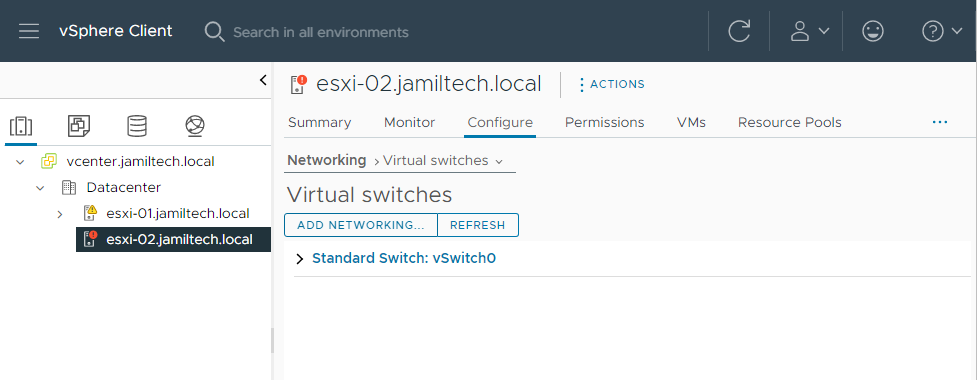
The ESXi server will use a VMkernel network interface to access the iSCSI storage, so we must first create it. Click on Add networking
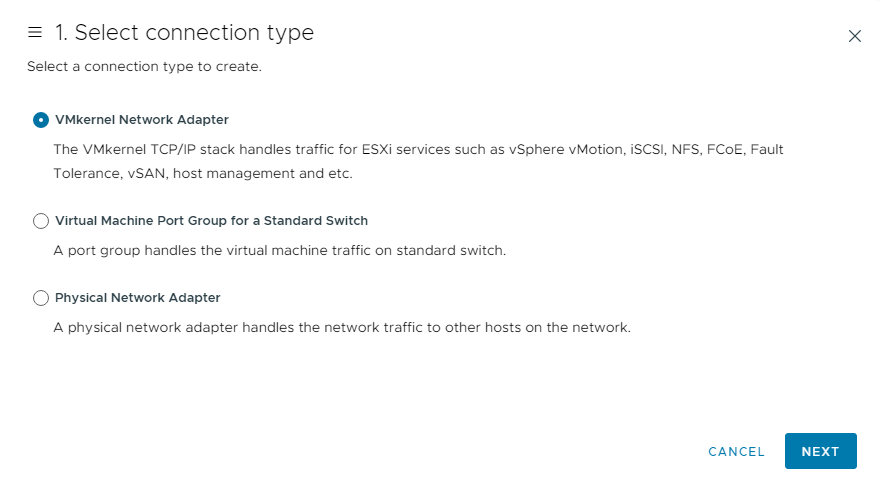
Choose VMkernel Network Adapter, and then next.
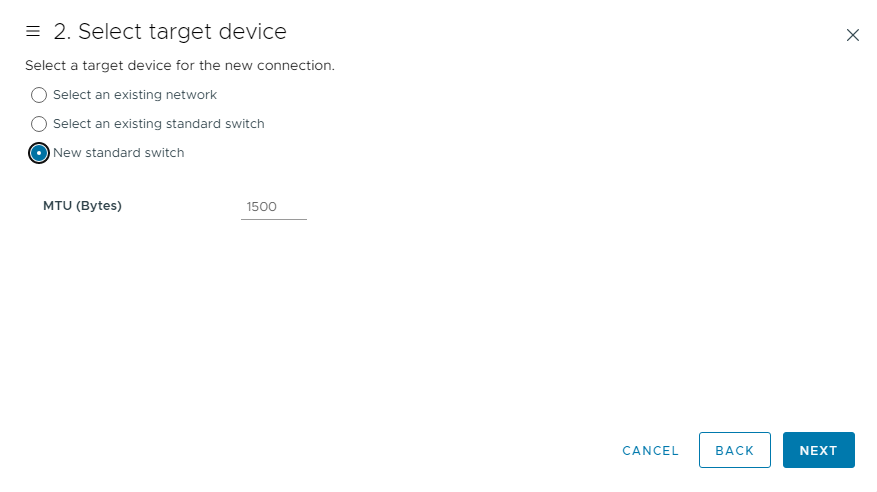
Select the new standard switch, and then click next.
Assign a network adapter, and then click next.
I have selected one adapter (you can select multiple adapters) and clicked next.

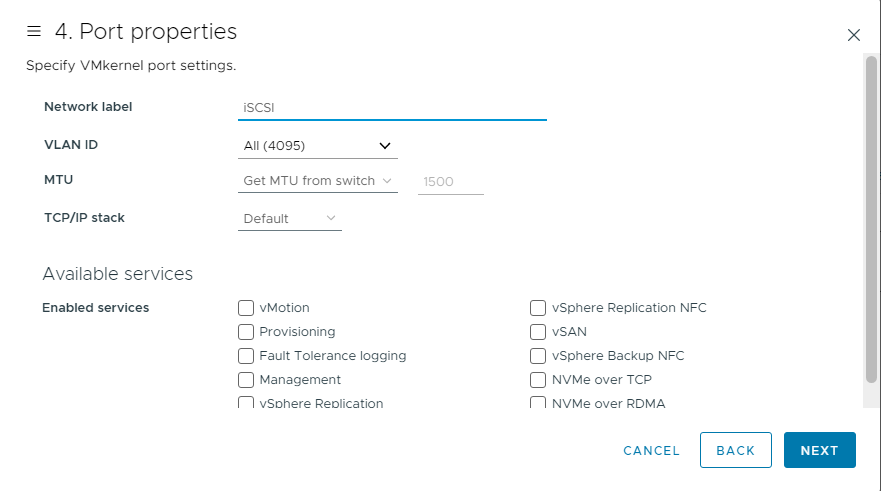
Type a network label and click next.
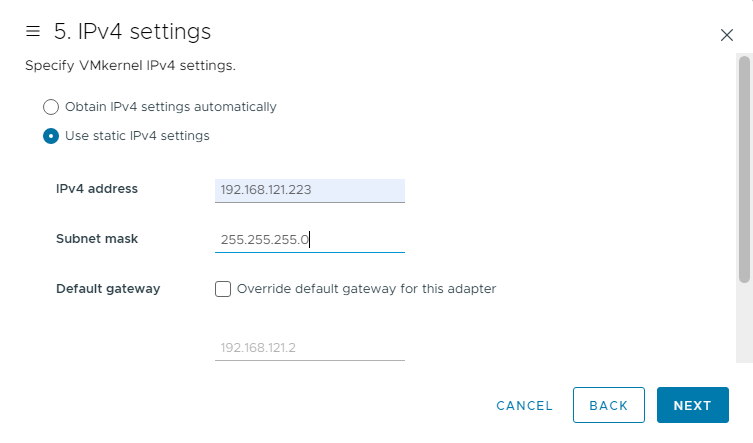
Tick the use static IPv4 setting, type the IP address and subnet mask, and choose next.
Review your selections, and then click on the finish button to complete the VMkernel configuration.
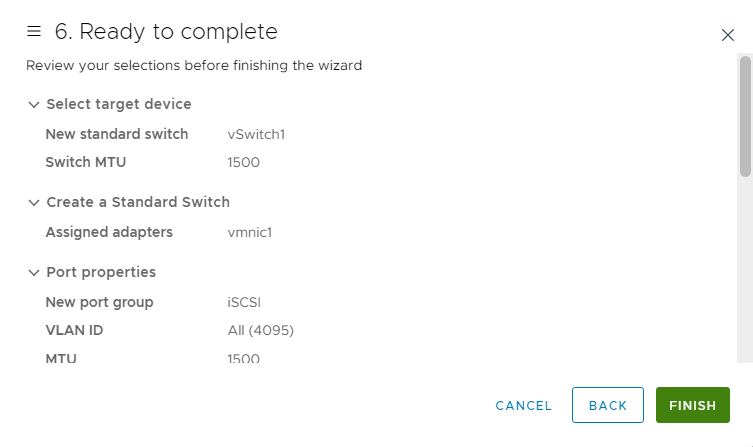
A standard vSwitch1 has been created successfully.
ADD Software iSCSI Adapter
Under Storage Adapter, click on Add Software Adapters to enable the software iSCSI adapter.
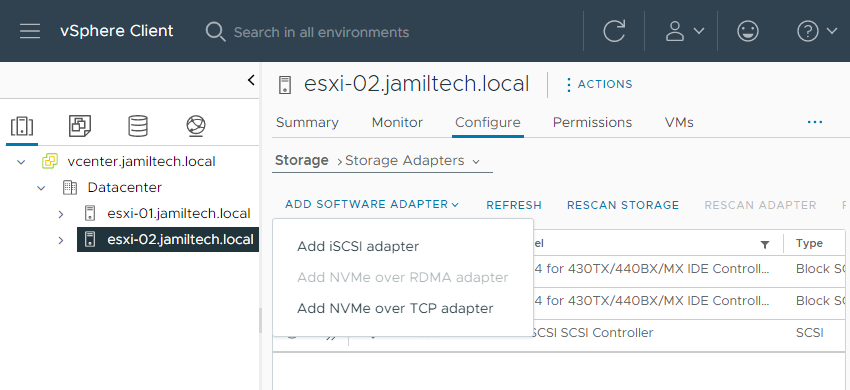
Select ok

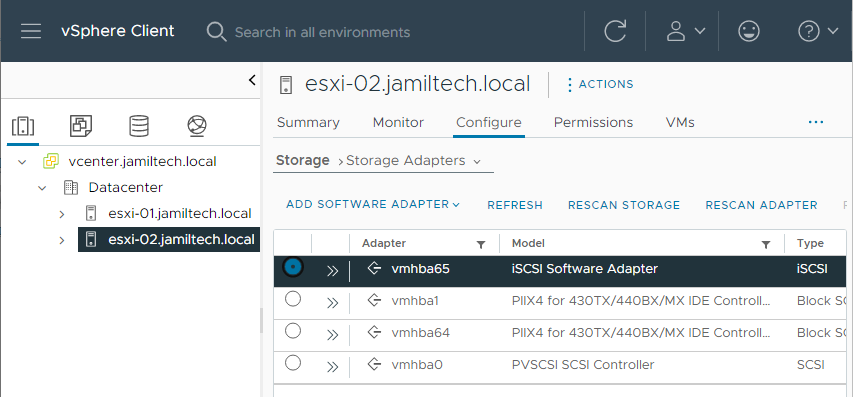
Successfully enable the iSCSI adapter and click on the iSCSI software adapter.
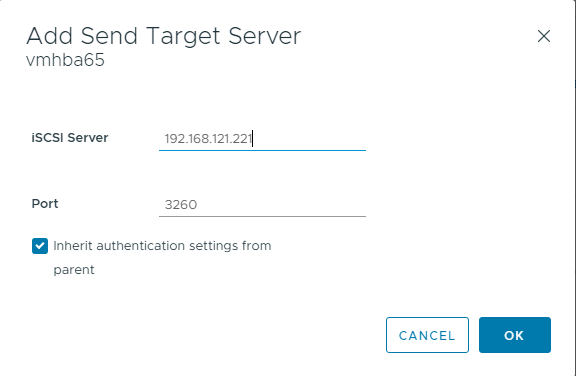
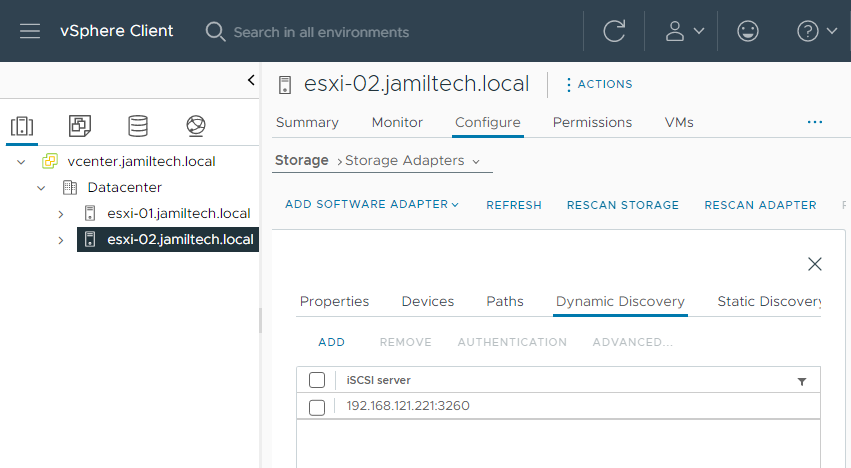
Select the dynamic discovery option and click on the add link to add storage to the target iSCSI server.

Enter the IP address of your iSCSI server and choose OK.
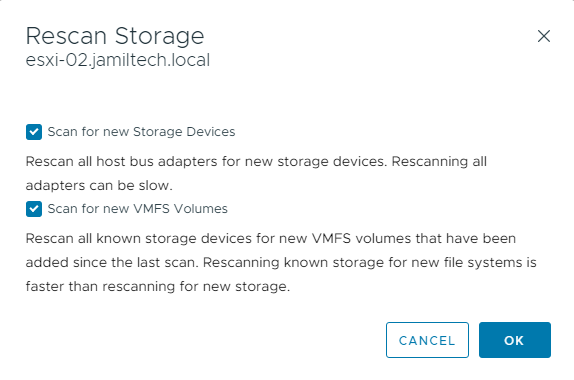
Select the rescan storage.
Click ok
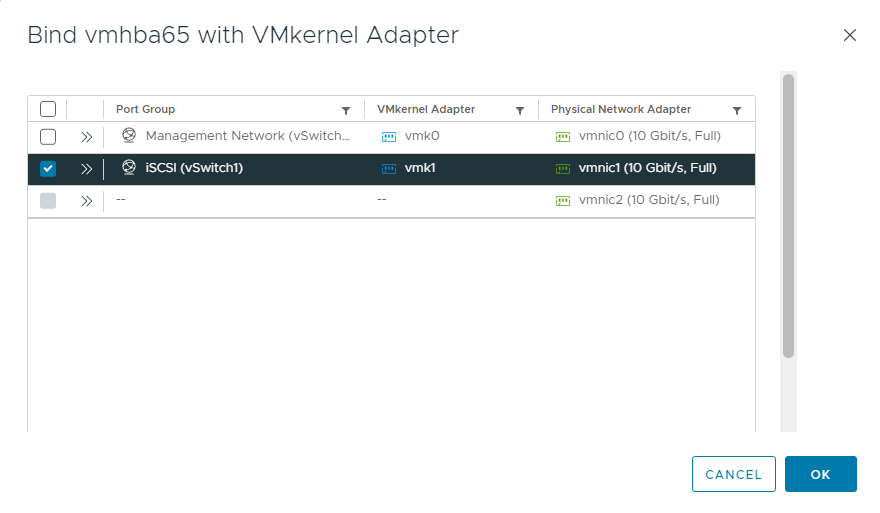
Click on the network adapter link and click on the Add link to select Network Adapter.

Select the VMkernel adapter, and then click OK.
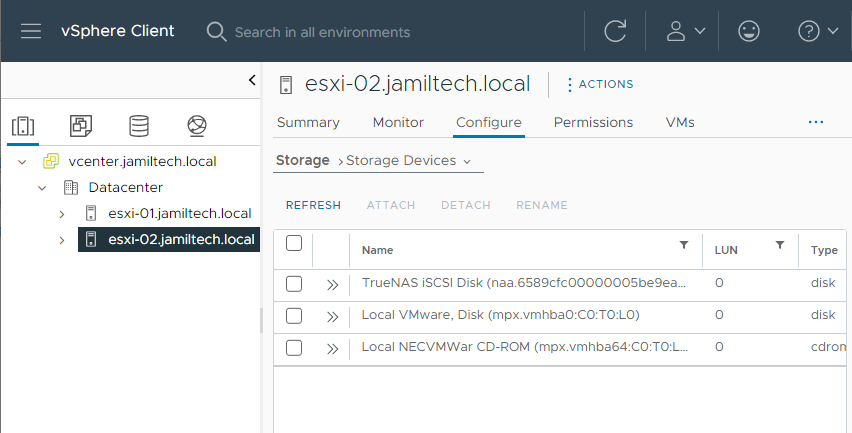
Select storage devices under storage to view devices as shown below.
Add iSCSI Storage to ESXi Host
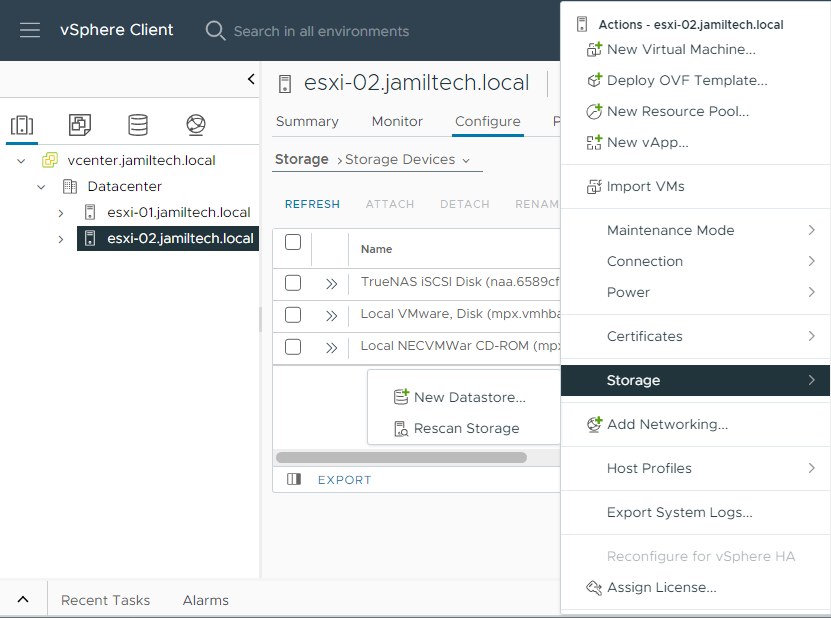
Select ESXi Host, click on the action menu, select storage, and then choose New Datastore.
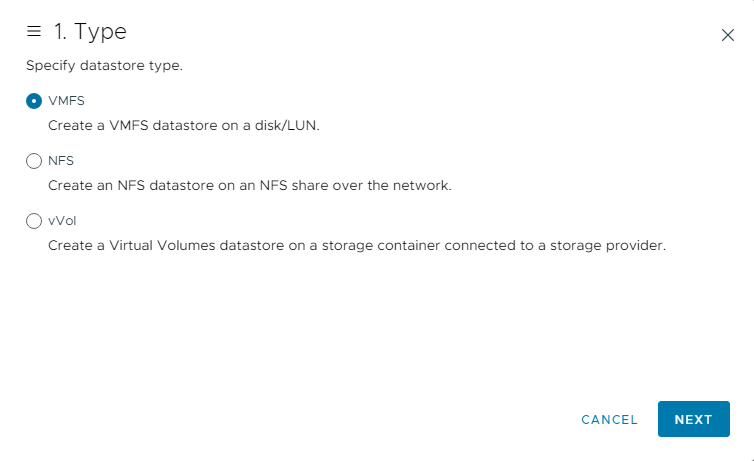
Select the datastore type (VMFS) and then choose next.
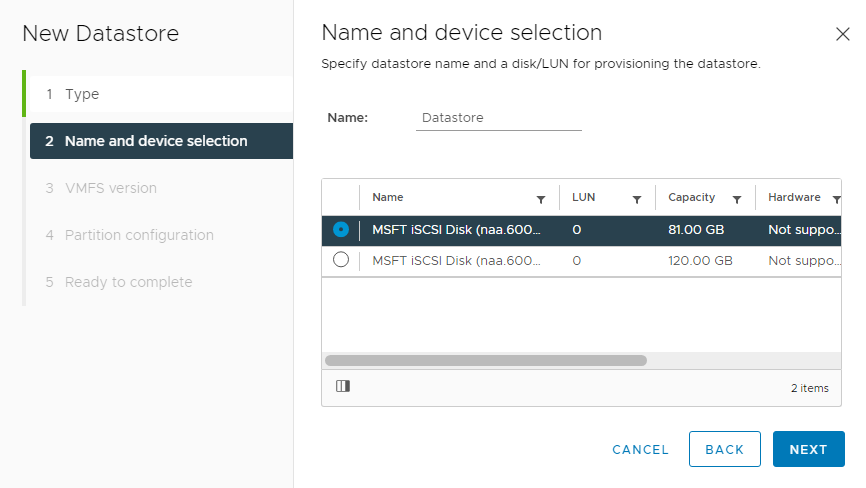
Enter a datastore name, select one of the iSCSI disks, and then choose next.
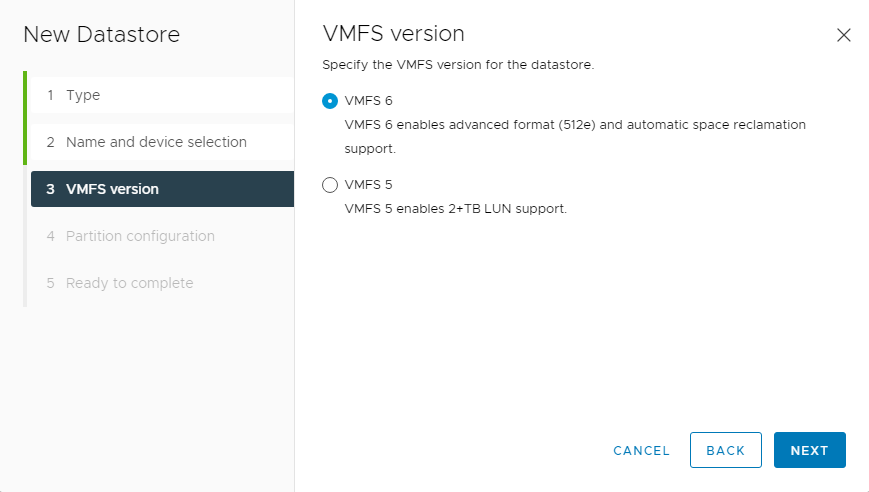
Select the VMFS version and choose next.
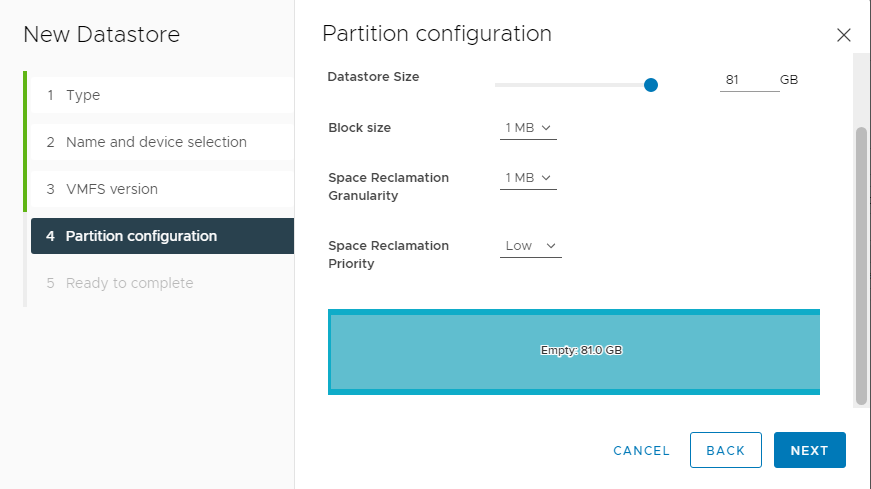
Select the new datastore size, and then click next.
Review the new datastore settings and click on Finish to complete the process.
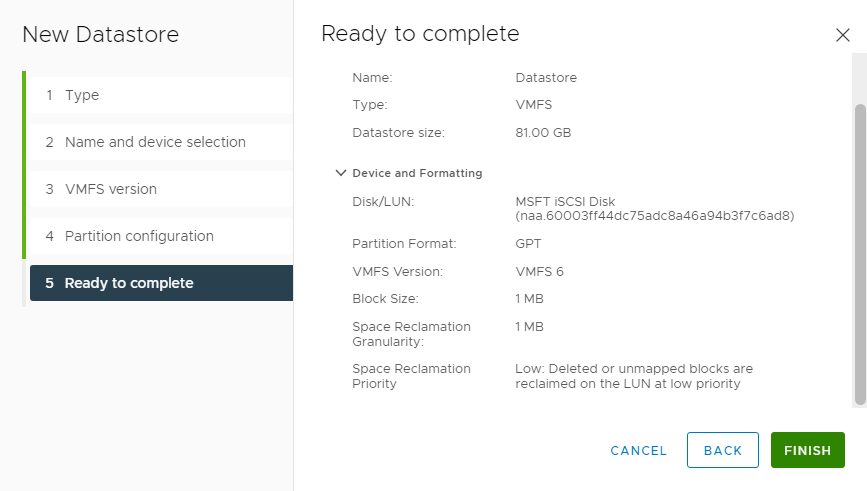
A new database has been added successfully.
Learn more: How to Change the Eternus DX90 Storage Disk.
