The Windows Registry is a large database storing configuration data for programs, services, and hardware essential for Windows. The Registry Editor allows you to view and modify the registry, a powerful tool often used by advanced users to customize their systems, manage applications, and troubleshoot issues. However, be cautious—modifying the registry can cause system problems if done incorrectly.
To apply these customizations, it’s essential to know how to launch the Registry Editor. Here are the 9 best ways to access it in Windows 11:
Table of Contents
9 Best Ways to Open Registry Editor
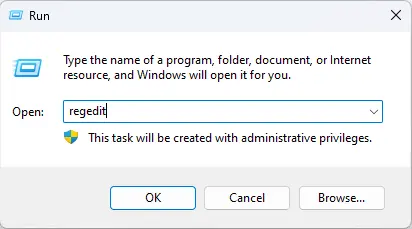
1. Open Registry Editor via Run Command
The Run command is a quick way to access various apps. Here’s how to open the Registry Editor:
Type regedit and press OK.
Press Windows + R to launch the Run box.
2. Open Registry Editor via Windows Search
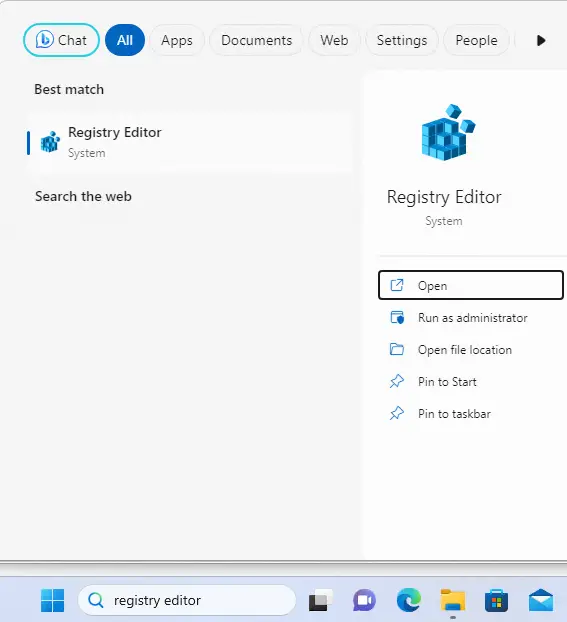
Windows Search offers a fast way to open the Registry Editor without remembering specific commands:
Click the Windows Search bar.
Type Registry Editor and select it from the search results.
3. Open Registry Editor via PowerShell Command
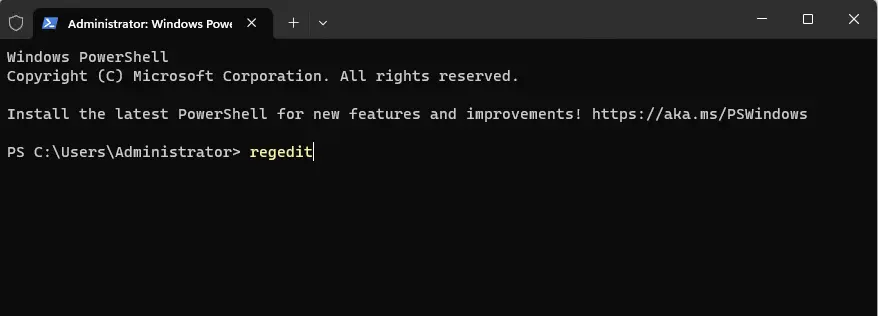
Advanced users can use PowerShell to access the Registry Editor:
Open Windows Search, type PowerShell, and select Run as administrator.
In PowerShell, type regedit and press Enter.
4. Open Registry Editor via Command Prompt
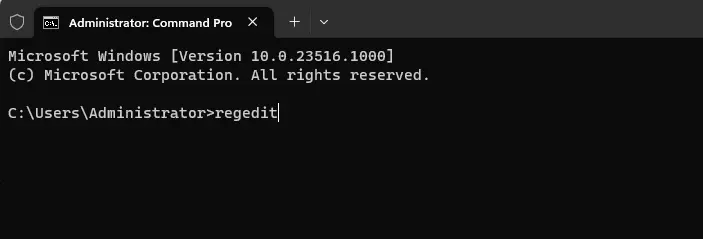
Similar to PowerShell, you can also use the Command Prompt:
Type regedit and press Enter.
Open the Command Prompt (cmd).
5. Open Registry Editor via Windows Apps
You can access the Registry Editor via the Windows Apps menu:
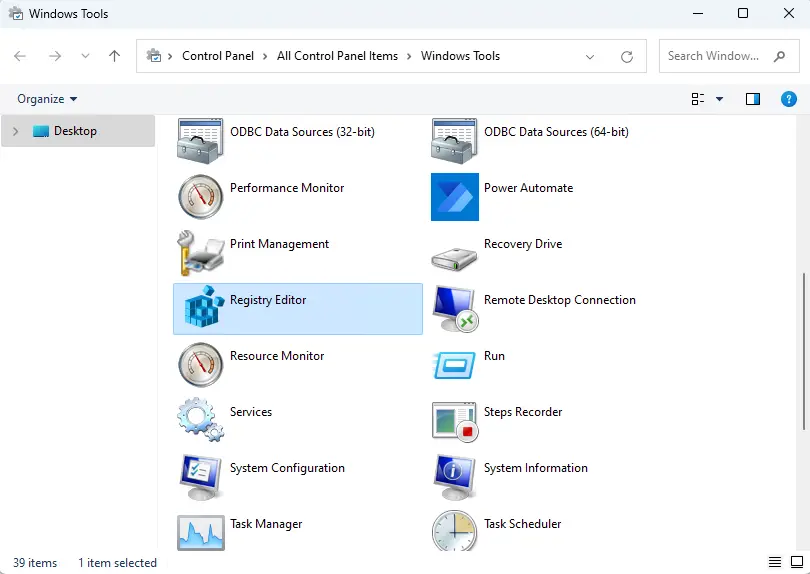
Select Registry Editor.
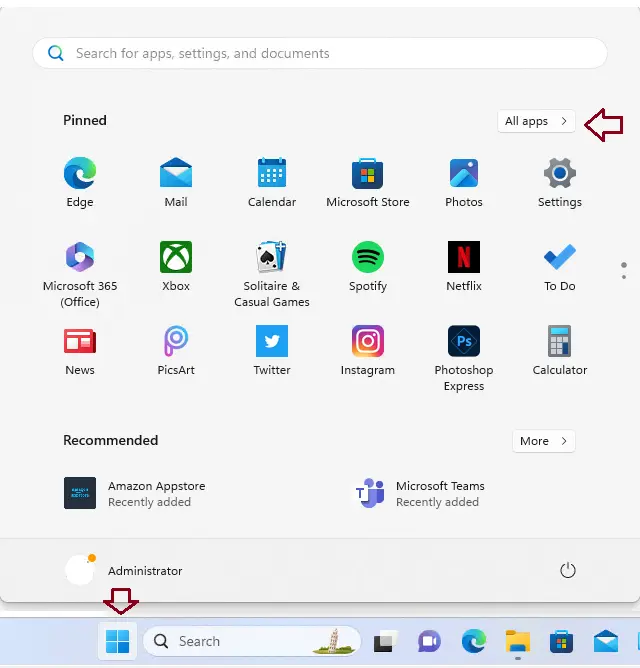
Click the Windows button and select All Apps.
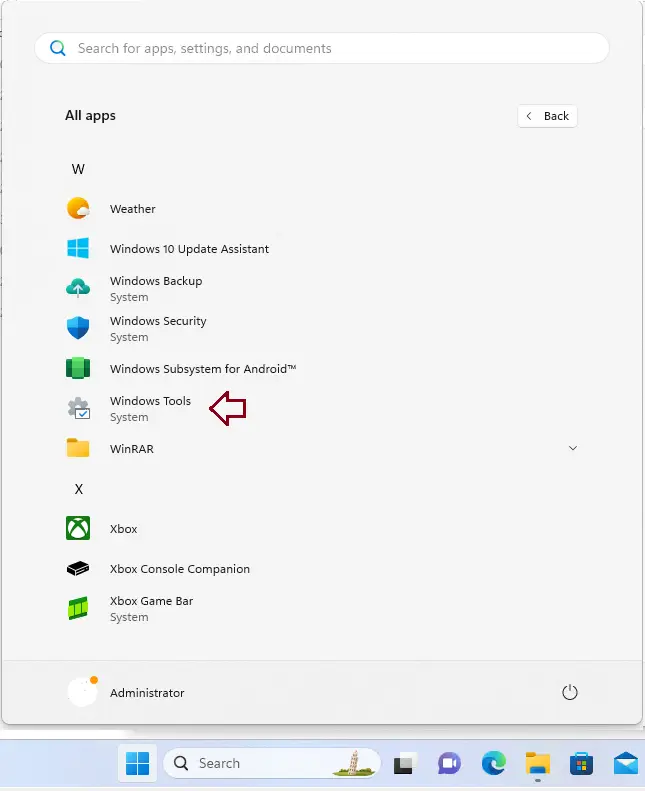
Scroll down and click on Windows Tools.
Scroll down and click on Windows Tools.
Click on Open Registry Editor.
6. Open Registry Editor via File Explorer
File Explorer can also be used to launch the Registry Editor:
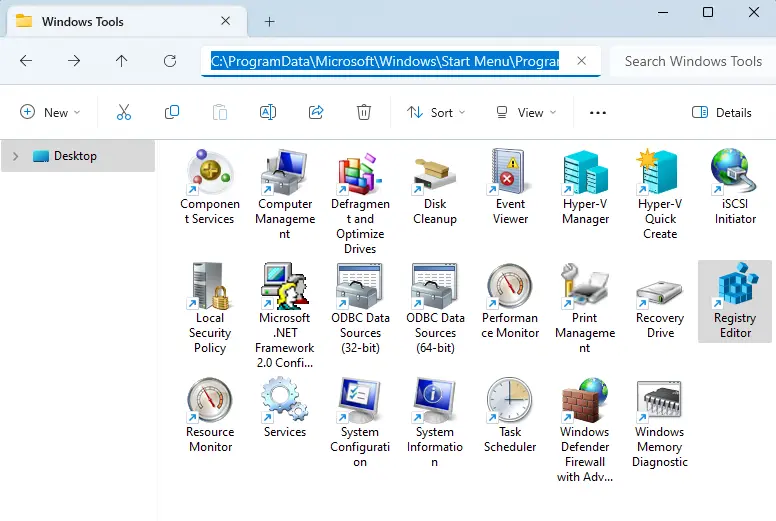
Double-click Registry Editor.
Press Windows + E to open File Explorer.
Paste this path in the address bar:
C:\ProgramData\Microsoft\Windows\Start Menu\Programs\Administrative Tools
C:\ProgramData\Microsoft\Windows\Start Menu\Programs\Administrative Tools
Double-click on the Registry Editor to launch it.
7. Open Registry Editor via Control Panel
Another method is using the Control Panel:
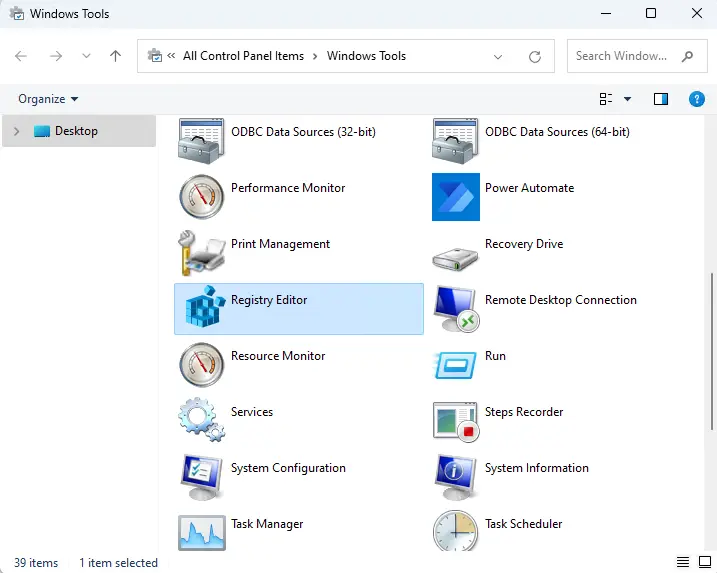
Double-click Registry Editor.
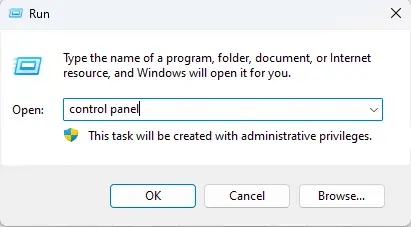
Open the Control Panel by searching for it in Windows Search or typing Control Panel in the Run box.
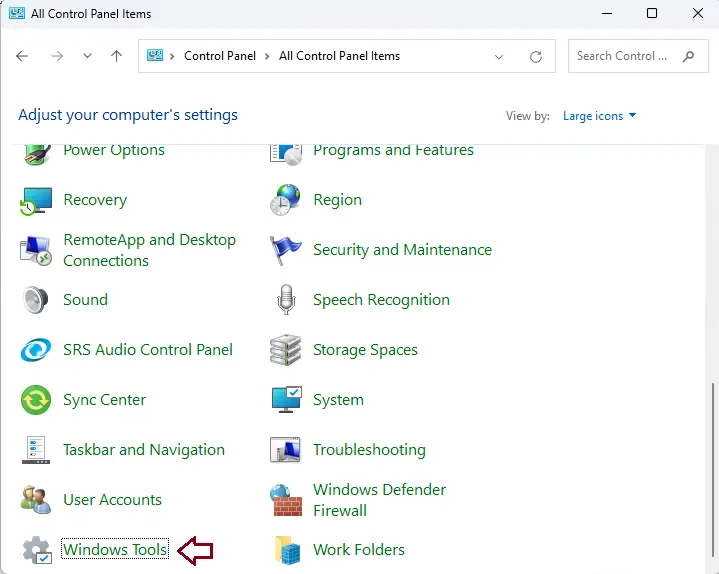
Select Windows Tools.
Select the Windows Tools link.
Under the Windows Tool, double-click on the Registry Editor to open it.
8. Open Registry Editor via Task Manager
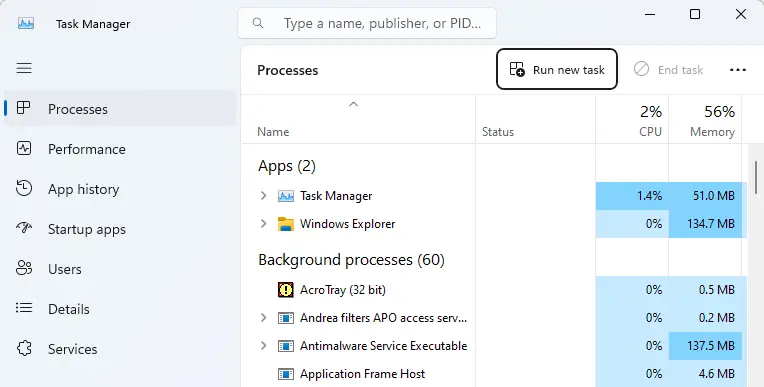
The Task Manager provides a convenient way to access the Registry Editor:
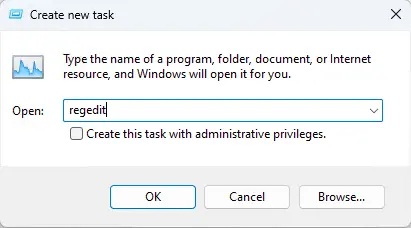
Type regedit in the box and press OK.
Press Ctrl + Shift + Esc to open Task Manager or right-click the taskbar and choose Task Manager.
Select Run new task from the File menu.
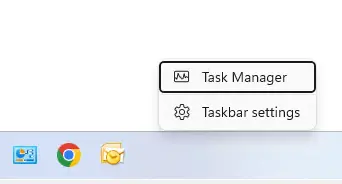
Choose the Run a new task option.
In the Create new task, type regedit in the text field and choose OK.
9. Launch Registry Editor via Desktop Shortcut
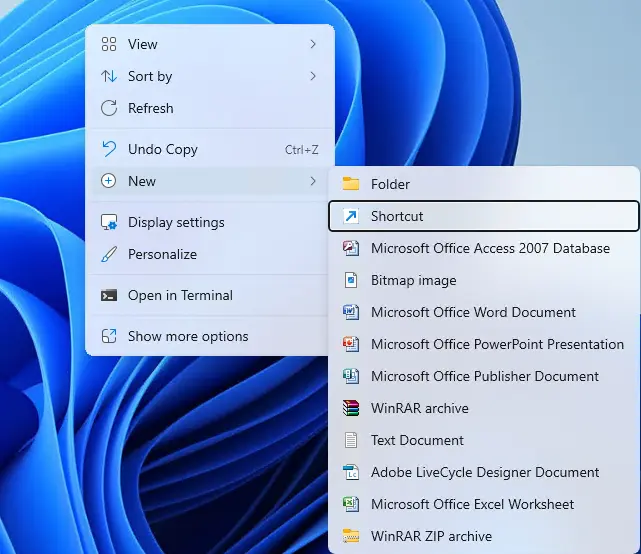
For frequent access, you can create a desktop shortcut:
Double-click the shortcut to open the Registry Editor.
Right-click an empty space on your desktop, select New > Shortcut.
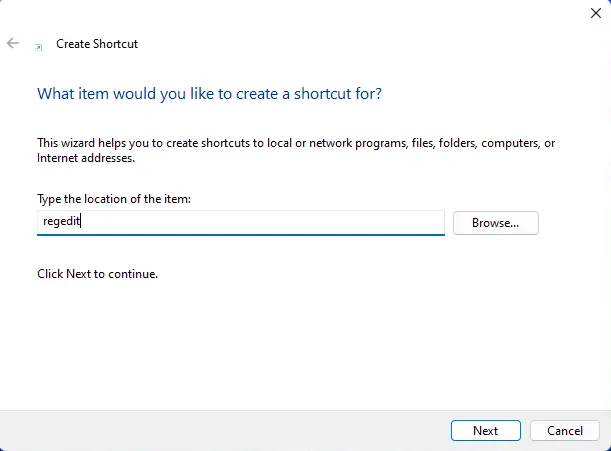
Type regedit in the location field and click Next.
Name the shortcut and click Finish.
Under the location of the item, type regedit, and click next.
Enter a name you want to give to this shortcut, or keep the default, and click Finish.
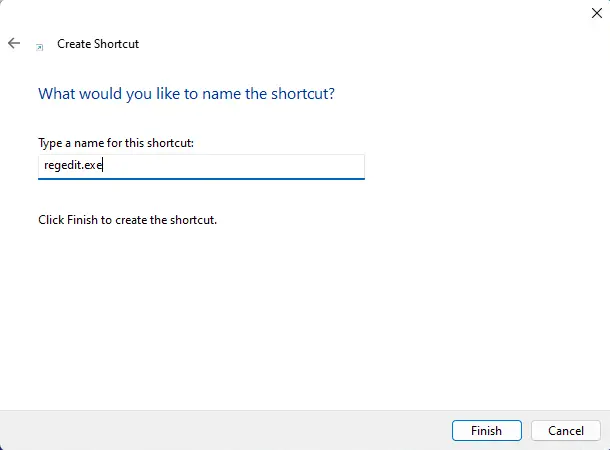
Double-click on the created desktop shortcut to launch the Registry Editor.

These methods provide the easiest and fastest ways to access the Registry Editor on Windows 11. Choose the one that suits your workflow, and proceed cautiously when editing the registry.
Refer to this article for more information.


