When you upgrade VMware Workstation to a newer version, it’s beneficial to update the hardware compatibility of your virtual machines (VMs) to take advantage of the latest features. Hardware compatibility in VMware Workstation defines the virtual hardware features that a VM supports, including UEFI/BIOS options, maximum CPU and RAM configurations, and various hardware characteristics.
Why Change Hardware Compatibility?
- Leverage New Features: Ensure VMs utilize the latest features in newer Workstation versions.
Maintain Compatibility: Ensure backward compatibility with older VMware versions or other VMware products (ESXi, Fusion, etc.).
Steps to Change Hardware Compatibility
1. Open VMware Workstation
- Launch VMware Workstation and select the virtual machine you want to upgrade.
2. Start Hardware Compatibility Upgrade
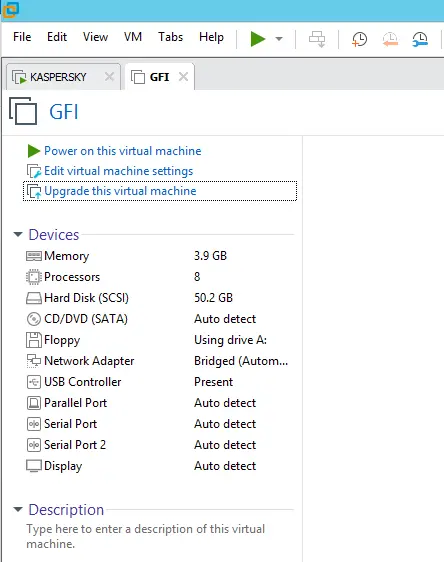
- Click on “Upgrade this virtual machine” in the VM summary section.
3. Use the Hardware Compatibility Wizard
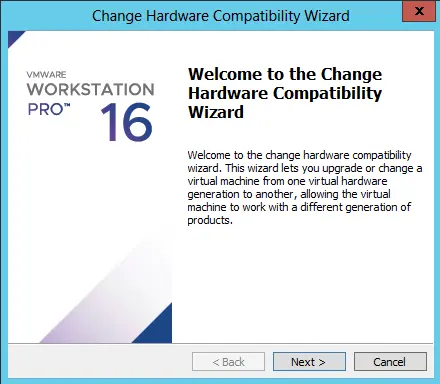
- Welcome Screen: You’ll be greeted by the “Change Hardware Compatibility Wizard.”
- Click “Next” to proceed.
4. Choose a New Hardware Compatibility Version
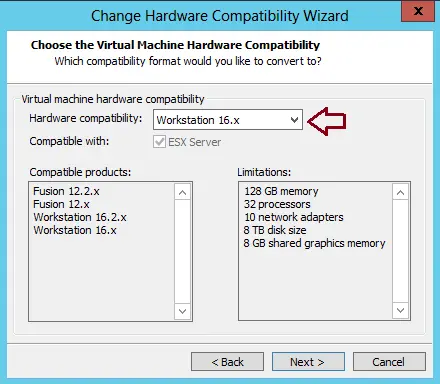
- The current version (e.g., Workstation 15.x) will be displayed.
- Select the New Version: Choose the latest version, such as Workstation 16.x. This will unlock newer features like:
- Up to 128 GB of RAM
- Support for 32 processors
- 8 GB of graphics memory
5. Decide How to Upgrade
You have two upgrade options:
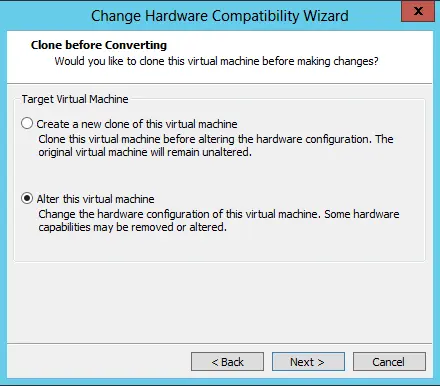
- Clone the VM: Create a copy and upgrade the clone (useful if you want to keep the original VM unchanged).
- Upgrade the Existing VM: Modify the current virtual machine directly. This is usually safe, but consider taking a snapshot beforehand for safety.
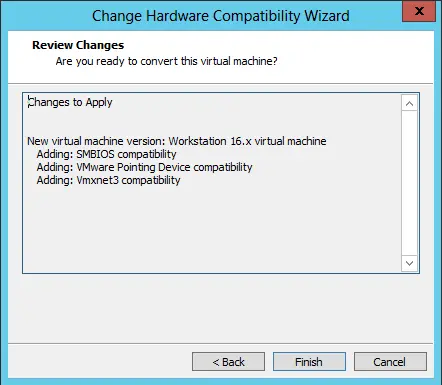
6. Review and Confirm Changes
- Review Changes: Confirm the new compatibility features and VMware product support.
- Click “Finish” to finalize the upgrade.
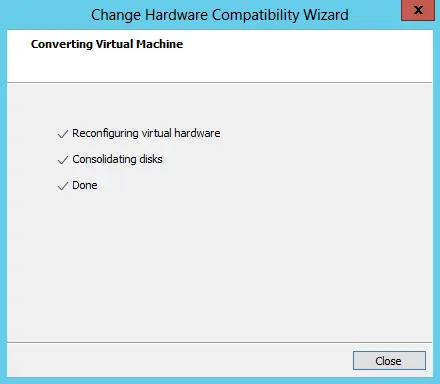
7. Convert the Virtual Machine
- VMware Workstation will convert the VM to the new hardware version.
8. Start the Virtual Machine
- Once the conversion is complete, start the VM and load the guest operating system.
9. Update VMware Tools
Once inside the guest OS, go to the VM menu and select “Update VMware Tools” to ensure full compatibility with the new hardware version.
Welcome to the change hardware compatibility wizard. Choose next.
At the moment, the virtual machine is compatible with Workstation 15.x, which means various limitations.
Choose version 16.x, and you will see that the limitations and compatible VMware products will change.
As you can see, VMware Workstation Pro allows you to:
Support up to 128 GB of RAM
Support 32 processors
Benefit from 8 GB of graphic memory
When you have to upgrade the virtual machine’s virtual hardware, you have two possibilities.
Create a new clone of this virtual machine: create a copy of it and upgrade that copy
Alter this virtual machine: upgrade the required virtual machine without creating a copy first
Though this upgrade isn’t a problem in 99.9% of cases, one day a virtual hardware
So, we recommend that you take a snapshot of the VM before upgrading the virtual hardware if this virtual machine is important to you.
Review the changes, and then click Finish.
Converting the virtual machine.
Start this virtual machine.

Important Notes
- Backup: It is highly recommended to take a snapshot of the virtual machine before upgrading, especially if the VM is critical. This allows you to revert to a previous state in case of any issues.
By following these steps, you can ensure your virtual machines take full advantage of the latest hardware features provided by VMware Workstation Pro.For more details, visit VMware’s official documentation.

