
In this article, we will teach you how to convert VMDK to VHDX Hyper-V using StarWind v2v Convert. After attempting Hyper-V, we were interested in the interface and the software that comes with Microsoft; the use between the VM and host doesn’t require VMware Tools like using on VMware. The tool that helps convert from VMDK to VHDX too is Microsoft’s software called Microsoft Virtual Machine Converter.
Convert VMDK to VHDX with StarWind
You can download the StarWind V2V Converter software from their official website.
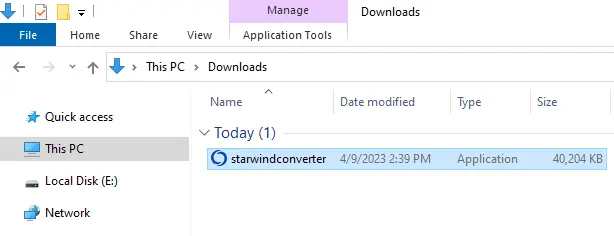
Once StarWind V2V Converter is downloaded, double-click on the starwindconverter.exe file to start the installation.
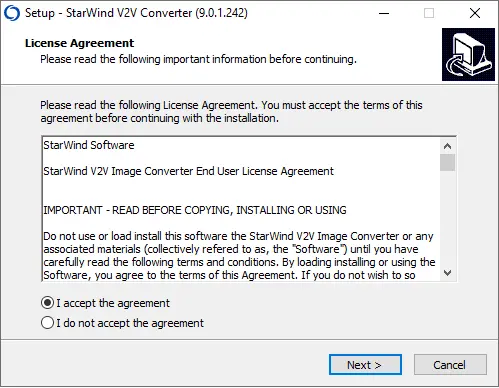
Accept the StarWind license agreement, and then click on the next button.
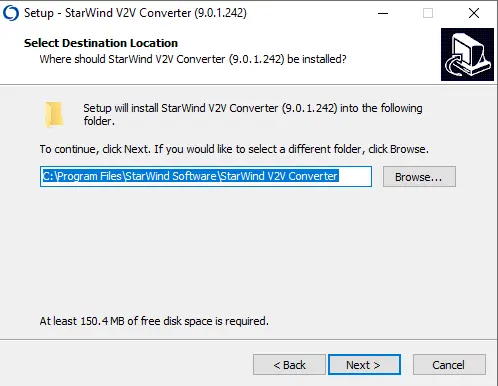
Choose the browse button to select the installation directory or keep the default directory, and then click on Next.
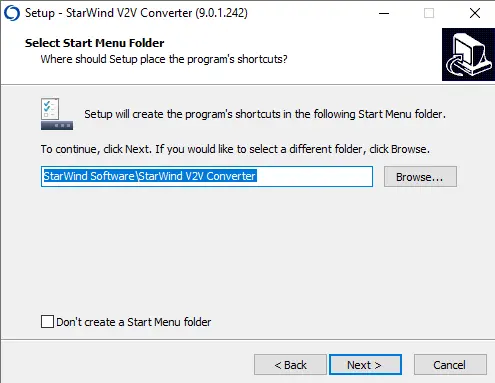
Verify the start menu folder and click on the next button.
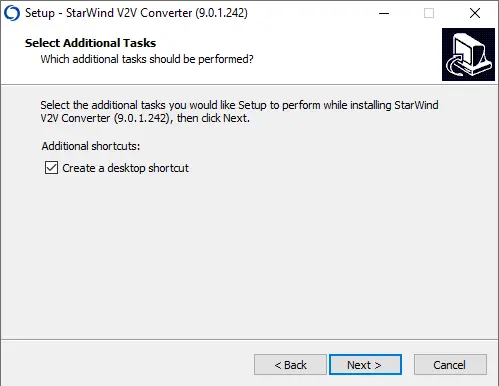
Select the box “additional tasks” to create a desktop shortcut, and then click on Next to continue.
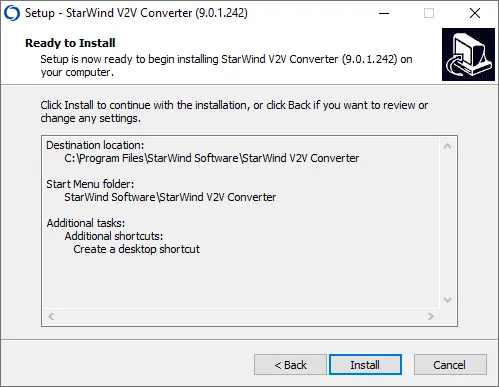
Review the StarWind V2V installation settings or choose the back button to make any changes. Click the Install button to continue.
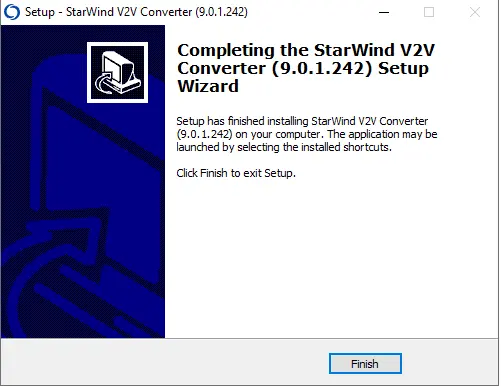
Choose the finish button to close the window.
Converting VMDK to VHDX
Now the StarWind V2V Converter installation is done, so you can launch StarWind V2V Converter. You will notice two shortcuts on your desktop. One is the command line tool, and the other is the GUI. It means that you can automate the process using the GUI or command line, which is great!
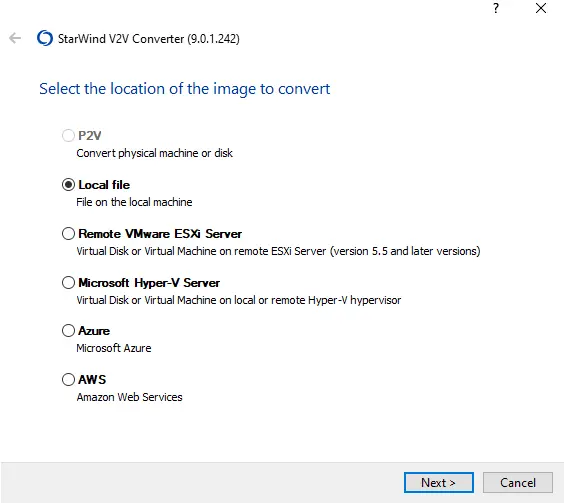
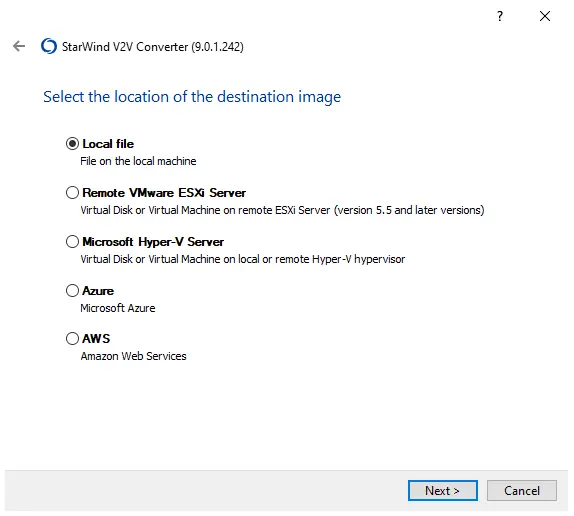
Select the local file option, and then choose Next.
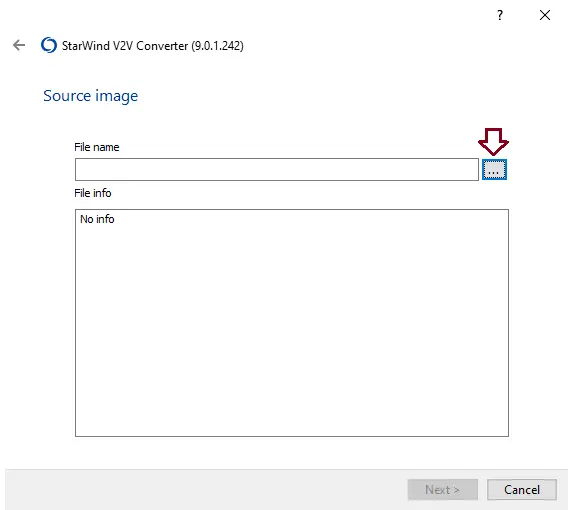
Select the… button.
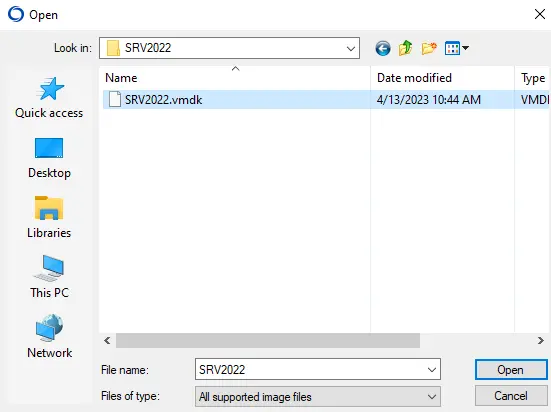
Choose the virtual machine VMDK image file and then click open.
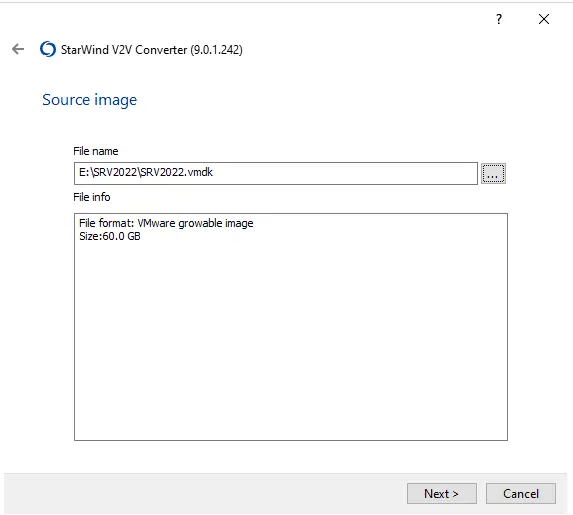
Specify your source image file (VMDK) and then choose next.
Select the local file option, and then click next.
Choose Microsoft virtual hard disk (VHD/VHDX) and then click next.
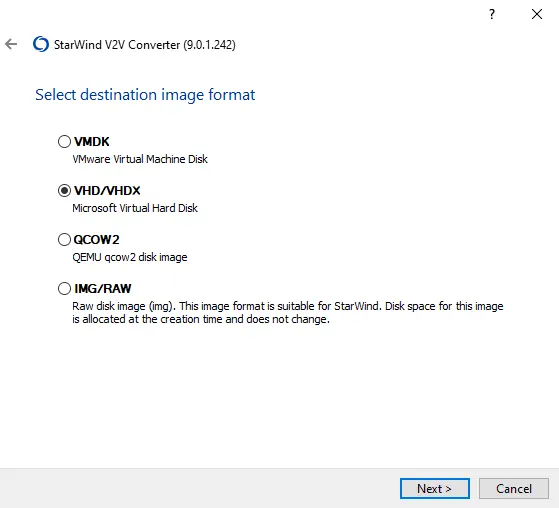
Choose a VHDX growable image and then click next.

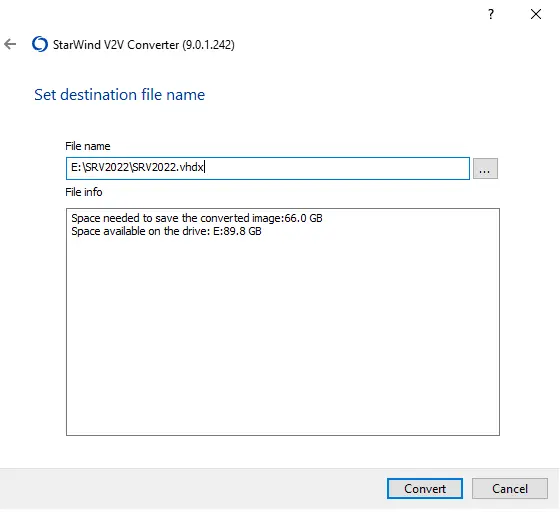
Specify the destination file (VHDX) I am using the same source folder, so click next.
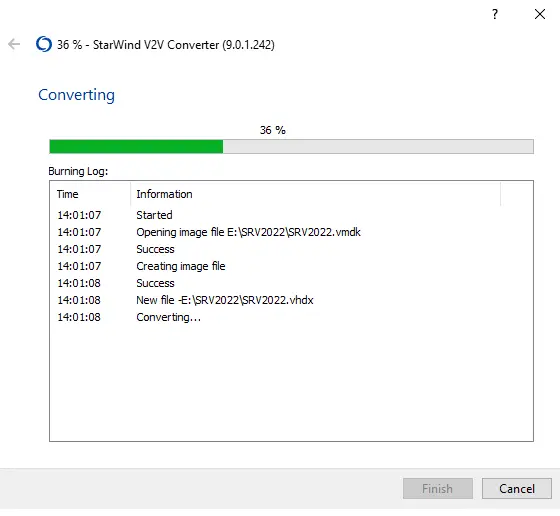
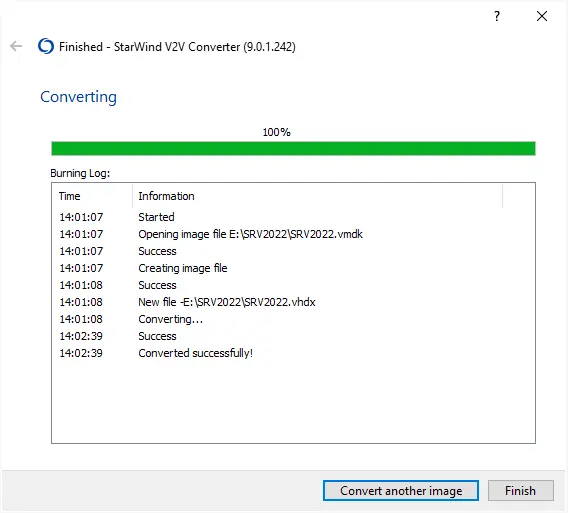
You have to wait for the program to complete the conversion.
VMDK to VMDX successfully converted; choose the finish.
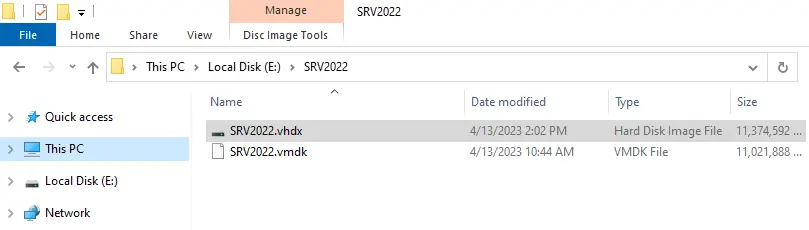
Now you can see the virtual machine.
Learn more: How to Convert VHD to VHDX Hyper-V.
