In this article, we will teach you how to customize privacy settings in Windows 11. Here are the different settings you must change to protect your privacy in Windows 11. Today, privacy is a precious and highly sought-after commodity. Major technology firms such as Microsoft, Amazon, and Apple are always seeking to collect personal information, including how you use their products, where you access content, and how you use your devices. While they may claim that they are collecting this information in order to offer you “rich, personalized, and interactive experiences,” there is a catch.
Windows 11 and 10 are known for collecting data about your app usage, location, online activities, device behavior, content preferences, and a lot more. However, they also offer multiple privacy settings and options. Here is all the information you need to take control of your privacy.
Table of Contents
Customize Privacy Settings in Windows 11
Here are a few Windows 11 privacy settings you can customize to protect your privacy.
Disable Diagnostics and Feedback
Windows 11 collects diagnostic information about how your computer operates in order to keep it secure and up-to-date. However, they also acquire information, such as the websites you visit and the apps you use. If you decide not to share this information with Microsoft,.
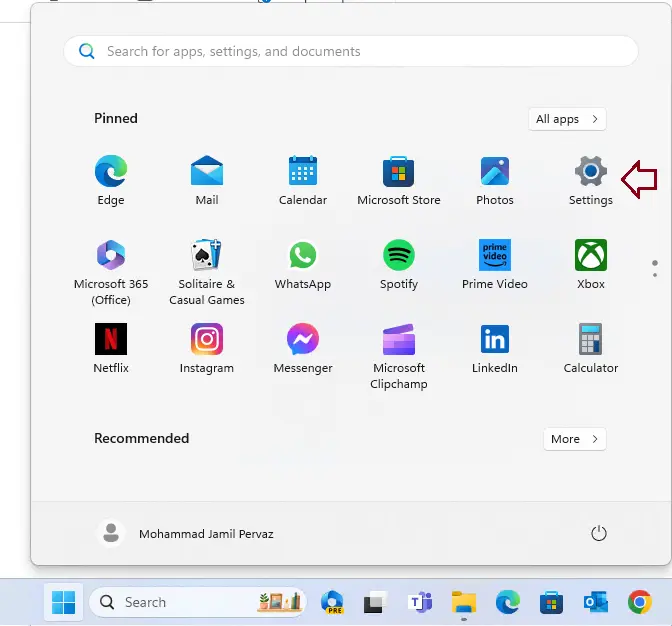
Click on the Windows Start menu and select Settings.
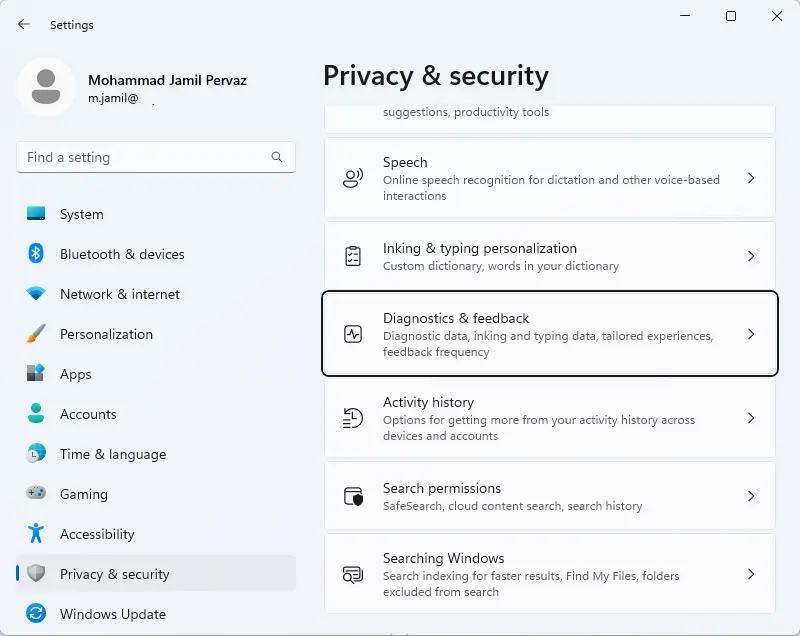
Go to the Privacy & Security section and select Diagnostics & Feedback.
Turn off “Send optional diagnostic data”.
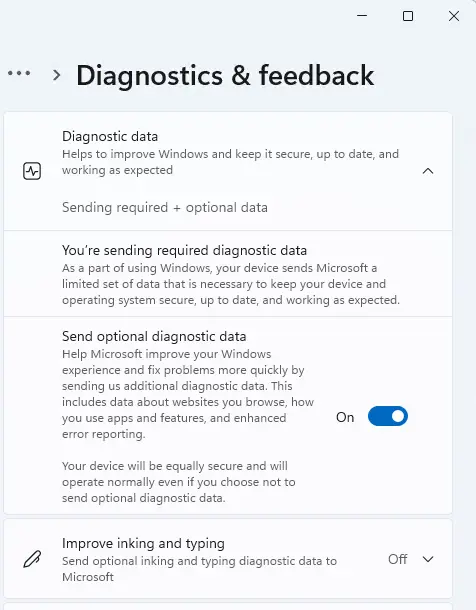
Additionally, we suggest disabling the three options listed below: “Improve inking and typing,” “Tailored experiences,” and “View diagnostic data.”
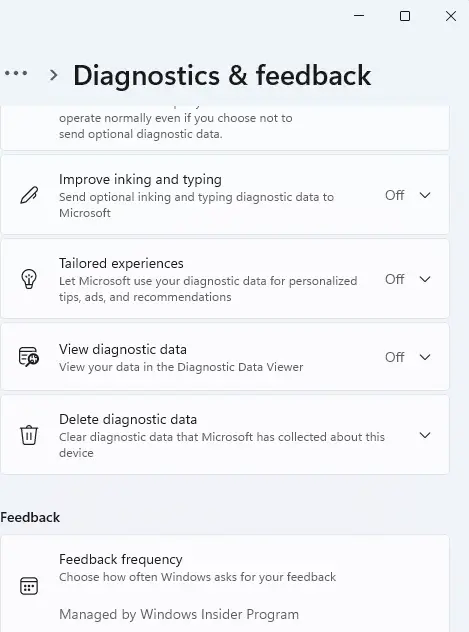
This stops Windows 11 from using your information to provide you with recommendations and suggestions. It is also going to stop the system from transmitting your text to Microsoft.
Turn Off Ad Tracking
The advertising ID in Windows 11 is a unique code used to collect information about you when you use the internet and Microsoft applications. The information is then used to create a profile for you and display targeted advertisements. You can disable this option to prevent personalized ads.
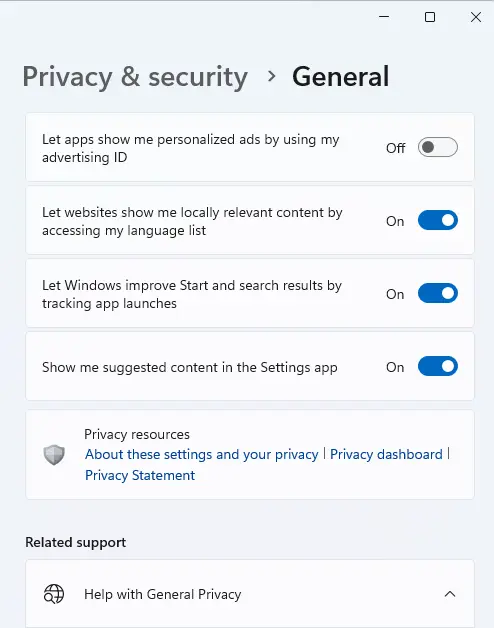
In Windows Settings, select “Privacy & Security” and select the General tab.
Then, turn off the “Let apps show me personalized ads by using my advertising ID option.
Turn off Activity History
Activity History is a Windows feature that logs the tasks and actions you perform on your computer. If you want to keep your Windows 11 activities private and prevent Microsoft from snooping, you can disable Microsoft’s access.
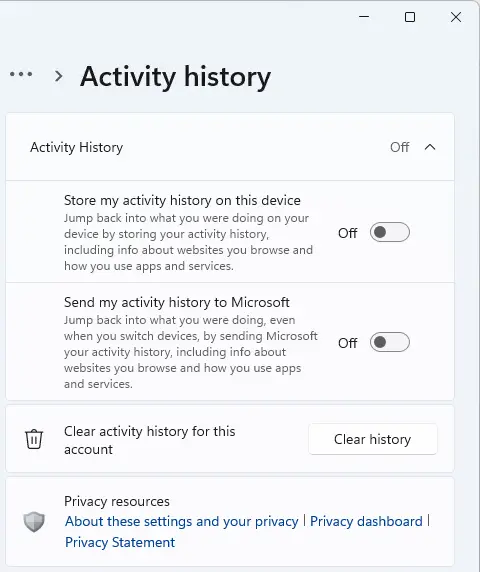
In the Windows settings, select Privacy & Security and click on Activity History.
Disable “Save my activity history on this device”.
Manage Search Permissions
Windows Search permissions define what kinds of material can be shown in Windows Search and whether search results can include information from other Microsoft apps you’re signed into.
Under the Privacy & Security settings, click on “Search Permissions.”.
Under SafeSearch, you can choose if you want to block adult material and how much you want to block. You can choose between strict, moderate, and off.
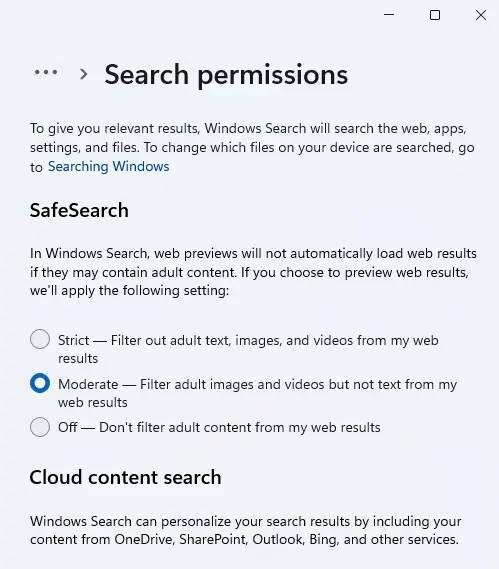
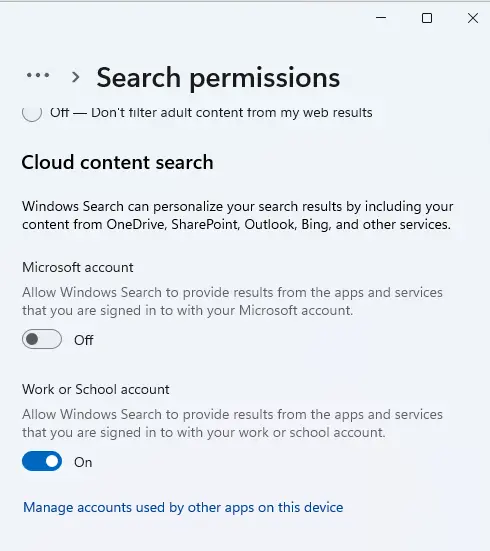
Most of the time, Windows Search shows results from Microsoft apps and sites where you’re signed in with the same Microsoft account. But you can turn off searching for cloud things if you only want search results from your computer and not from the cloud.
If you are using a personal account, you should turn off the switch next to “Microsoft account.” If you want to block search results from the work or school account, turn off the setting under Work or School Account.
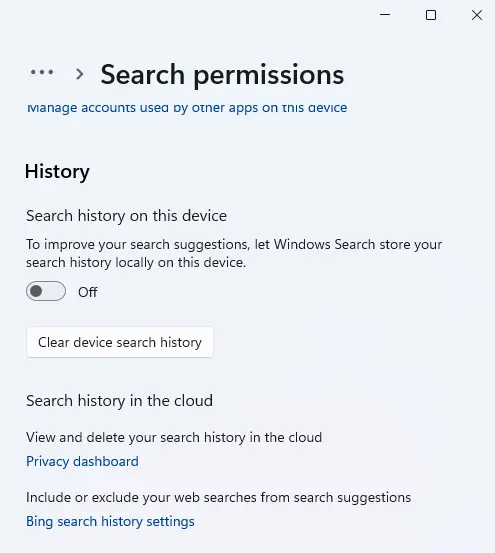
Scroll down to the History area and turn off “Search history on this device” if you don’t want Windows to store your search results locally so it can make suggestions.
Exclude Folder from Windows Search
If you have private files or folders that you don’t want searched, you can leave them out of the Windows search.
In the Privacy & Security settings, select the “Searching Windows” option.
Select the “Add an excluded folder” button.
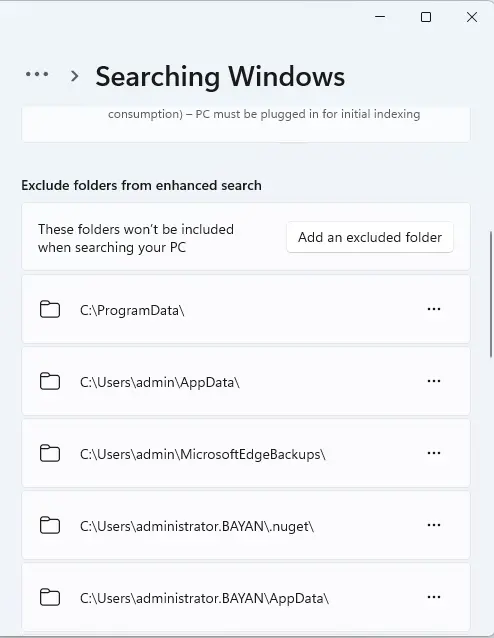
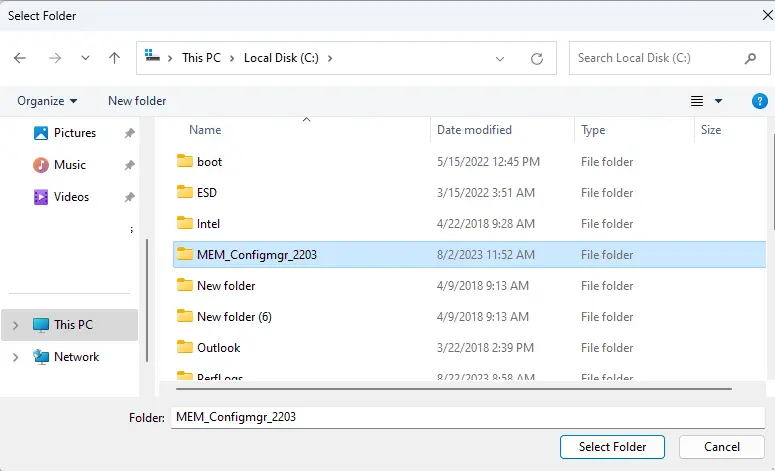
Select the folder you would like to exclude, and choose Select Folder. The folder will be excluded from future Windows searches.
App Permissions
App Permissions is an important group of settings that enables you to manage which applications have access to various system resources, such as the camera, microphone, location, contacts, and other sensitive data. These settings ensure your privacy and security. Whereas some apps require specific permissions for complete functionality, they are not required for all apps. You can adjust these parameters to your specifications.
Disable Location Tracking
Windows and apps track your location to provide you with important details, such as the local weather and nearby restaurants. To prevent Windows from tracking your location, you can disable the location services. However, completely disabling location services will make it difficult to locate your device in the event of theft or loss.
In the Windows settings, choose Privacy & Security. Scroll down to find app permissions and click on Location.

To disable location tracking entirely, toggle the “Location Services” switch to the Off position.
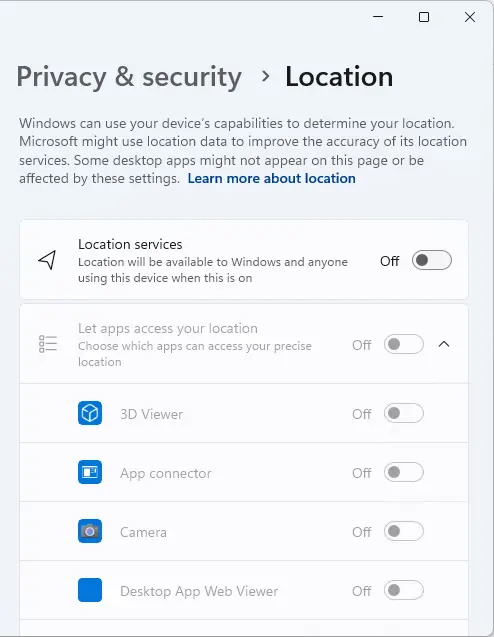
A confirmation box will open; choose Turn Off to confirm.
However, if you still want to be able to locate your device in the event of theft but don’t want other apps to know where you are, you can leave the Location Services switch on and disable the Let apps access your location option.
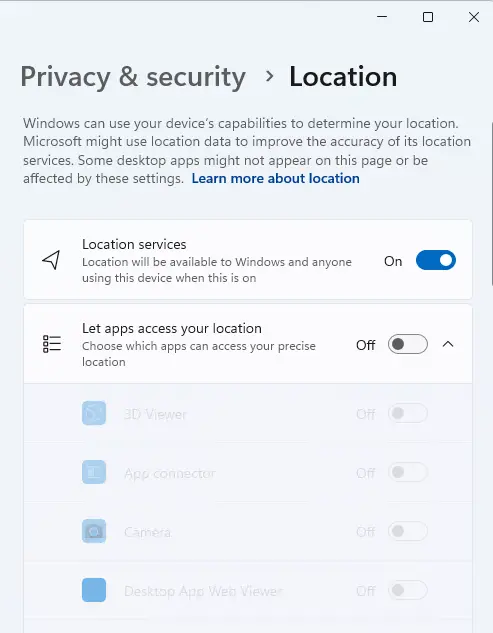
This permits Windows to continue monitoring your device in order to locate it while preventing other applications from accessing your location data.
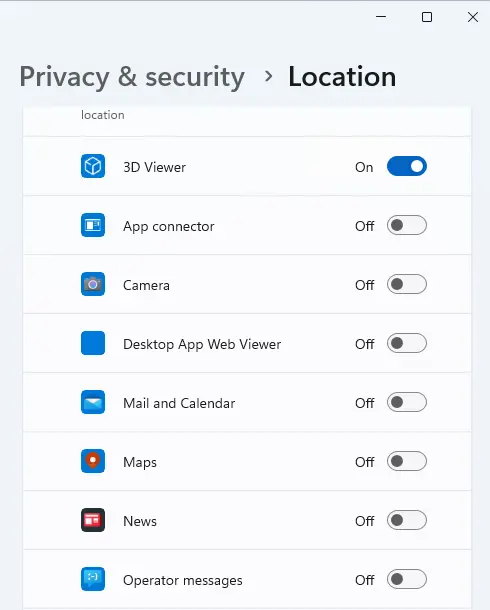
To grant permission to apps such as Weather and Maps that require access to your location, enable Location services and Let apps access your location.
Then, enable the location permission for the apps that genuinely require it while disabling it for the others.
Change Camera and Microphone Permissions
The camera and microphone permissions are the most crucial of the many app permissions. To prevent malicious Windows 11 apps from secretly accessing your camera and microphone, you must modify their permissions. This will greatly improve your Windows 11 privacy.
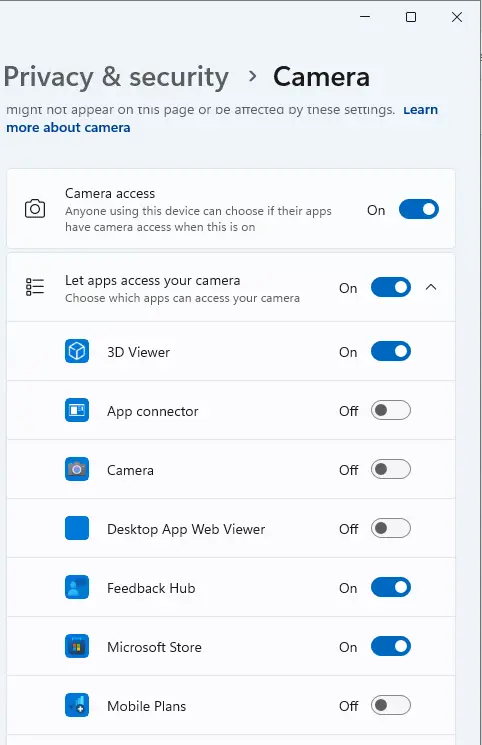
In the Privacy & Security settings, scroll down and click on Camera. Turn off the Camera Access option to entirely disable the camera.
Enable the Camera Access option if you wish to allow camera access to specific apps like Zoom and Teams. Then, go through the app list and disable access to any unimportant apps.
Similarly, visit the Microphone permissions settings and go through the app list. Then, disable the microphone or turn off Microphone access entirely for apps that do not require this permission.
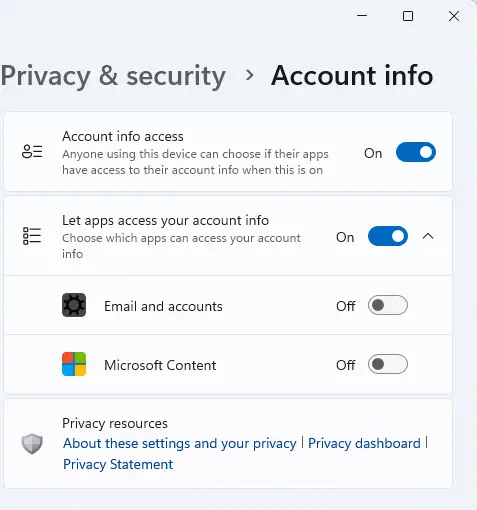
Manage Account info Permission
Account information permission allows you to decide whether and which apps can access your account information.
Under the App permission settings, select Account Info. Here, you can choose which apps can access your account information.
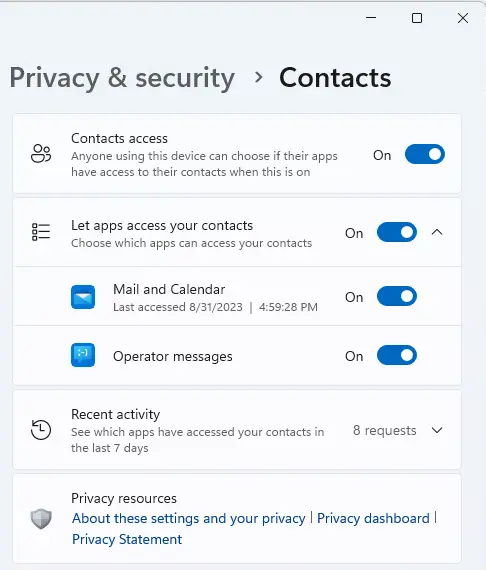
Change the permissions for Calendar, Contacts, Phone Calls, and Messaging
Permissions for contacts, calendar events, phone calls, and messages control whether apps may access your contacts, calendar events, phone calls, and messages. You may select which apps can use these resources, just as you do with other permissions.
Turn off the toggle for apps that you don’t want to have access to your contacts under Contacts. Rep for each of the remaining categories.
Manage Library Folders Permissions
You may also specify which apps can read and write files in library directories like as Documents, Downloads, Music, Pictures, and Videos. In Windows 11, there are separate choices for each of these library folders where you can specify which apps can access them.
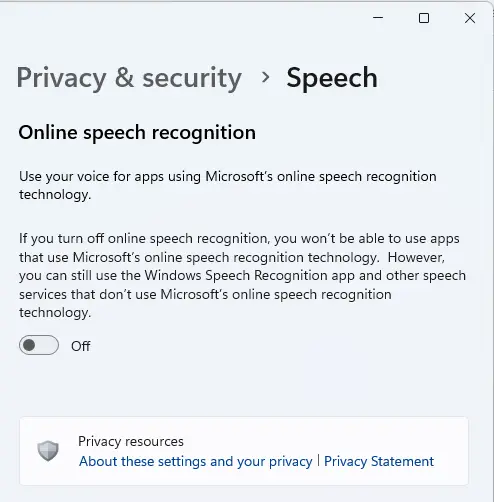
Turn Off Online Speech Recognition
When you use apps on Windows 11 that uses Online Speech Recognition technology, your voice data is sent to the Microsoft cloud. To safeguard your privacy, turn off Online Speech Recognition if you don’t use speech typing or voice access functions on your computer.
In the Privacy & Security settings, click on Speech under Windows permissions.
Under Online speech recognition, toggle the toggle to the Off position.
Switch to Local Account
When installing Windows 11 for the first time, you may be requested to use your Microsoft account, which then becomes the primary account. Even if you establish a separate account for your computer, Windows may still use your Microsoft account when you sign into specific Microsoft applications.
A Microsoft account stores your data online, whereas a local account only stores information on your computer. Local accounts are safer if you use just one local computer. Even if someone gains access to your Microsoft account, your computer remains secure. Here are the steps to convert to a local account.
In the Windows Settings, go to the Accounts’ settings. If you do not have a local account on your Windows 11 computer, create one. There are two account types: “Standard” and “Administrator.” Use an Administrator account for increased security.
Follow the following steps for changing a local account to an Administrator account:
Inside Account settings, click on Other users.
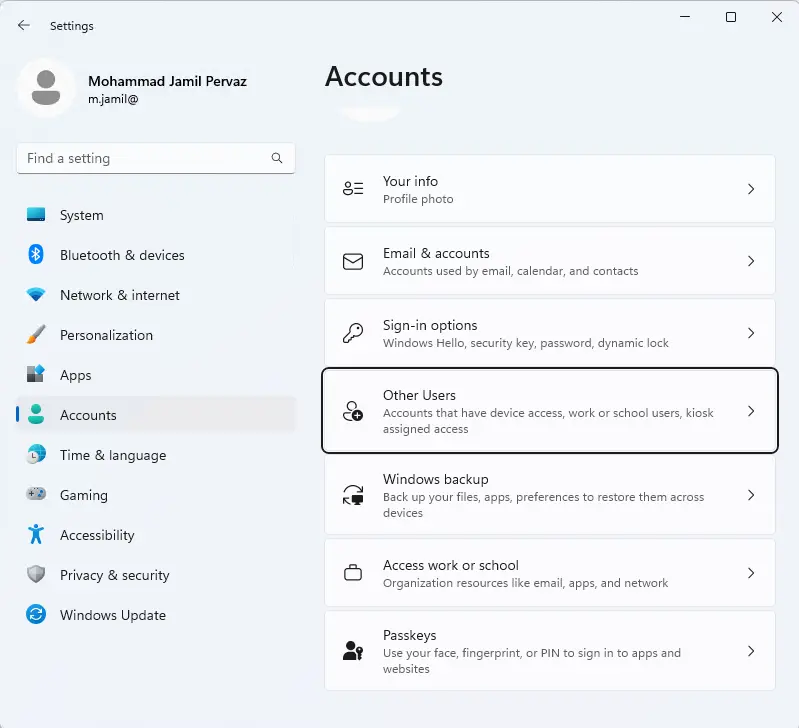
Choose the account name, and the option Change account type should appear. Click that link.
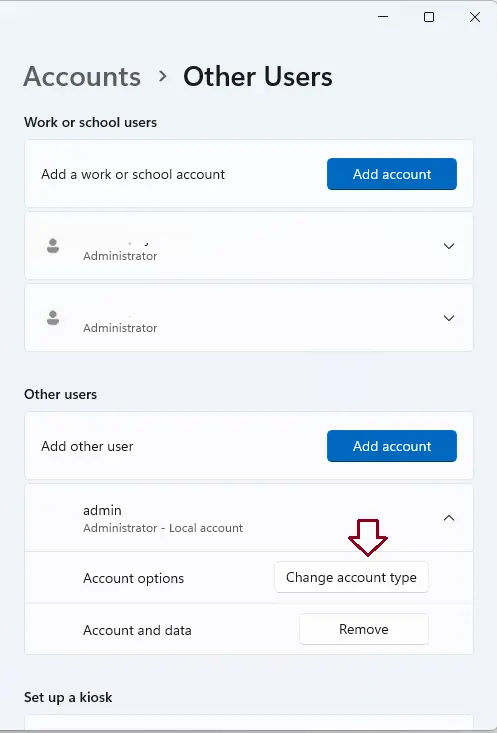
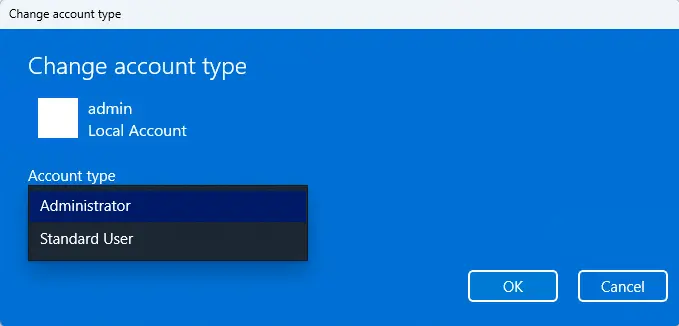
Choose Administrator from the drop-down and choose ok.
Disable Shared Experiences
A new Windows 11 feature allows you to synchronize your app settings and other data across all of your signed-in devices. This is a very useful feature that allows you to switch between devices and return your work exactly where you left off.
Your Windows device uploads your data to the cloud, allowing it to be accessed from multiple devices. If you only use a single computer, however, transmitting data to the cloud is unnecessary. You can disable this feature if you don’t want Microsoft to collect and send your data to the cloud.
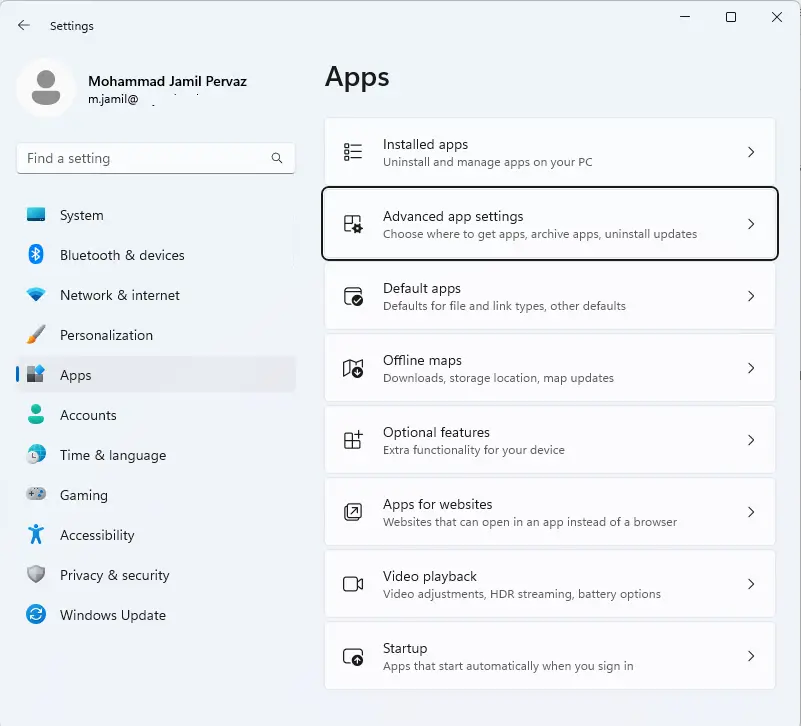
In the Windows Settings, go to the Apps, and click on Advanced app settings.
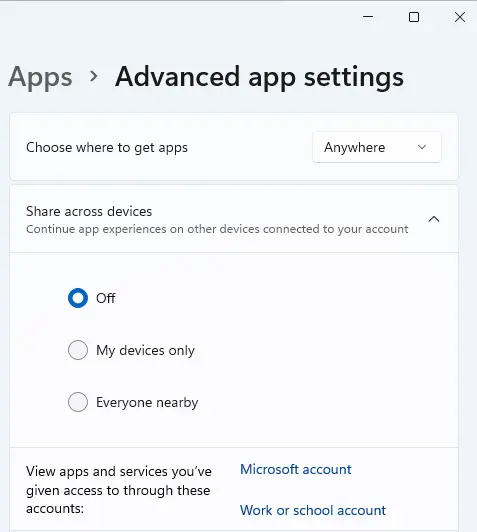
Under Advanced app settings, click on Share across device and turn off sharing.
Enable Encrypted DNS
Every time you intend to access a website, your computer sends a DNS query to a DNS server, requesting that it convert the domain name to an IP address. Your DNS queries are typically sent in plain text, allowing your ISP or others to monitor and intercept your browsing activity.
Enabling DNS encryption helps maintain the privacy of your browsing history and protects you from phishing and other online threats. Here’s how Windows 11 users can enable DNS encryption.
In the Windows Settings, click on Network & internet and select your primary network connection. In the next window, choose Hardware properties.
Click Edit next to the DNS server assignment.
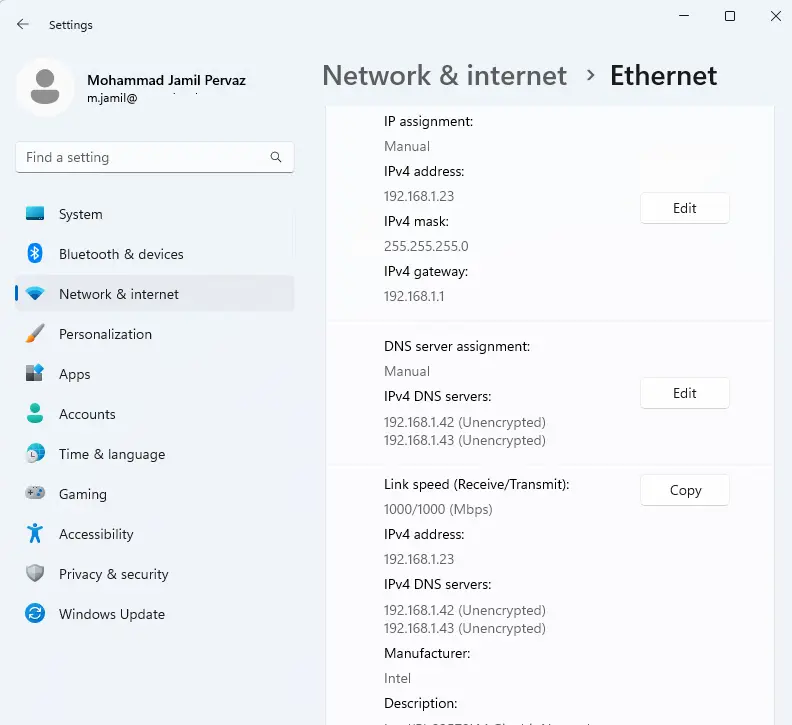
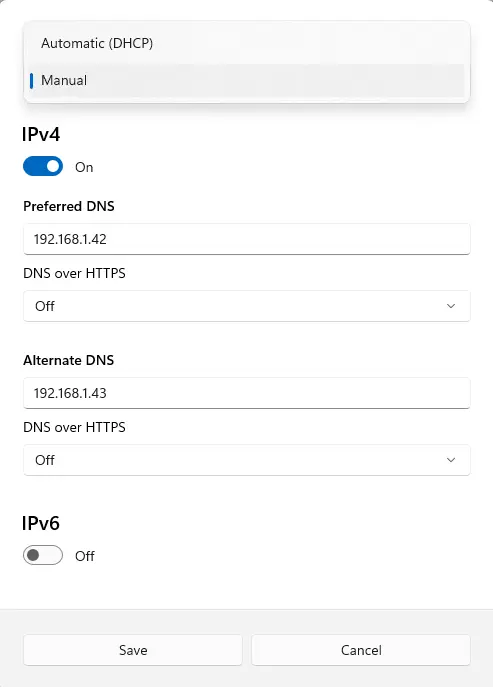
Select Manual from the drop-down.
Now, turn on the IPv4 toggle and type the Primary DNS address under the Preferred DNS and the alternative DNS address.
There are a number of free DNS servers available that can facilitate quicker browsing, enhance security, and thwart cyber-attacks. Among the most secure options are.
Remove Recommended Start Menu Items
The Windows 11 Start menu is divided into two sections: the Pinned section, allowing you to place your favorite apps and folders on the Start menu for quick access, and the “Recommended” section, which gives suggestions based on recently added apps and files and folders that have been used lately.
These suggestions are generated based on your Windows 11 activity. However, if you gave someone access to your computer, they could potentially view your apps, files, and folders (including concealed files and folders), which would constitute an invasion of your privacy.
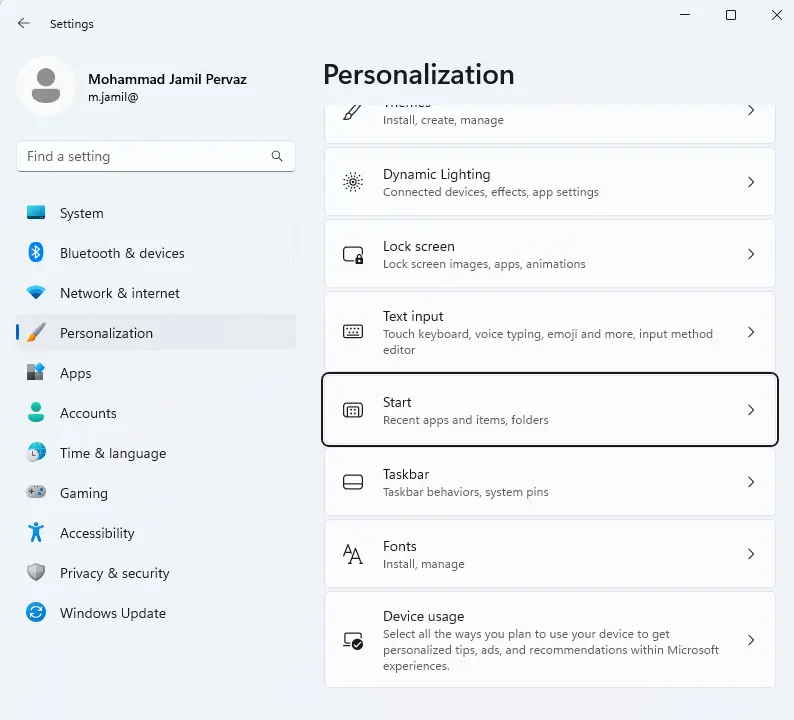
In the Windows Settings, select Personalization, scroll down the right-hand side and select Start.
You can turn off the following two options, Show recently added apps and Show recommended files in Start, recent files in File Explorer, and items in Jump Lists.
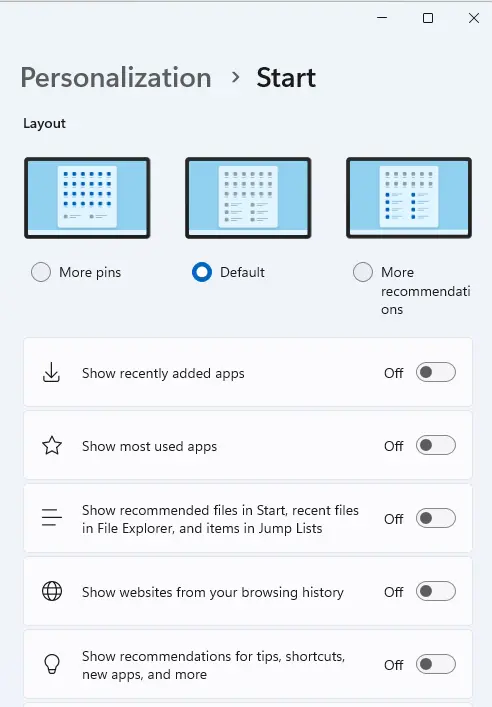
If you turn off the second setting, the suggestions in the Quick Access part of File Explorer and the options that appear when you right-click on the File Explorer icon on the taskbar will also be turned off.
Stop Using OneDrive
If you really care about keeping your Windows 11 files secret, don’t use OneDrive. It’s for people who don’t feel safe syncing their data and files to Microsoft’s cloud storage service OneDrive. Even though you can’t get rid of OneDrive fully, you can stop it from copying your files.
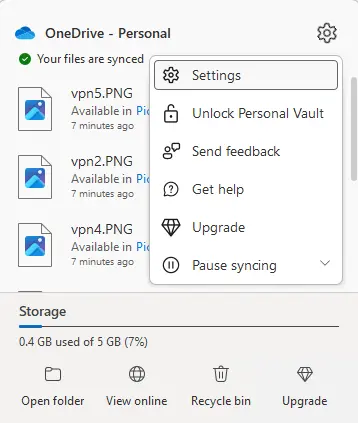
Click on the show hidden icons and open the OneDrive. If OneDrive isn’t showing up in the menu, you can use the Windows search to find it and open it.
Click the gear settings icons and choose Settings from the dropdown menu.
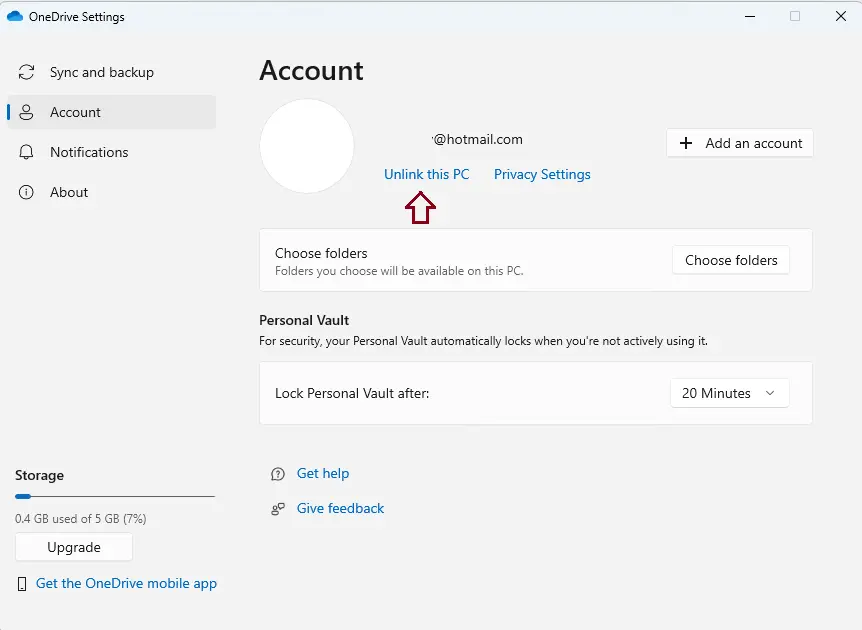
Go to the Accounts tab and click on Unlink this PC.
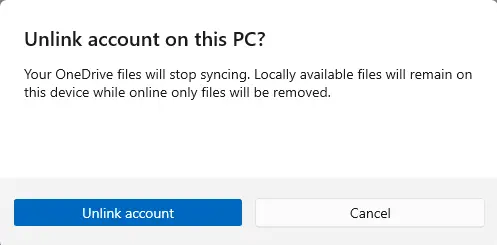
Click the Unlink account button.
If you want to take regular backups of your files on Windows 11, you can use the Windows Backup and Restore feature or the File History feature instead.
Clear Microsoft Cloud Data
Even if you turn off all the features and delete all the data, Microsoft still keeps track of you and sends your data to their computers. Microsoft might say that they are doing this to improve their products, make their online experiences more personal, learn more about how people use their products, show more relevant ads, and make better suggestions.
The good news is that you can delete all of your data saved in the cloud. This includes your location history, your browser history from Edge or Windows Search, how you’ve used apps and services, how you’ve used media, and even how well you’ve done. Even if they say it’s to improve things, like showing you ads you might be interested in, you can still delete this information if you want to. Follow these steps to get your information off of the cloud.
Follow this link to Microsoft’s privacy dashboard and choose Sign in.
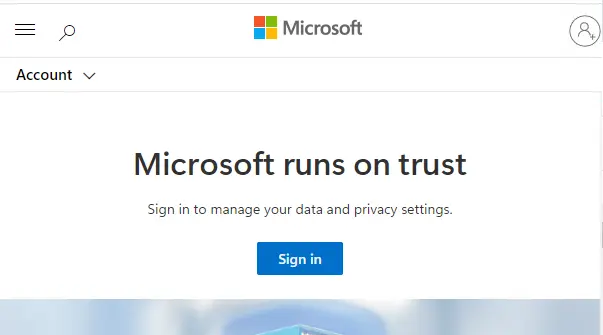
Sign in with the Microsoft account that your Windows 11 computer is linked to.
Enter password.
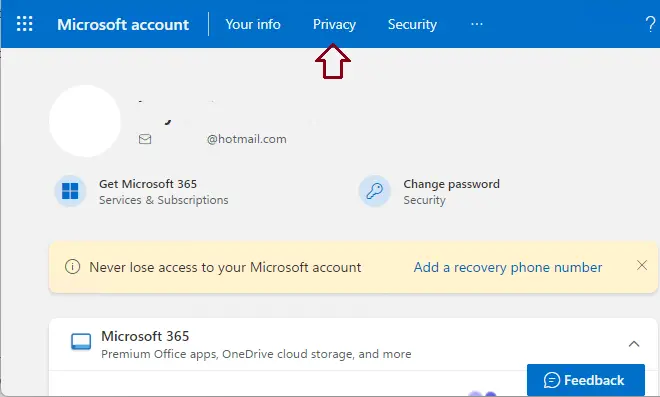
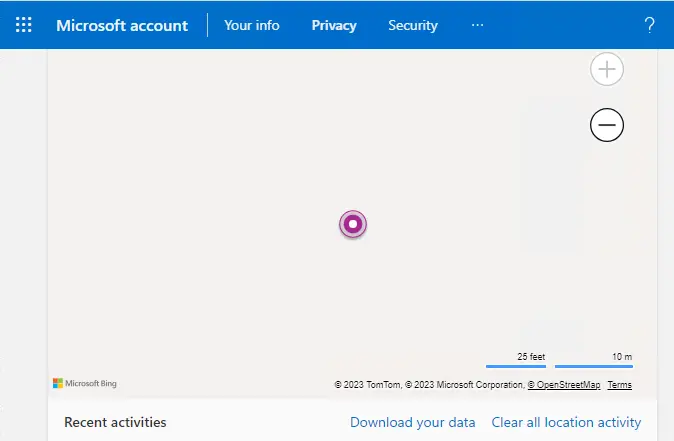
On the Microsoft account, click the Privacy tab.
Now, navigate to the section Manage your activity data and expand the Location activity option. Click clear all location activity then.
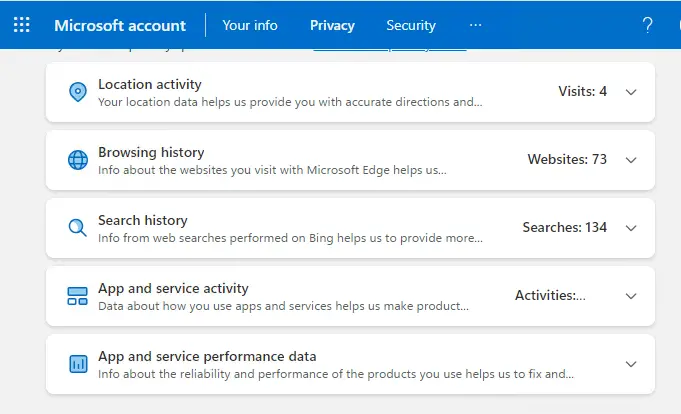
Microsoft Edge’s browsing history contains information about websites visited using the browser. To increase privacy in Windows 11, expand the ‘Browsing history’ section and select Clear all browsing activity.
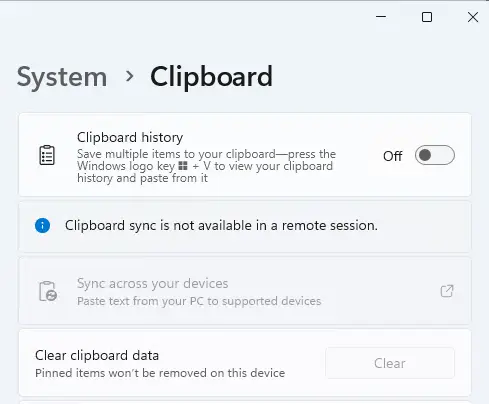
Disable Clipboard syncing
Windows 10 added clipboard synchronization along with several other continuity features. If you have multiple Windows devices connected to the same Microsoft account, you can synchronize the clipboard across all of them. Although Windows 11 does not by default enable this feature, if it was active in Windows 10, it will continue to be so after the upgrade.
When enabled, the contents of the clipboard are transmitted to Microsoft’s servers. This may raise concerns, particularly when dealing with sensitive data. If you are concerned about this, you can easily disable the clipboard syncing feature.
In the Windows Settings, select System tab, and click on Clipboard.
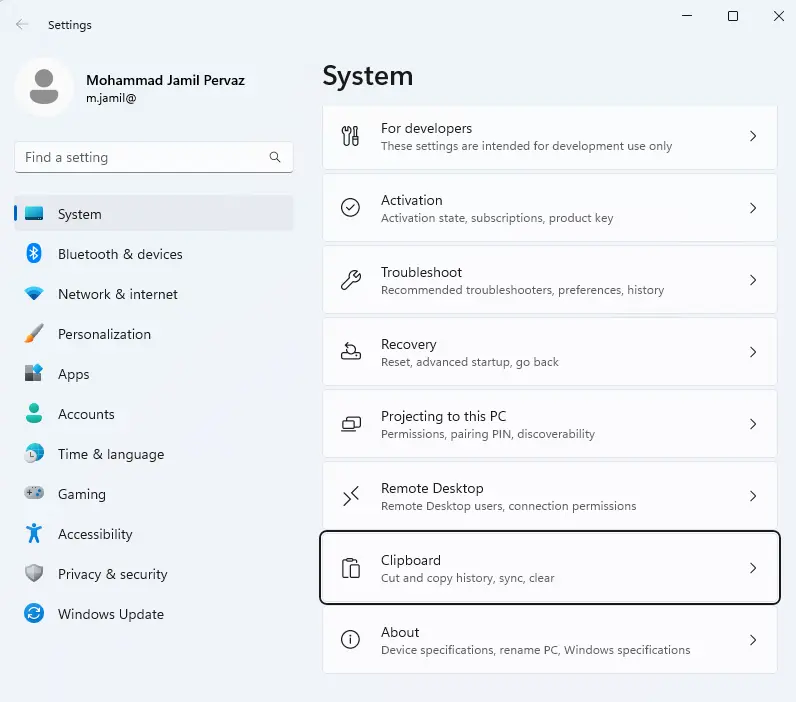
Turn off Sync across your devices.