In this article, we will walk you through how to change username in Windows 11 on the Sign-in screen for a Microsoft and local account. Do you wish to update your account name? Here’s how it is on Windows 11. There are two types of user accounts in Windows 11: Microsoft user accounts and local accounts.
Windows 11 user account names show up on the login screen, in settings, and at various places on Windows 11 devices. There are different reasons why you may need to change the user account name. For instance, you recently changed your computer username, and you wish to consider this change in Windows 11 as well. You might want to display your nickname rather than your real name if you entered your full name throughout the Windows 11 installation or for security reasons.
Table of Contents
How to Change Account Name Using Windows Settings
When we create a Windows 11 account along with a Microsoft account, the device will show the name from your online account. In this case, you should need to change the online settings to change the name on your device.
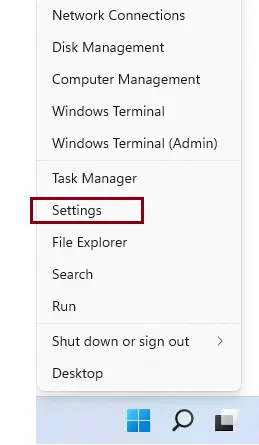
Right-click on the Windows 11 start button and then select settings.
To change the account name in Windows 11, follow these steps:.
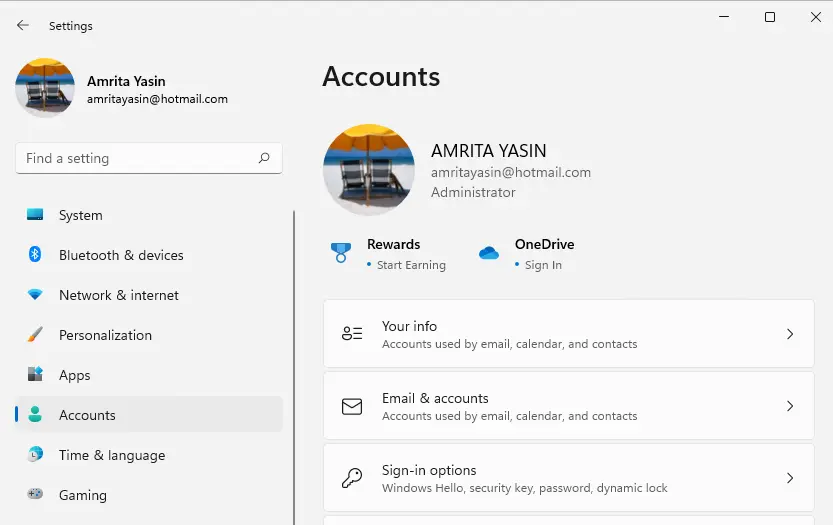
Click on Accounts.
On the right side, click the Your Info page.
Under “Related Settings,” select the Manage My Accounts option.
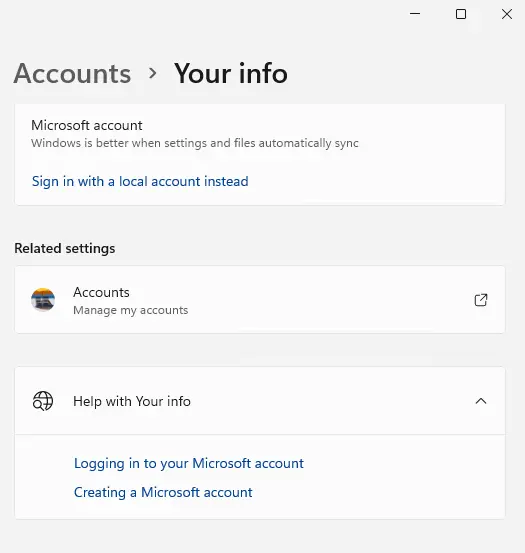
You can access your account settings online each time on the Microsoft page (which opens in a new tab).
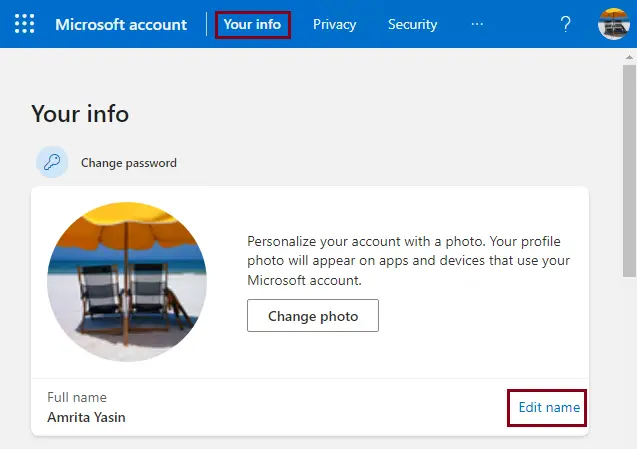
Sign in with your logins (if appropriate).
Click on the Your Info tab, and then click on the Edit Name option.
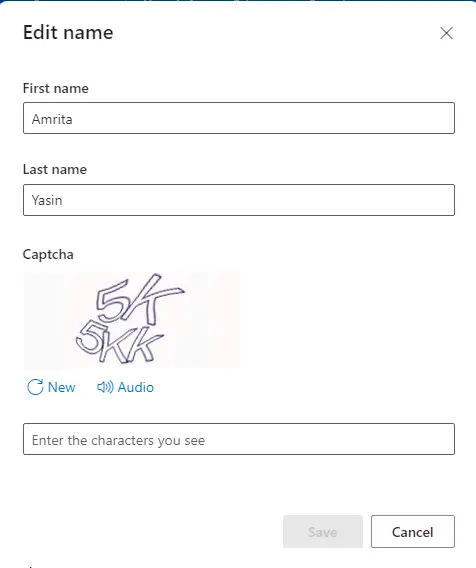
The Edit Name page will pop up. Here, you can change the account name as per the requirements and then enter the captcha in the box for verification. Choose the Save button.
Change Username in Windows 11 via Control Panel
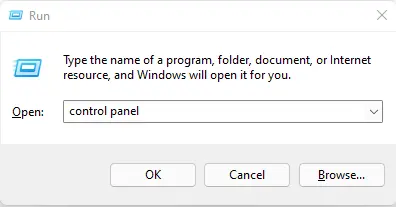
Open Run, type control panel in the open box, and then hit enter.
Select User Accounts
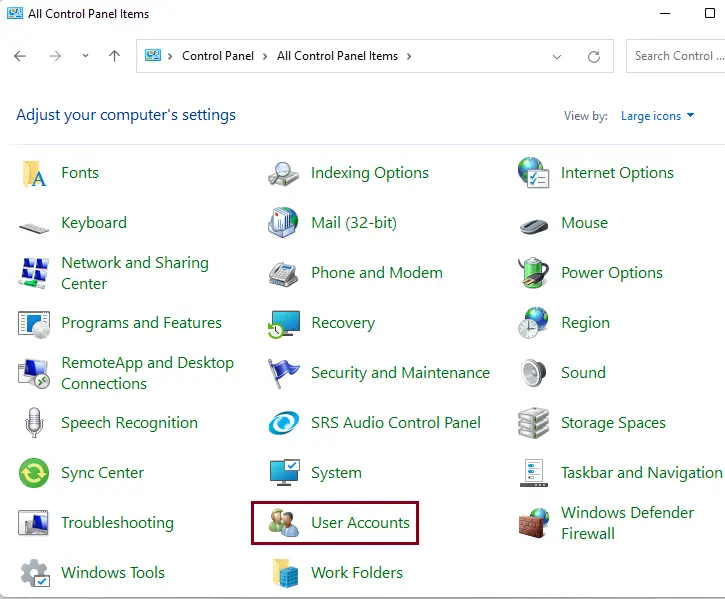
Note: You can’t change your local administrator account.
Select Manage another account.
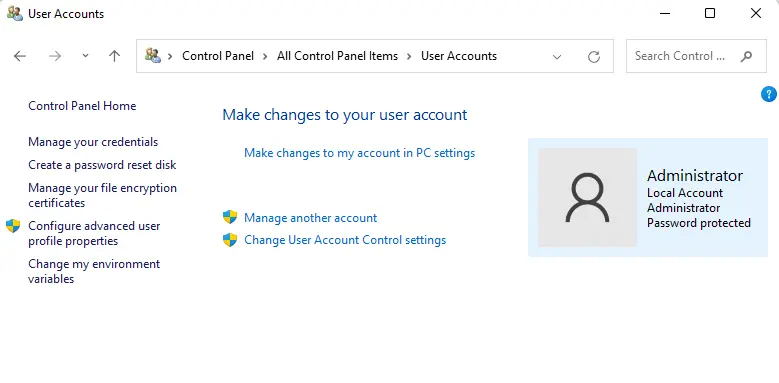
Click on the user account you wish to change.
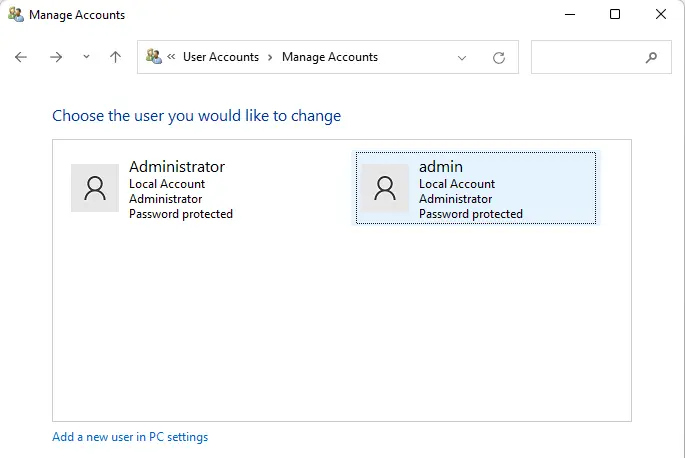
Select Change the account name.
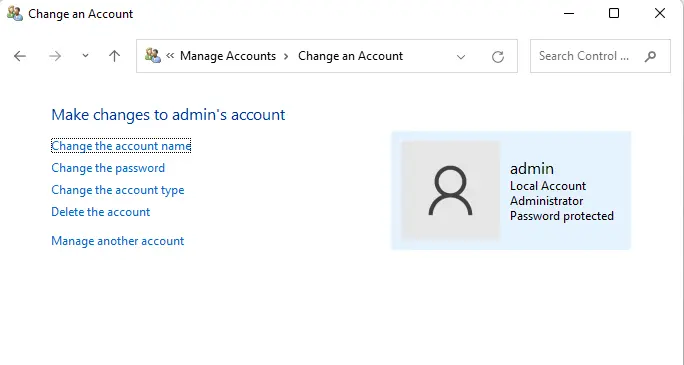
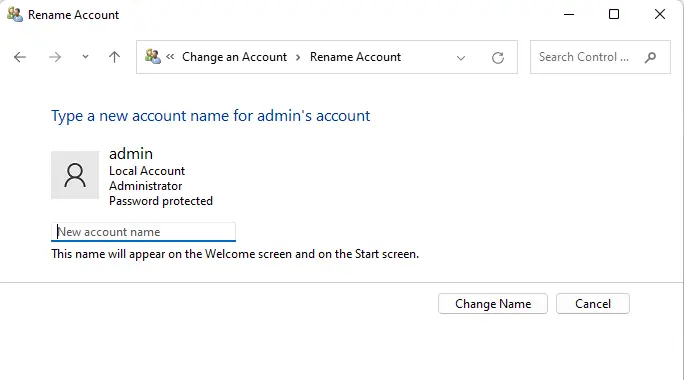
Type a new account name that you wish to replace with the old one, and then select the Change Name button.
Change Account Name in Windows via Netplwiz Command
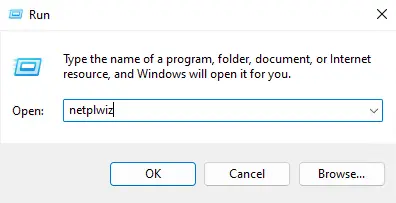
Open the Run dialog box by pressing Windows key + R, type netplwiz in the open box, and then hit enter.
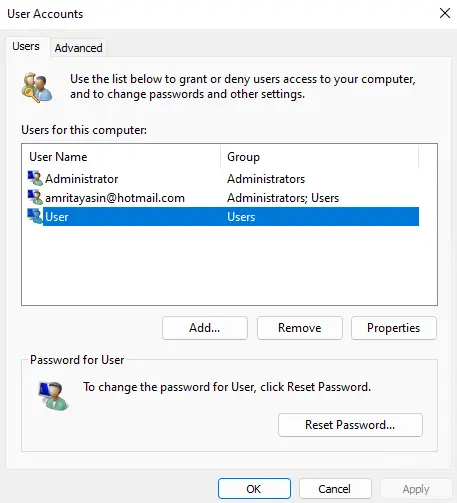
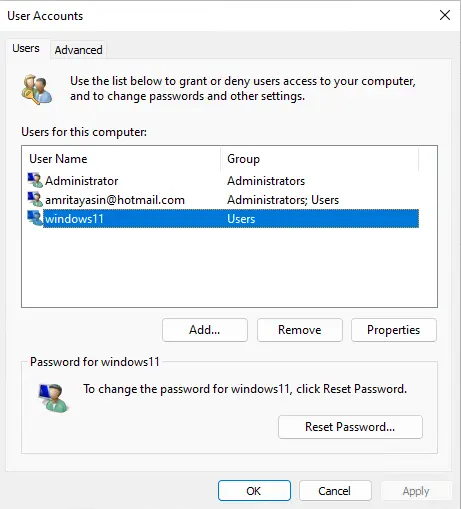
The user accounts page will open, and under the Users tab, you can see the list of user accounts. Choose the account you wish to rename, and then choose Properties.
In the General tab, change the username. You may also enter the full name and description, and then select OK.
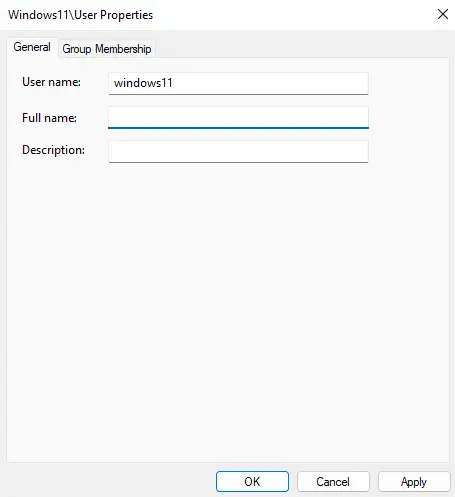
The username has been changed, select OK.
Change User Name in Windows 11 using PowerShell
Windows PowerShell is much more powerful and advanced than the traditional CMD. For those who need to change their username using the PowerShell command, this is how we can do it.
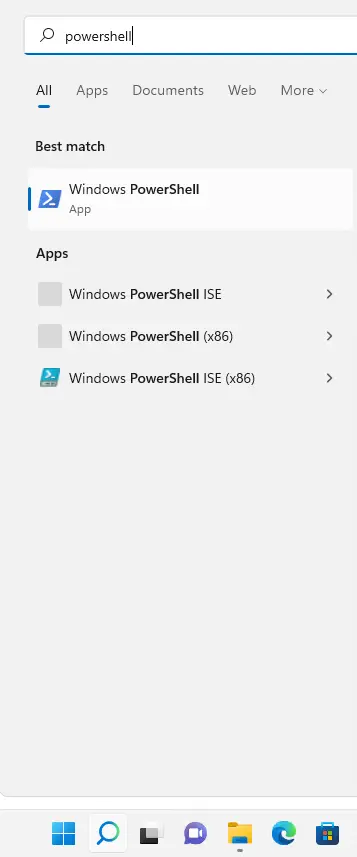
Click on the Windows 11 search button, type PowerShell, and then open it.
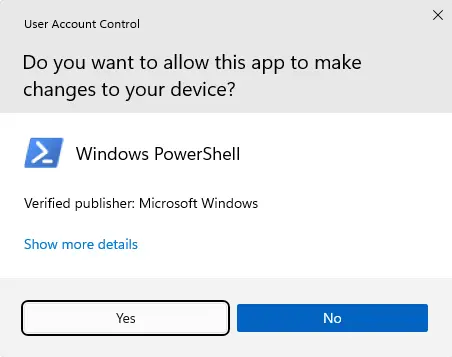
For user account control, click yes.
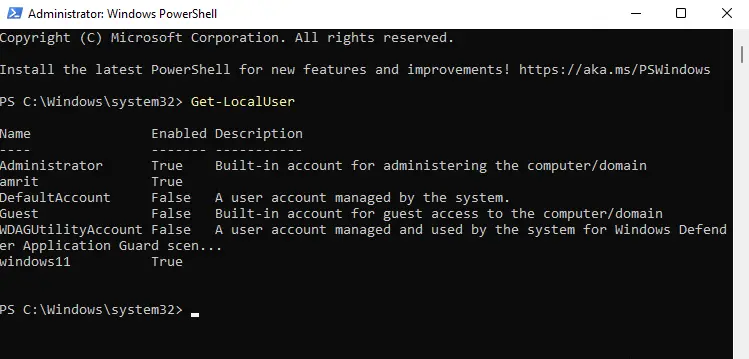
Type the below command in PowerShell to view all user account names on the computer, and then note the username you need to change:
Get-LocalUser
Enter the below PowerShell command to change the username (account name).
Rename-LocalUser -Name “Current Username” -NewName “New Username”
Example Command:
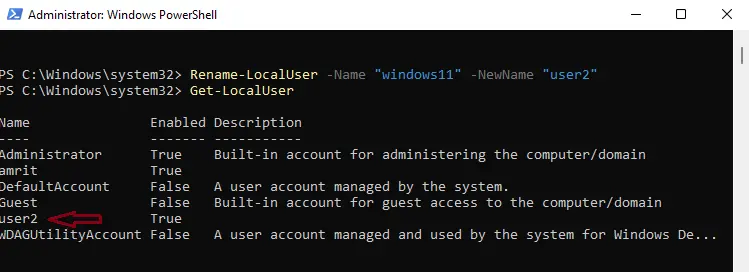
Rename-LocalUser -Name “windows11” -NewName “user2”
Type the Get-LocalUser PowerShell commands again, and you will notice the username is changed.
Please restart your PC to apply the changes.
Change Local Username in Windows 11 using Command Prompt
You can change Windows 11 username for a local account via the command prompt. Open Windows 11 Search, type CMD, and then select Open it.
Note, the CMD must be run as an administrator, or it won’t work.
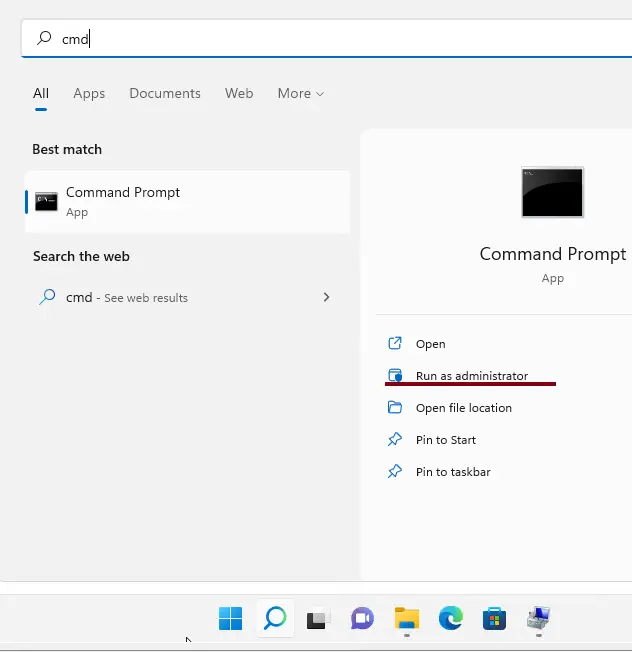
For user account control, click Yes.
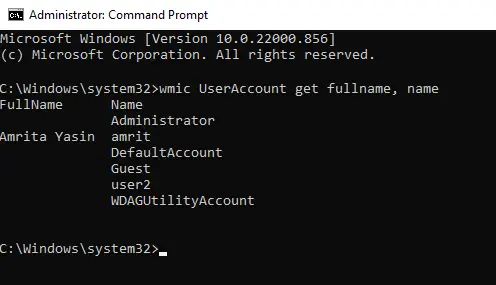
In the command prompt, type the following command to note all the local user accounts.
wmic useraccount get fullname, name
Type the below CMD command to change the username (user account).
wmic useraccount where name=”Current User Name” rename “New User Name”
Example command:
wmic useraccount where name=”user2″ rename “windows11”

A restart is required to implement the changes.
How to Change the Built-in Administrator account name (username) via Local Security Policy
When Windows 11 is successfully installed, there are a few built-in hidden user accounts (for instance: Administrator, Guest) created by Windows for security purposes and backup.
Change the administrator account username via the Local Security Policy.
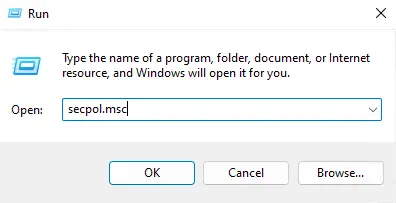
Type secpol.msc in the Run box, and then open it. Or type search local security ppolicyin Windows 11 search to open it.
On the Local Security Policy page
Expand Local Policies
Select Security Options.
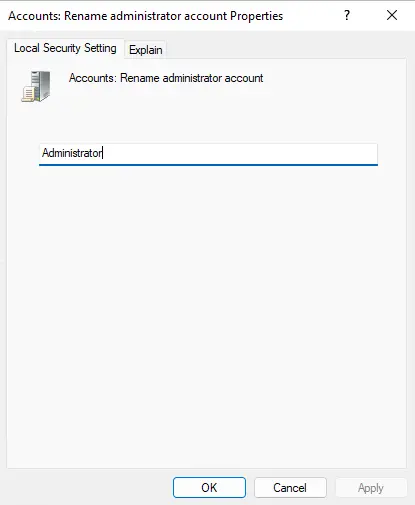
On the right-side panel, double-click on “Accounts: Rename administrator account” to open its properties.
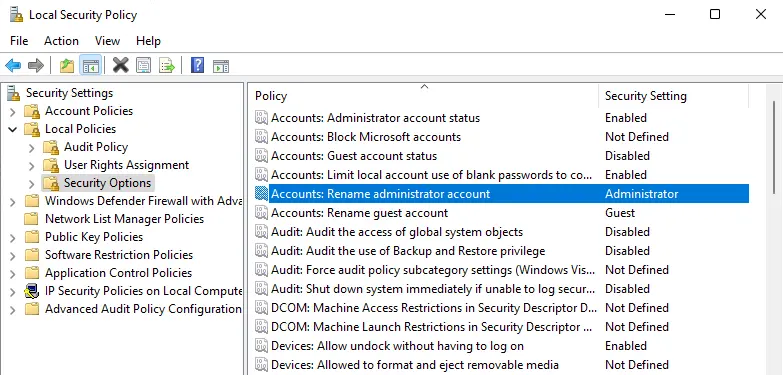
Now you can change the username (default Administrator account) name to any other name you want to use, and then choose OK.
