You’re looking for a way to install FileZilla Server in Windows 10/11. So you are in the right place. Keep reading this article and learn how to install the FileZilla FTP server so you can easily manage your web files.
File transfer has been around for a long time. Furthermore, this activity requires the resources’ compatibility, security, and performance. Therefore, it is perfect to have a practical and functional solution. FileZilla is software that is at the forefront. FileZilla has been developed as free software under the terms of the GNU License. Today, we will see how to install FileZilla FTP Server on Windows 10/11.
Table of Contents
FileZilla Server Features
IPv6 support
It can be run on any operating system (Windows, Mac OS X, Linux, BSD, systems, and more).
Supports protocols (FTP, FTP over SSL, TLS, and SSH)
Allows transferring and resuming large files.
Available in different languages
Support for HTTP, SOCKS5, and FTP-Proxy
Features: site manager and transfer queue
Thanks to FileZilla software, we can simply create our FTP over a TLS server. Accordingly, we can exchange files between the connecting clients and our server. This connection can be through the Internet or local LAN. As for the connection via the local network, you only need to type the private IP address and the control port of your FTP server. The FileZilla FTP server’s default port is 21 TCP. To connect using the Internet, you need to type the public IP address or dynamic DNS domain of the connection. You also need to indicate the corresponding port.
Download FileZilla for Windows
To download FileZilla for Windows, you need to go to the Download FileZilla Server section.
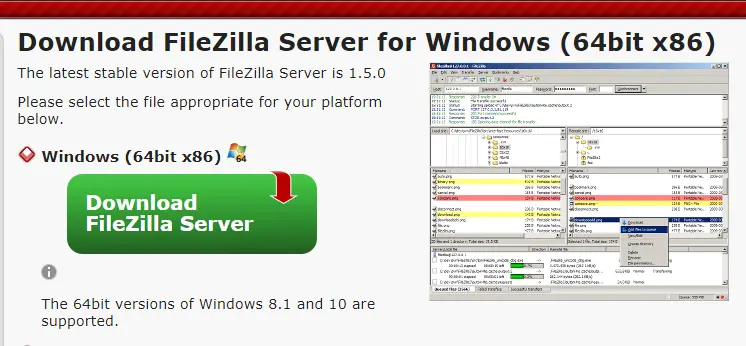
Install FileZilla Server on Windows
Once the download of FileZilla for the server is complete, just double-click on the FileZilla server setup files to start the FileZilla installation.

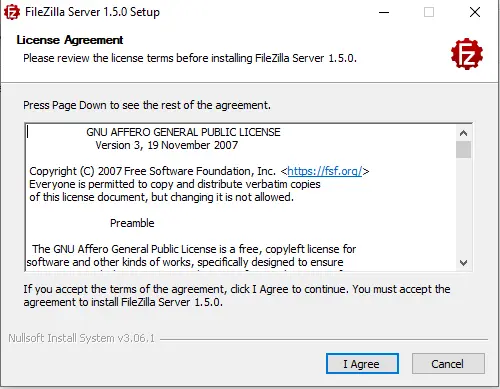
Accept the FileZilla license agreement, and then click Next.
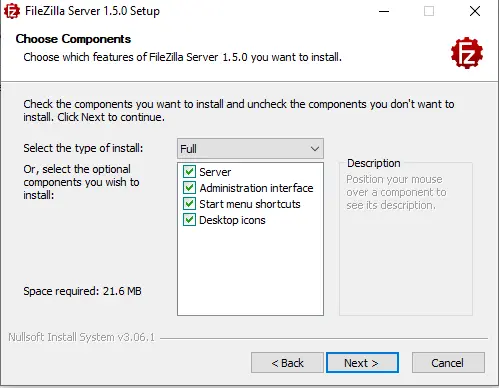
Next, please select components for the FileZilla server; we recommend selecting the full installation, which is the default installation, and then clicking Next.
Choose the installation location, and then click Next.
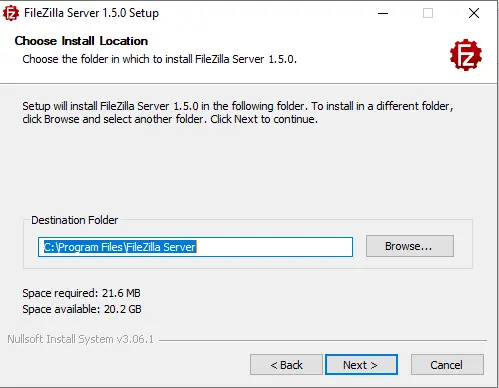
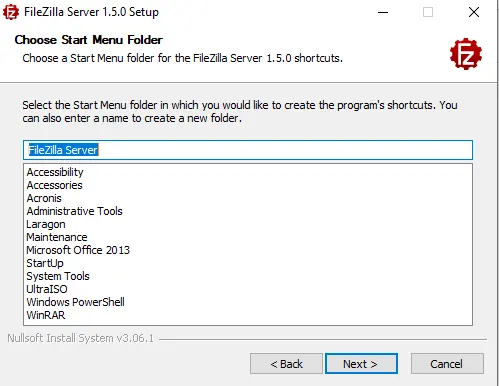
Select FileZilla Server as the start menu folder and click next.
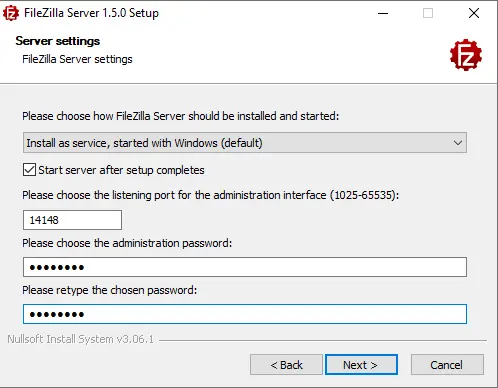
In FileZilla Server settings, select whether you need to install FileZilla Server as a service. We recommend leaving it as the default. Choose an administration password, and then click next.
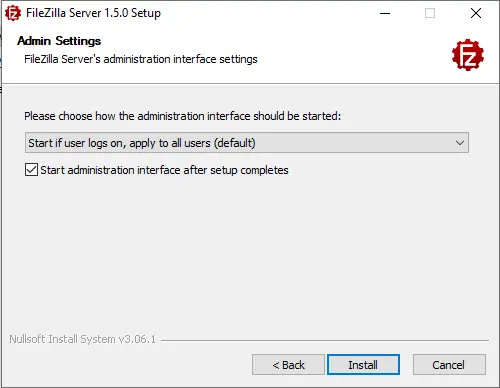
Finally, choose the startup type of the tool interface, and then click on the install button to install the FileZilla FTP server.
FileZilla Server SHA256 certificate fingerprint, click next.
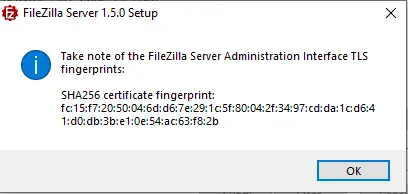
FileZilla server setup was completed successfully.
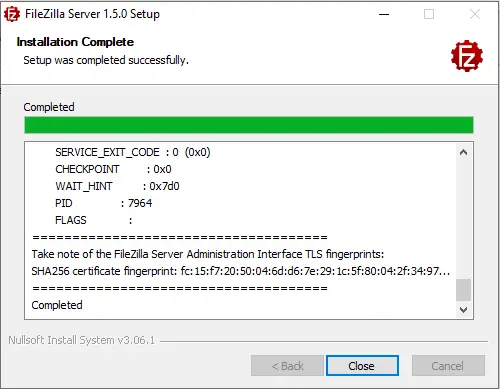
How to Connect to FileZilla’s FTP Server
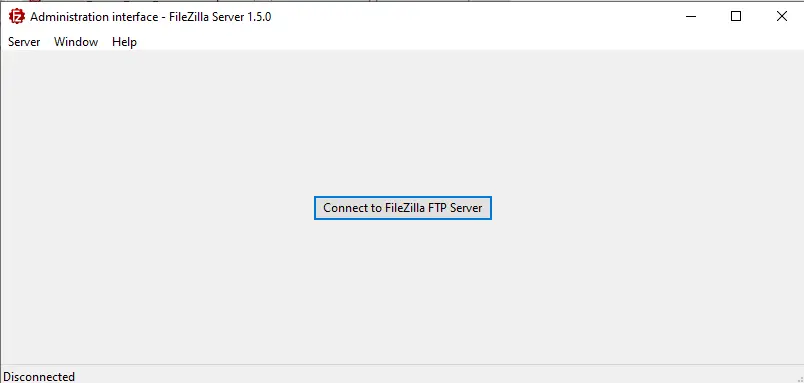
After installing the FileZilla FTP server, you will see the below window. Click on Connect to FileZilla FTP Server.
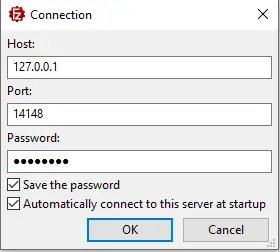
In the following connection window, we need to enter the local host or IP address. The connection port should be left as a default. Assign a password to protect the connection, and then click OK.
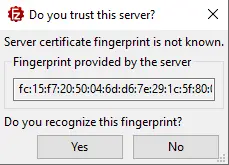
Server certificate fingerprint, click yes.
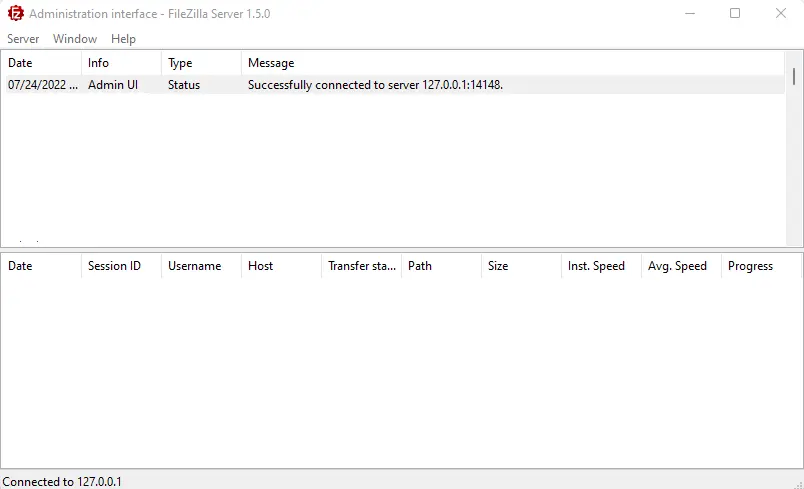
Now the FileZilla FTP server is successfully connected.
Related: How to Uninstall FileZilla Server.
Refer to this article for details on the installation of the FileZilla FTP Server.

