
In this article, we will show you how to restore VMware vCenter Server 8.0 from a backup. We already examined the topic of how to take vCenter server backup and how we can configure the vCenter backup appliance schedule to do it automatically. Today, we are going to see how to restore VMware vCenter Server 8.0 from backup and a few other things you must be mindful of before doing so.
Restore VMware vCenter Server 8.0 from Backup
The restoration method has two stages. The first stage deploys a new vCenter Server appliance 8.0 Stage 2 occupies the newly deployed VMware vCenter Server appliance 8.0 with the data saved in the file-based backup.
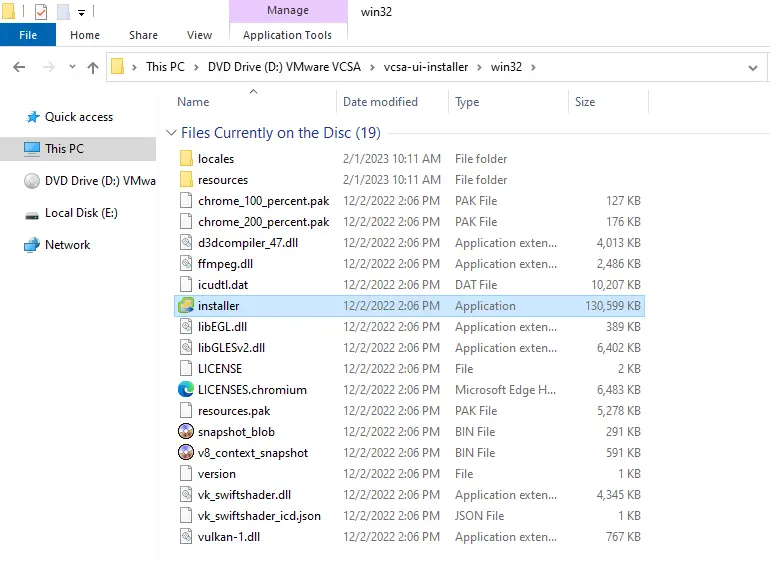
Mount the VMware-VCSA-all-8.0.ISO image. The Restore Wizard is located in the VCSA 8.0 ISO. Launch the VSCA ISO image and double-click on the vcsa-ui-install, open the Win32 directory, and double-click on Installer.exe to begin the vCenter server restoration wizard.
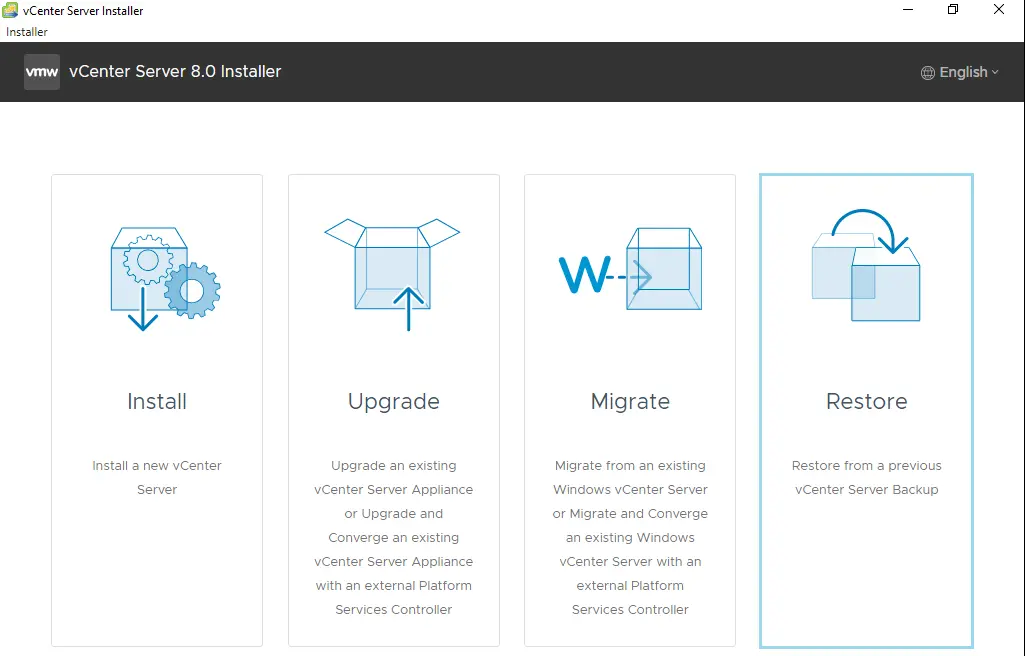
vCenter Server 8.0 Installer, choose Restore.
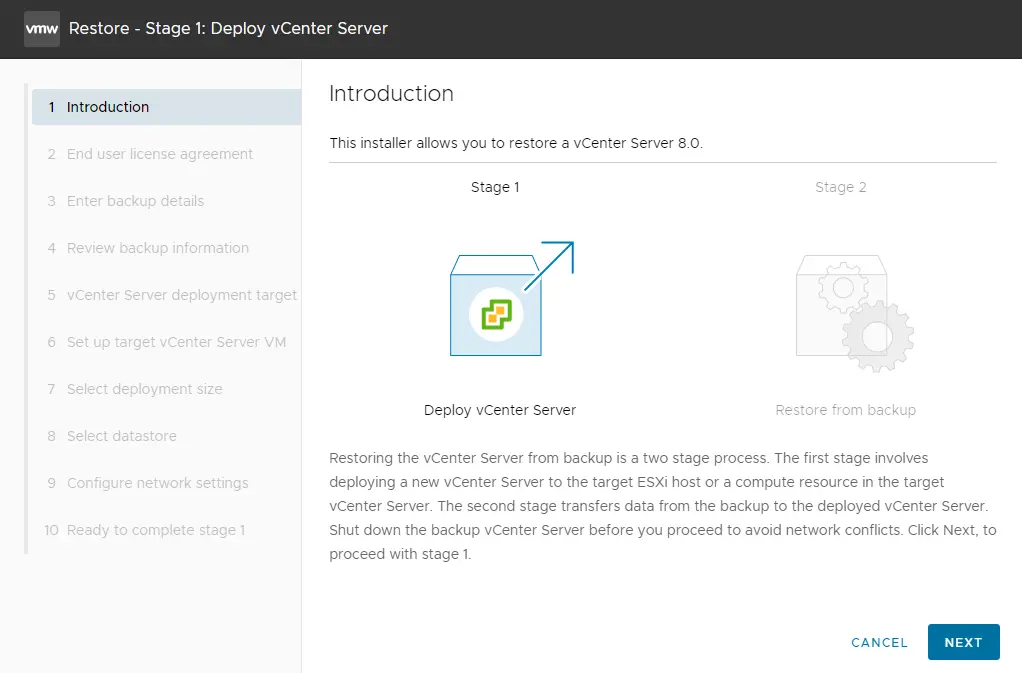
Restore – Stage 1: Deploy vCenter Server
Deploy the vCenter Server introduction page, and click on the next button.
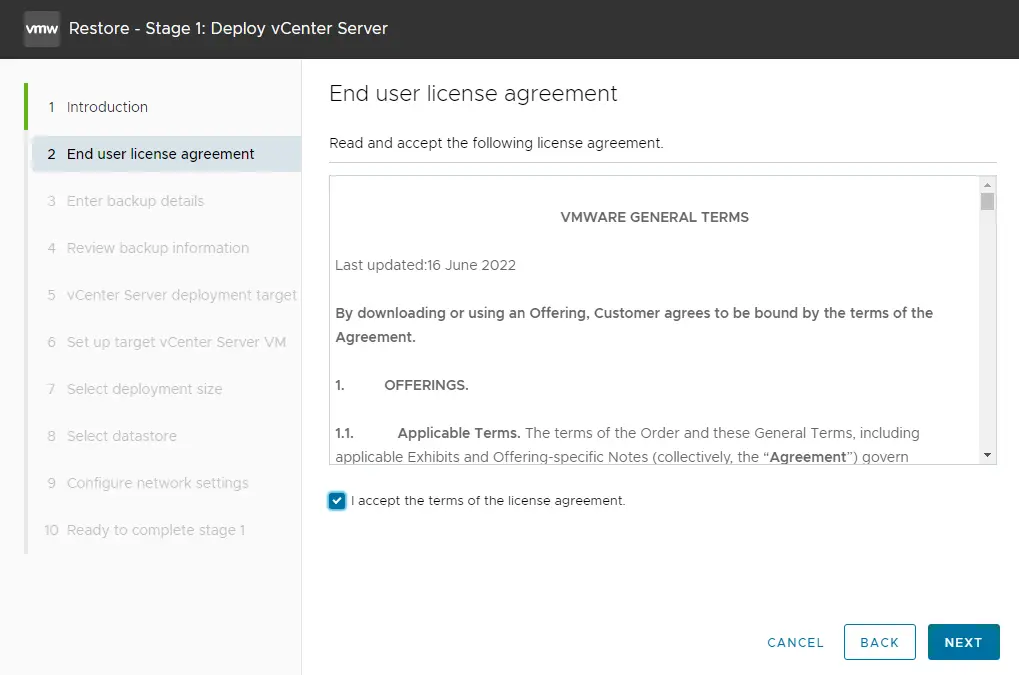
End user license agreement, accept the terms of the license agreement, and then choose next.
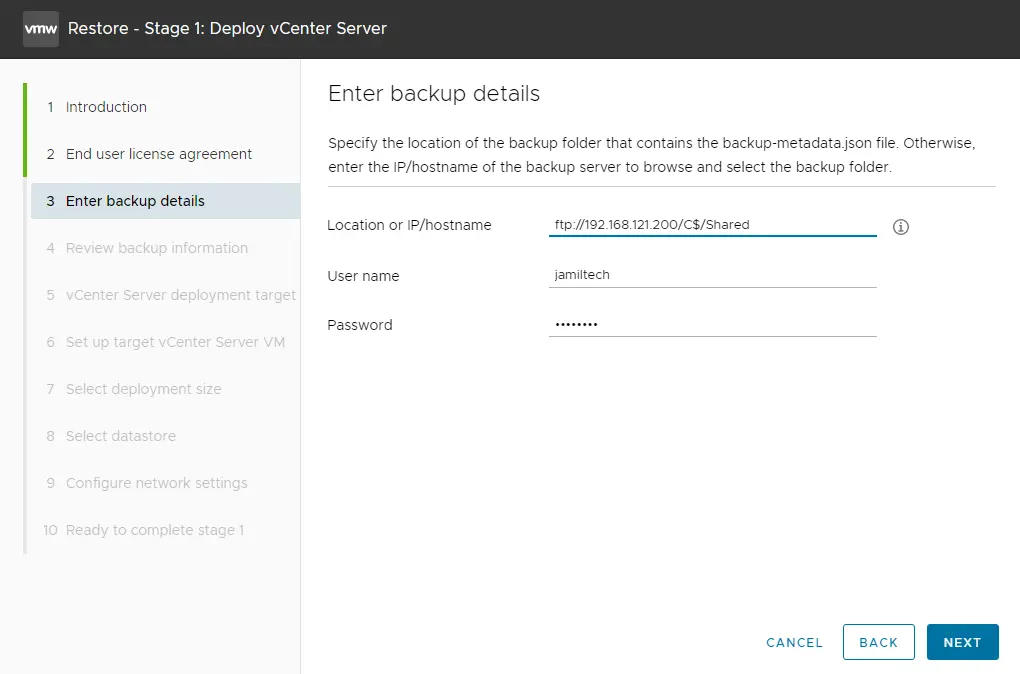
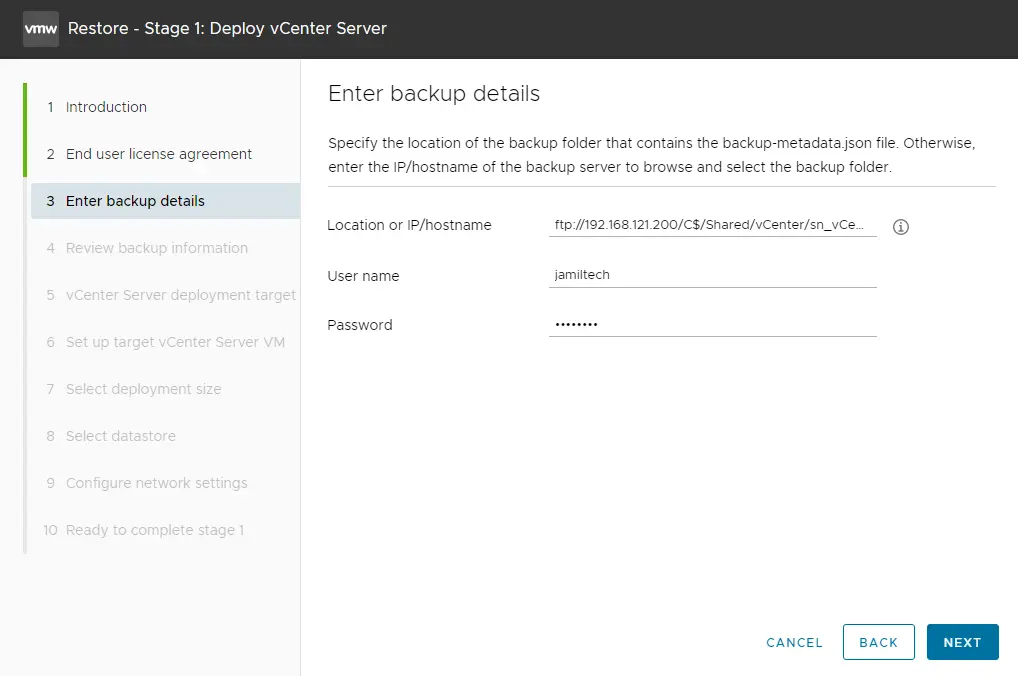
Restore vCenter Enter the backup details page, type your FTP server shared folder location, enter your username and password, and then choose Next.
Once the FTP backup share folder is opened, we have to choose the VCSA backup and then click on the select button.
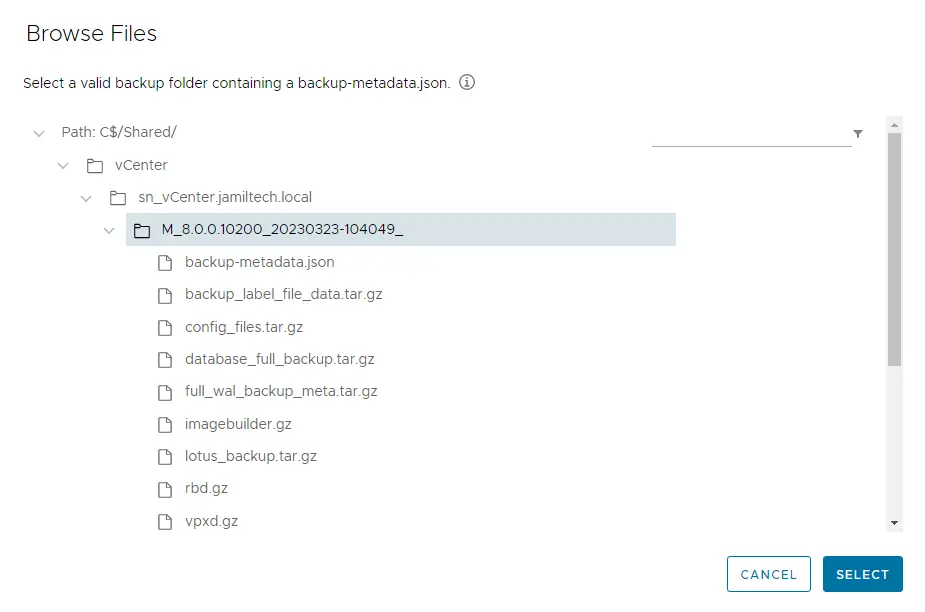
Click Next
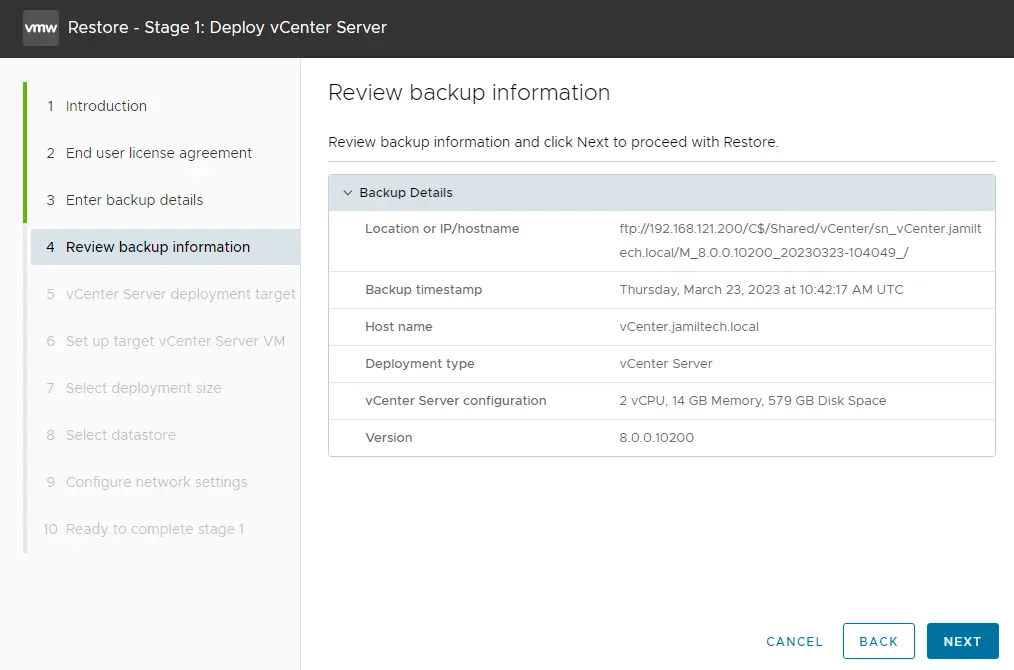
Review the backup details, and then click Next to begin the restoration.
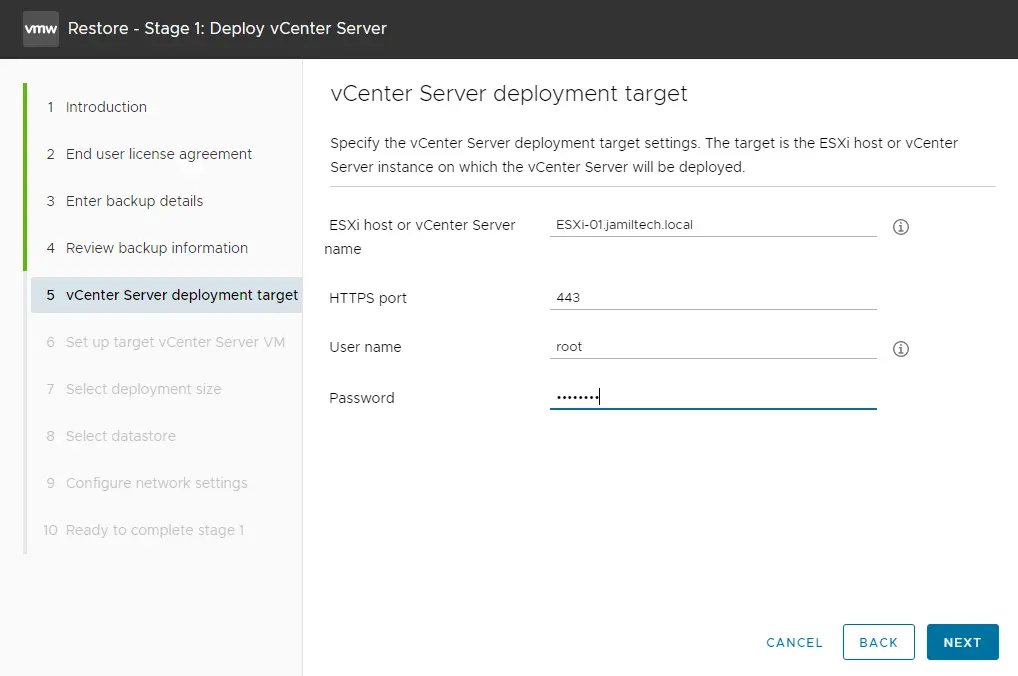
Restore VMware vCenter Server Deployment Target
Specify the ESXi host or vCenter Server details where you wish to restore the vCenter server backup, enter the username and password, and then choose next.
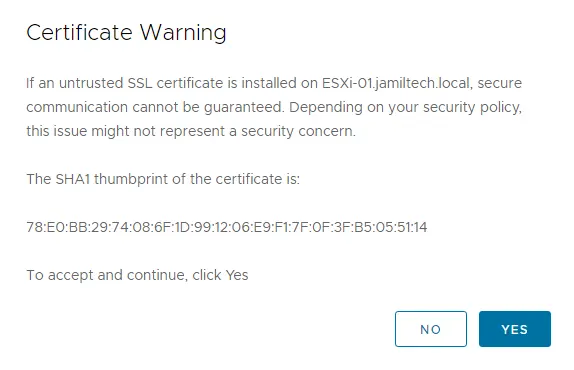
Select yes
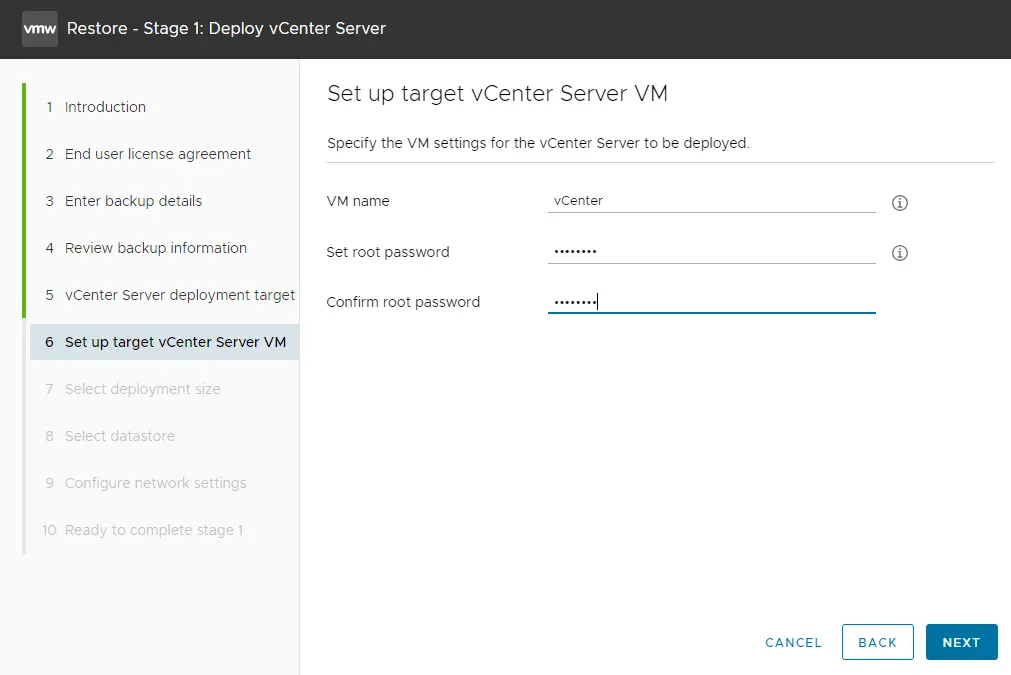
Specify the target vCenter Server VM and vCenter name, set a root password, and then choose next.
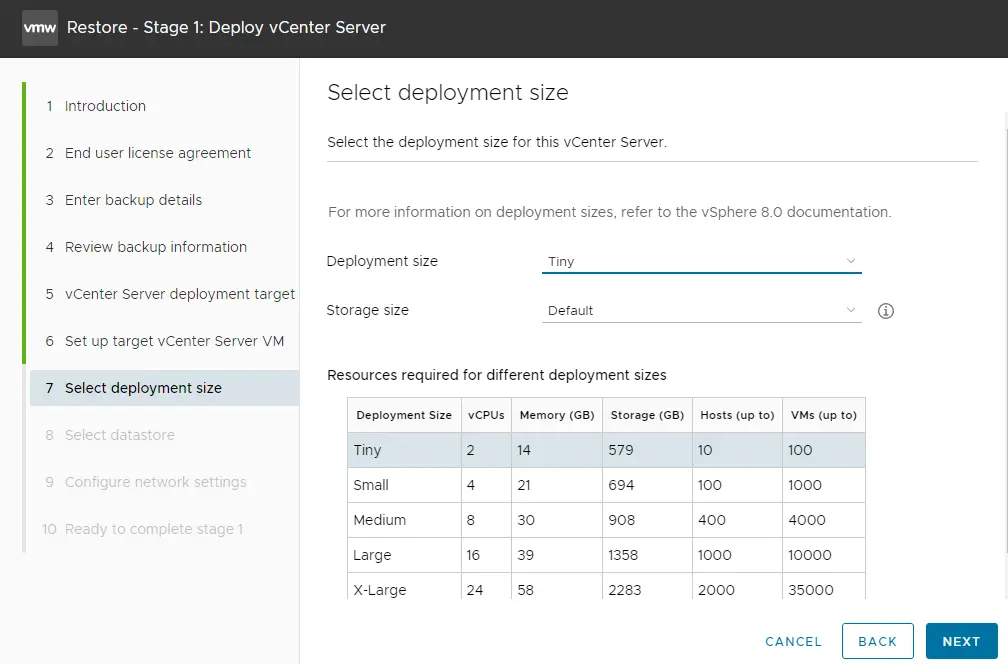
Select the deployment size for the VCSA, and then click next.
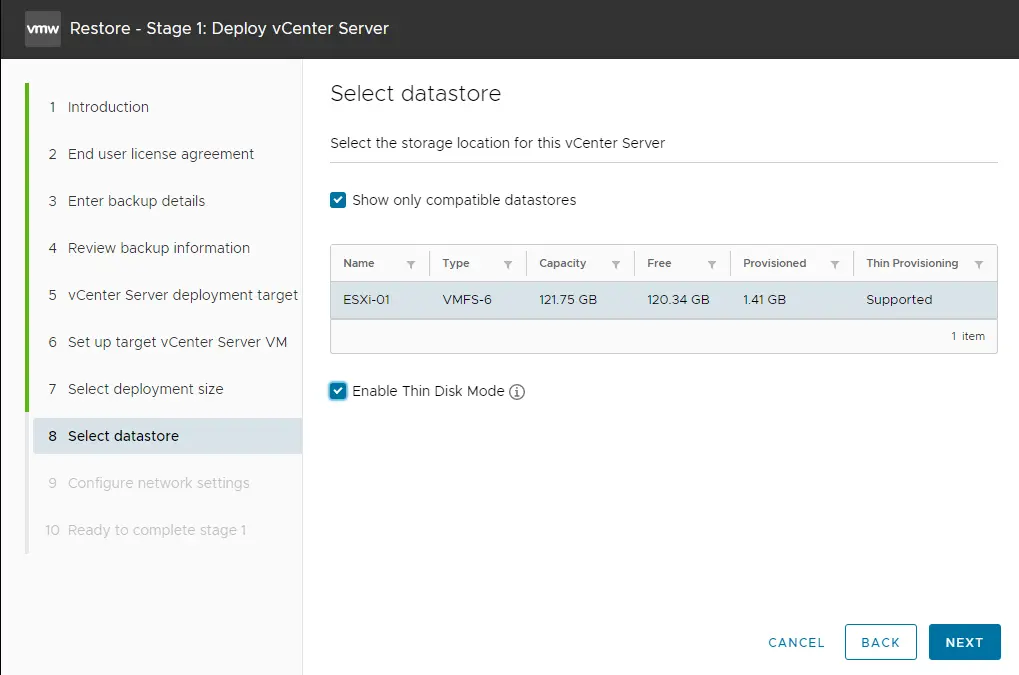
Choose a datastore for this vCenter Server Appliance, and then choose Next.
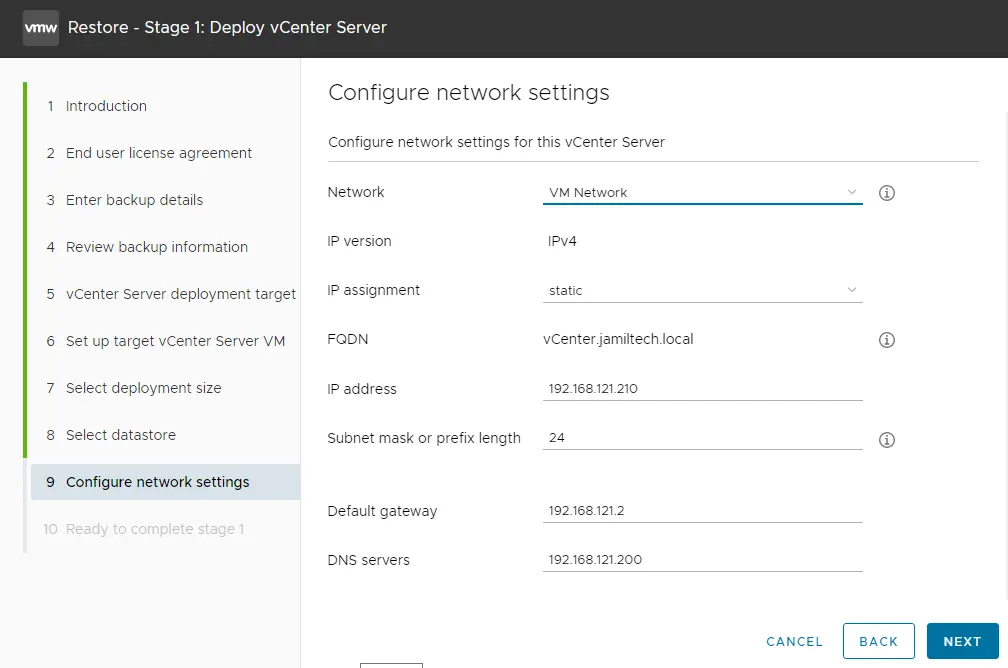
Configure network settings for the VMware vCenter Server appliance, and then choose Next.
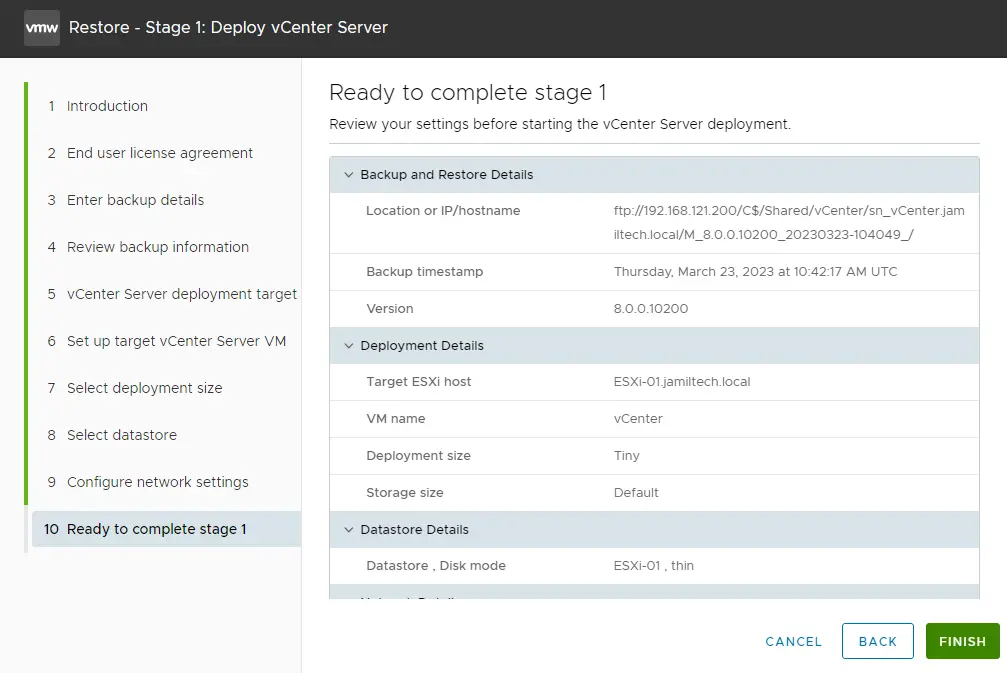
Review the vCenter restore settings, and then click on the Finish button to start the restoration process.
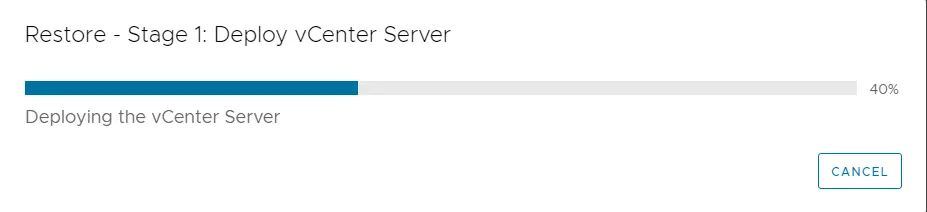
Deploying the vCenter server.
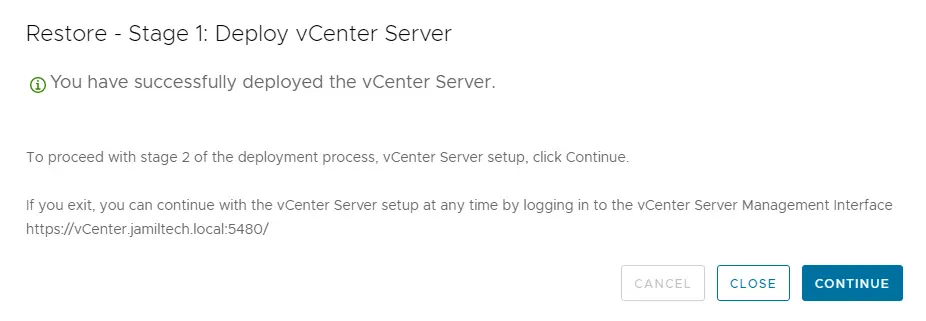
Successfully restore vCenter Server stage 1, and then click continue.
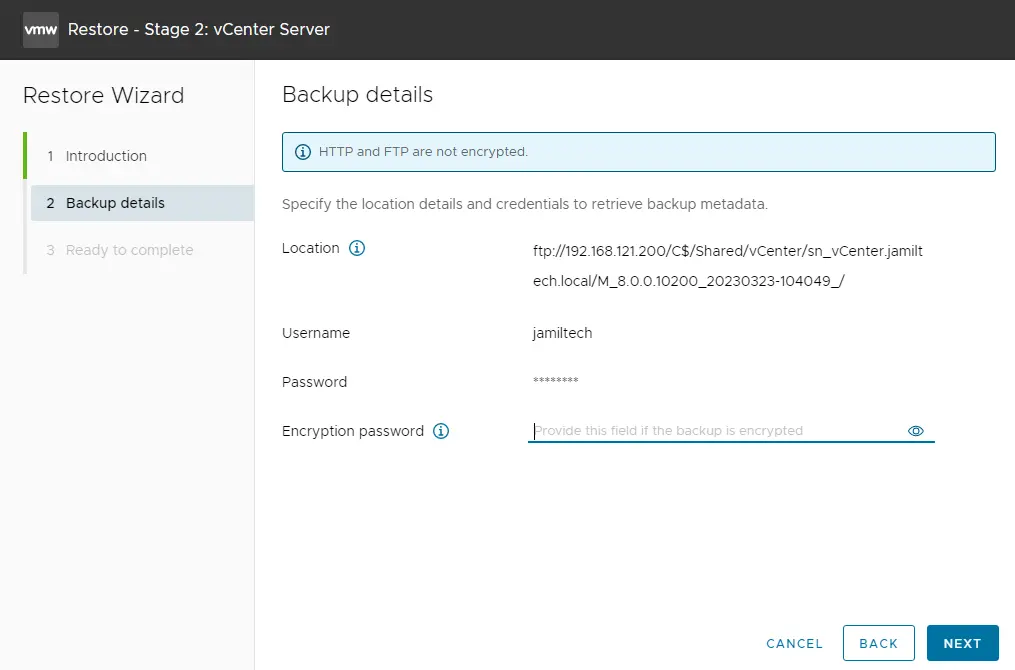
Restore – Stage 2: vCenter Server from Backup
Restore vCenter from the backup introduction page, and then click next.

Specify the vCenter server backup details, if any, and then choose Next.
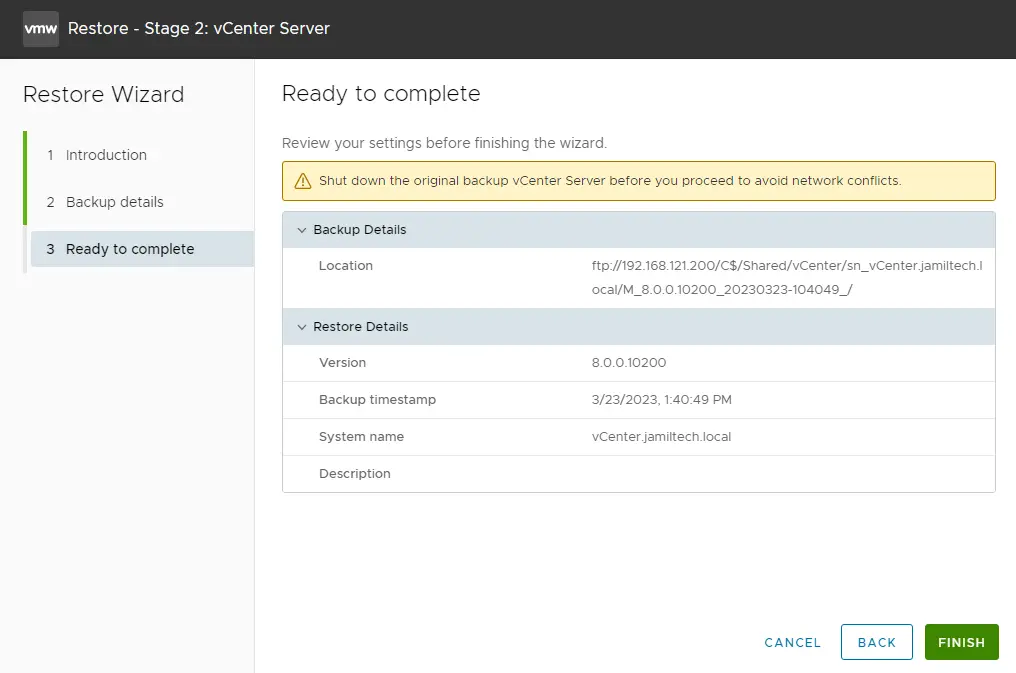
Ready to restore the vCenter server from backup? Click Finish.
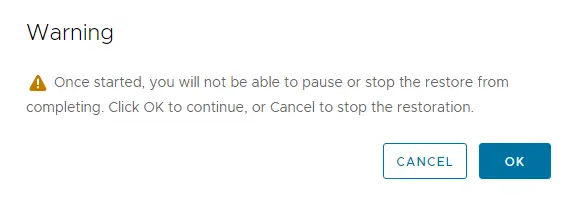
Click ok
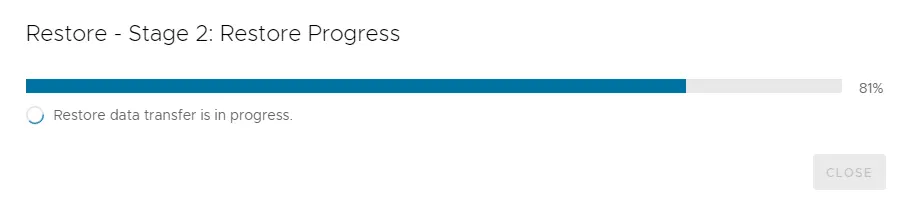
Restore – Stage 2: restore progress.
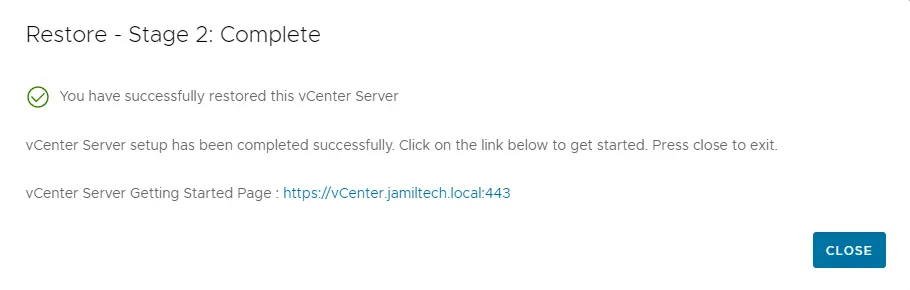
The VMware vCenter Server Appliance was successfully restored.
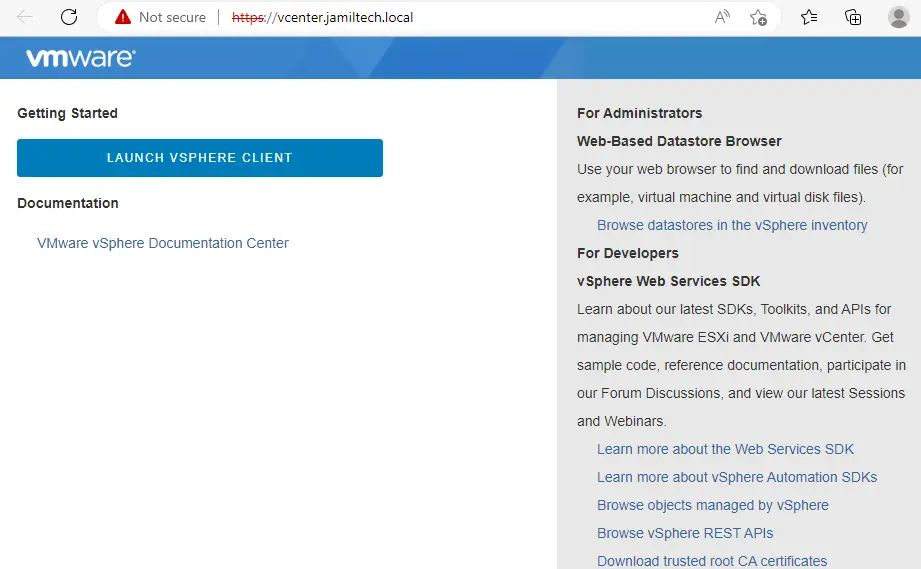
Open the browser, enter your vCenter FQDN (vcenter.jamiltech.local:5480), and then click Launch vSphere client.
Type in the vCenter server login details, and then click on the login button.
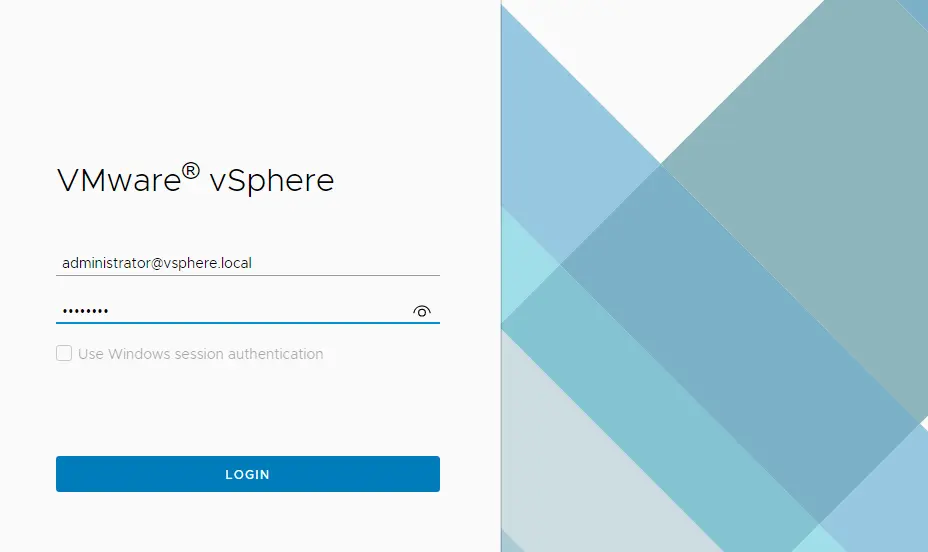
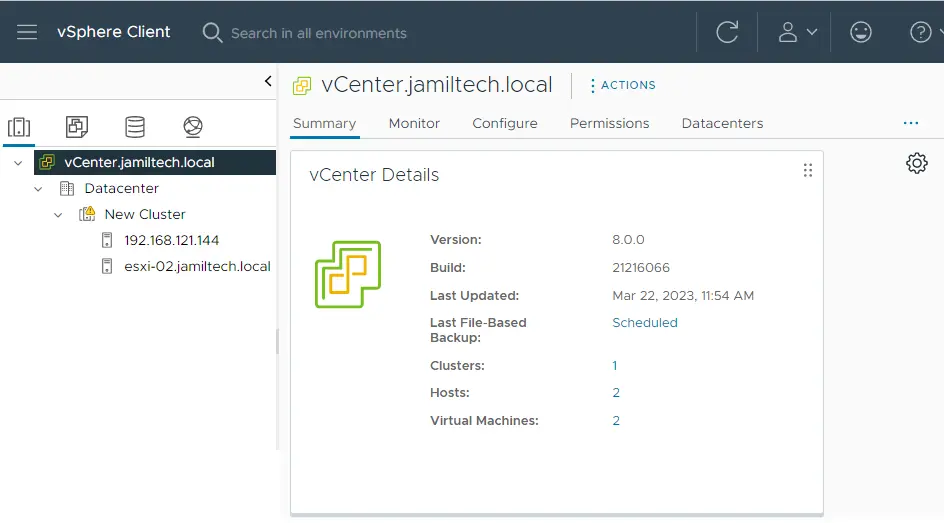
Now vCenter Server 8.0 has successfully logged in.
Read this article to find out more about restoring the vCenter Server Appliance from backup.
