
Let’s have a look at this article on how to shrink virtual hard disk in Hyper-V. Any Hyper-V virtual machine hard disk type (fixed, differencing, dynamically, and expanding) has a fixed size limit, which we can reduce with the shrink method. To shrink the virtual hard disk of the selected virtual machine, you should do the following:.
Table of Contents
Shrink Virtual Hard Disk
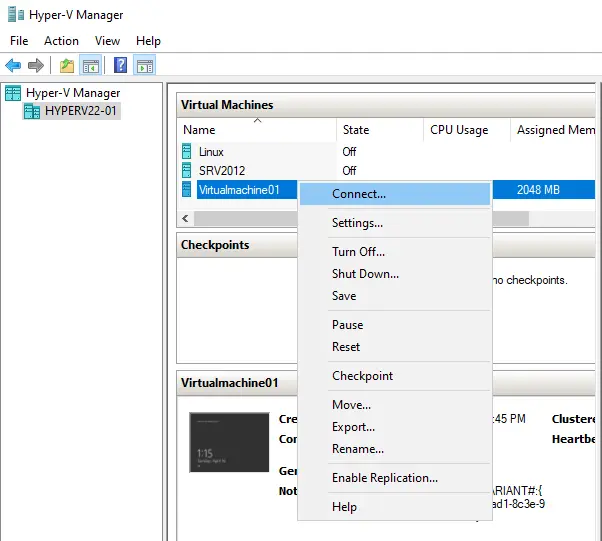
In the Hyper-V Manager, right-click on a VM and then choose Connect.
Once you are logging into the virtual machine, open the Disk Management utility by typing diskmgmt.msc in the run box.

Right-click on the volume you want to shrink, and then choose the shrink volume option.

The next step is to type the amount of space you want to shrink in MB, and then click on shrink.

Once you fill out this property, the total size after shrinking in MB will change automatically. Thereby showing you what the volume storage capacity will be after the shrink operation is done.
As a result, you will have roughly 9.77 GB of unallocated disk space.

After that, shut down your virtual machine.
In the Hyper-V Manager, right-click the virtual machine and then choose settings.

Under the Hardware section, click on the hard drive to get access to the virtual hard disk settings. Choose the edit button to launch the edit virtual hard disk wizard.

Shrink Hyper-V Virtual Machine Hard Disk
You can skip this step, as you have already chosen which disk you would like to shrink. Select next.

In the choose action window, select shrink, and then click next.

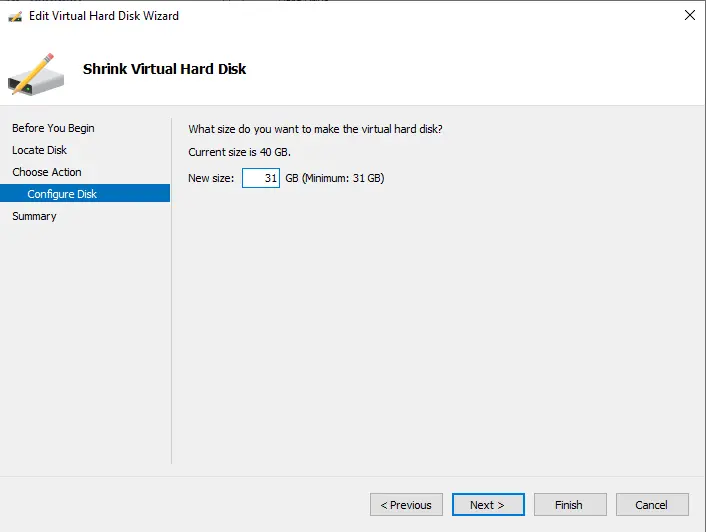
The next step is to configure the new size of the virtual hard disk.
As you may see, the difference between the current disk size & the minimum size is the same as the amount of extra disk space we have previously created inside the virtual machine.
On the summary page, you can see the changes you are about to implement. Choose the finish button to complete the action, and then close the wizard.

Now click on the inspect button to verify that the disk size has actually changed and that you have successfully shrunk the virtual hard disk.

As you can see, the maximum disk size has been successfully reduced to 31 GB.

Visit NAKITO to learn in detail

