Pop-up ads can be annoying and disruptive, whether you want to block specific ads or stop them altogether. These ads can slow down even the best Android phones, drain battery life, and pose privacy risks. This guide will help you stop seeing these unwanted ads.
Table of Contents
Block Ads on Android Using Gmail
- Open your Gmail app and tap on your profile picture.
- Select your Google account.
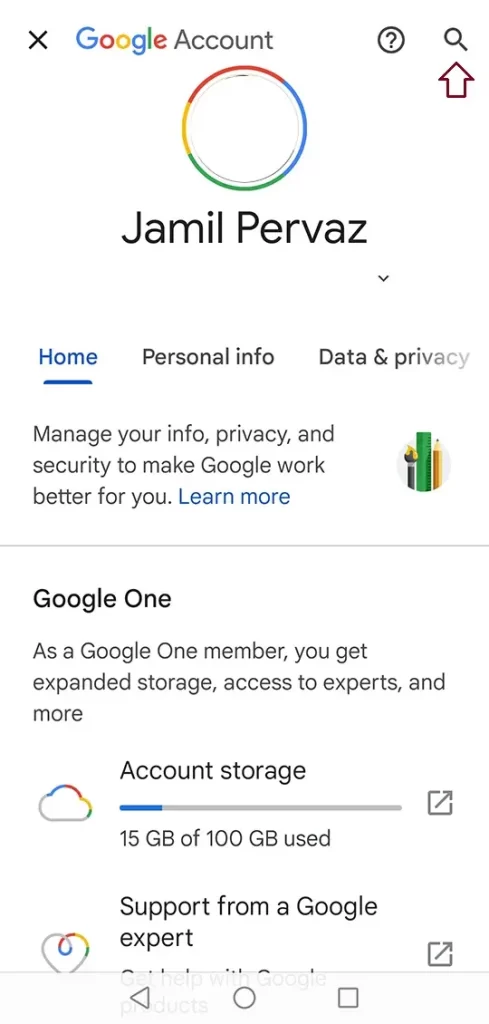
- Tap on the Search icon.
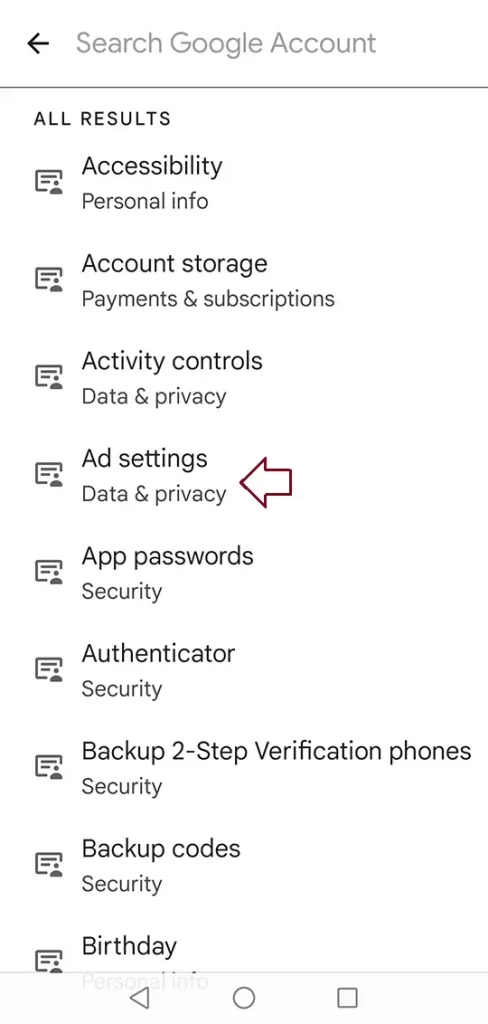
- Under Search Google Account, click on Ad Settings.
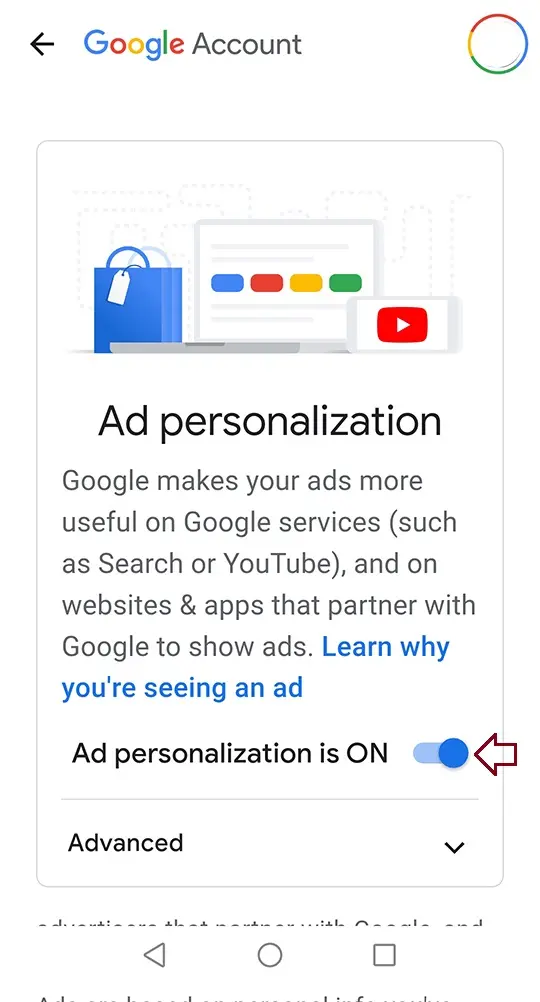
- Turn off ad personalization.
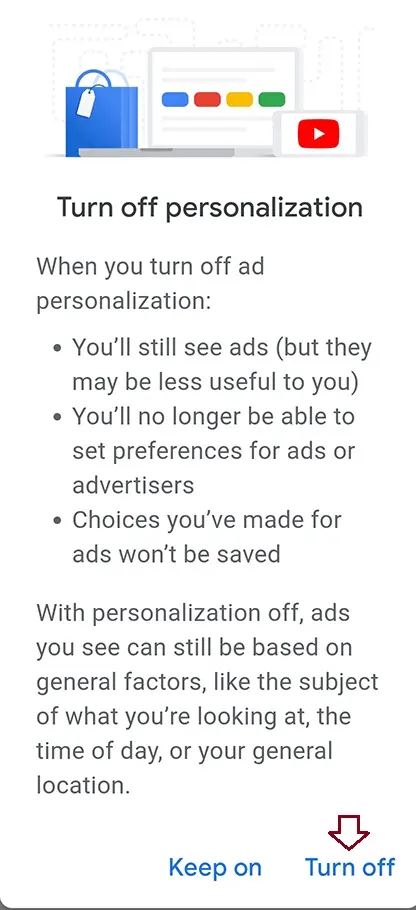
- Confirm by selecting Turn off.
This disables personalized ads on your Android phone.
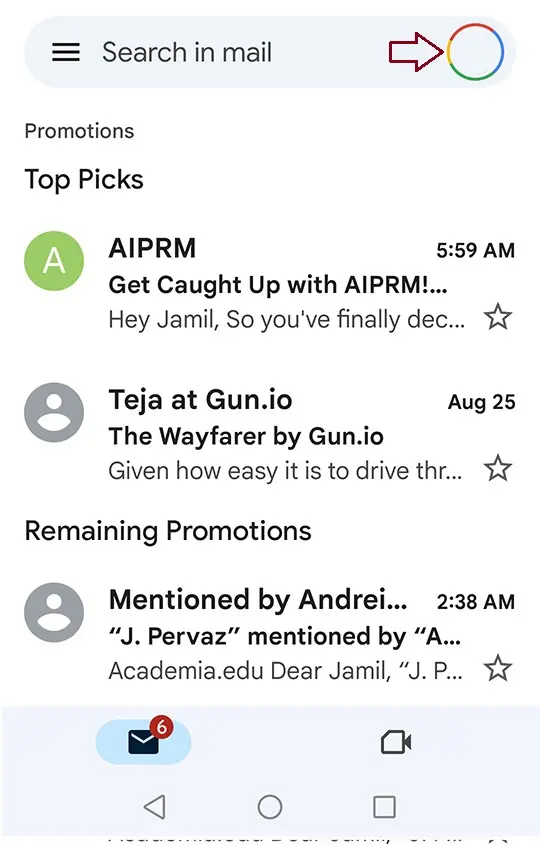
Choose a Google account.
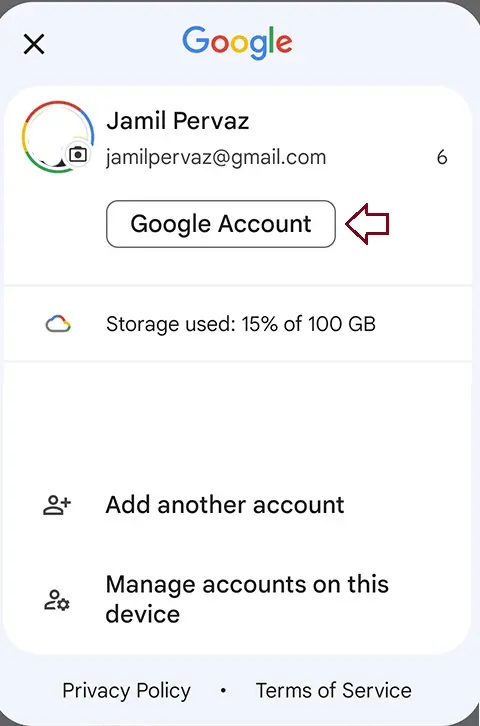
Click on the search icon.
Under Search Google Account, click on Ad Settings.
Turn off ad personalization.
Choose turn off.
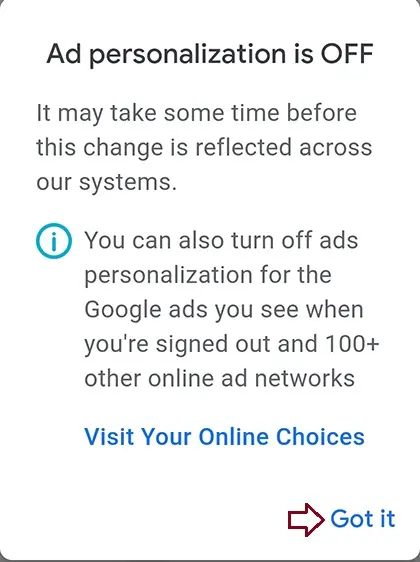
Now that ad personalization is off, choose Get It.
Stop Pop-Up Ads via Chrome
Google Chrome has built-in filters to block pop-ups and unwanted ads. Here’s how to enable them:
- Open Google Chrome on your Android device.
- Tap on the three-dot menu in the upper-right corner.
- Open Settings.
- Scroll down and select Site Settings.
- Under Site Settings, tap Ads and Disable Ads.
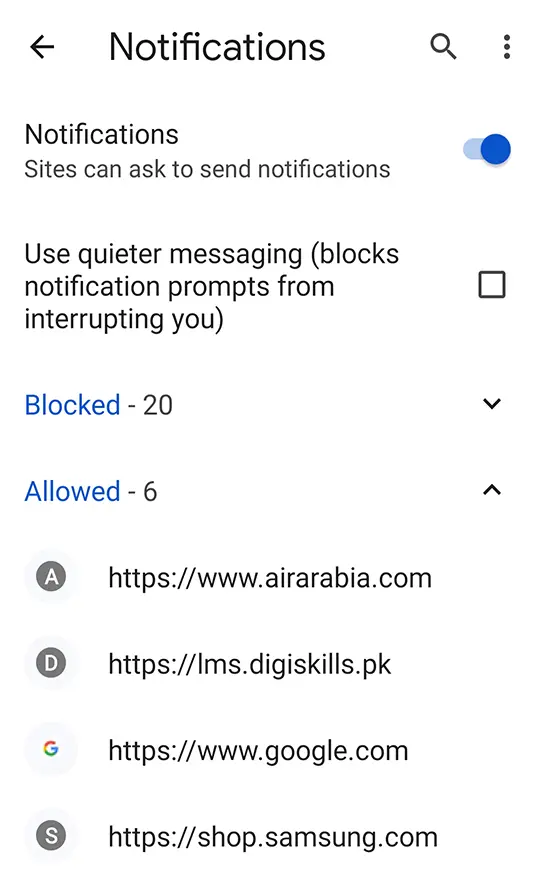
- Go back and tap Notifications to disable unwanted ad notifications.
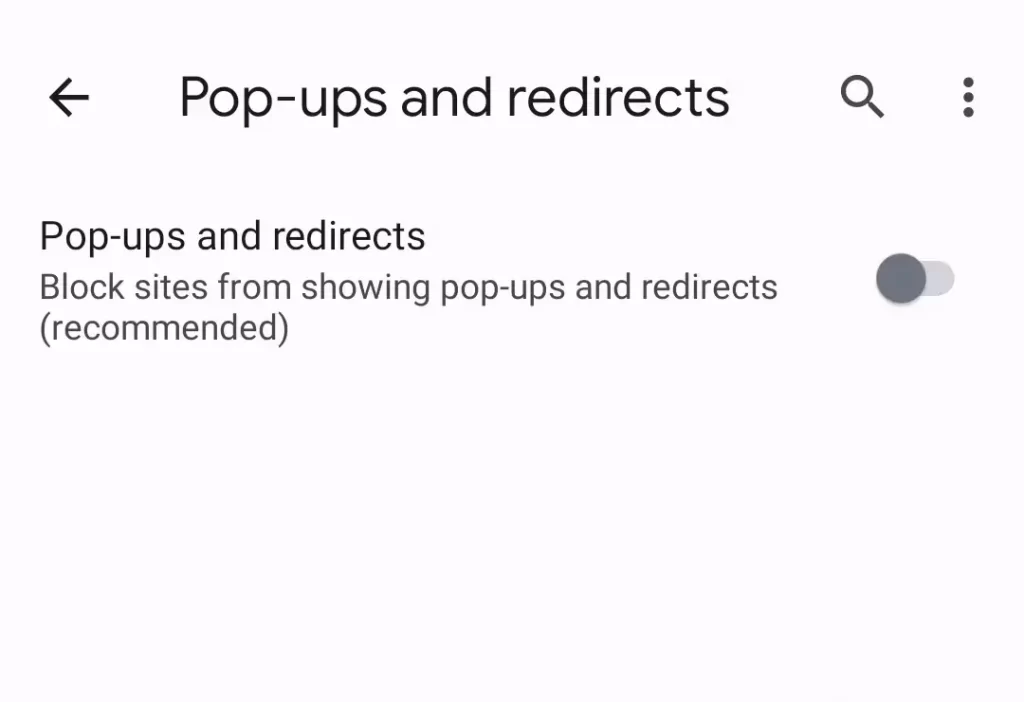
- Tap on Pop-ups and redirects and enable the toggle to block pop-ups.
This will prevent intrusive ads, redirects, and notifications while browsing in Chrome.
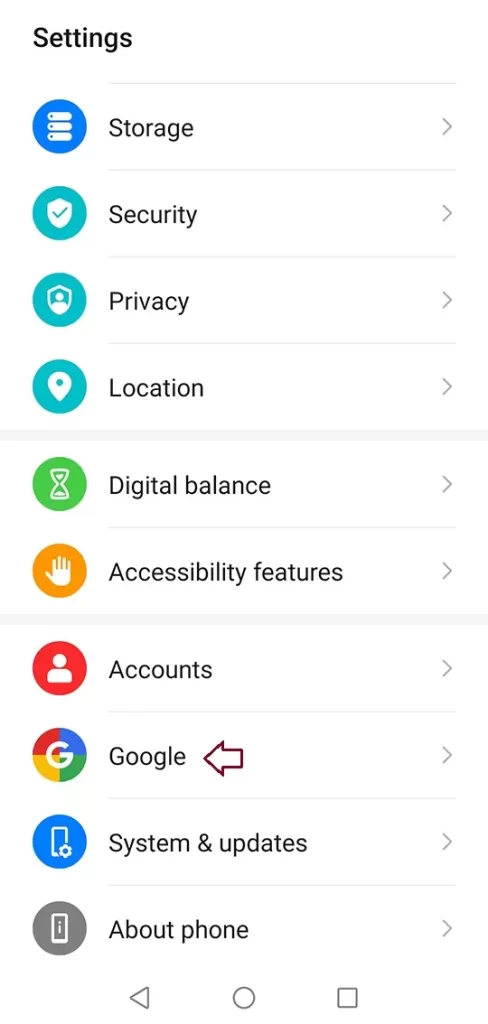
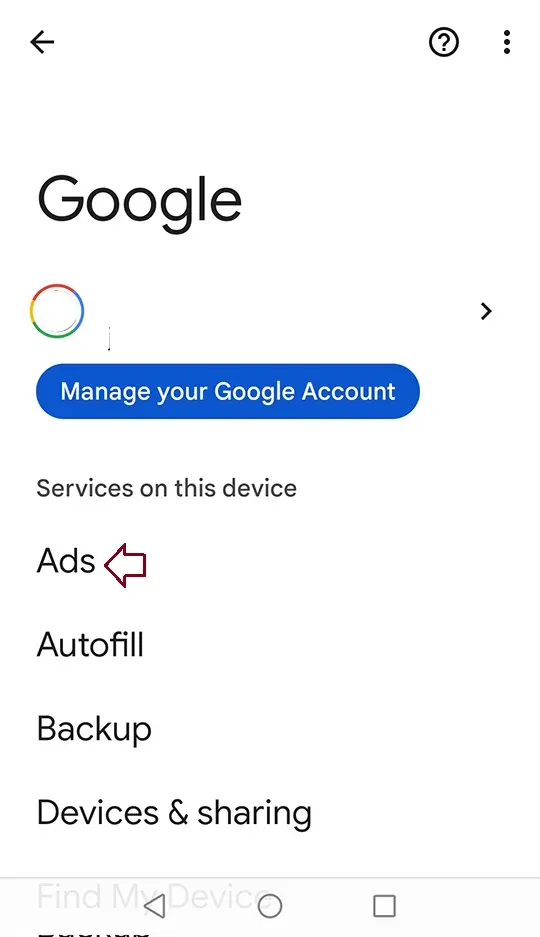
Click on Ads
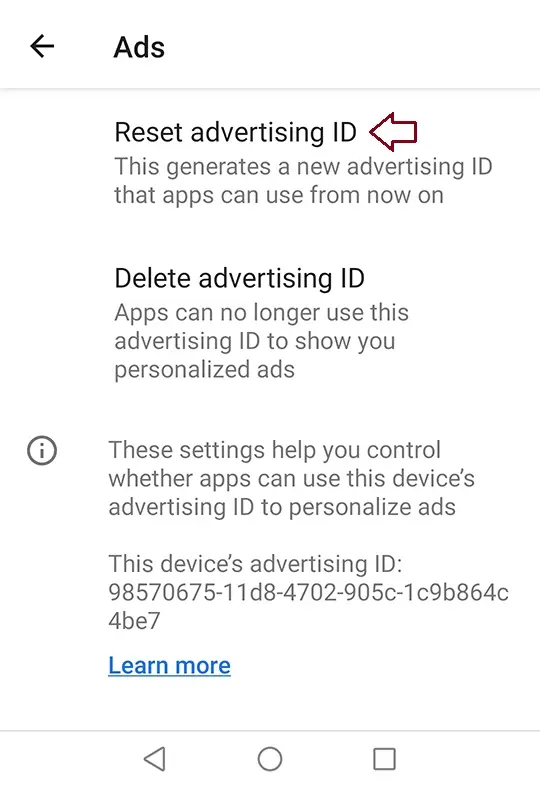
Click on Reset Advertising ID.
Block Pop-Ups, Redirects, and unwanted Ads on Google Chrome
Google Chrome has a built-in ad and pop-up filter that stops ads that are annoying or wrong. To make them work on your phone, follow the steps below.
Open Google Chrome on your Android device.
Click on the three-dot menu in the upper-right corner.

Open Settings.
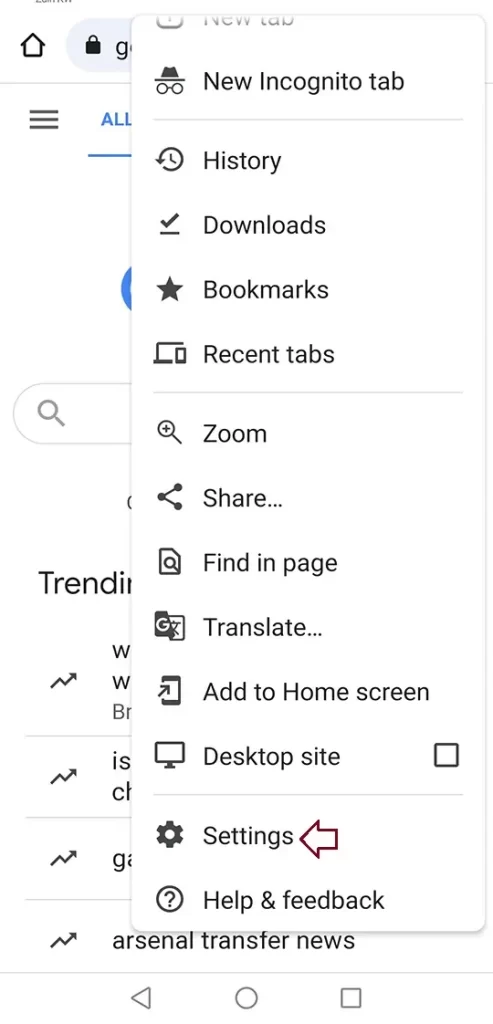
Scroll to Site Settings.
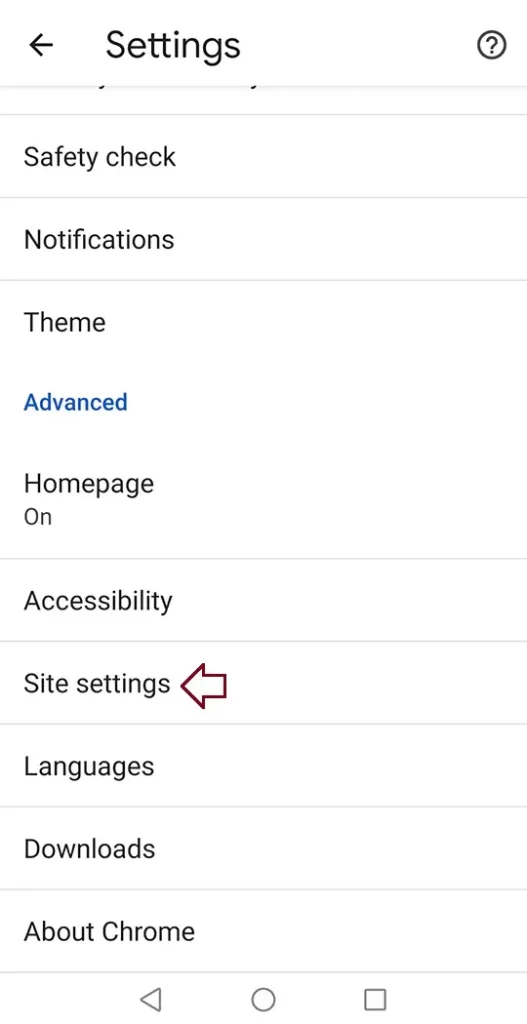
Under site settings, choose ads.
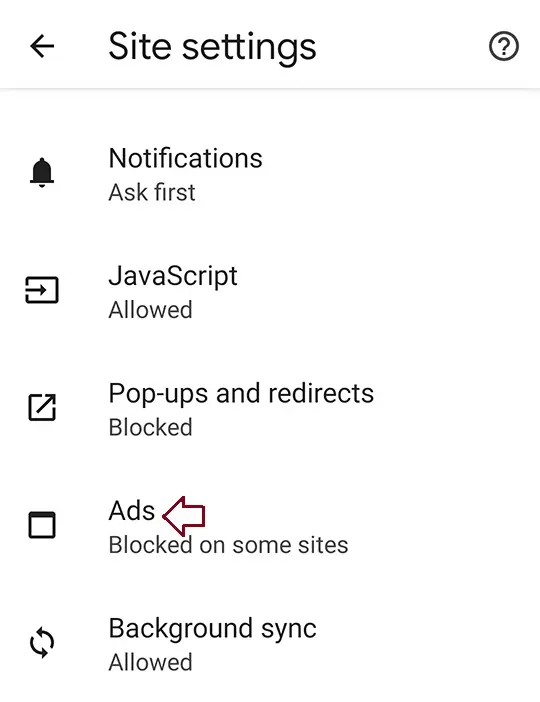
Disable Ads.

Go back and click on notifications under site settings again.
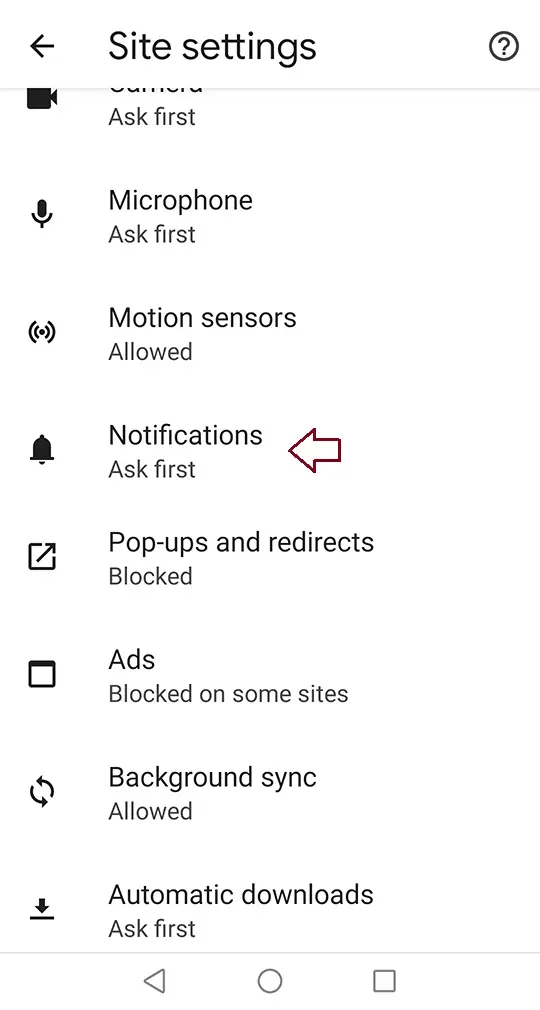
Disabling notification sites can be used to send.
Go back again and click on pop-ups and redirects.
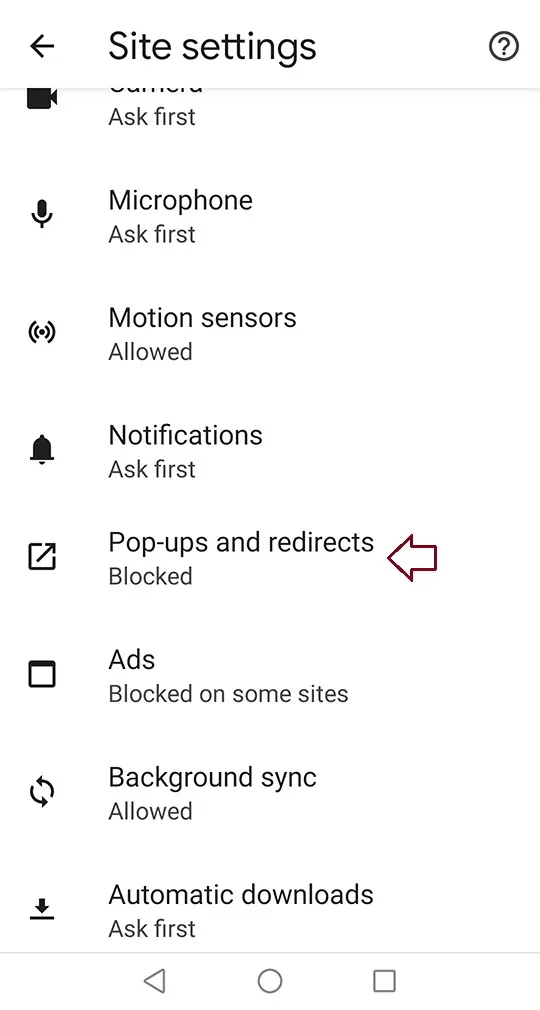
Enable the pop-ups and redirects toggle.
Block Ads Using DNS Services
You can use a DNS service like AdGuard to block ads system-wide on your Android device. Here’s how to set it up:
Tap Save.
Open the Settings app and go to Network & Internet.
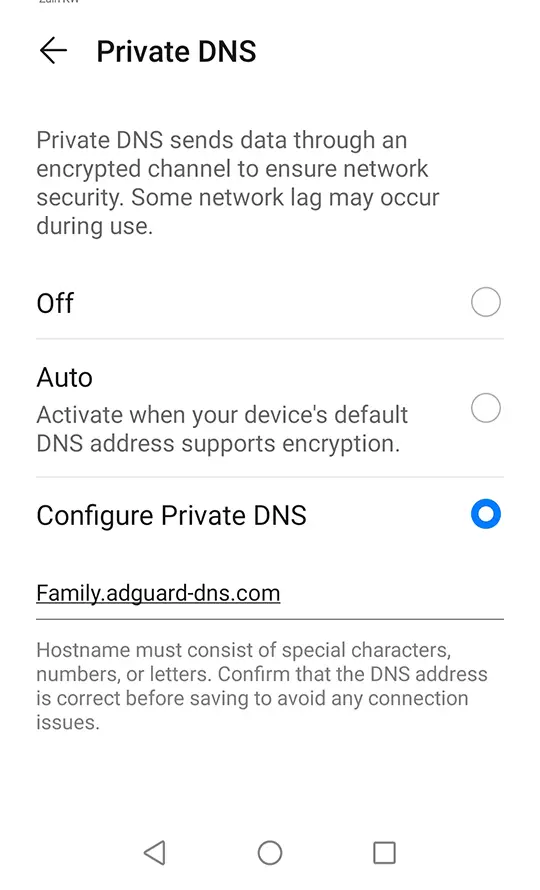
Scroll to the bottom and select Private DNS.
Tap on Private DNS provider hostname.
Enter family.adguard-dns.com (to block ads and adult content) or dns.adguard-dns.com (to block ads only).
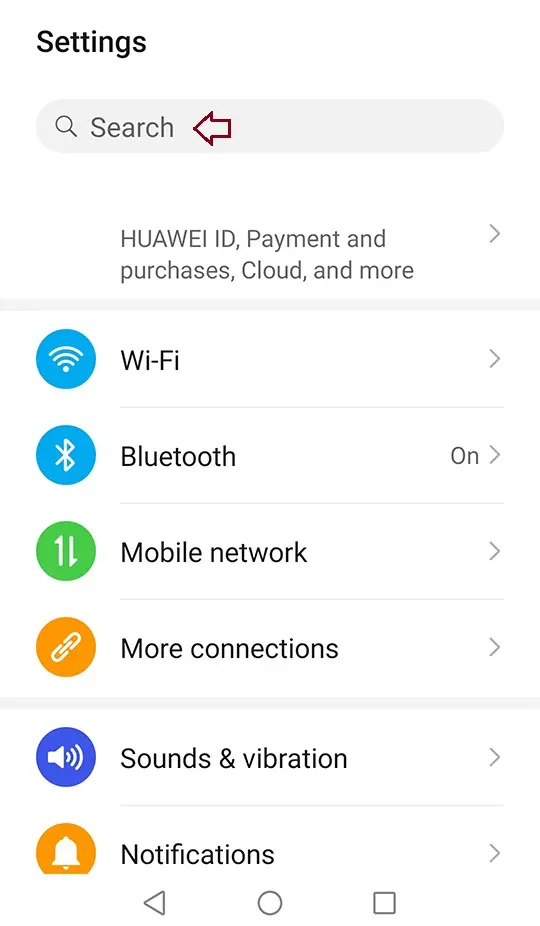
Search for private DNS and open it.
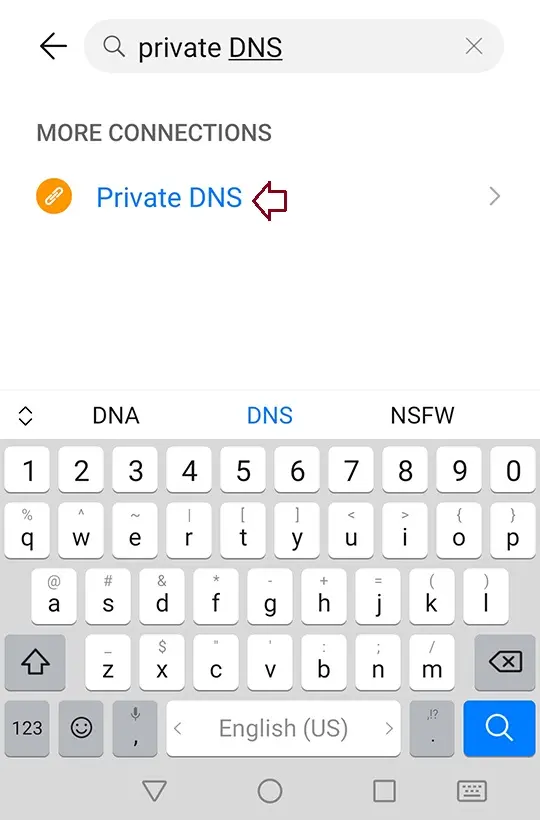
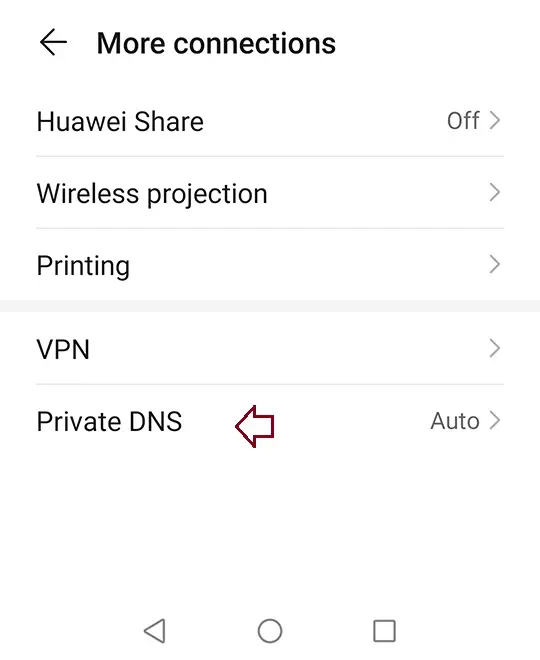
Under more connections, choose private DNS.
Choose configure private DNS, and enter one Adguard DNS.
Important Note on Advertising
While blocking ads can enhance your browsing experience, remember that ads support free services. Many online services, like news sites, Google Search, and social media platforms, rely on ads to remain free. If ads are entirely blocked, these services might have to charge users to maintain operations.
Following this guide will help you manage and block unwanted ads on your Android phone, enhancing both privacy and performance.
Read more: How to Delete Binance Account.


