By default, users must log in to Microsoft Exchange Server 2019 using the Domain\Username format when accessing the Outlook Web App (OWA) or Exchange Admin Center (EAC). This can be confusing for users, so it’s beneficial to switch to a simpler Username format.
Read this article to find out how to change the login from domain/username to username.
Table of Contents
Steps to Change Login Format
1. Log in to Exchange Admin Center (EAC)
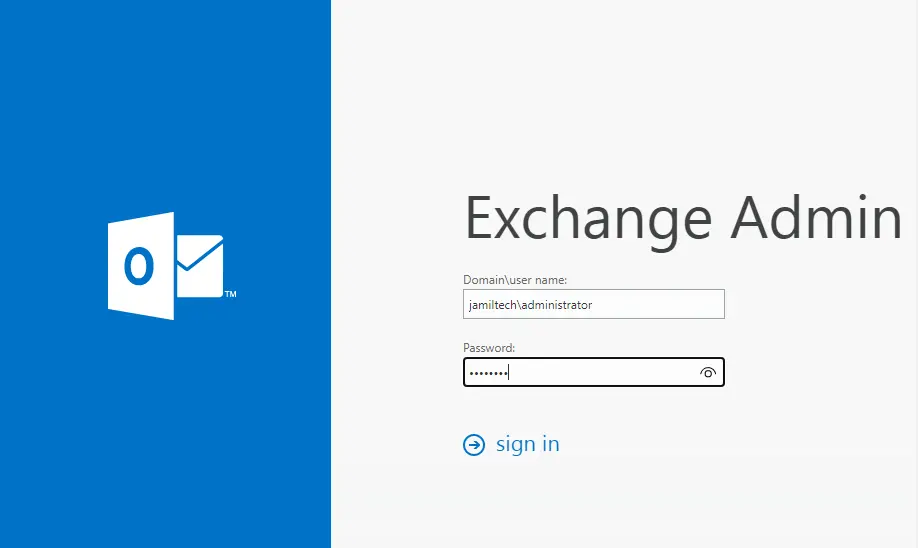
- Navigate to EAC at https://<your-exchange-server>/ecp.
- Log in using the current Domain\Username format and your password.
2. Navigate to the Servers Tab
- Once logged in, go to the Servers option in the left-hand menu.
- Click on the Virtual Directories tab.
3. Edit the OWA Virtual Directory
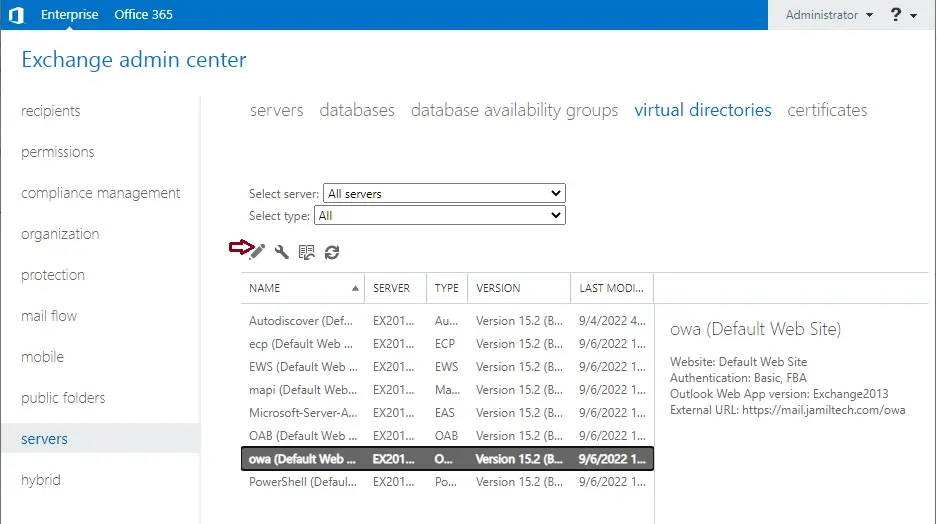
Find the OWA (Outlook Web App) virtual directory and click Edit (pencil icon).
After logging into the Exchange Admin Center
Go to the Servers option and select the Virtual Directories tab.
Select OWA (the default website) and then click on Edit.
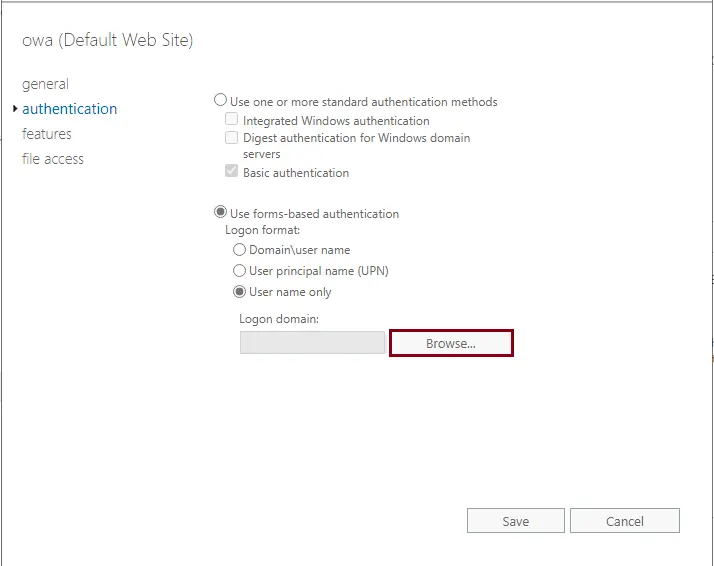
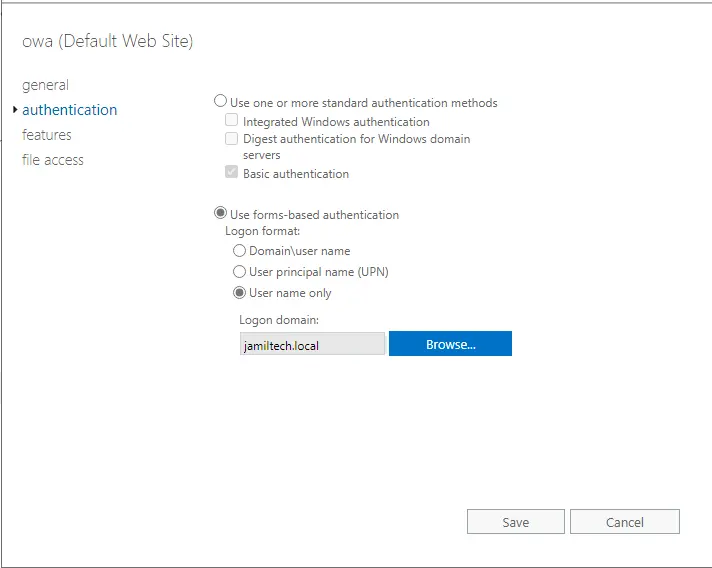
Choose the Authentication tab. The Use Form-Based Authentication option may be selected.
And as you can see, there are three additional configuration options for how the user credentials are submitted in the Logon format.
Domain\Username
User Principal Name (UPN)
Username Only
In the Authentication Tab, select Use Form-Based Authentication (Username only), and then select the Browse button to select your domain.
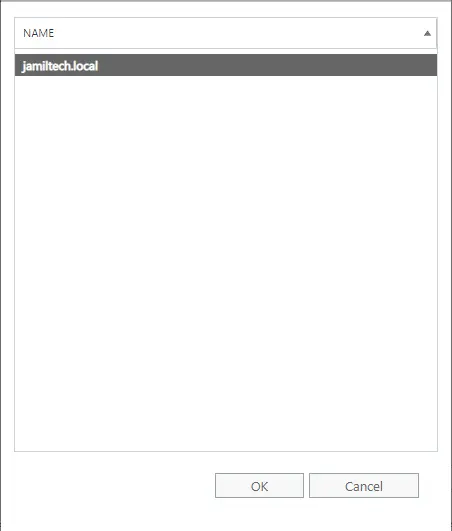
Choose the domain name, and then click OK.
4. Modify Authentication Settings
- Go to the Authentication tab.
- You’ll see the Use Form-Based Authentication option is selected by default.
- Under Logon Format, there are three choices:
- Domain\Username
- User Principal Name (UPN)
- Username Only
- Select “Username Only” to allow users to log in with just their username.
5. Select Domain Name
- After selecting Username Only, click the Browse button to choose your domain.
- Select your domain from the list and click OK.
6. Save Changes and Restart IIS
- Click Save to apply the changes.
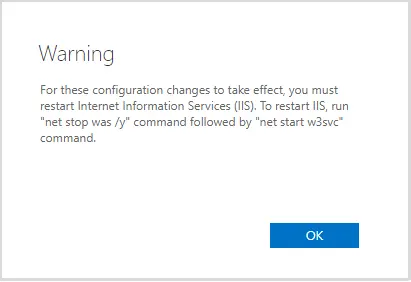
- You’ll receive a prompt to restart IIS for the changes to take effect.
7. Restart IIS Admin Services
Open a Command Prompt and run the following command:
Copy code
iisreset
- Or, alternatively:
- Open the Services app.
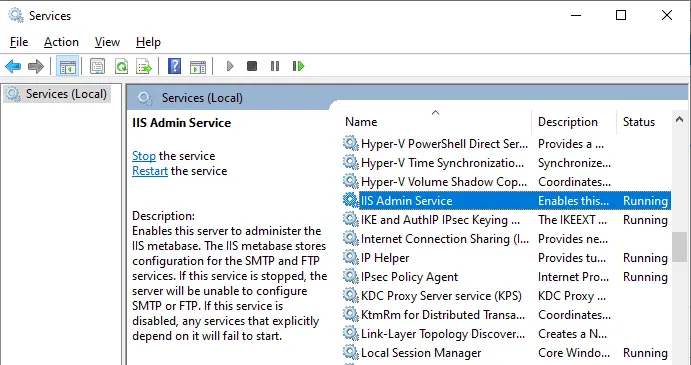
- Find IIS Admin Service and click Restart.
8. Update Exchange Admin Center Login Format
- To change the login format for EAC (Exchange Admin Center) as well:
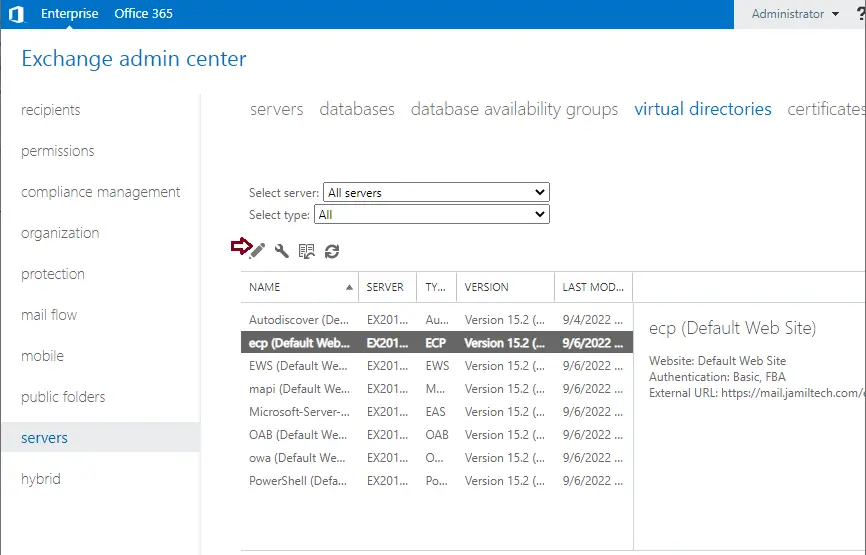
- Go back to EAC and select ECP (default website) in the Virtual Directories section.
- Click Edit.
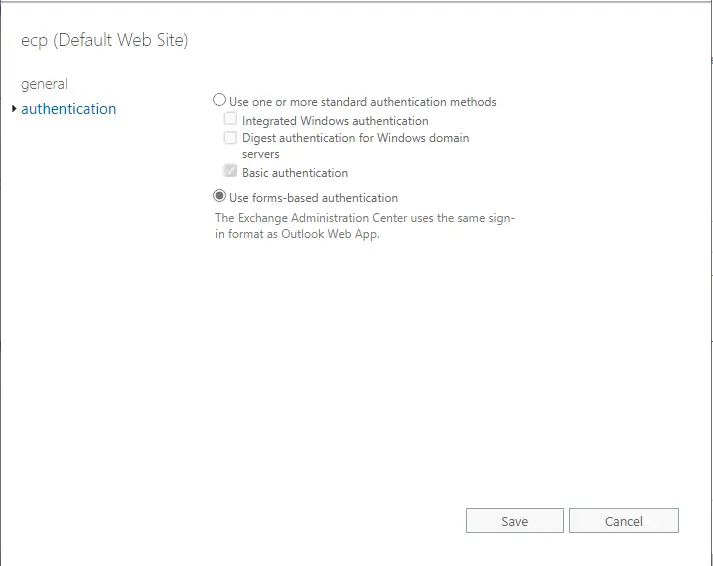
- In the Authentication tab, ensure Use Form-Based Authentication is selected.
- Save the changes.
9. Verify Login
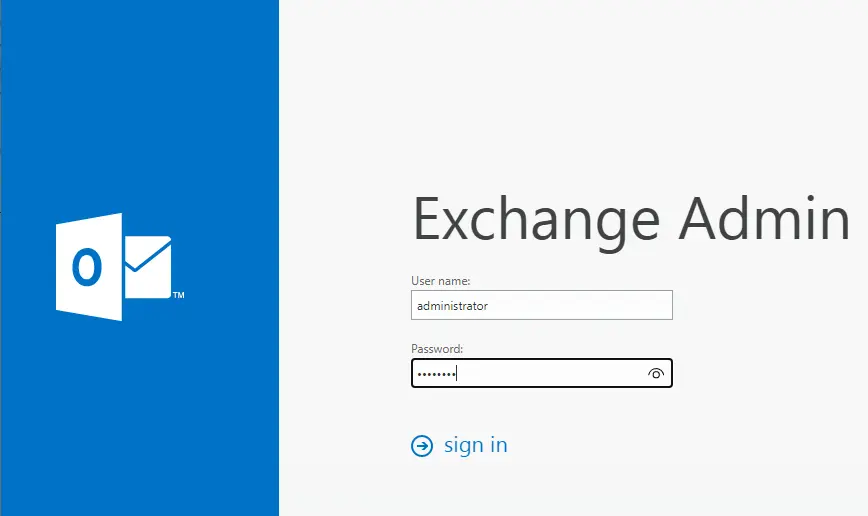
- Users can now log in to OWA and EAC using only their Username (without the domain prefix).
This change simplifies the login process for users, making it easier for them to access their emails and the admin center without needing to input the domain name every time.
The IIS restart service warning selects OK.
On the Exchange server that’s hosting the OWA website, you need to restart IIS admin services.
You can run the command prompt and then enter the following command:. iisreset
Or open services, find IIS Admin Service, and then click Restart.
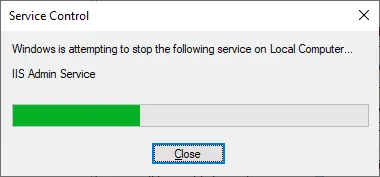
Starting the IIS Admin Service.
Exchange Admin Center Logon
This will also change the login method for the Exchange Admin Center website (ECP).
By default, it has this set in its properties.
Click on ECP (default website), and then click on edit.
Choose the authentication tab, select Use forms-based authentication, and then click Save.
Now you can log in with only a username.
Related: How to Create Offline Address Book


