
Let’s have a look at this article on how to export and import Hyper-V VMs using the Hyper-V Manager and PowerShell commands. Ready? Let’s get started! Do you want to export Hyper-V virtual machines and transfer them from one host to another? How about exporting a VM from a development workstation to a Hyper-V node in production? If so, you are in the right place!
Table of Contents
Export and Import Hyper-V VMs
Export makes it simple to copy and transfer a virtual machine to a different location, and import allows you to restore it on any Hyper-V server. If you do not have any backup solution in place, and in cases of hardware failure, you can use the exported virtual machine and then restore the VM by performing the import.
Export Virtual Machine in Hyper-V
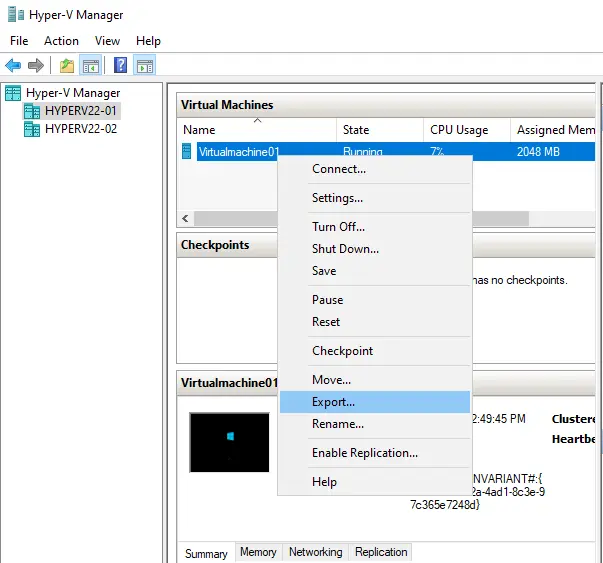
Before starting the exporting process, you are required to prepare the source VM with the Sysprep utility to reset and remove the special security identifier (SID) for your VM. To avoid two computers having the same IP address or the same name. Right-click the existing VM in the Hyper-V manager console and then choose export.
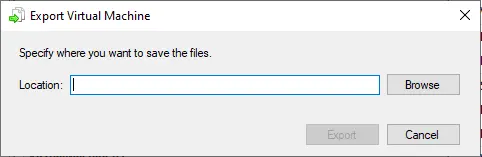
Click on Browse to choose a location where you want to save the exported VM files.
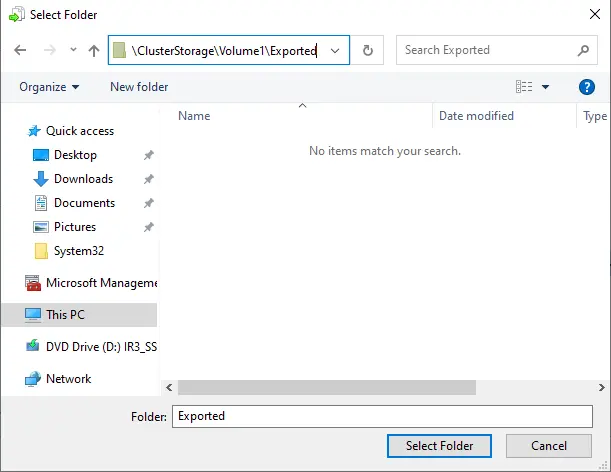
Avoid choosing the same directory as the .vhd file (virtual hard disk file) for the existing virtual machine. I already have a directory named exported.
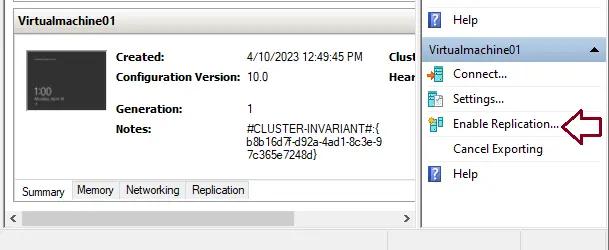
Click export.

You can see the exporting process.
Import Virtual Machine in Hyper-V
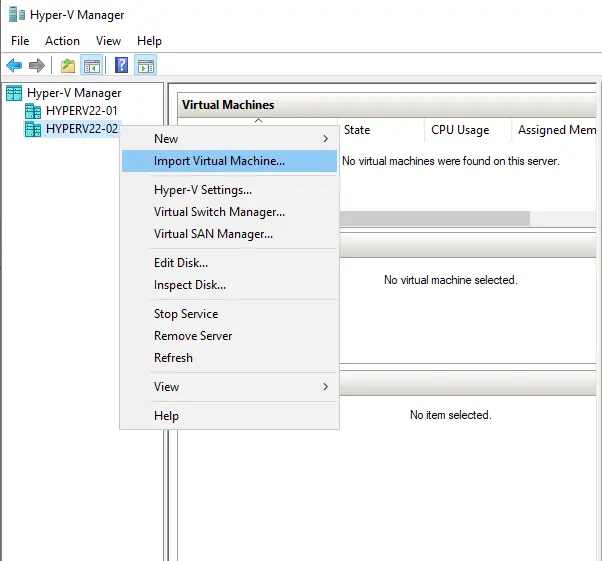
After exporting a virtual machine, right-click on the Hyper-V node and then choose Import Virtual Machine.
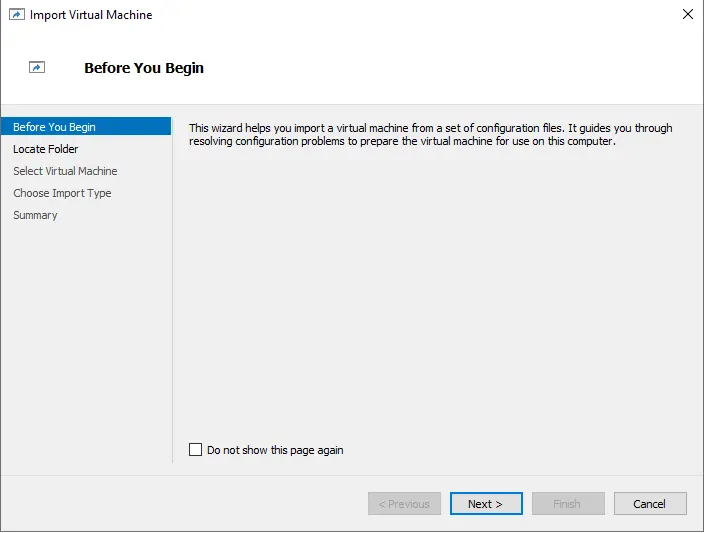
Import the virtual machine wizard, and choose next.
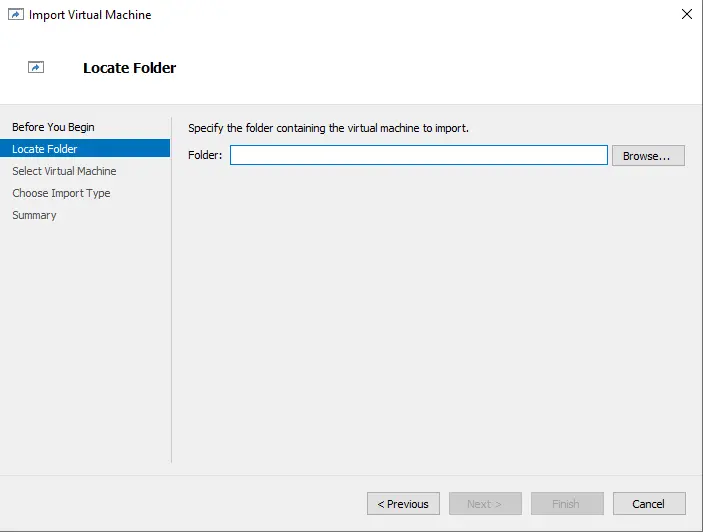
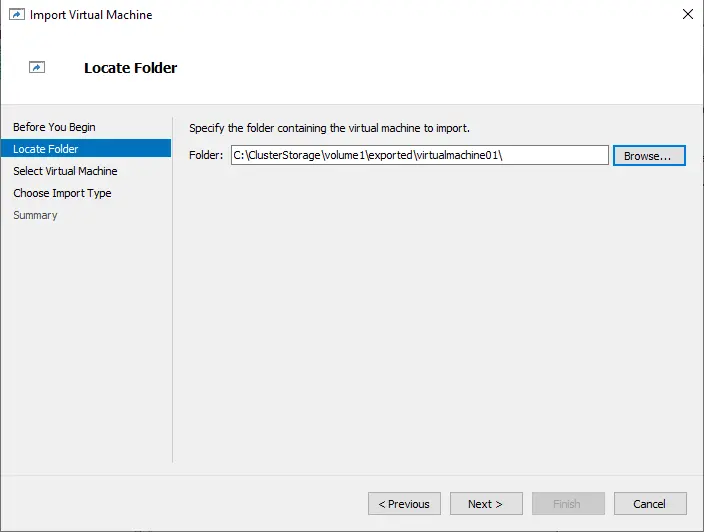
Choose browse to specify the location where you saved the virtual machine during export.
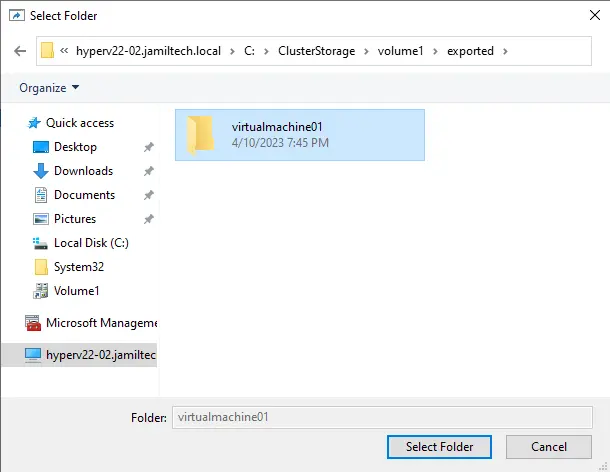
Find a virtual machine, and then select a folder.
Select next
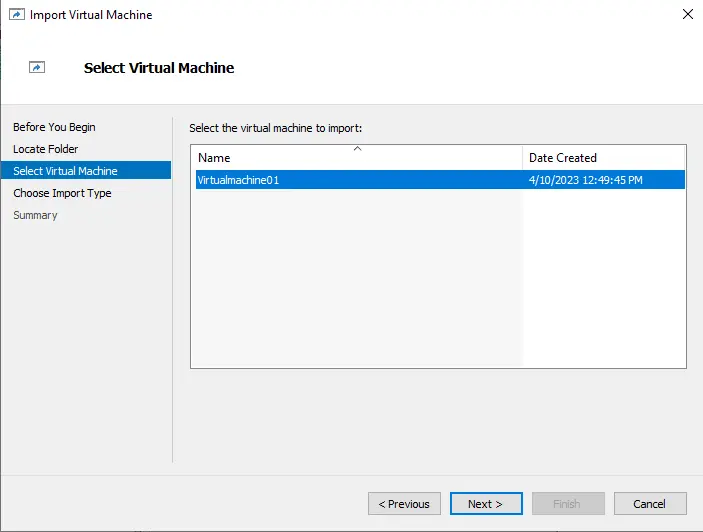
Select the virtual machine you want to import, and then choose next.
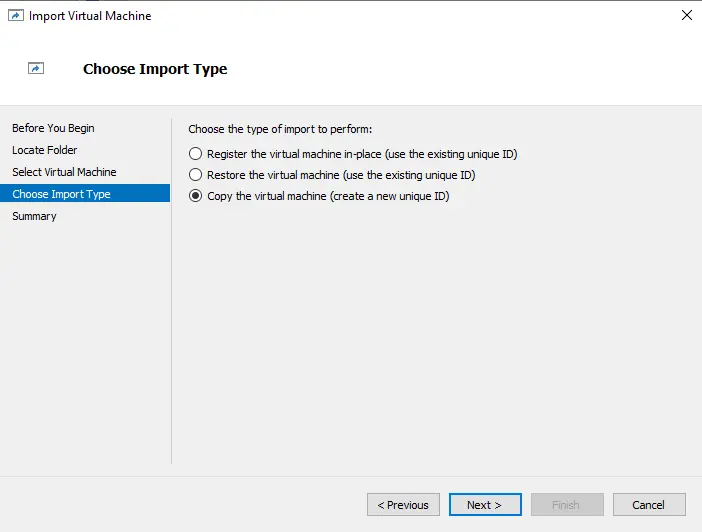
Verify the import type, and then click next.
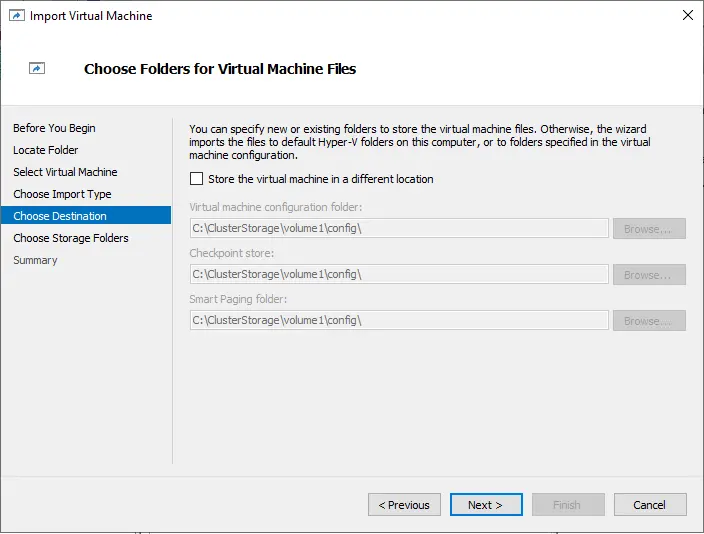
Select the folder to store the virtual machine’s files. Leave the default settings and then click next.
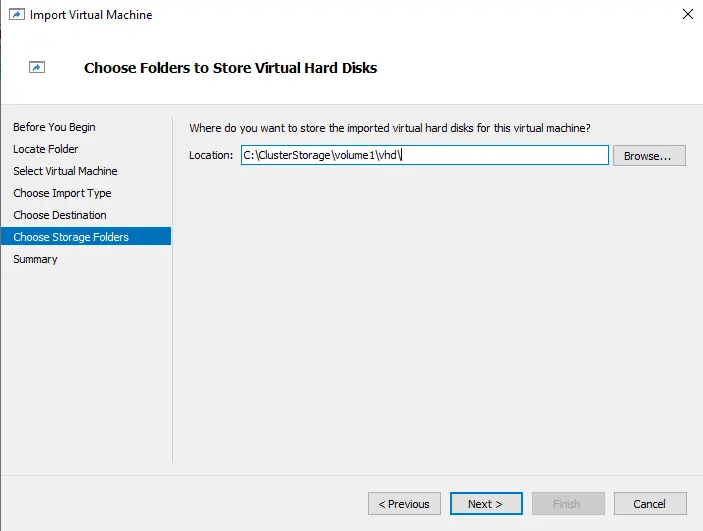
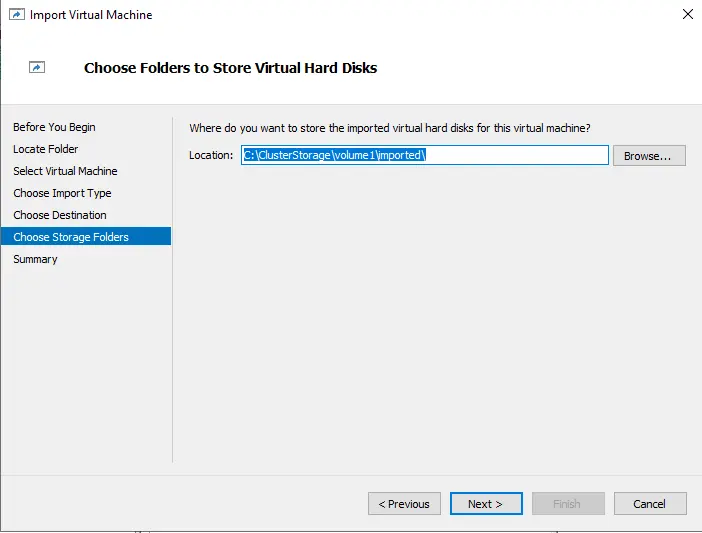
Choose a location to store the virtual machines (.vhdx files). Now you must specify a directory that is different from the virtual hard disks of the source virtual machine. Click browse.
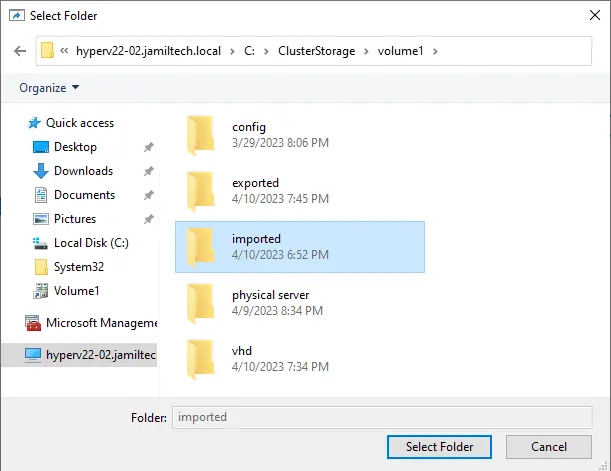
Select folder
Click next
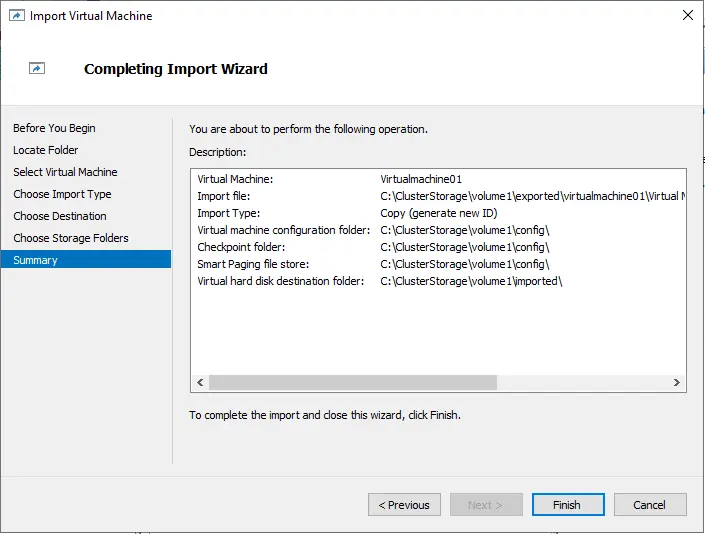
Review the virtual machine importing summary and then choose the finish.
It may take some time to complete the importing process. It’s dependent on the size of the existing virtual machine.

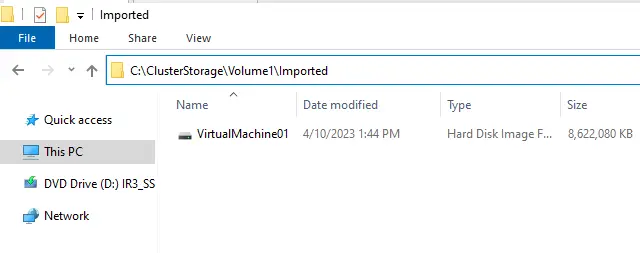
You can see your imported VM.
Visit Learn Microsoft to learn more about how to export and import Hyper-V VMs.
