This article shows you how to turn on or off email forwarding in Outlook for Windows 11. If you use Microsoft Outlook, do you get tired of your emails being sent immediately to other accounts? If so, don’t worry about it. It can be annoying when emails automatically forward, so it’s important to know how to stop it. In this guide, we’ll show you how to stop Outlook from automatically sending your emails, so you can get back in charge of them.
There is a feature in your Outlook app that lets you send your email to another account. Forwarding your email is easy in the new Outlook app, no matter why you want to do it.
You might want to send your email to another account for various reasons. You might want to organize all of your email addresses into a single folder. Or maybe you’re going on vacation and want to make sure you don’t miss any important messages by sending them to a reliable employee or family member.
Table of Contents
Create a Rule to Turn On or Off Email Forwarding in Outlook
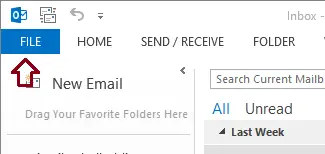
You can set up a rule to forward emails from your account in addition to enabling them to be sent automatically. Click the file menu at the top left of your screen.
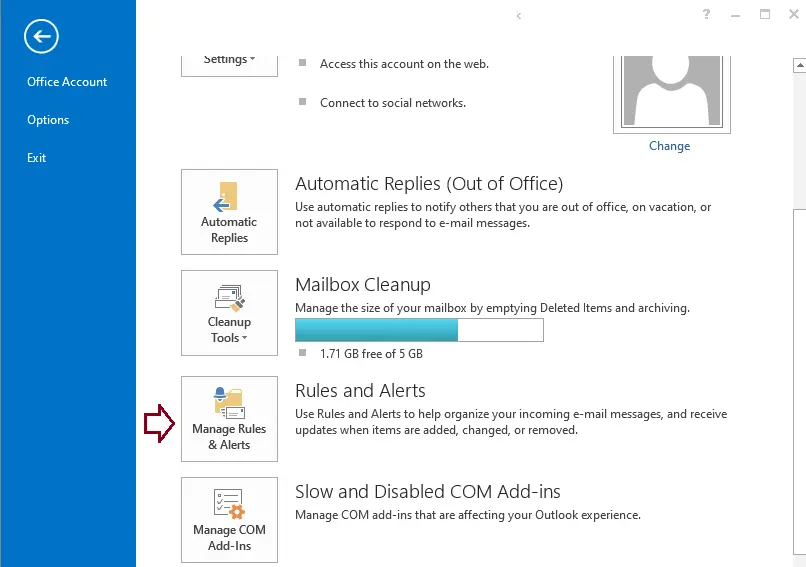
Click on Manage Rules & Alerts.
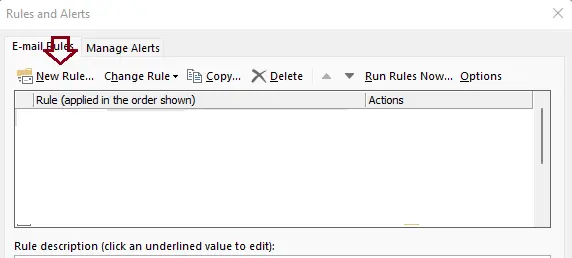
Click on the New Rule…
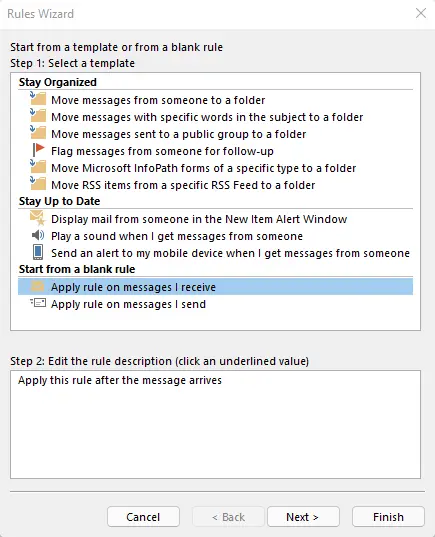
Choose “Apply rule on messages I receive” and choose next.
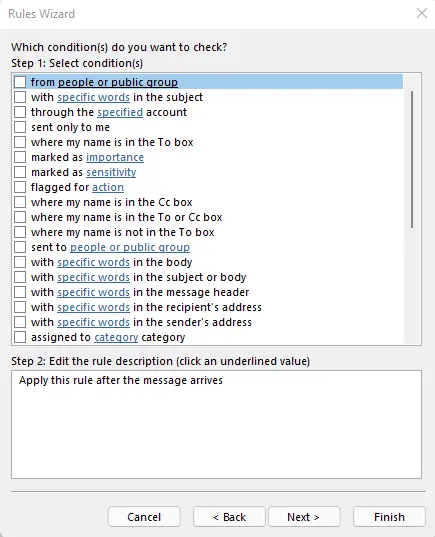
Don’t choose anything here and click next.
Click yes when prompted to apply the rule to every message you receive.

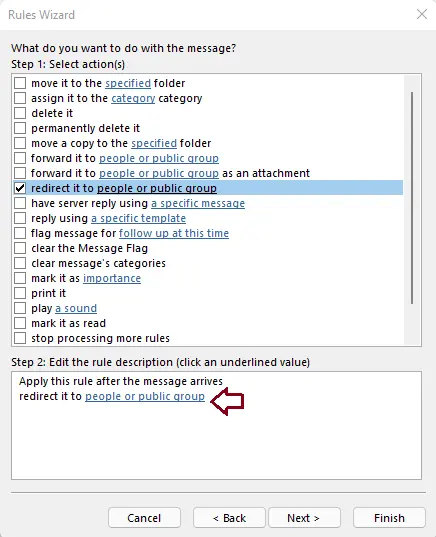
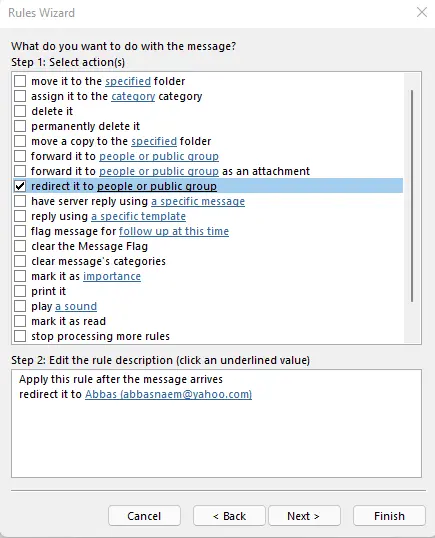
Select the box for “redirect it to people or public group”. This will forward the message to another recipient and keep a copy in your inbox.
Under Step 2, select the “people or public group” link, and from the list of users, choose the one you want to forward to. Choose Next.
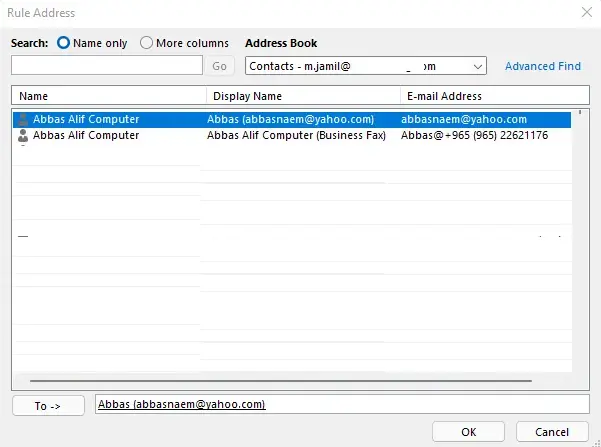
Select an email and choose OK.
Click next.
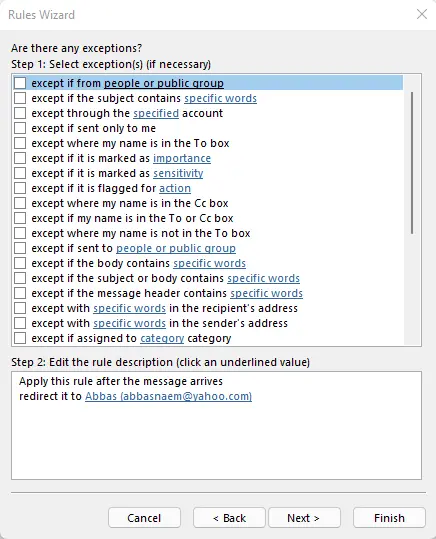
If you don’t want to add any exceptions to the rule, click next.
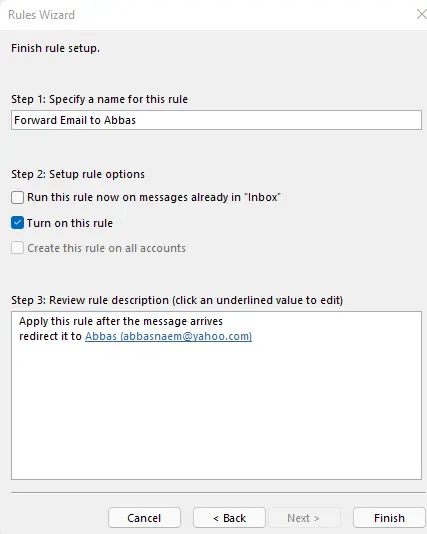
Enable the Forwarding Rule
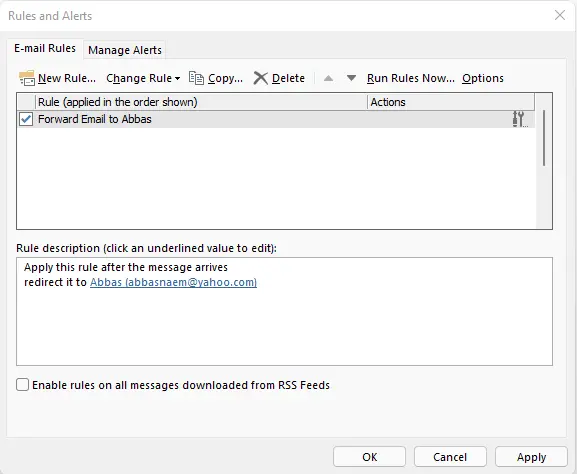
Type your rule name and click Finish. The email forwarding rule will now be enabled. Click OK.
Click ok.
Create a Rule to Block Automatic Forwarding
You can also set up a rule to stop emails from being sent from your account. This is in addition to turning off automatic sending.
You may create a rule to stop emails from being shared on this page. Click the “New Rule” button to do this. You may choose to “Block Automatic Forwarding” on the next page. This will stop emails from your account from being immediately sent to other people.
Turning off Forwarding Email
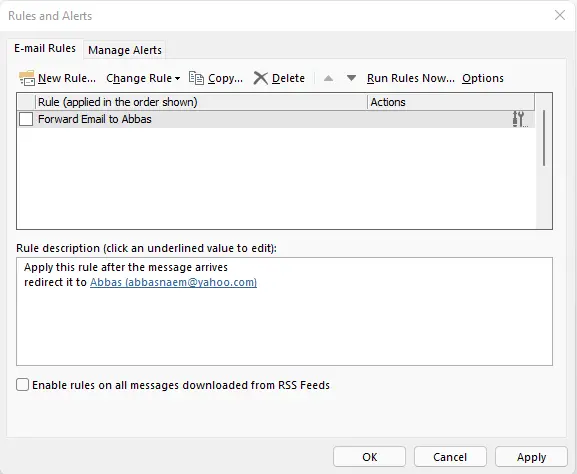
Select the “Manage Rules & Alerts” button from the Outlook file menu. From the list of rules, turn off the forwarding rule and click OK.
Turn On or Off Automatic Forwarding in Outlook Web App
Automatic Forwarding is a powerful Outlook feature that allows you to set up rules to forward emails automatically from one account to another. It can be a useful utility for managing multiple email accounts, but it can also be a significant distraction and security risk. Follow these procedures to turn on or off automatic forwarding in the Outlook Web App.
Automatically Redirect all Emails to Another Account
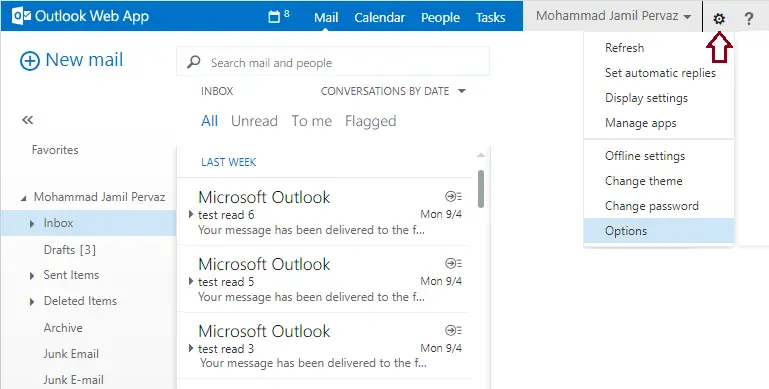
Log into Outlook Web App, Click on the settings icon, and choose Options from the menu.
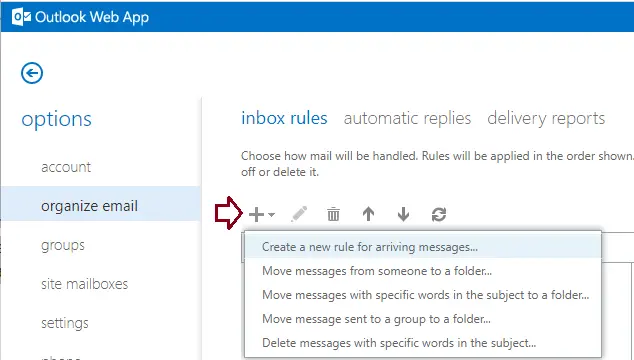
Select Organize Email
You’ll see a list of all the rules you’ve already created. Click on the + button and select “Create a new rule for arriving messages” to add a new rule.
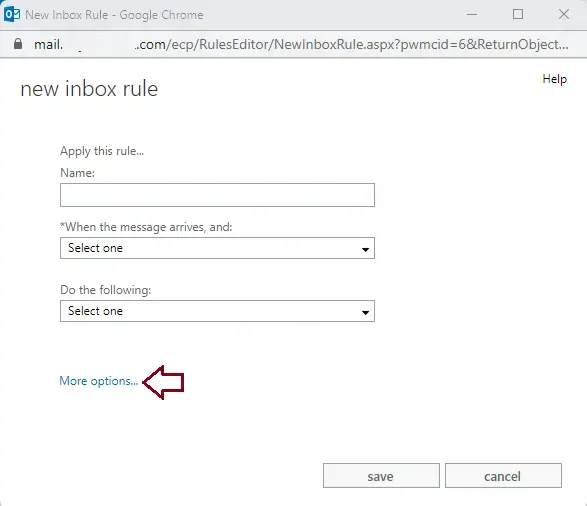
The new rules wizard will open; click on the More Options link.
Do the following: Select Forward, Redirect, or Send and select forward this message from the drop-down menu.
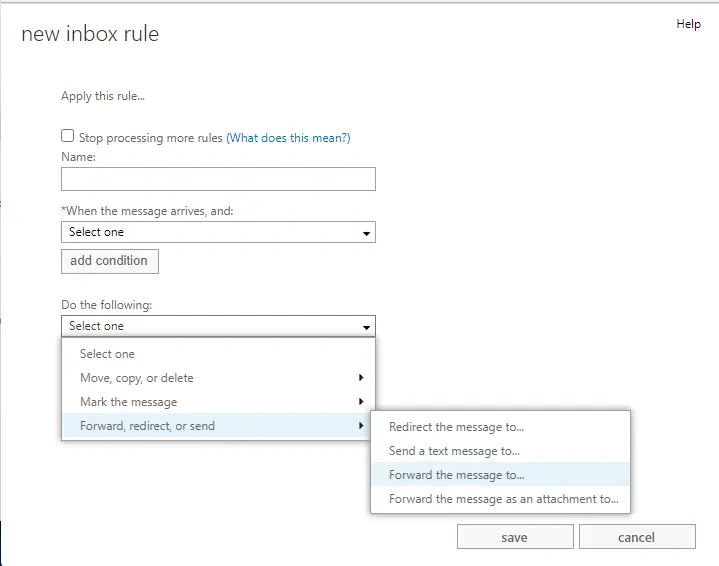
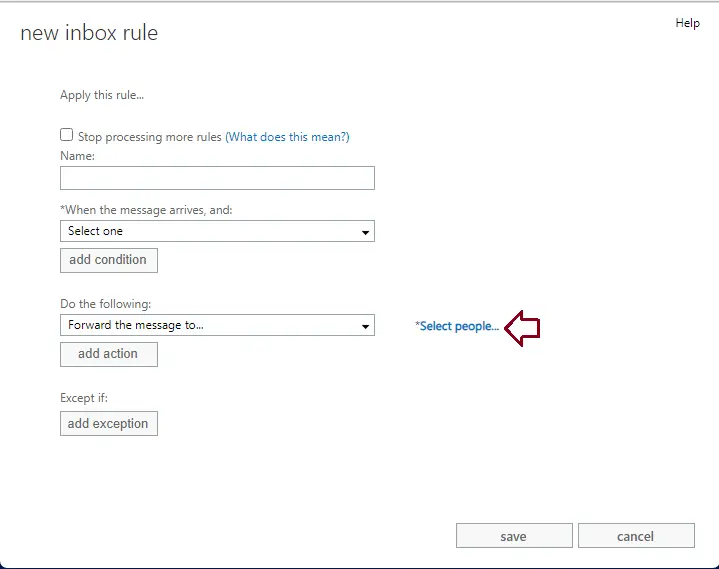
Click on the Select People link.
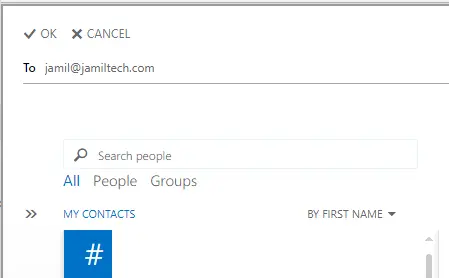
Type the email address that you want to forward email’s to, and click OK.
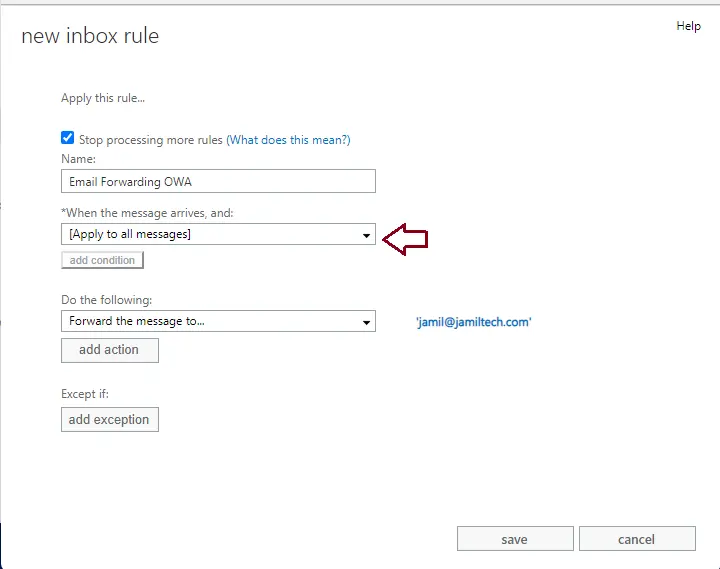
Name: type a name for this rule.
When the message arrives, and: Choose “[Apply to all messages]” from the drop-down menu. Click save.
Click yes to apply your new rule.
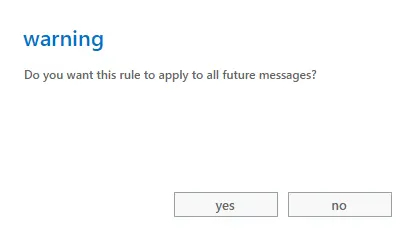
Enable or disable email forwarding in the Outlook Web App.
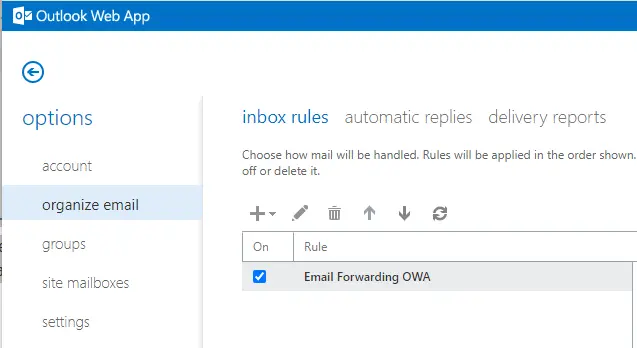
Your email has been set up to forward. Any emails sent to your Exchange 2013 mailbox in the future will simply be sent to the address you chose.
Turn off Automatic Forwarding in Outlook Web App
If you’re using the Outlook Web App, it’s easy and clear how to turn off automatic forwarding email. To do this, login with the Outlook Web App and click on the “Settings” icon. Click on organize email. Click on this and disable the Automatic processing.
Forward Emails to Another Account in Outlook App
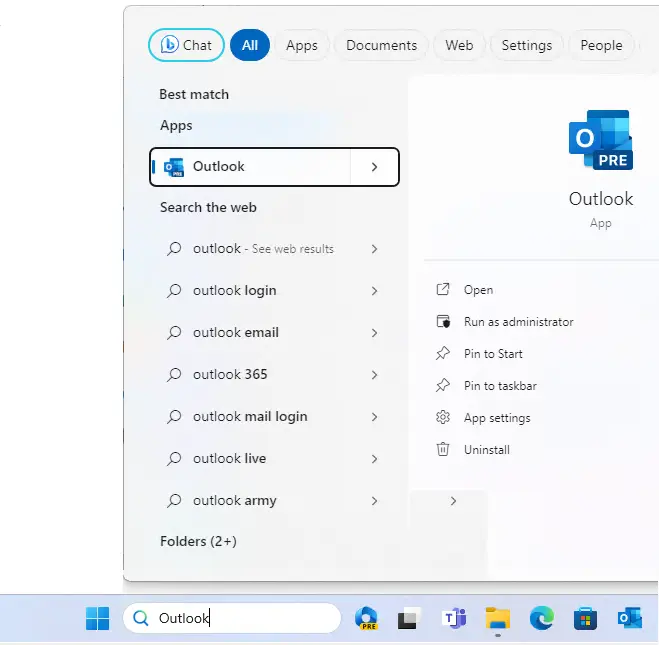
Search Outlook and open it.
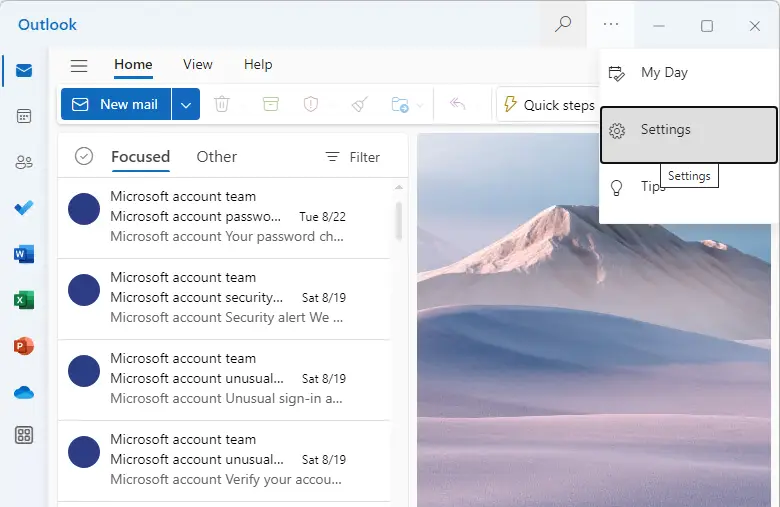
Click the three dots and select Settings to proceed.
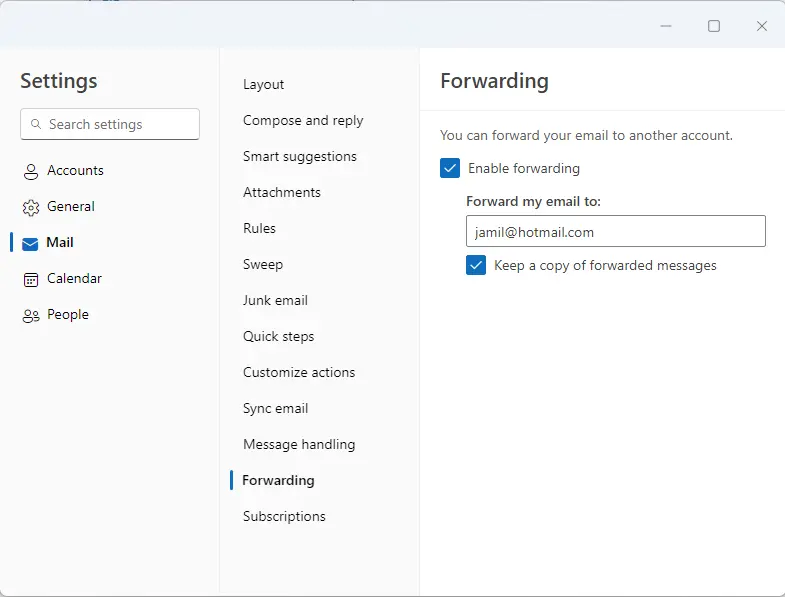
On the Settings page, select the Mail tab on the left sidebar and select Forwarding on the right. Check the box “Enable forwarding” turn on email forwarding.
Type the email account you wish to forward emails to.
This option enables you to forward new messages while keeping a copy in your inbox.
To turn off or disable email forwarding, uncheck the box.
Refer to Microsoft to get more information about email forwarding.

